This year I just haven’t had time to make my own hot cross buns… We wanted treats to take out but had no time to wait for 2 rises!
So instead these ones start with a modified scone dough and come together very quickly!
Dough:
2.5 cups SR flour* (plus extra for rolling out)
1/2 cup almond meal**
80g cold butter (or nuttelex)
1 tbsp sugar
1 cup milk of choice (I use high protein almond milk)
Filling:
1 large Apple, finely diced
8 medjool dates, finely chopped
1/2 cup walnuts (optional), finely chopped
2 tsp butter (or nuttelex), melted
1/2 tsp mixed spice
Icing:
2 heaped tsp butter (or nuttelex), melted
4 heaped tbsp pure icing sugar
1 tsp vanilla bean paste
1 tsp milk of choice
*To make this gluten free: swap the flour for 2 1/4 cup SR GF flour mix and add 1 tsp of psyllium husk **To make this nut free: swap out the almond meal for an extra half cup of flour and omit the walnuts
Place the flour, almond meal and sugar in the food processor and pulse to combine.
Add in the butter and pulse numerous times until the mix resembles breadcrumbs.
Add in milk then process until dough is well combined (speed 4, 6 seconds).
Tip the dough into a well floured surface, bring together with your hands and then roll into a rectangular shape, about 1/2cm thick.
Mix together the Apple, dates, Walnuts, mixed spice and melted butter and spread over the dough.
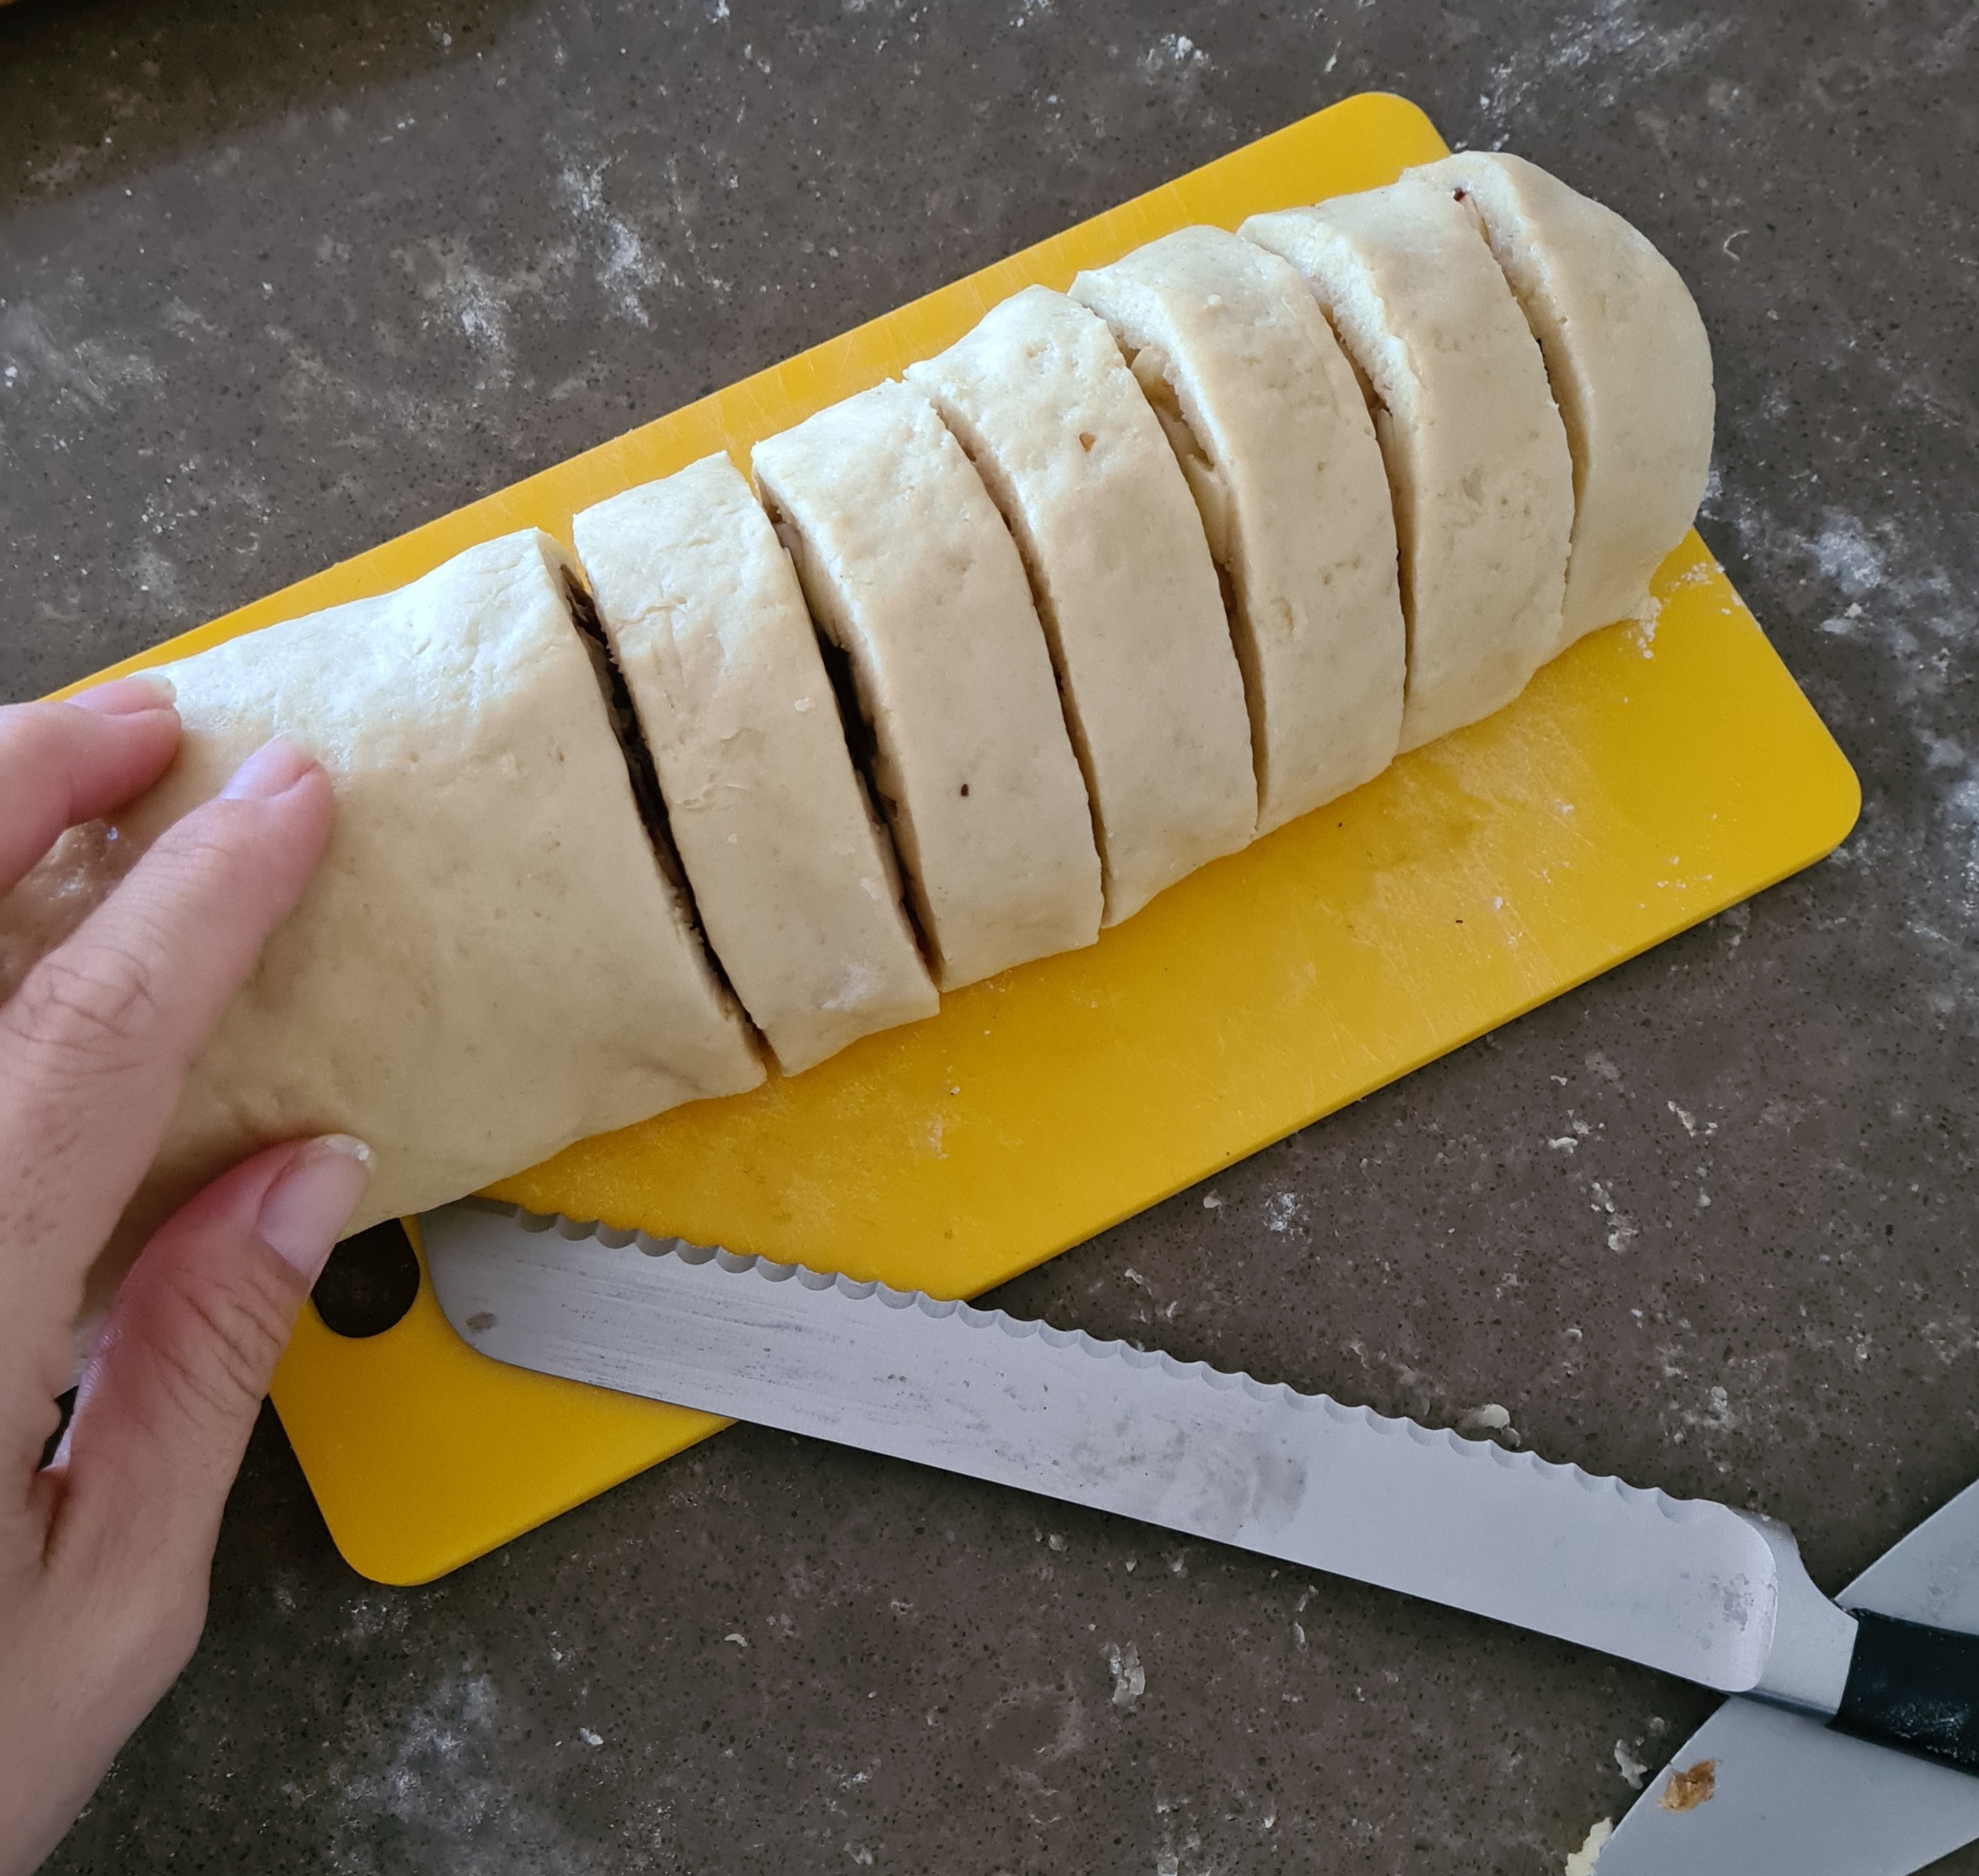
Roll the dough over on top of each other to form a log.
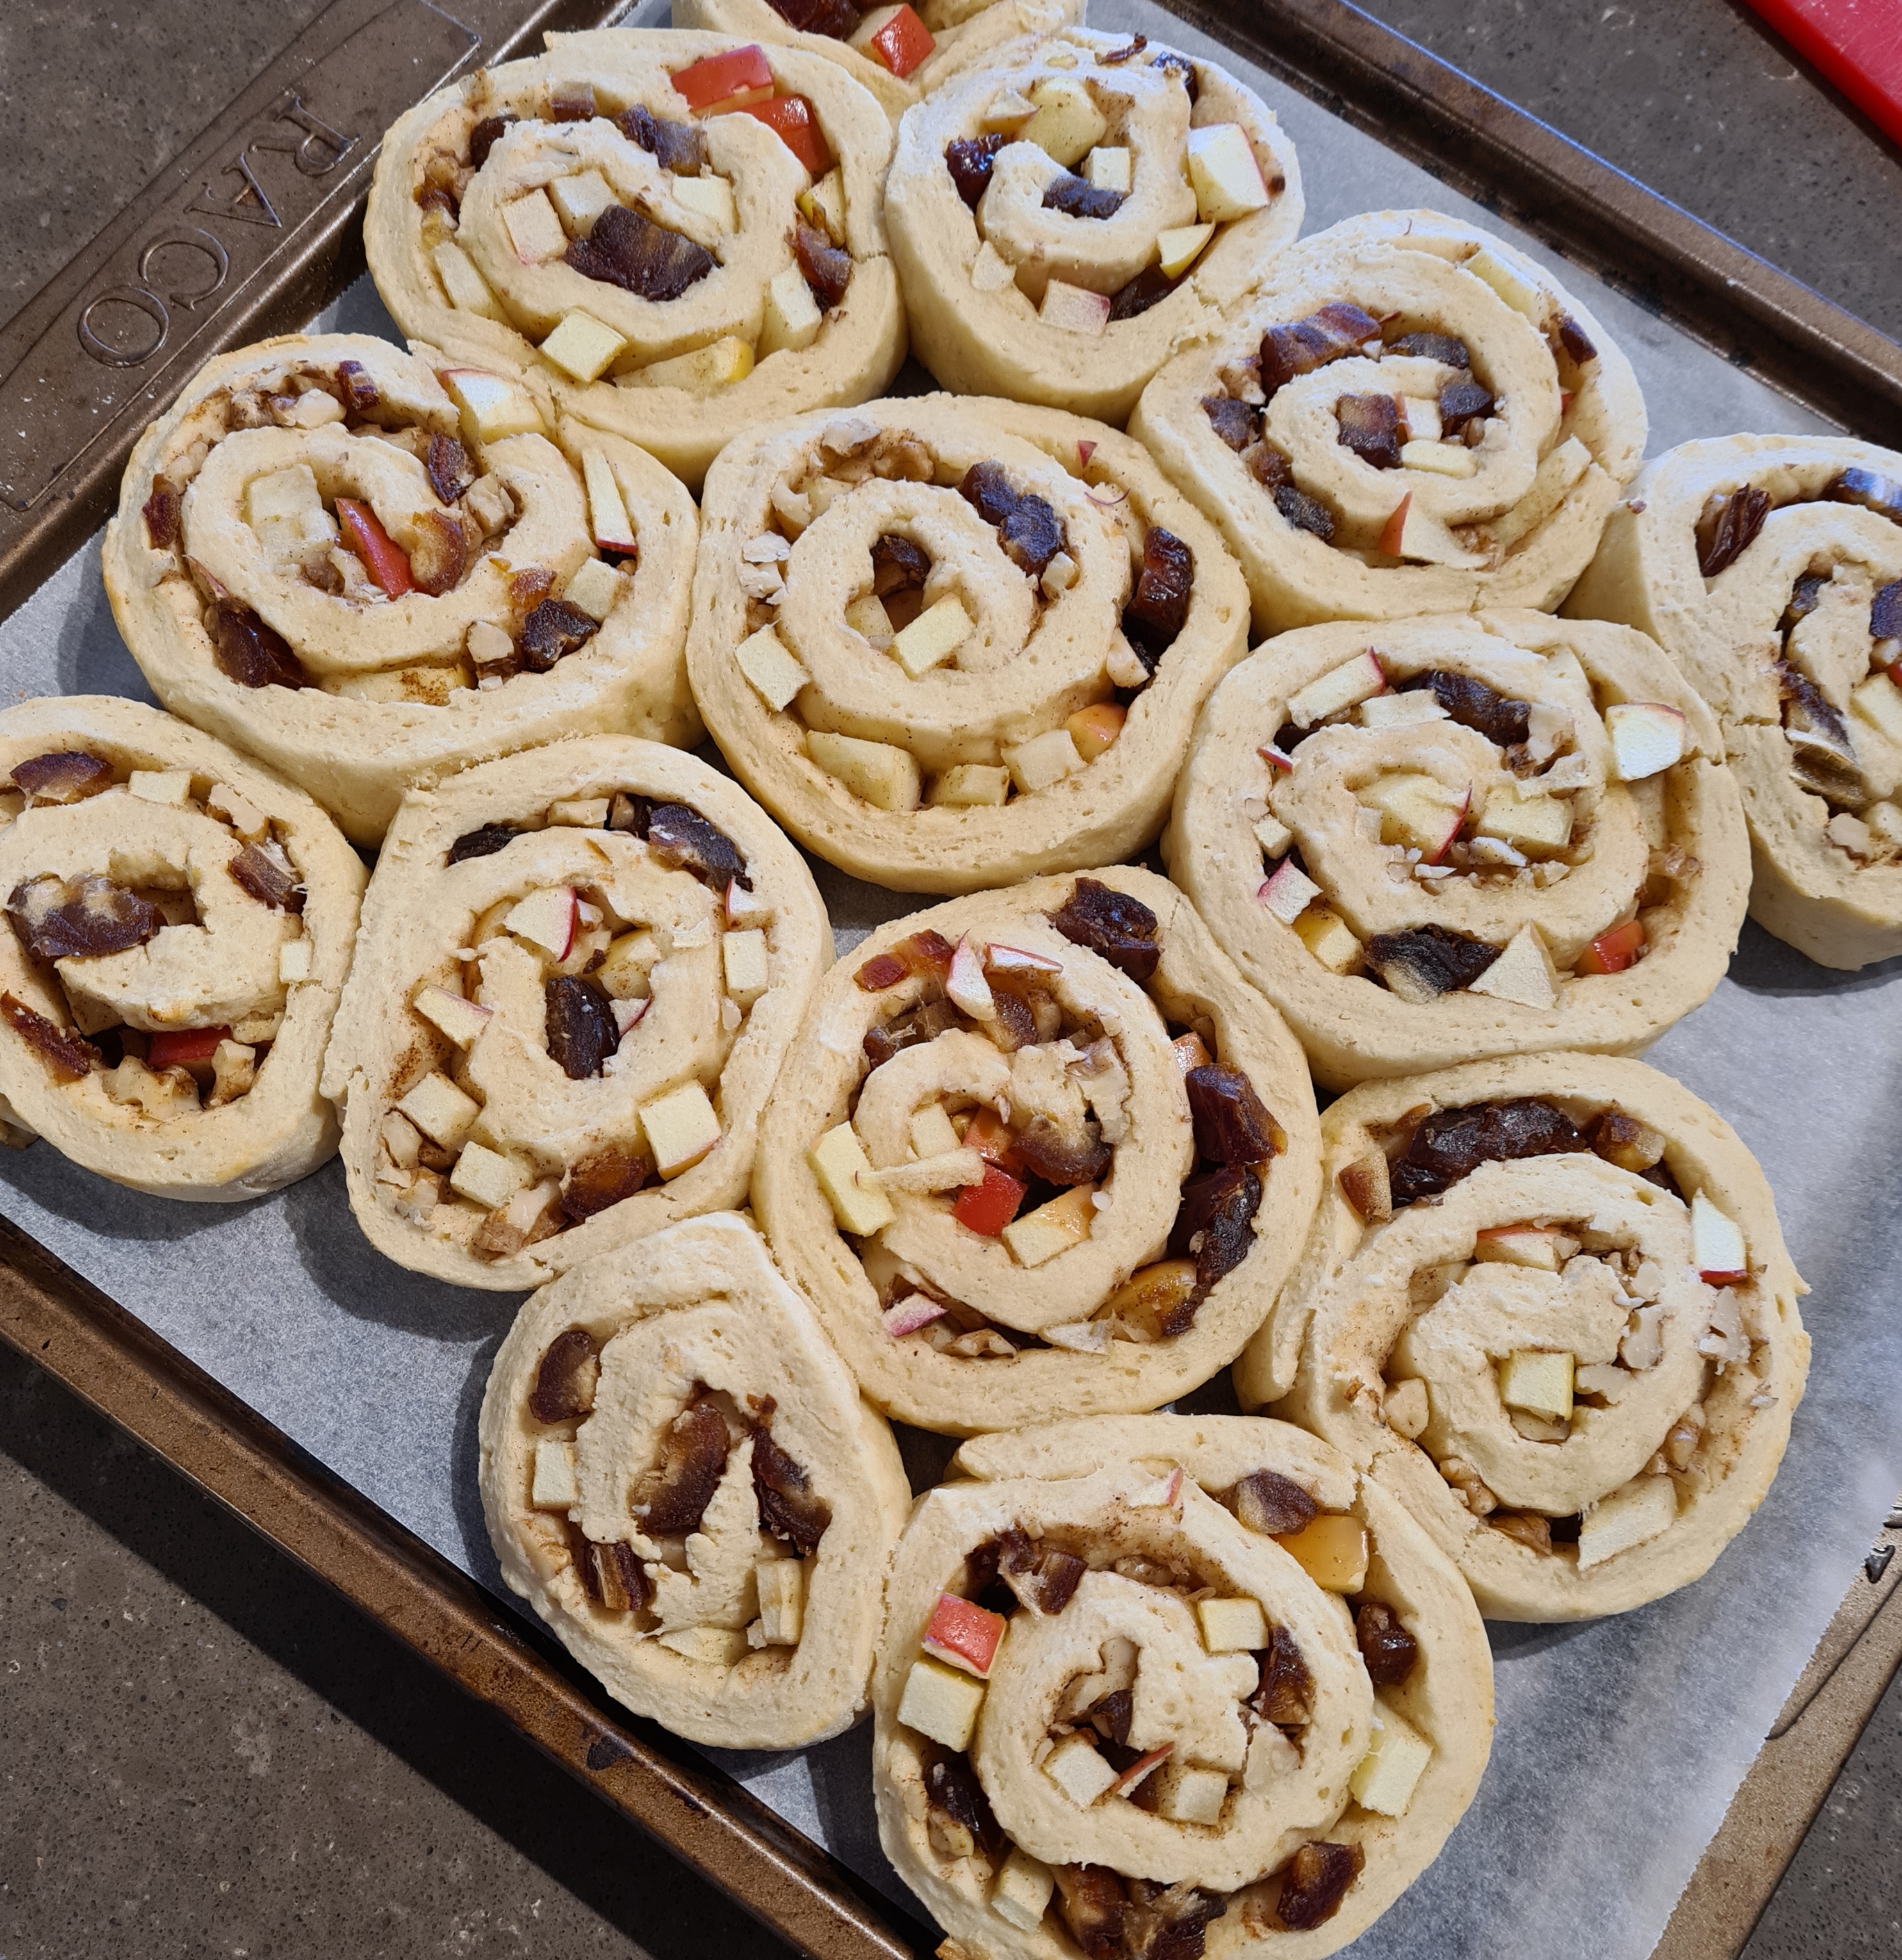
Cut the log into slices about 2cm wide and then lay on a lined baking tray.
Place them fairly close together and into a preheated 200C oven for about 20 minutes.
Allow to cool for about 10 minutes before icing.
For the icing- mix together the melted butter, icing sugar and vanilla until smooth and then add in the milk to thin it out before drizzling over the top of the scrolls.
This is such a simple meal – quick to throw into the slow cooker in the morning and then a few extra minutes to finish in the evening when you get home from work. But it is delicious and filling – I guess ‘hearty’ is a good way to describe it!!
It makes a large batch too which is great for big families and for the freezer 🙂
5 out of 6 thumbs up at my place (number 6 is waaay over tired and went to bed so I’m not sure that I’m counting his vote this time 😉 )
1/2 cup hot chicken stock (Massel for store bought)
1 rounded tbsp tomato paste
Eggplant (aubergine) slices, Approx 200g per person
Olive oil
Pink salt flakes
Grated cheese of choice to top
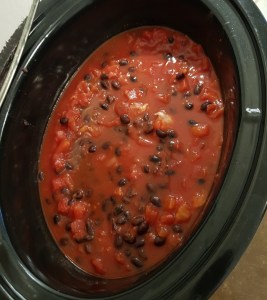
Place chicken in the bottom of the slow cooker, sprinkle the seasoning over the top.
Add in the black beans and tomatoes.
Stir together the tomato paste and stock before pouring it over the contents of the slow cooker.
Place lid on slow cooker and cook on low for 7-8 hours.
Lift lid and use a couple of forks to shred the chicken.
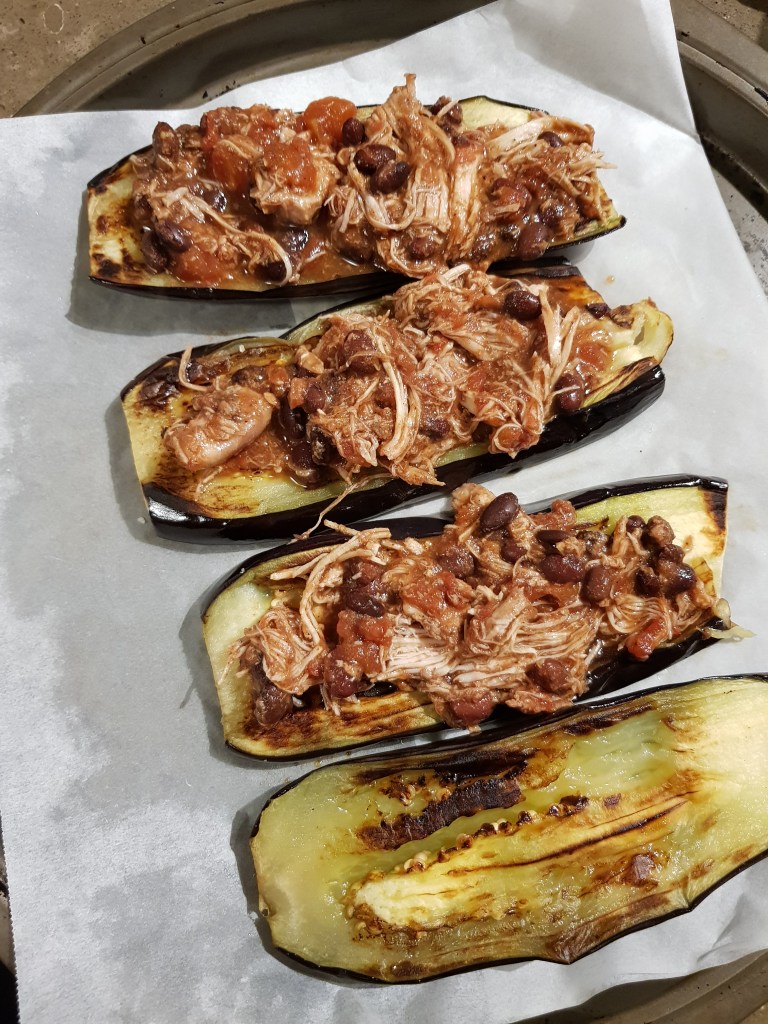
Slice eggplants long ways (I cut a medium one into 4 slices) then pat dry of any water.
Spray with a little olive oil and place into a hot frying pan. Cook each side for a couple of minutes until soft and golden.
Sprinkle eggplant with a little salt, then transfer to a lined baking tray.
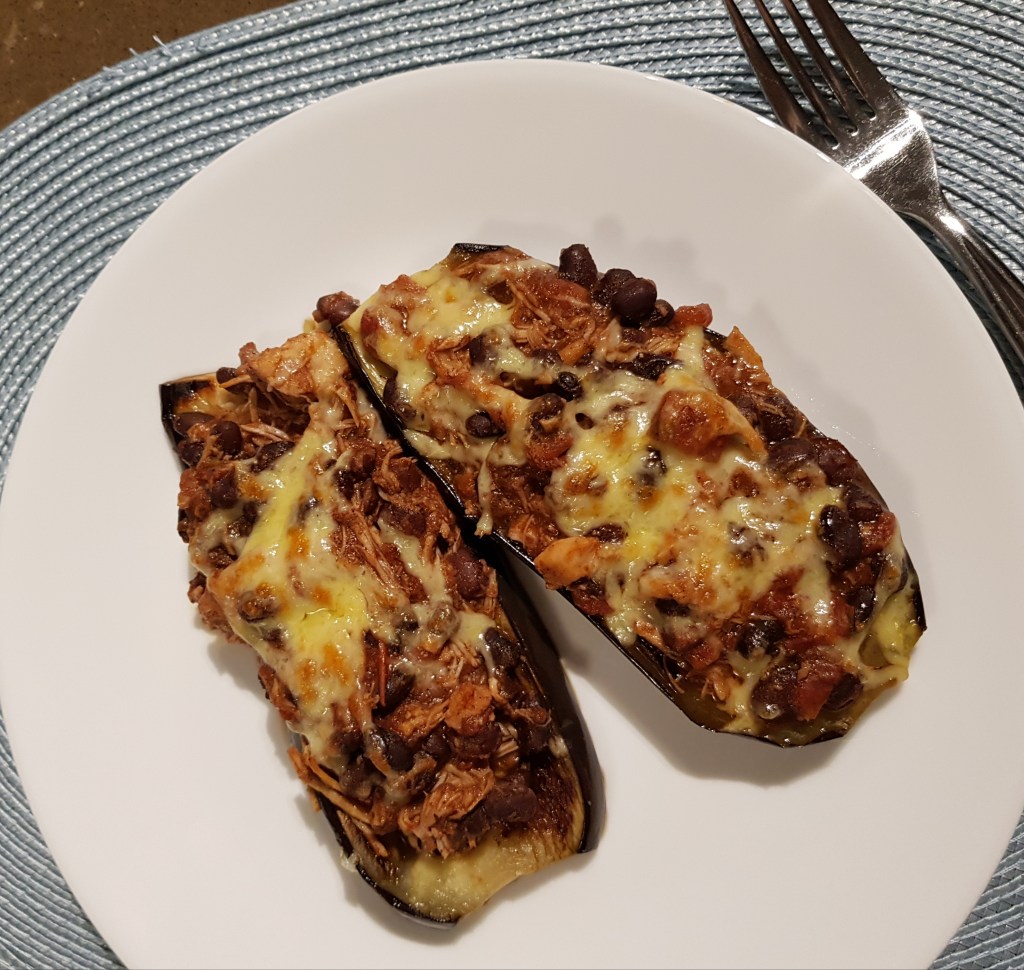
Top the eggplant with the slow cooked chicken mix and a little grated cheese (dairy or plant based). Put under a hot grill for a few minutes until the cheese is melted and golden.
Serve immediately.
SO very full after dinner!
This quantity of chicken mix makes about 12 adult serves. If you’re not serving 6 like me, a half batch cooks exactly the same.
We portion out and freeze the left-overs ready for another easy family meal – just need to cook the fresh eggplant each time.
Full disclosure ….. 3 of my 4 kids cried on being told that they were having eggplant – they had theirs on a little GF pasta instead!!!
P.S. I have been asked about the macros of this recipe – so if you need them: The serve as pictured above is 1/12 of the mix, roughly 1 ladle, with 2 x 100g slices of eggplant and 15g total of Tasty cheese. It is 282 calories, 10g fat, 30g protein and 20g carbs.
P.P.S I haven’t made a vegan version yet, but next time I intend to give it a go and I’ll update. I think I’ll use 2 cans of cannellini beans to replace the chicken and use stock paste or powder for the flavour, but not use the water.
My kiddos see their friends eating that famous store bought chocolate spread …. but since the first ingredient is refined sugar, followed by hydrogenated oil, it is not something I really want to feed them! So a couple of years ago I set about making a sweet hazelnutty choc spread of my own – and it has been a winner (you can find it here).
However, as it is based on hazelnuts, to care for those kids who are allergic, I don’t want to send it to school. So more recently I have made a seed based version – and the kids didn’t even tell the difference! So here’s my healthy and lunchbox friendly chocolate spread – hope you like it as much as we do!
1 cup sunflower seeds
1 cup pumpkin seeds
1 heaped tbsp cocoa (or 1 flat tbsp cacao)
1 tsp vanilla bean paste
1/2 tsp flaked pink salt
160 mls boiling water
8 medjool dates (pick the big fat juicy ones!)
Optional: 1-2 tbsp maple syrup OR coconut sugar
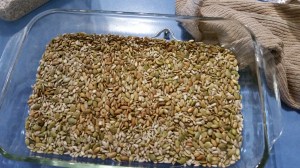
Roast your seeds first. I did mine on a tray under the grill (and watched them very carefully!!!), they only take a few minutes.
While the seeds are roasting, seed the dates and cover them with the boiling water. Add the vanilla and salt to the water.
Process the seeds for 10 seconds on speed 10. (This will take longer in a food processor). Their oils release best while they’re hot so if you’ve bought roasted seeds, place them in a hot oven for a couple of minutes first).
Add in the cocoa and sugar (if you’re using it) here. Scrape down sides and use speed 6 in 45 seconds intervals, scraping down in between until you get a paste like consistency.
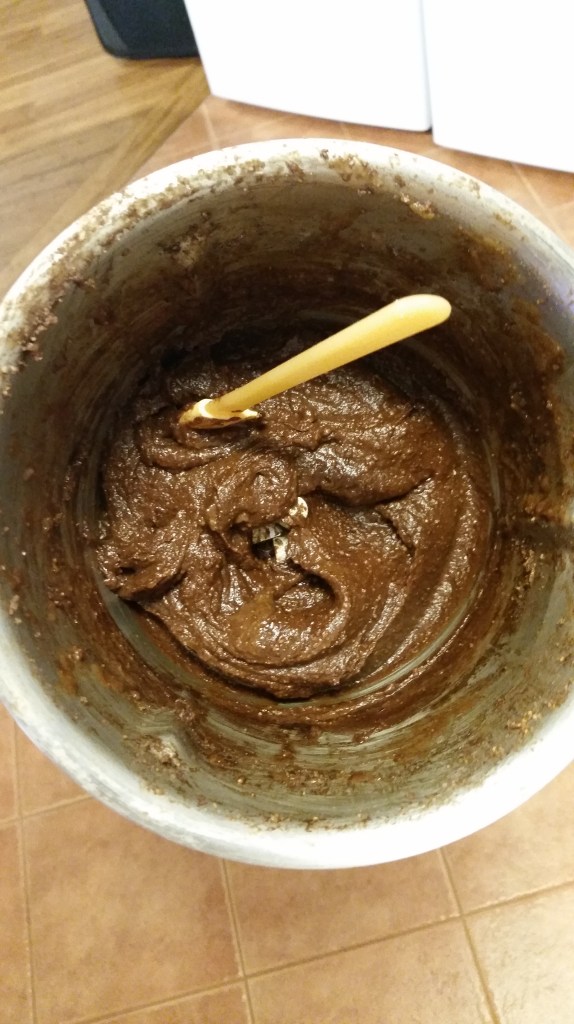
Add the date mixture, water and all, to the seed mixture and process again until well combined (Speed 4 for 10 seconds in the gradually increase to speed 7 for 15 seconds, scrape and repeat until mixture is smooth and very well combines). Add maple syrup at the same time (if you are using it) as the date mixture.
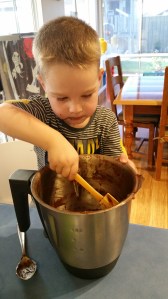
Make sure any little helpers get to ‘clean’ the bowl!
Store in a clean, airtight glass jar in the fridge for a couple of weeks.
I love these muffins – sweet and fluffy, without being loaded with too much sugar – and the gooey, surprise middle makes my kids happy every time 🙂
Great for a lunchbox treat, or even served warm with some cream or icecream, as dessert.
225g stewed/tinned pears (drained from their juices)
50g olive oil
170g milk of choice (unsweetened vanilla almond milk is fabulous here)
1 medium overripe banana
2 tbsp maple syrup OR honey OR coconut sugar
1 tsp vanilla bean paste
2 cups spelt flour (Half wholemeal) OR 1 1/2 cups GF flour mix plus 1/4 cup almond/seed meal
2.5 tsp GF baking powder
pinch Himilayan salt
100g dark chocolate of choice
Into your blender/processor/nutribullet/thermo cooker place the pear, banana, oil, vanilla, milk and syrup. Blitz until smooth (Speed 7, 10 seconds)
In a separate bowl, whisk together the baking powder, salt and flour (and almond/seed meal if using).
Add the dry mix to the wet and mix to combine (Speed 4, 10 seconds, scrape down and repeat). Don’t over beat. I often just tip the wet mix into the bowl with the flour mix and combine by hand.
Line a standard muffin tin, then spoon fill to about 2/3 capacity.
Place some broken chocolate in the middle of each muffin, then add approximately another heaped teaspoon of muffin mix to the top of the chocolate.
Place in a preheated moderate oven and bake for about 20 minutes or until well risen, golden and they spring back when gently touched.
Sometimes some of the surprise escapes!
Transfer to a rack to cool (mostly …. the chocolate surprise is especially good if it still a bit gooey!)
Makes about 14 and they freeze well.
P.S. I have also made these with a white Chocolate filling by Sweet William – so delicious but no longer soy free.
P.P.S These are also really yummy if you replace half of the pear with very ripe strawberries. Mmmmm!!
So, after recent skin prick tests and blood tests came back showing that my biggest boy’s reaction to hazelnuts had decreased, he was booked in to the children’s hospital for a food challenge.
Scary but exciting. We were asked to bring along some Nutella … not something we have ever had in our house. So I dutifully bought it and Will ate it with great gusto! He was absolutely delighted to have a new food – especially such a sweet treat one – in his diet! Thankfully he passed the challenge and now needs to include hazelnuts in his diet at least once a week for the next couple of years.
Given that the first ingredient in a jar of Nutella is refined sugar, then followed by oil, it is not something I really want to feed to him on a regular basis! So I set about making a sweet choc nutty spread of my own, without all of the added extras.
2 cup hazelnuts (toasted and skin off – or follow the instructions below)
1 heaped tbsp cocoa (or 1 flat tbsp cacao)
1 tsp vanilla bean paste
1/2 tsp flaked pink salt
120 mls boiling water (or up to 160 if you want a thinner spread)
8 medjool dates (pick the big fat juicy ones!)
Optional: 1-2 tbsp maple syrup
If you bought raw nuts, roast them first. I did mine on a tray under the grill (and watched them very carefully!!!)
While the nuts are roasting, seed the dates and cover them with the boiling water. Add the vanilla and salt to the water.
Process the hazelnuts (after rubbing them in a towel to remove skin) for 10 seconds on speed 10. (This will take longer in a food processor). Their oils release best while they’re hot so if you’ve bought roasted nuts, place them in a hot oven for a couple of minutes first. Scrape down sides and repeat.
Add the date mixture, water and all, to the hazelnut mixture and process again until well combined (10 secs on speed 8, scrape and repeat twice).
Depending on the level of sweetness you enjoy add the maple syrup here and process again to combine well (Speed 7, 10 seconds).
Store in a clean, airtight glass jar in the fridge for a couple of weeks.
Yep – you can eat this one by the spoonful too!!
Enjoy 🙂
P.S. If you enjoy cheesecakes, leave about 1/3 of a cup of this mixture in your processor and blitz it together with 200g of your favourite plain biscuit (we used LEDA arrowroots) to make a great crumb base. It heads to the freezer until needed!
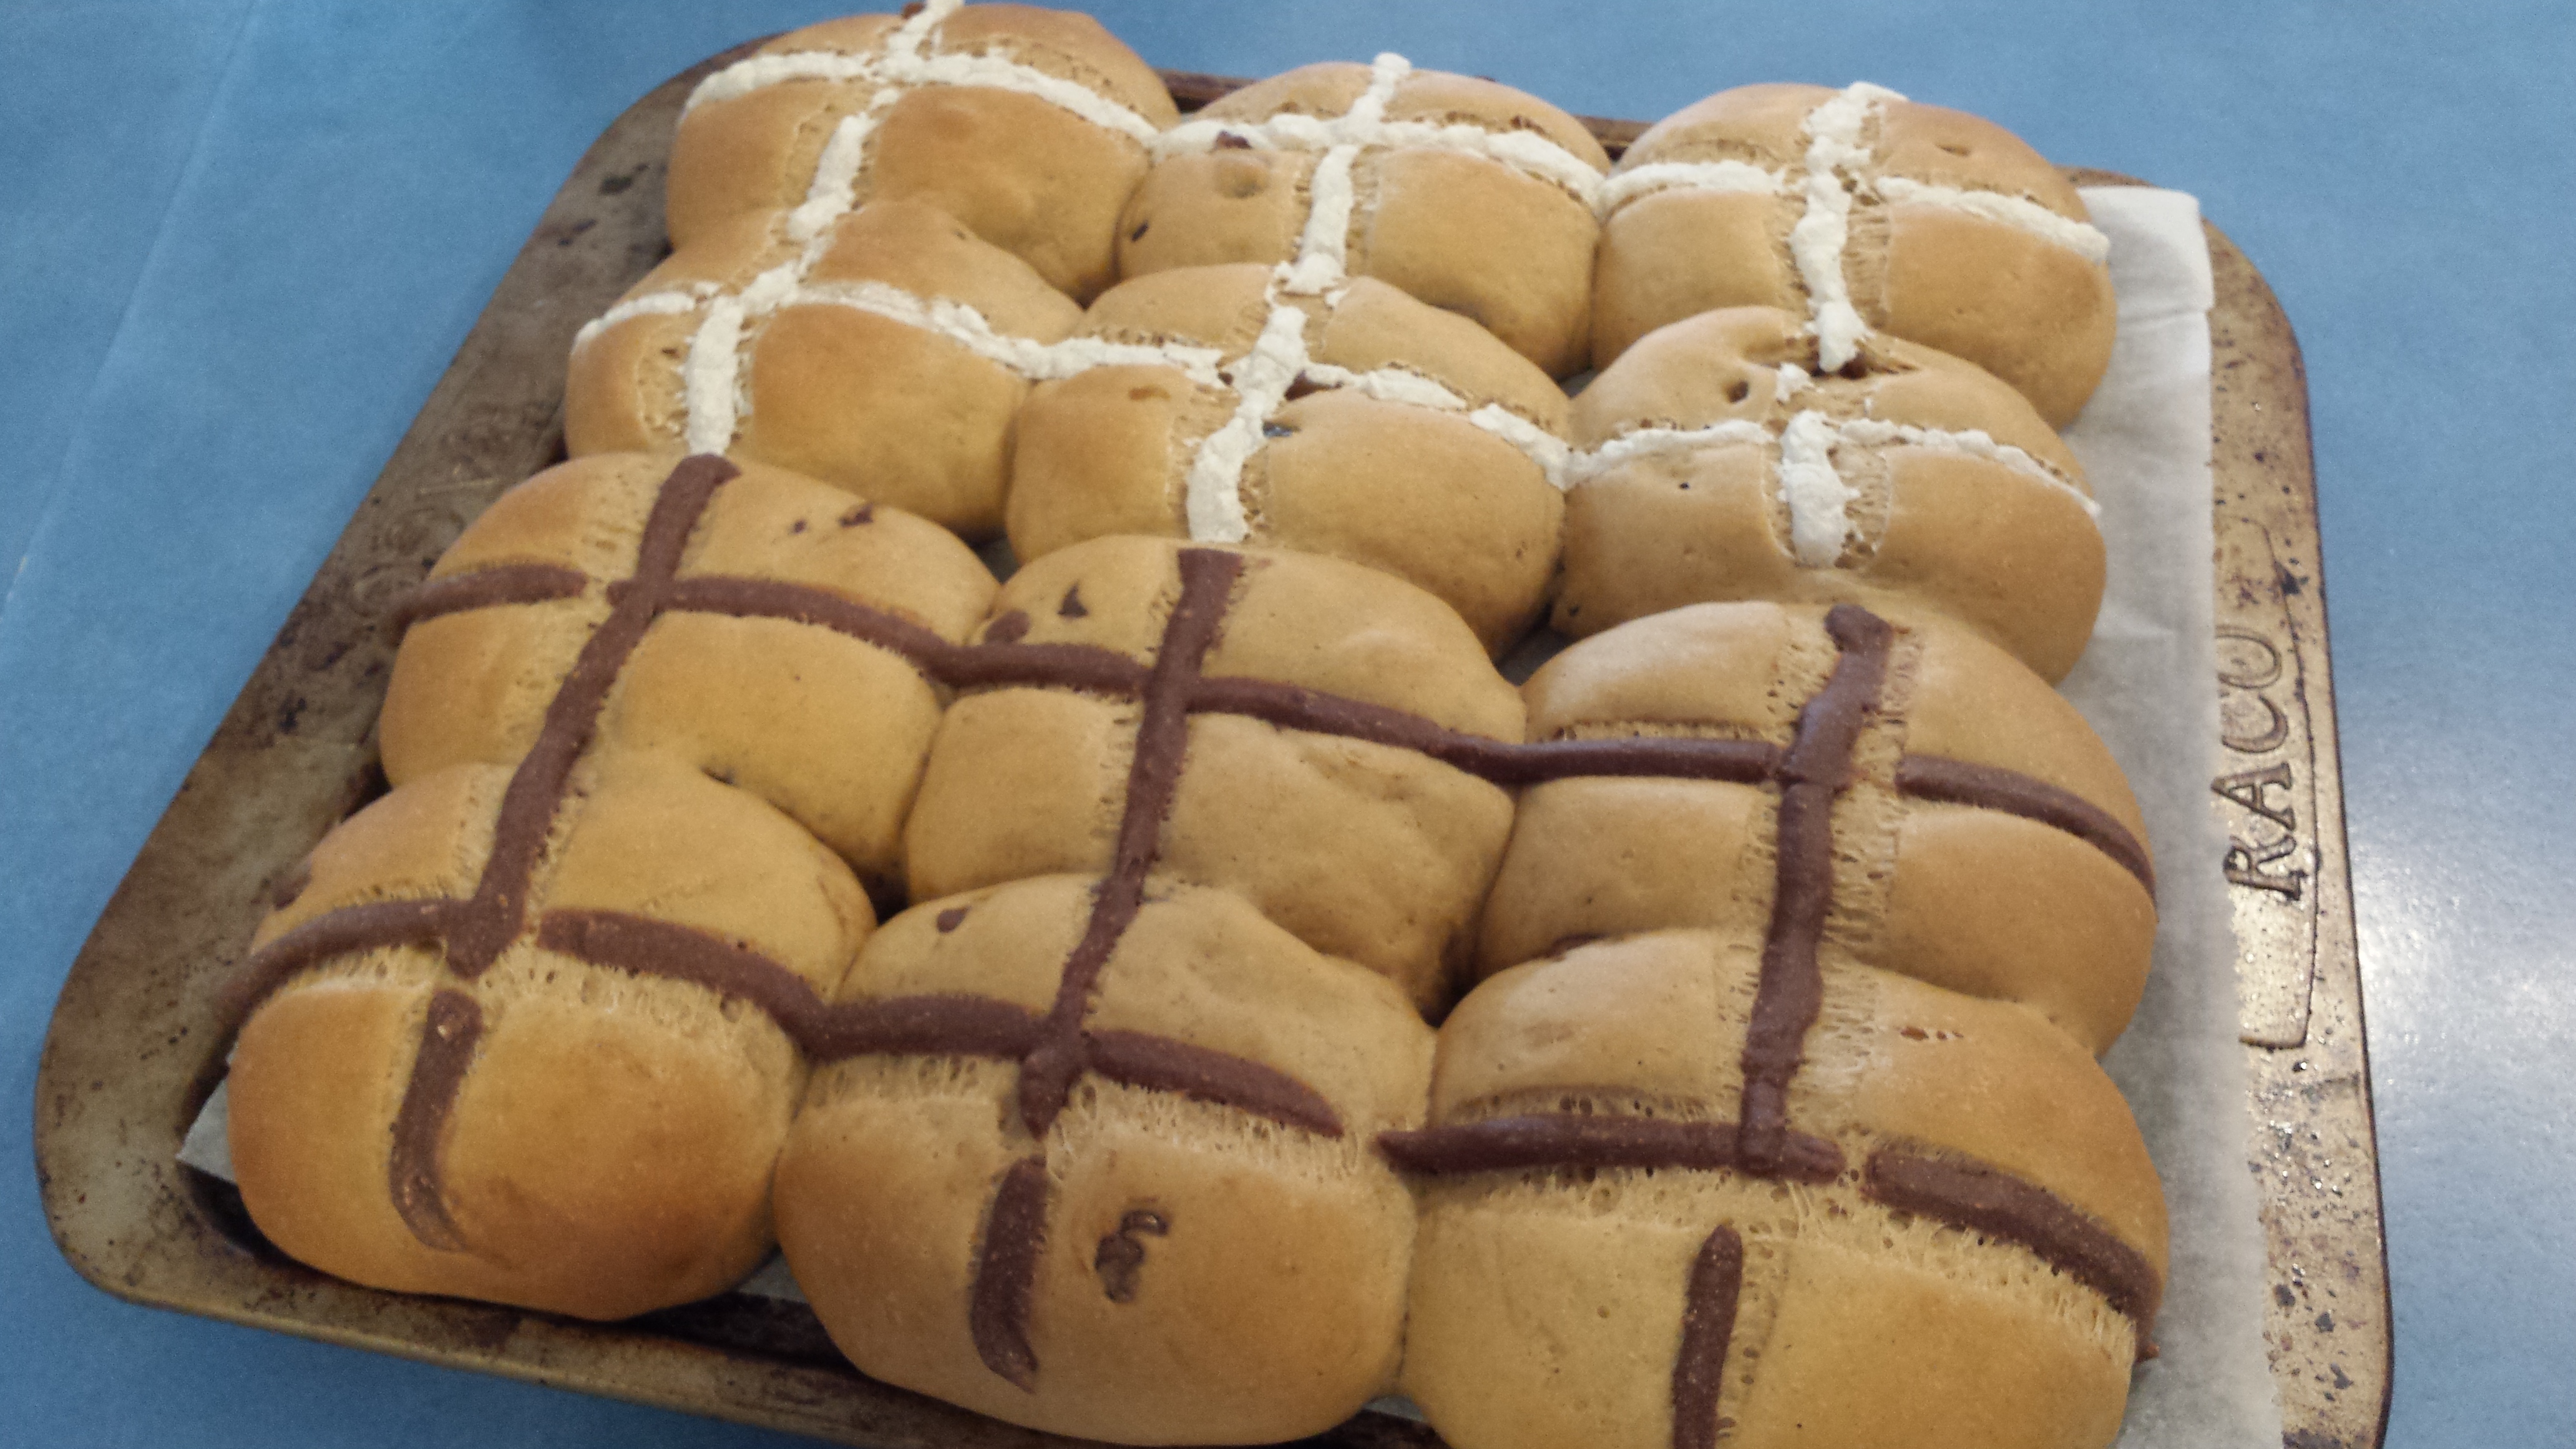
These are a more traditional version of those yummy Easter treats. They are a little quicker and less complicated than the ones I posted a couple of years ago but they aren’t gluten free because of the spelt (You can find the other version here). Or check out the my simple coeliac version after the recipe.
These are delicious and my whole family scoffed them (… well, Ellie did, after I picked out her fruit 😉 I guess I’ll be making another batch that is fruit free). And I don’t think I’ve ever heard a more rapid response of ‘more more more!’ from George!!
Bun mixture
280 g luke-warm water
2 tsp instant yeast
500 g spelt flour (I do half wholemeal – and this year I’ve use half Khorasan)
1 tsp apple cider vinegar (optional, but it works as a bread improver)
1 tsp pink Himalayan salt
40 g coconut sugar
1 tbsp mixed spice
30 g Nuttelex/Vegan butter/melted tasteless coconut oil
200 g sultanas or mixed fruit
White cross mixture
equal parts plain GF flour and water.
Mix together until smooth and place into a piping bag (or a freezer bag with a hole cut in the corner).
Sugar Glaze mixture (optional)
equal parts water and sugar
Place both ingredients in a small saucepan and bring to a gentle simmer. Stir regularly and allow to simmer for about 5 minutes.
——
Place all of the bun ingredients, except the fruit in a large food processor, in this order: water, sugar, yeast, flour, spices, salt, oil/butter, vinegar. Pulse until the dough is roughly brought together. (speed 5 for 15 seconds followed by speed 2 for 1 minute)
Tip onto a floured surface and knead for about 5 minutes. (just bring it together if you’ve use a machine kneading function)
Tip the fruit onto the dough and knead again until the fruit is evenly distributed. OR if you’re using a machine with a knead function – tip the fruit in gradually through the top opening during the start of the kneading.
Form dough into a ball and place in a bowl. Cover with a tea towel and leave in a warm place to rise for 30 minutes.
Knock the dough down with your fingers and then break into 12 even pieces and place on lined baking tray.
Leave tray in a warm (breeze free) area for about 45 mins to rise.
Pipe the cross on to the buns and then place in a pre-heated 180C oven for 15-18 minutes.
If you wish to use the glaze, gloss them with the sugar glaze using a pastry brush as soon as you remove the buns from the oven.
To make a coeliac friendly version: replace the spelt flour with 2 cups of a plain GF flour mix plus 1 1/2 cups of almond or seed meal (I make my seed meal from a equal combination of milled sunflower, pepita and flax seeds). GF breads only get one rise (without the gluten there isn’t the same structure for the CO2 ,formed by the yeast, to get trapped), so once you have made the dough, bring it together (skip the kneading step as there isn’t gluten to develop!) and break into 12 pieces of even weight, place on a tray and cover, allowing to rise for about 45 mins to an hour. (place them a little closer together than I did here, to encourage them rising up, instead of out!). Apply cross and bake following normal recipe. As with all GF products, they are best eaten fresh, but if you freeze them in an airtight wrap and bag, whilst still warm, the defrost and rewarm quite well.
To make these a chocolate version (an anathema to me, but my kids have begged for them!), add handful of vegan choc chips. Don’t put the choc chips in the food processor, as they’ll get shredded. Rather add them in at the same stage you would have added the fruit. Then pipe with a chocolate cross (the normal cross mix, but remove 1 tsp of the flour and add 1 tsp pure icing sugar and 1/2 tsp cocoa).
Enjoy – and I hope that this year your Hot Cross Buns will remind you of the joy and hope that the Cross of Jesus has brought 🙂


