Egg free Meringue

It is always good to have clever friends … and it is extra great when they are vegan ‘foodies’ who are prepared to share their clever tricks with you!!

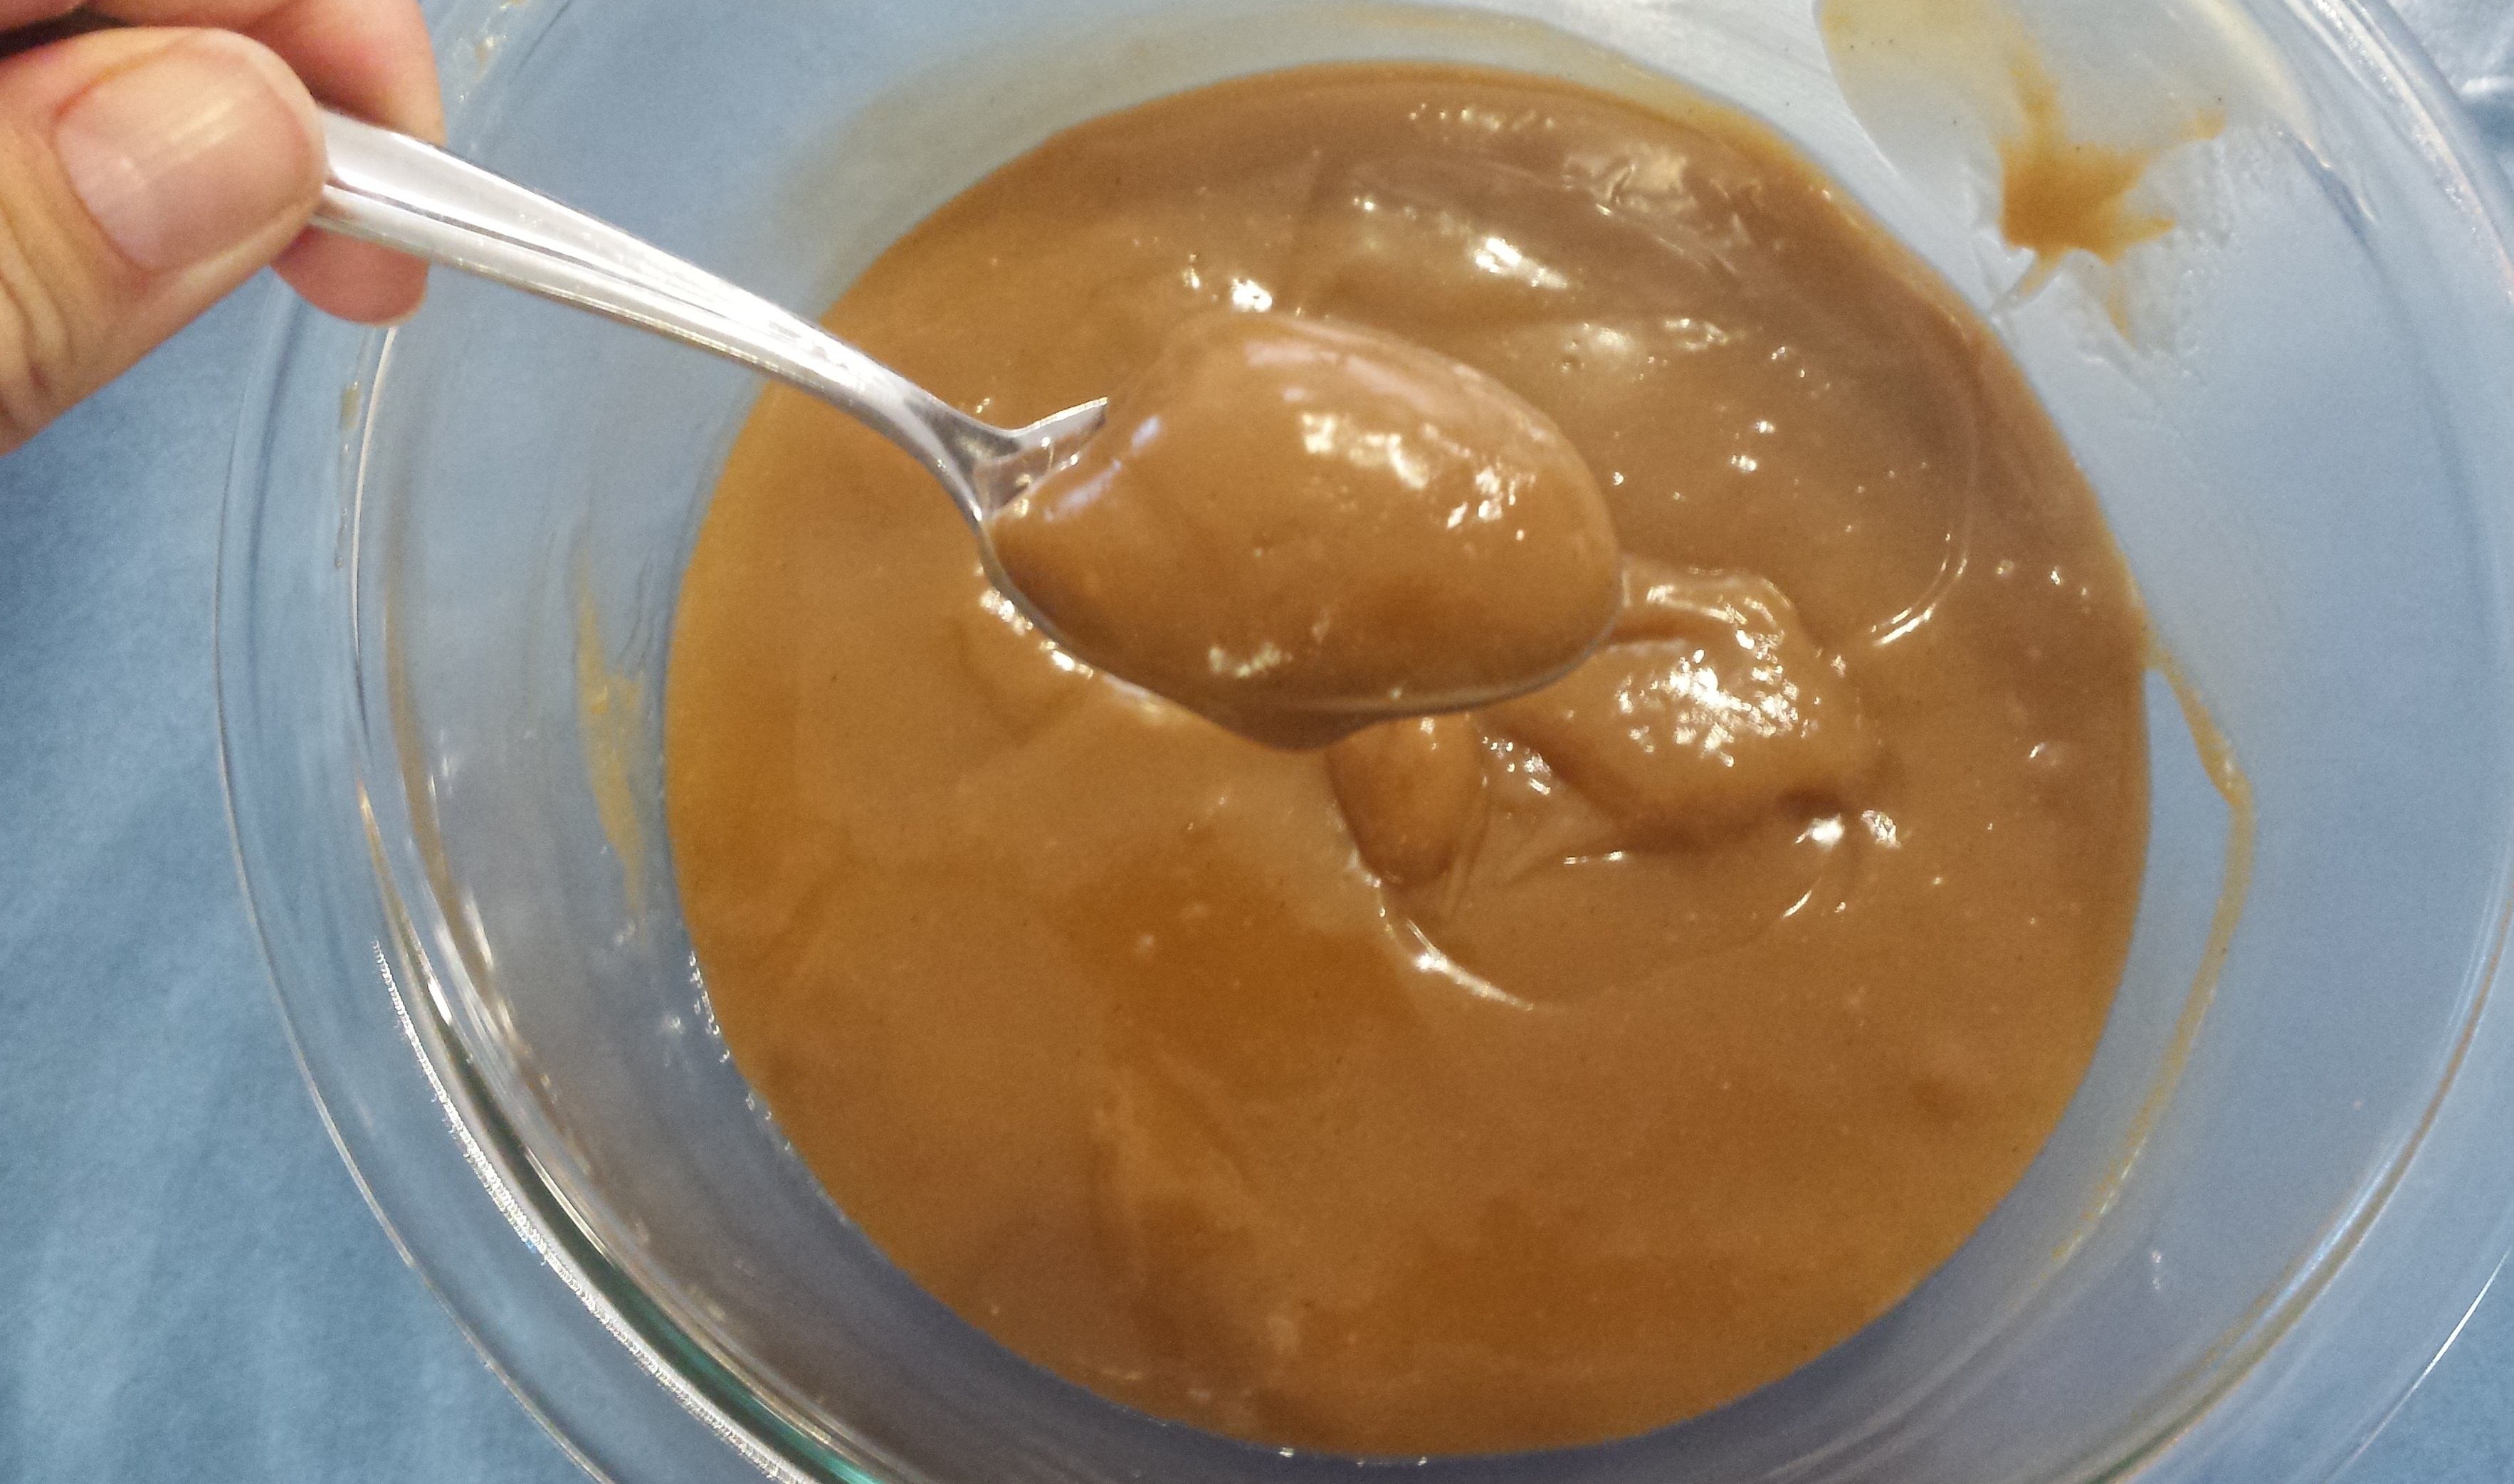
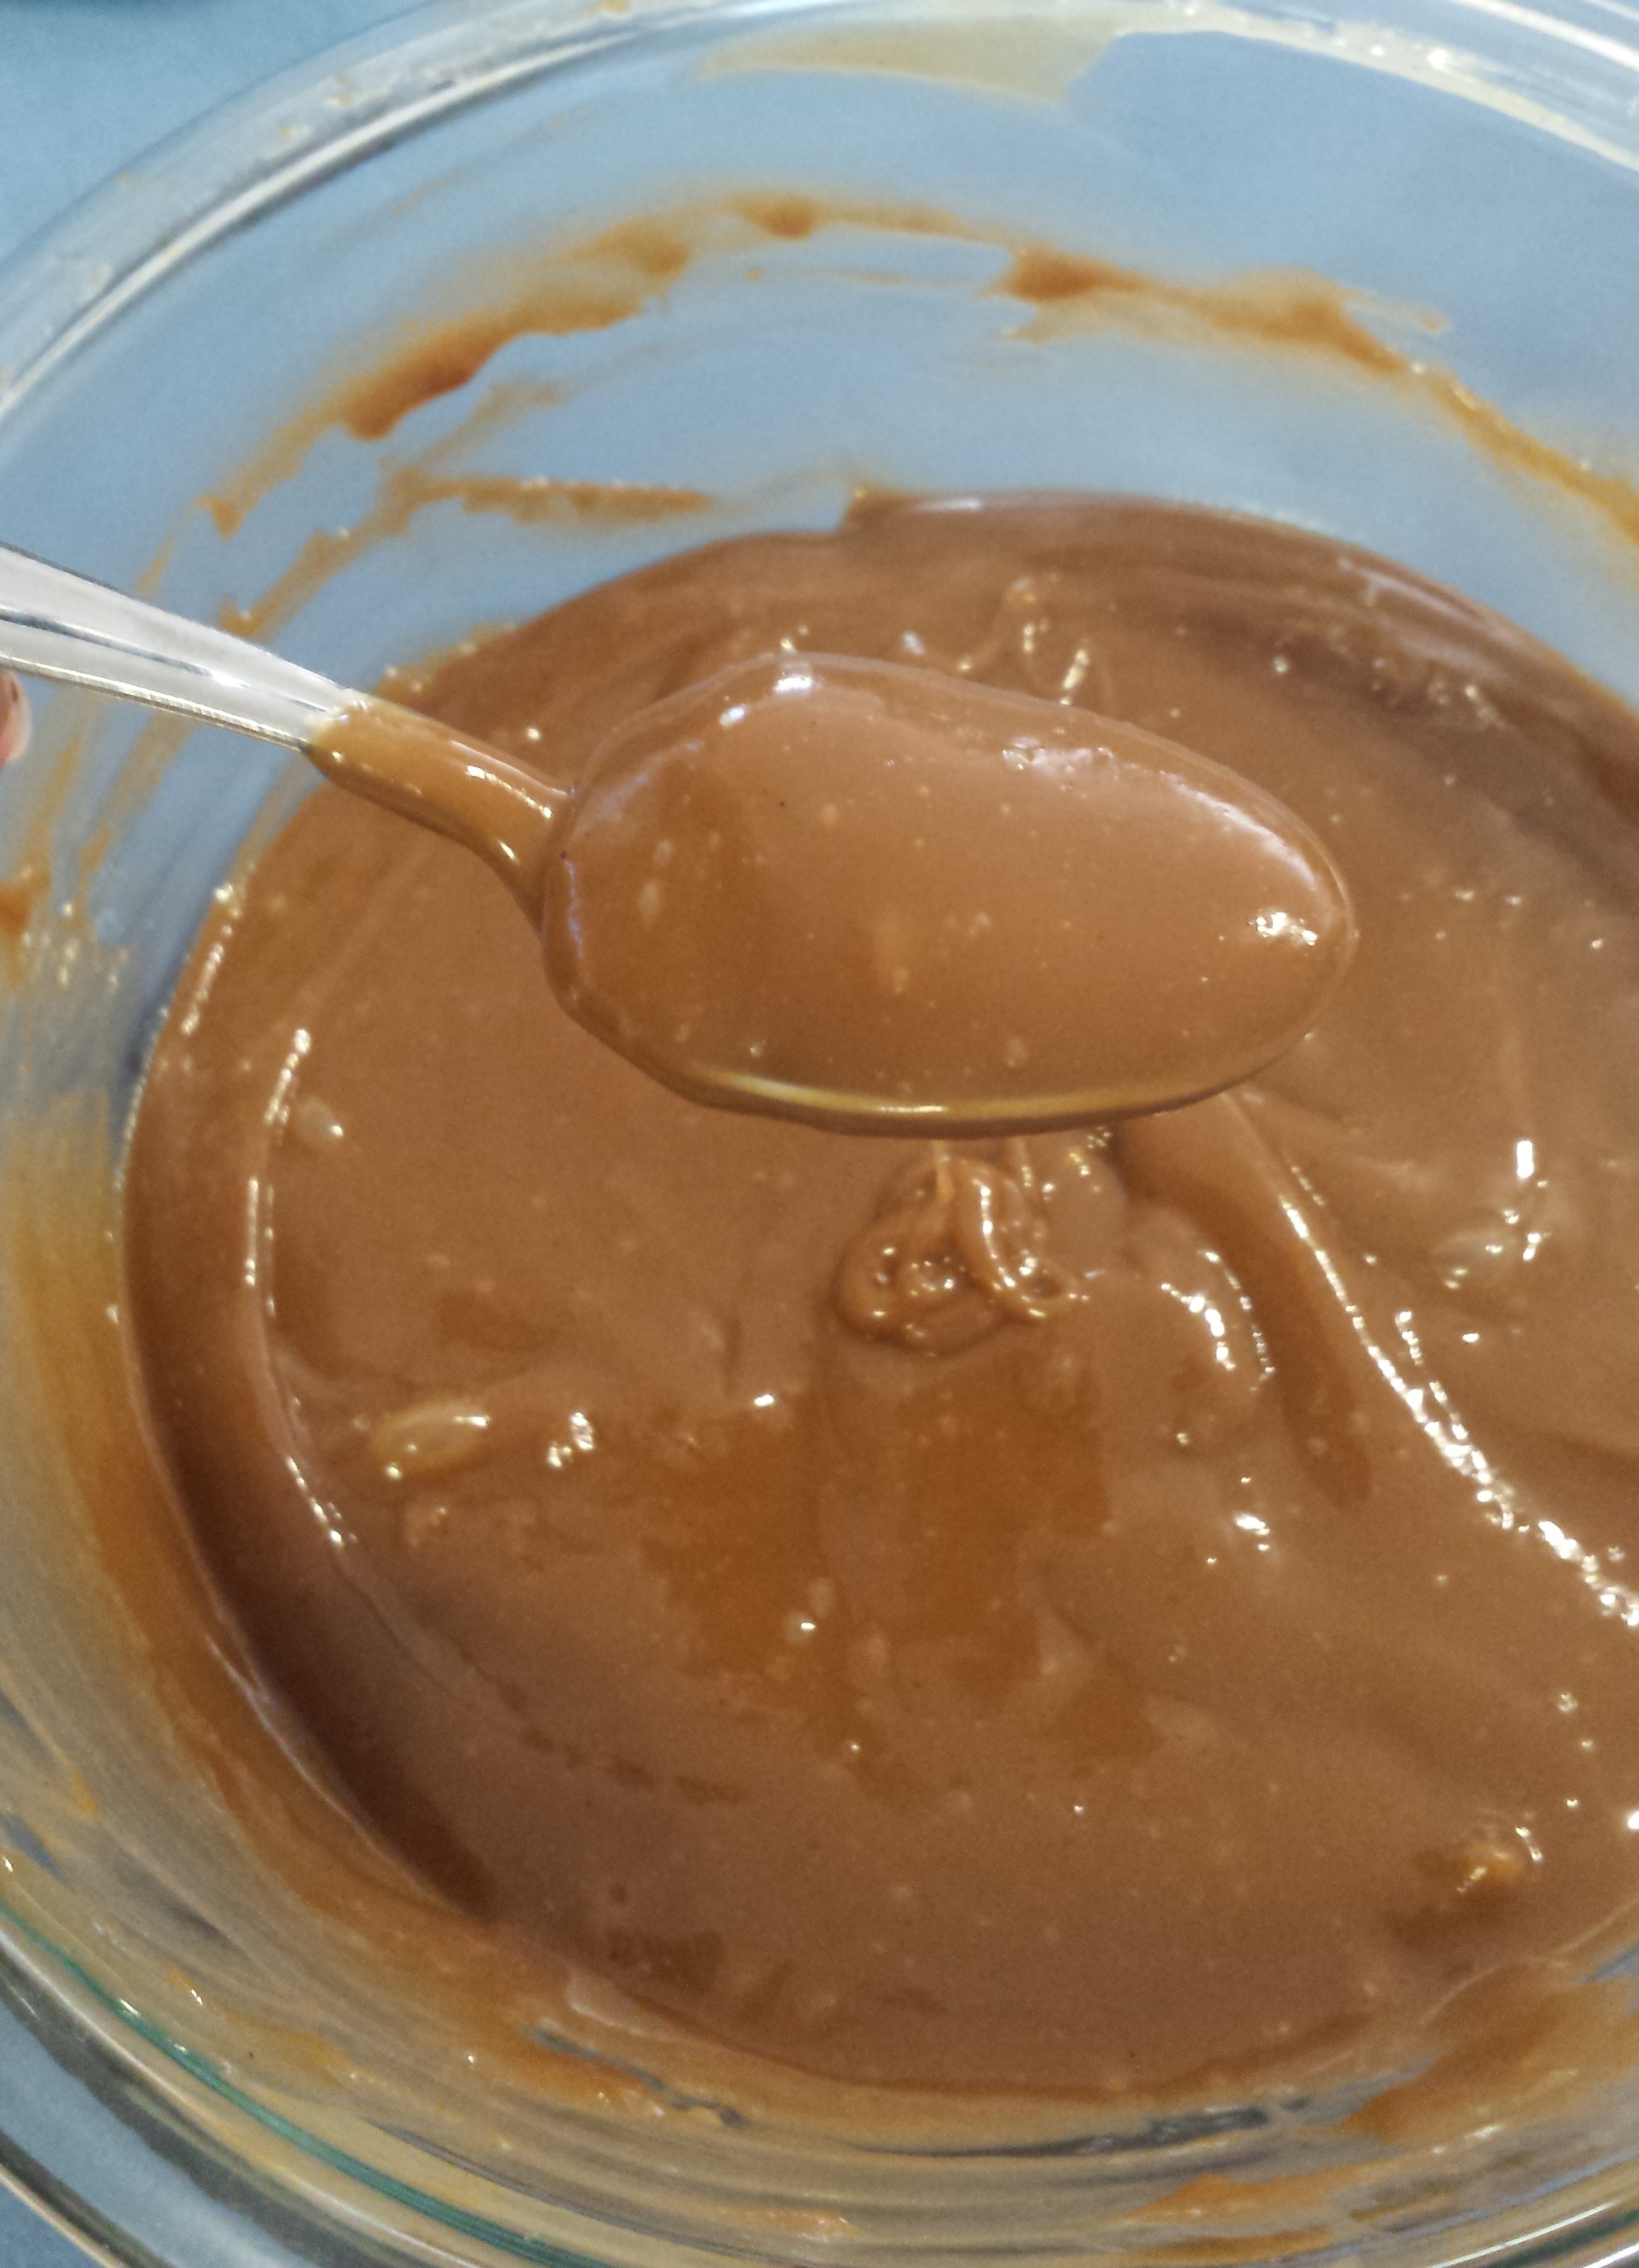
A little while ago I was chatting to my friend Dan and she told me about an egg replacer called ‘Aquafaba’ … the liquid drained from a can of chic peas. Um, what?

Yep – this stuff:

20151016_105959

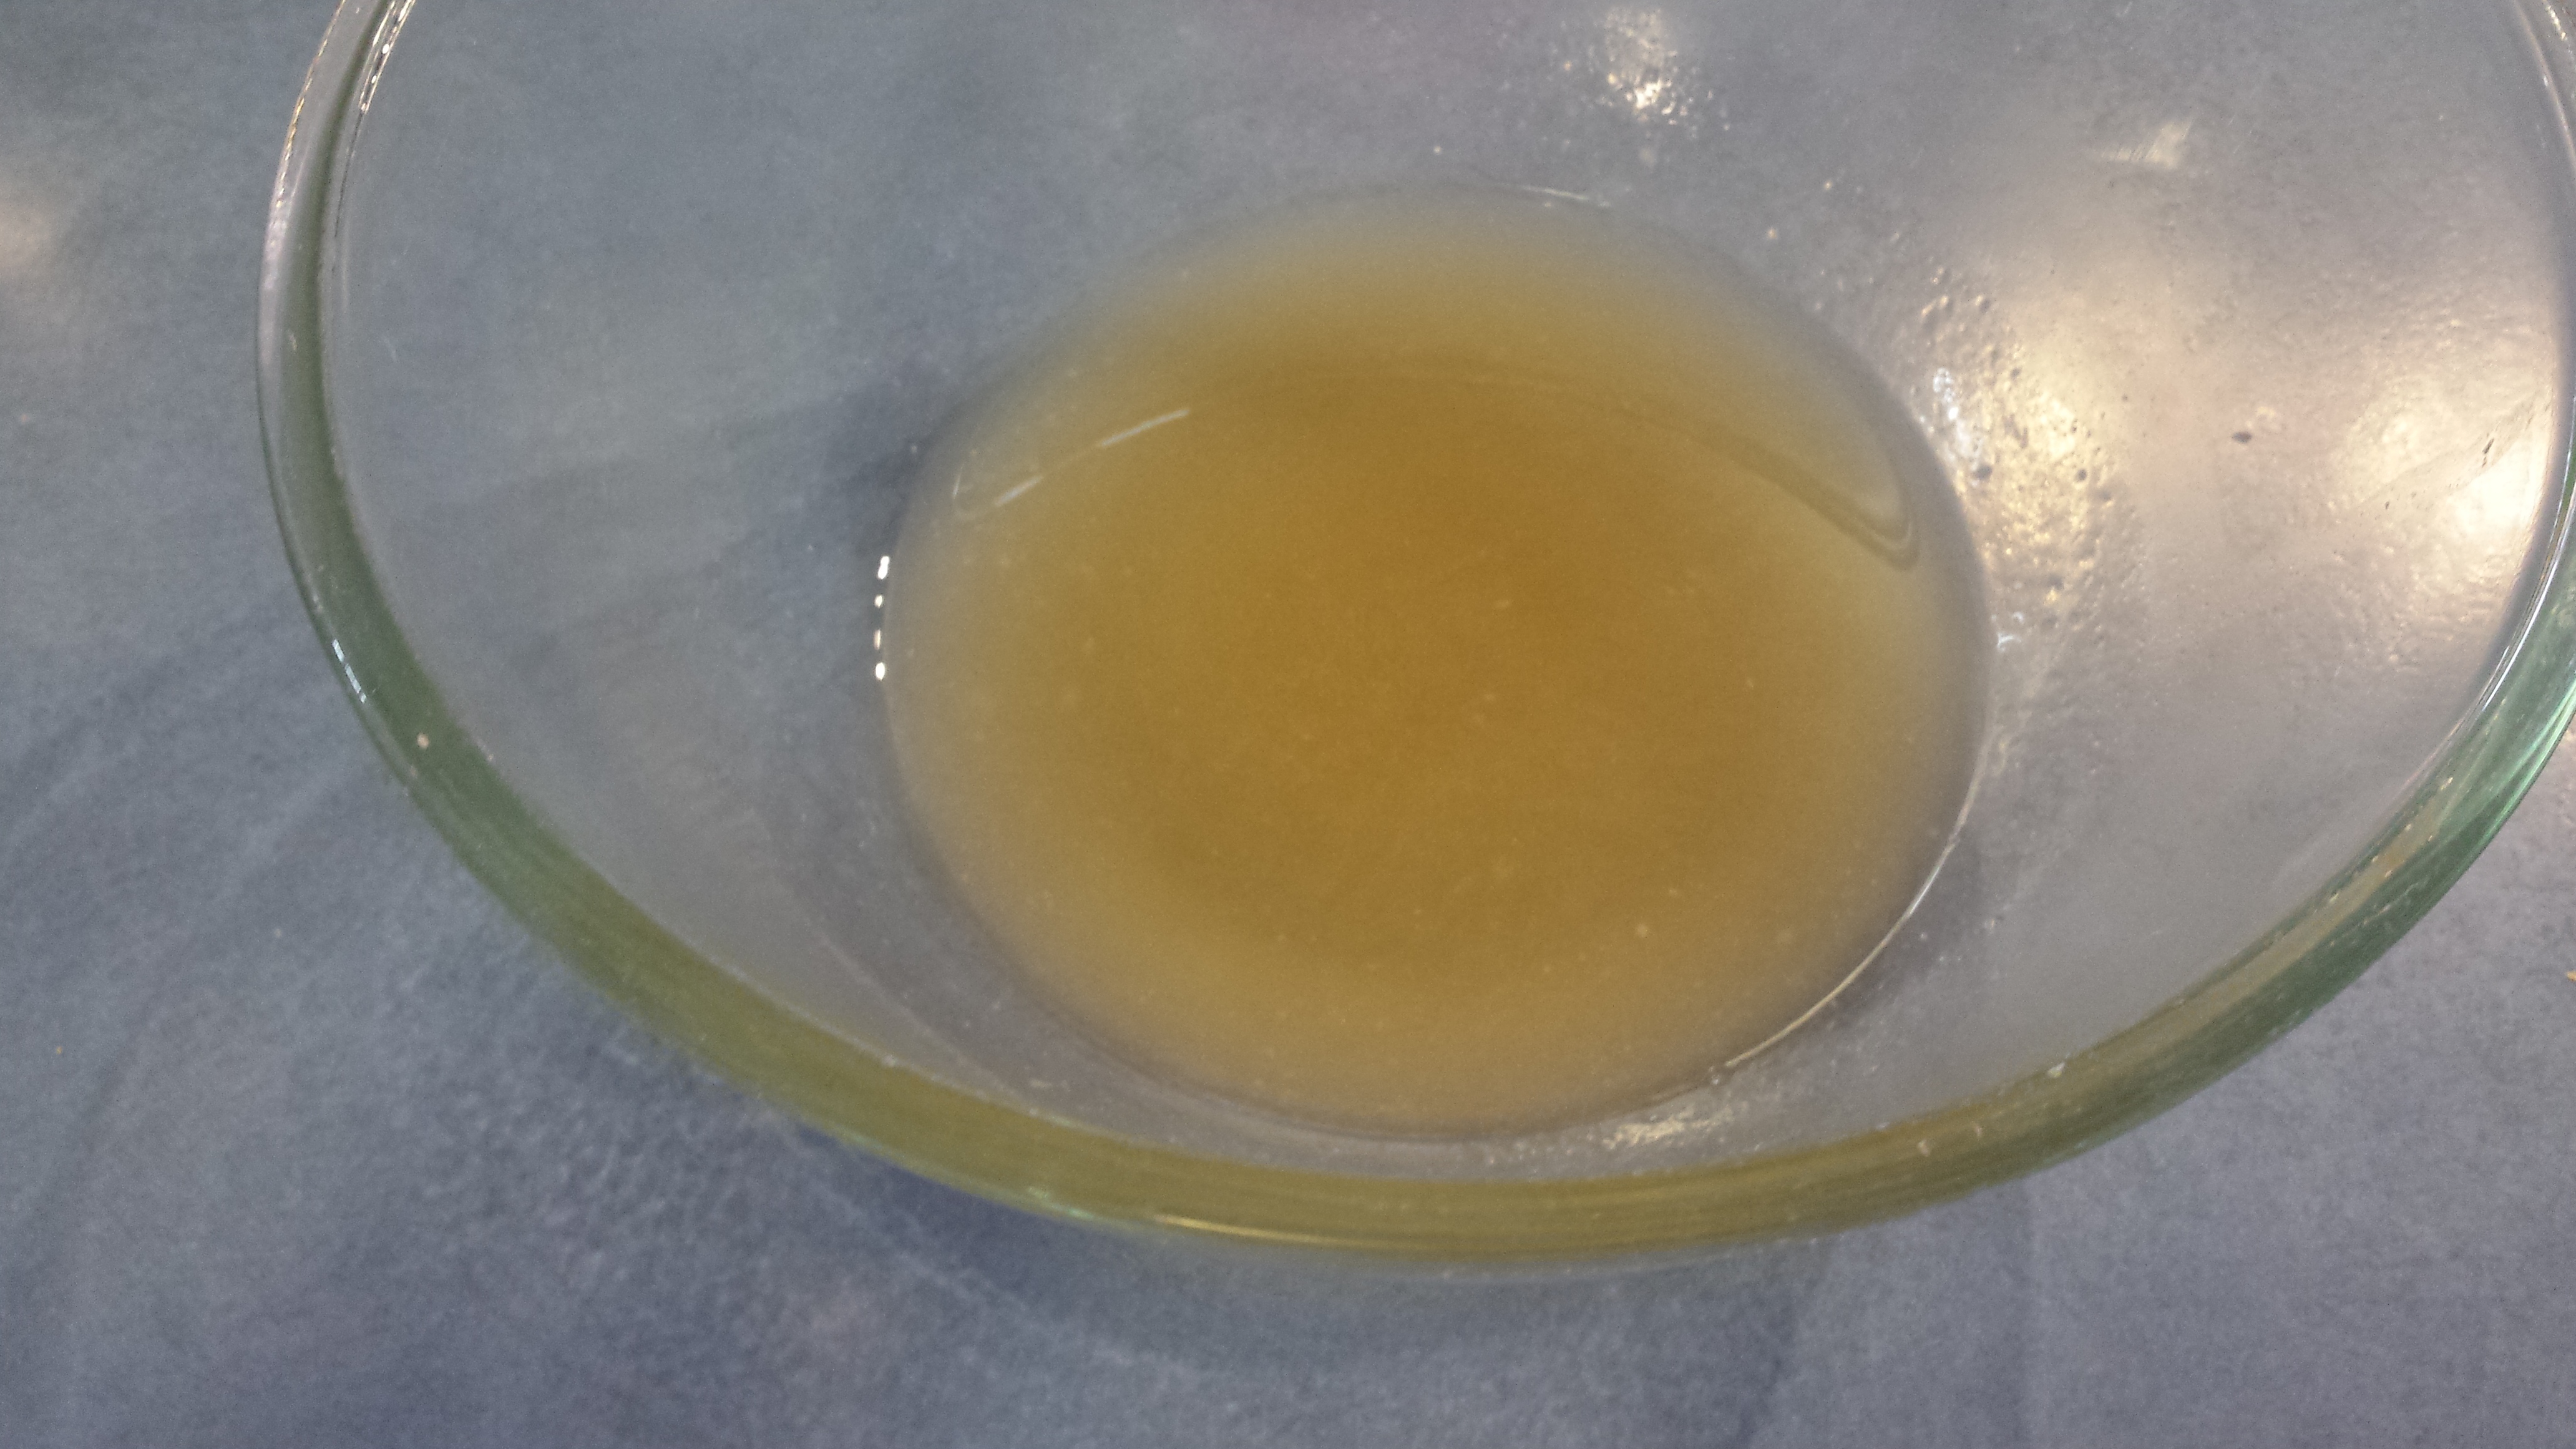
Apparently the clever vegans have been on to it for a while … I’ve just been a bit slow catching up 😉 It is the proteins in egg whites that help them to whip up all frothy and go stiff – which is why this replacement works well – the proteins from the legumes. Who knew?! And I promise you that there isn’t even a hint of a taste of the legumes. They look, feel and eat just like the real thing.

Here is the link to the original recipe for meringues.

I used

  • The drained liquid from 1 400g can of chic peas (do not buy the no salt version!)
  • 1/3 cup sugar (or about 1/4 cup powdered Stevia), milled to resemble icing sugar
  • 3/4 tsp vanilla bean paste
  • pinch cream of tartar
  • Optional – sprinkles to top (I use the Hoppers brand that is allergies friendly and is also free of artificial colours and preservatives) and a few drops of natural food colours (Madam’s request is for pink next time!).

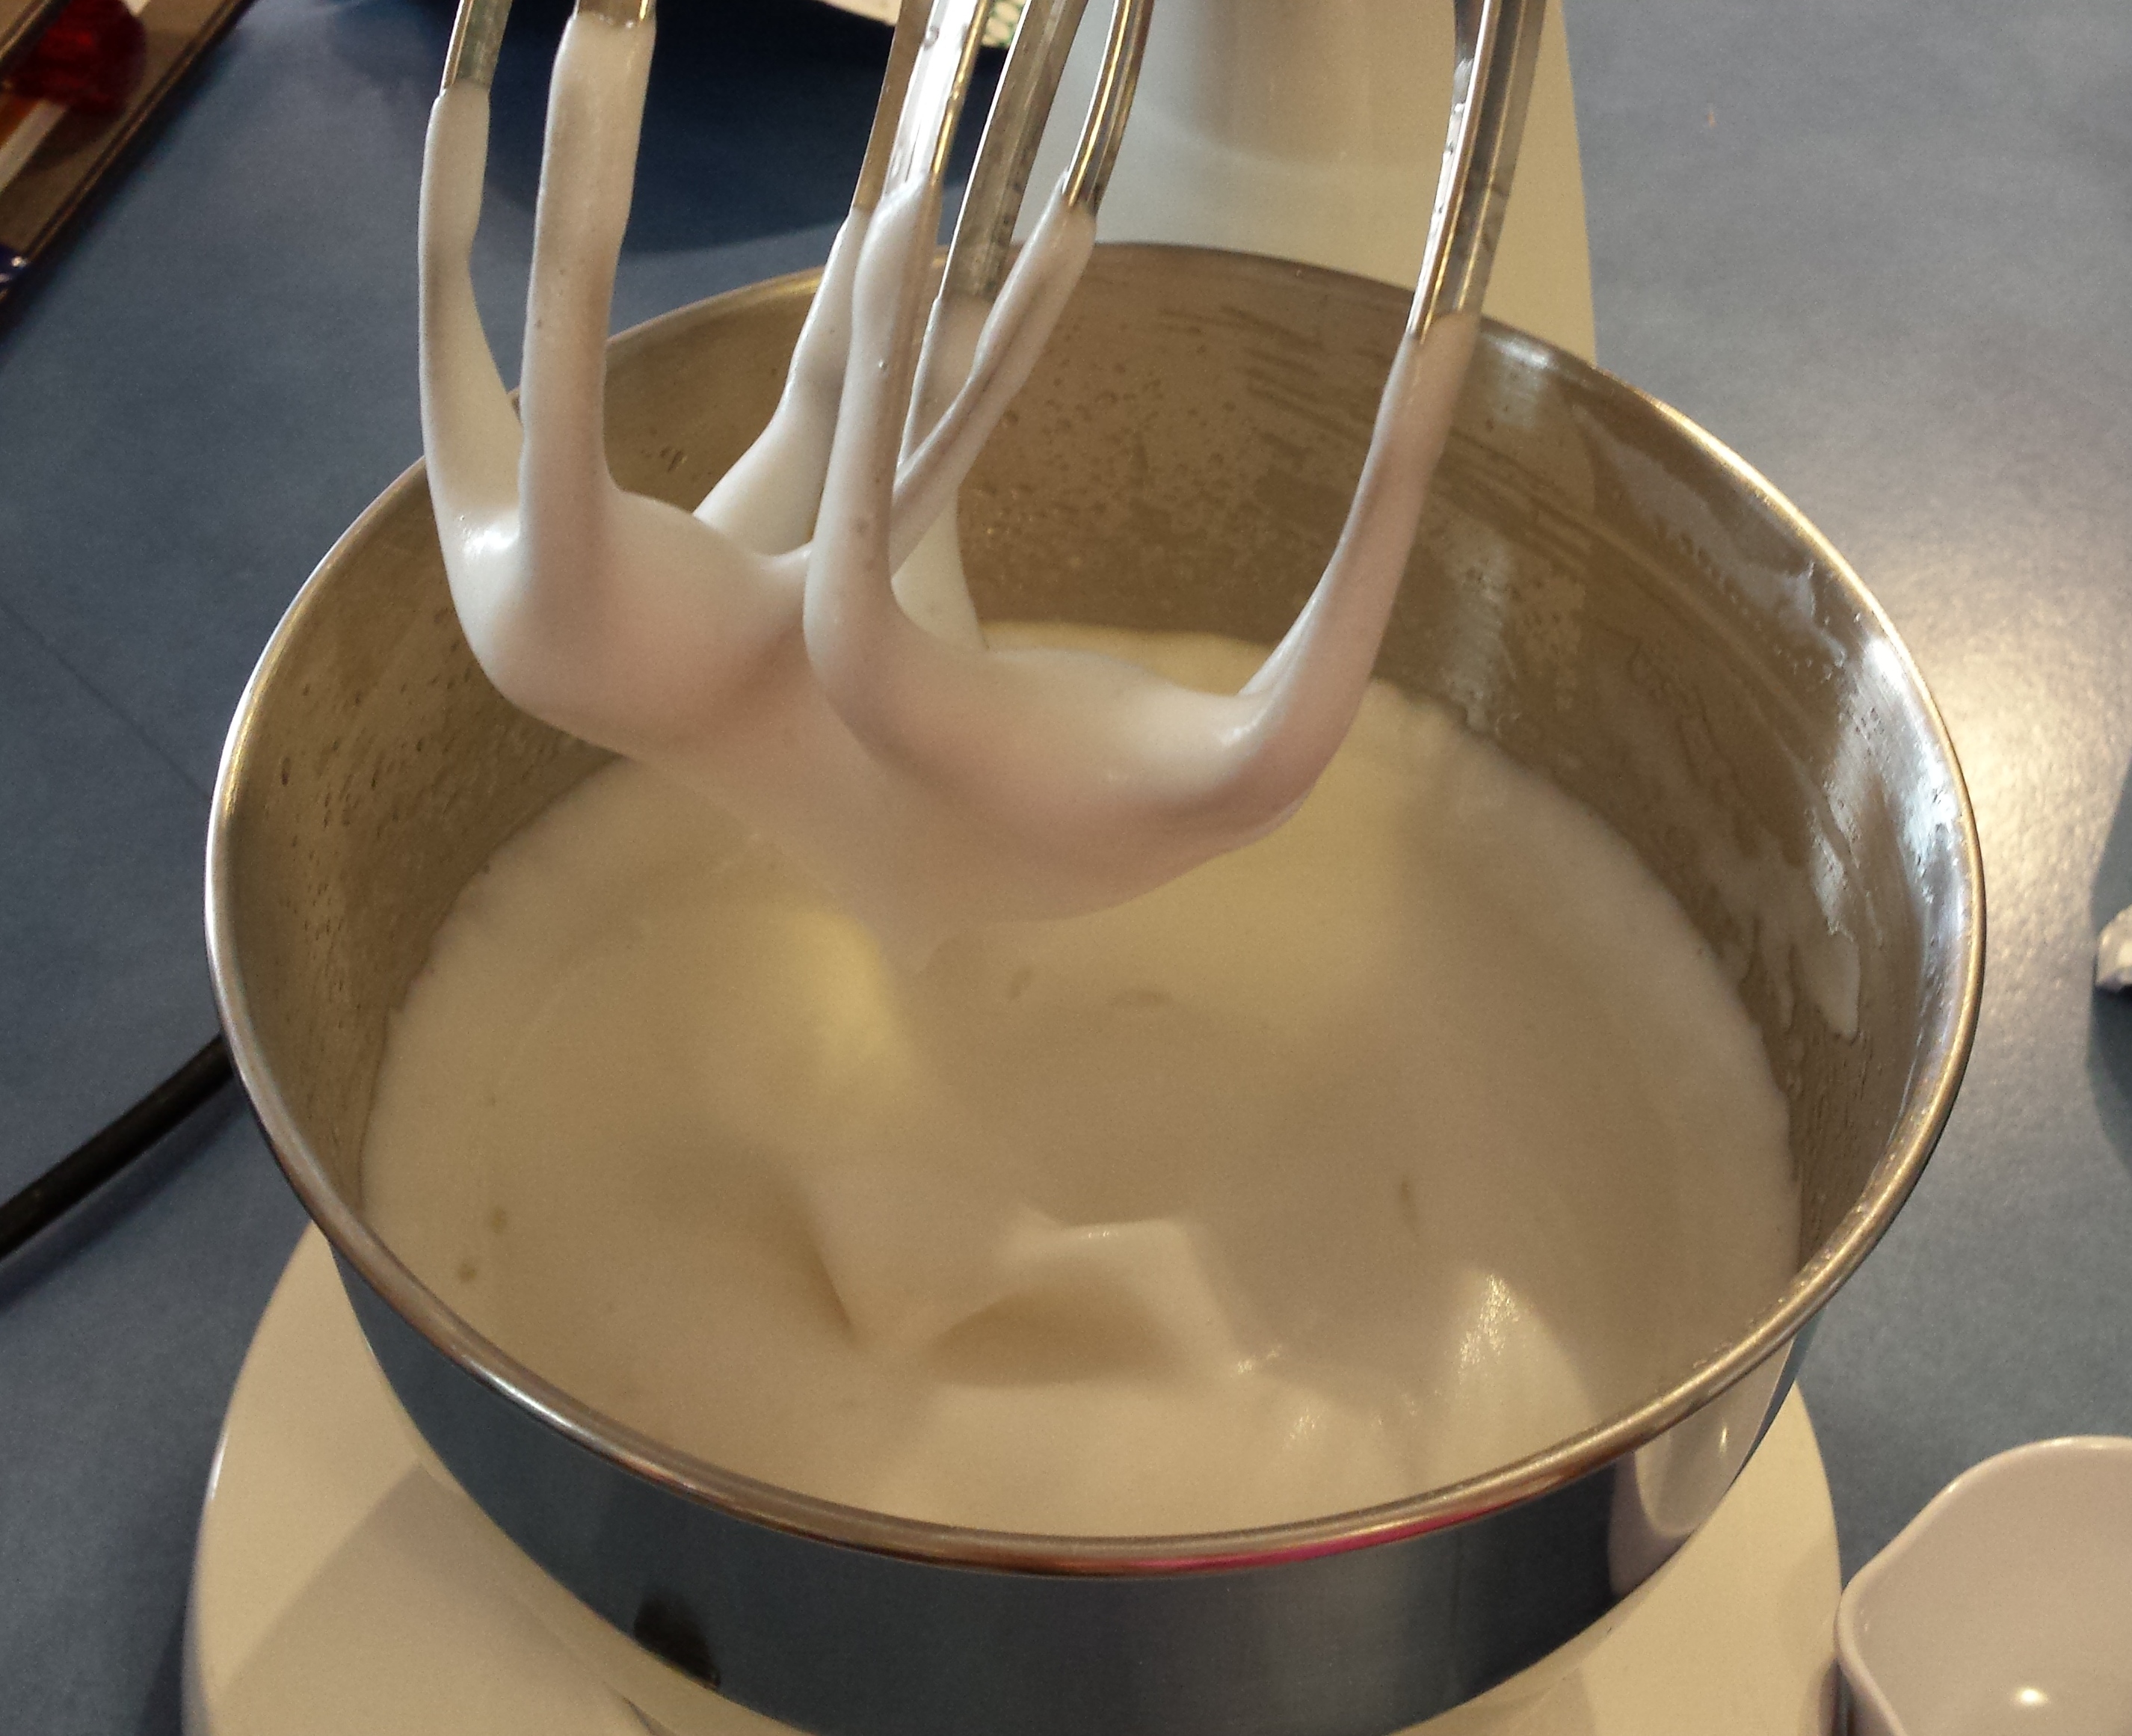
Place the liquid in a very clean bowl of your stand mixer and turn on to a high speed (Mine is a Sunbeam Mixmaster and goes up to 12 and I used speed 10).

Beat until doubled in size and very frothy.

Add the cream of tartar and continue to beat until soft peaks form. This took about 5 minutes.

20151016_110655

Continue to beat and gradually add in the sweetener.

Beat until stiff peaks form.

20151016_111035

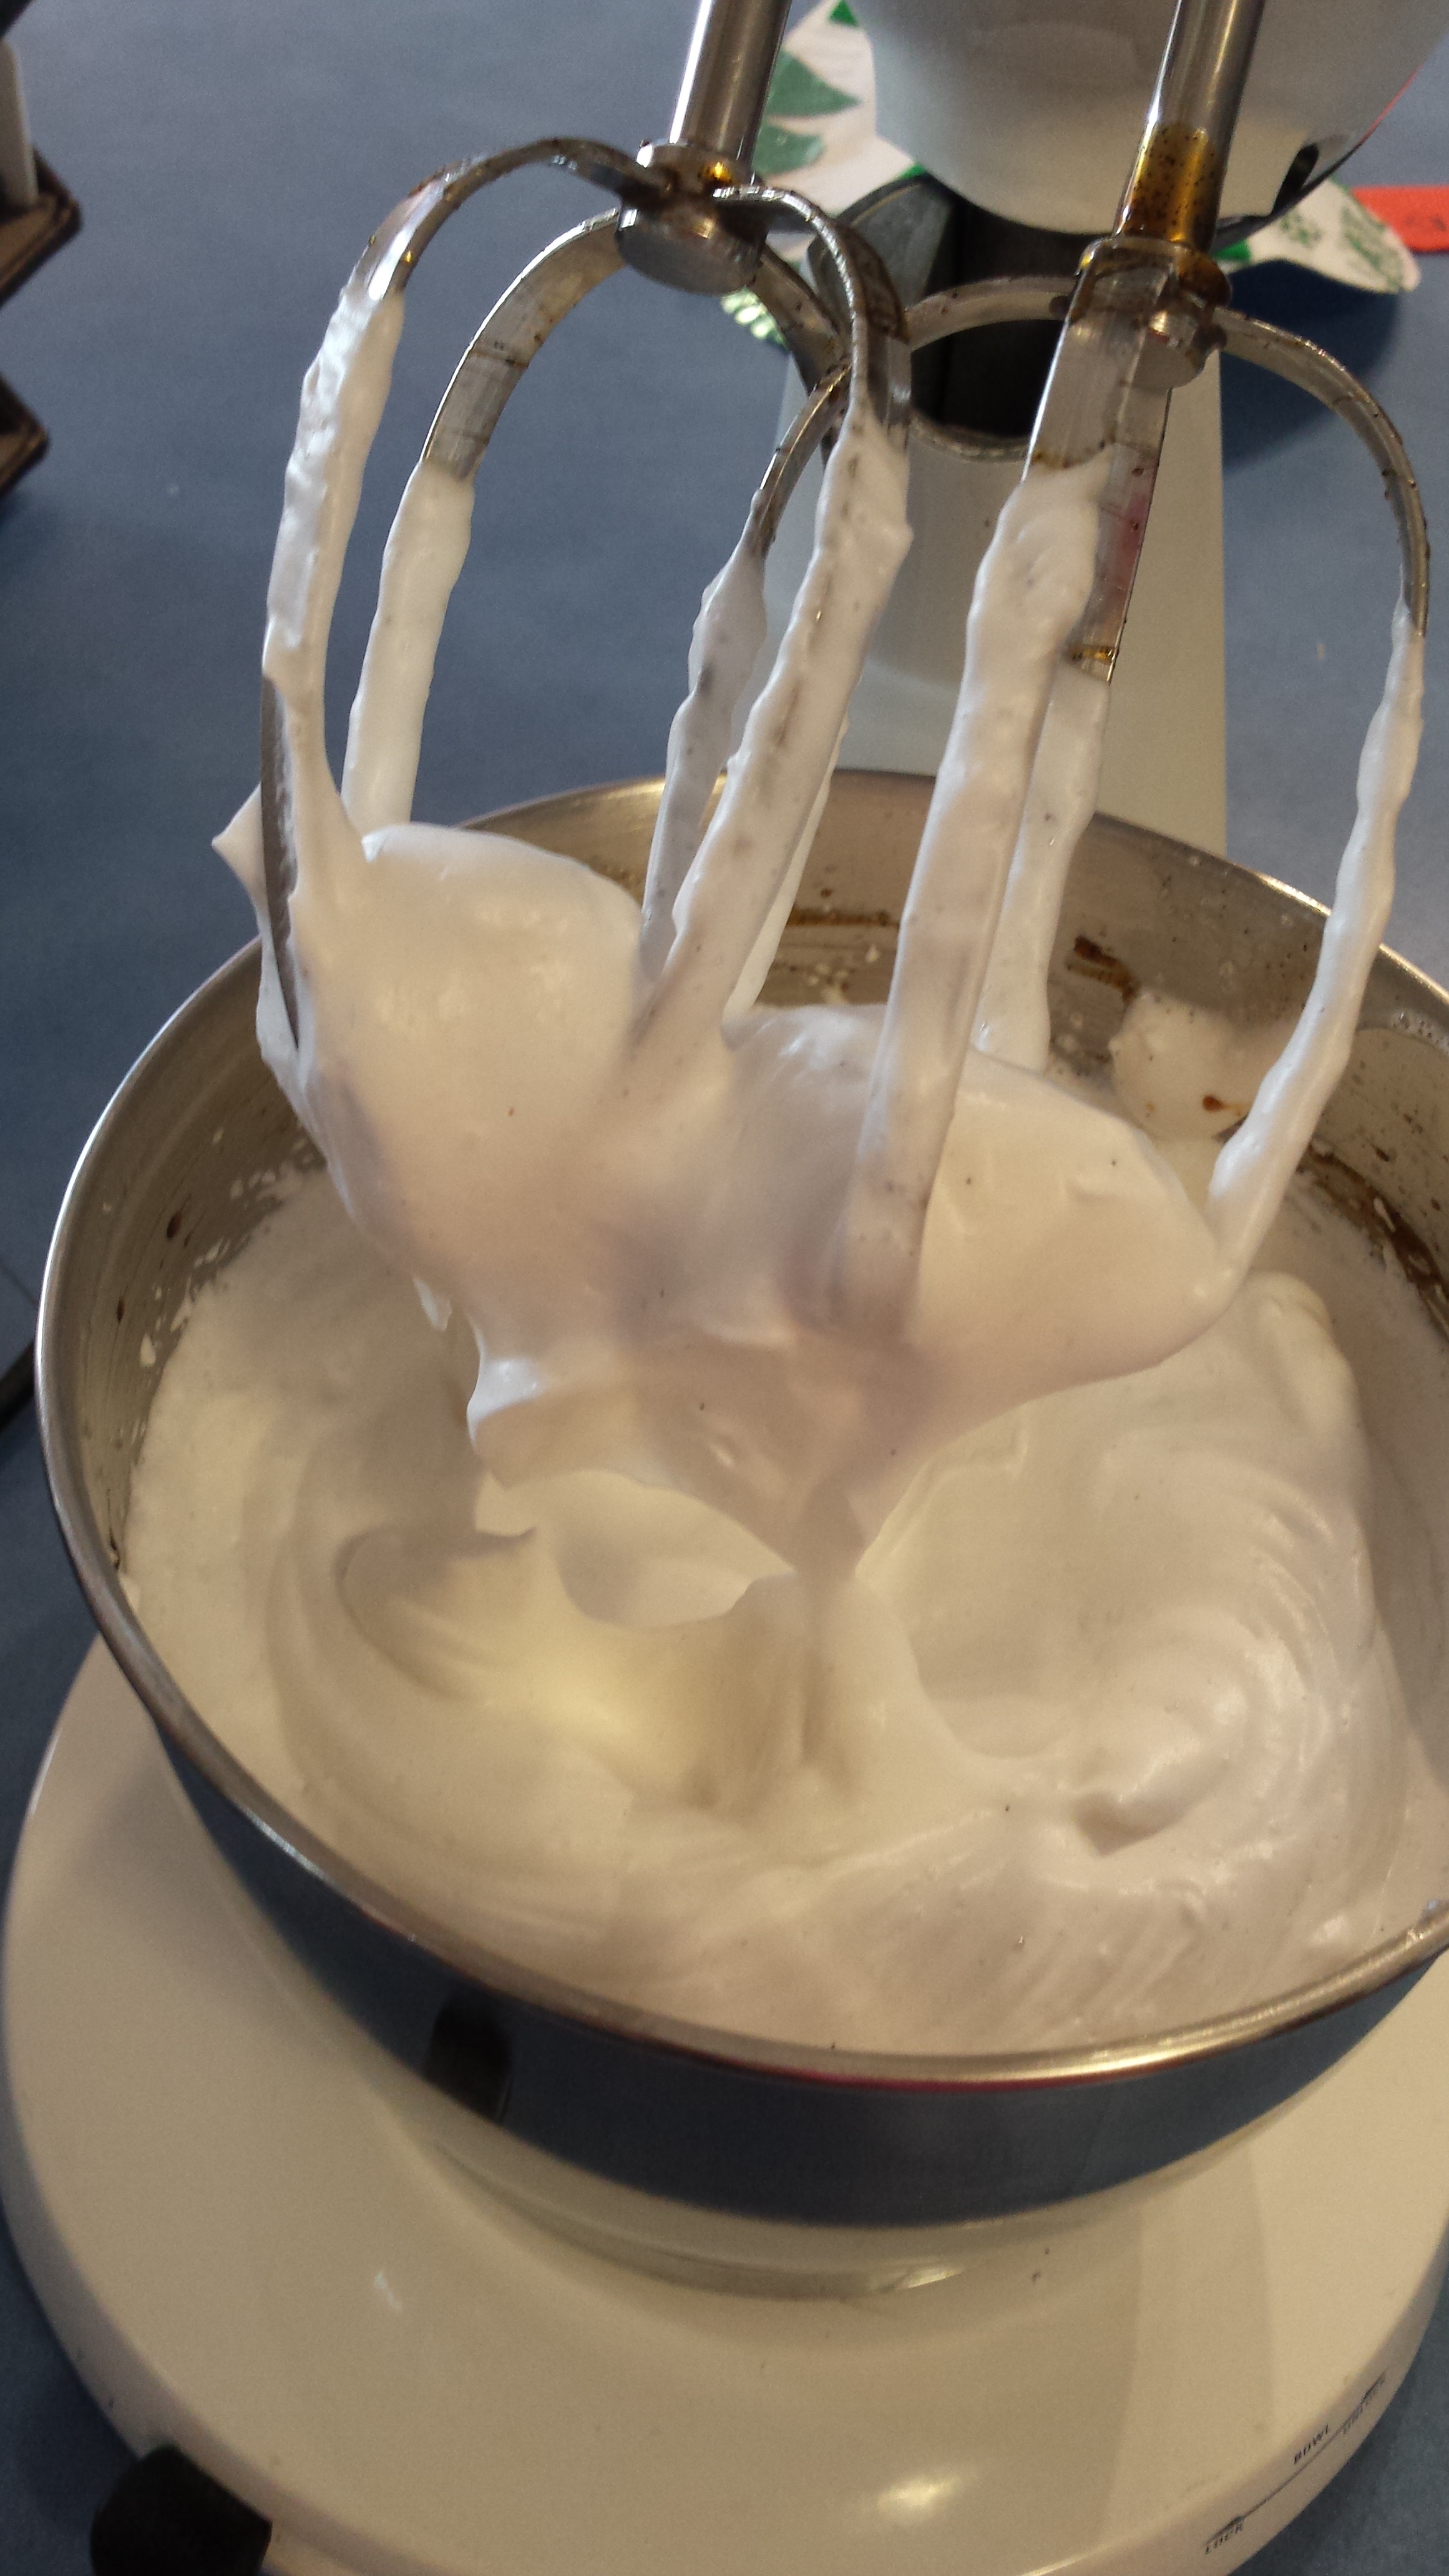
Add in the vanilla and colour if you are using it.

Spoon on to a lined baking tray (and add sprinkles if you wish) and place in a preheated 100C oven to bake for about 1.5 hours.

20151016_111730-1

20151016_111740-1

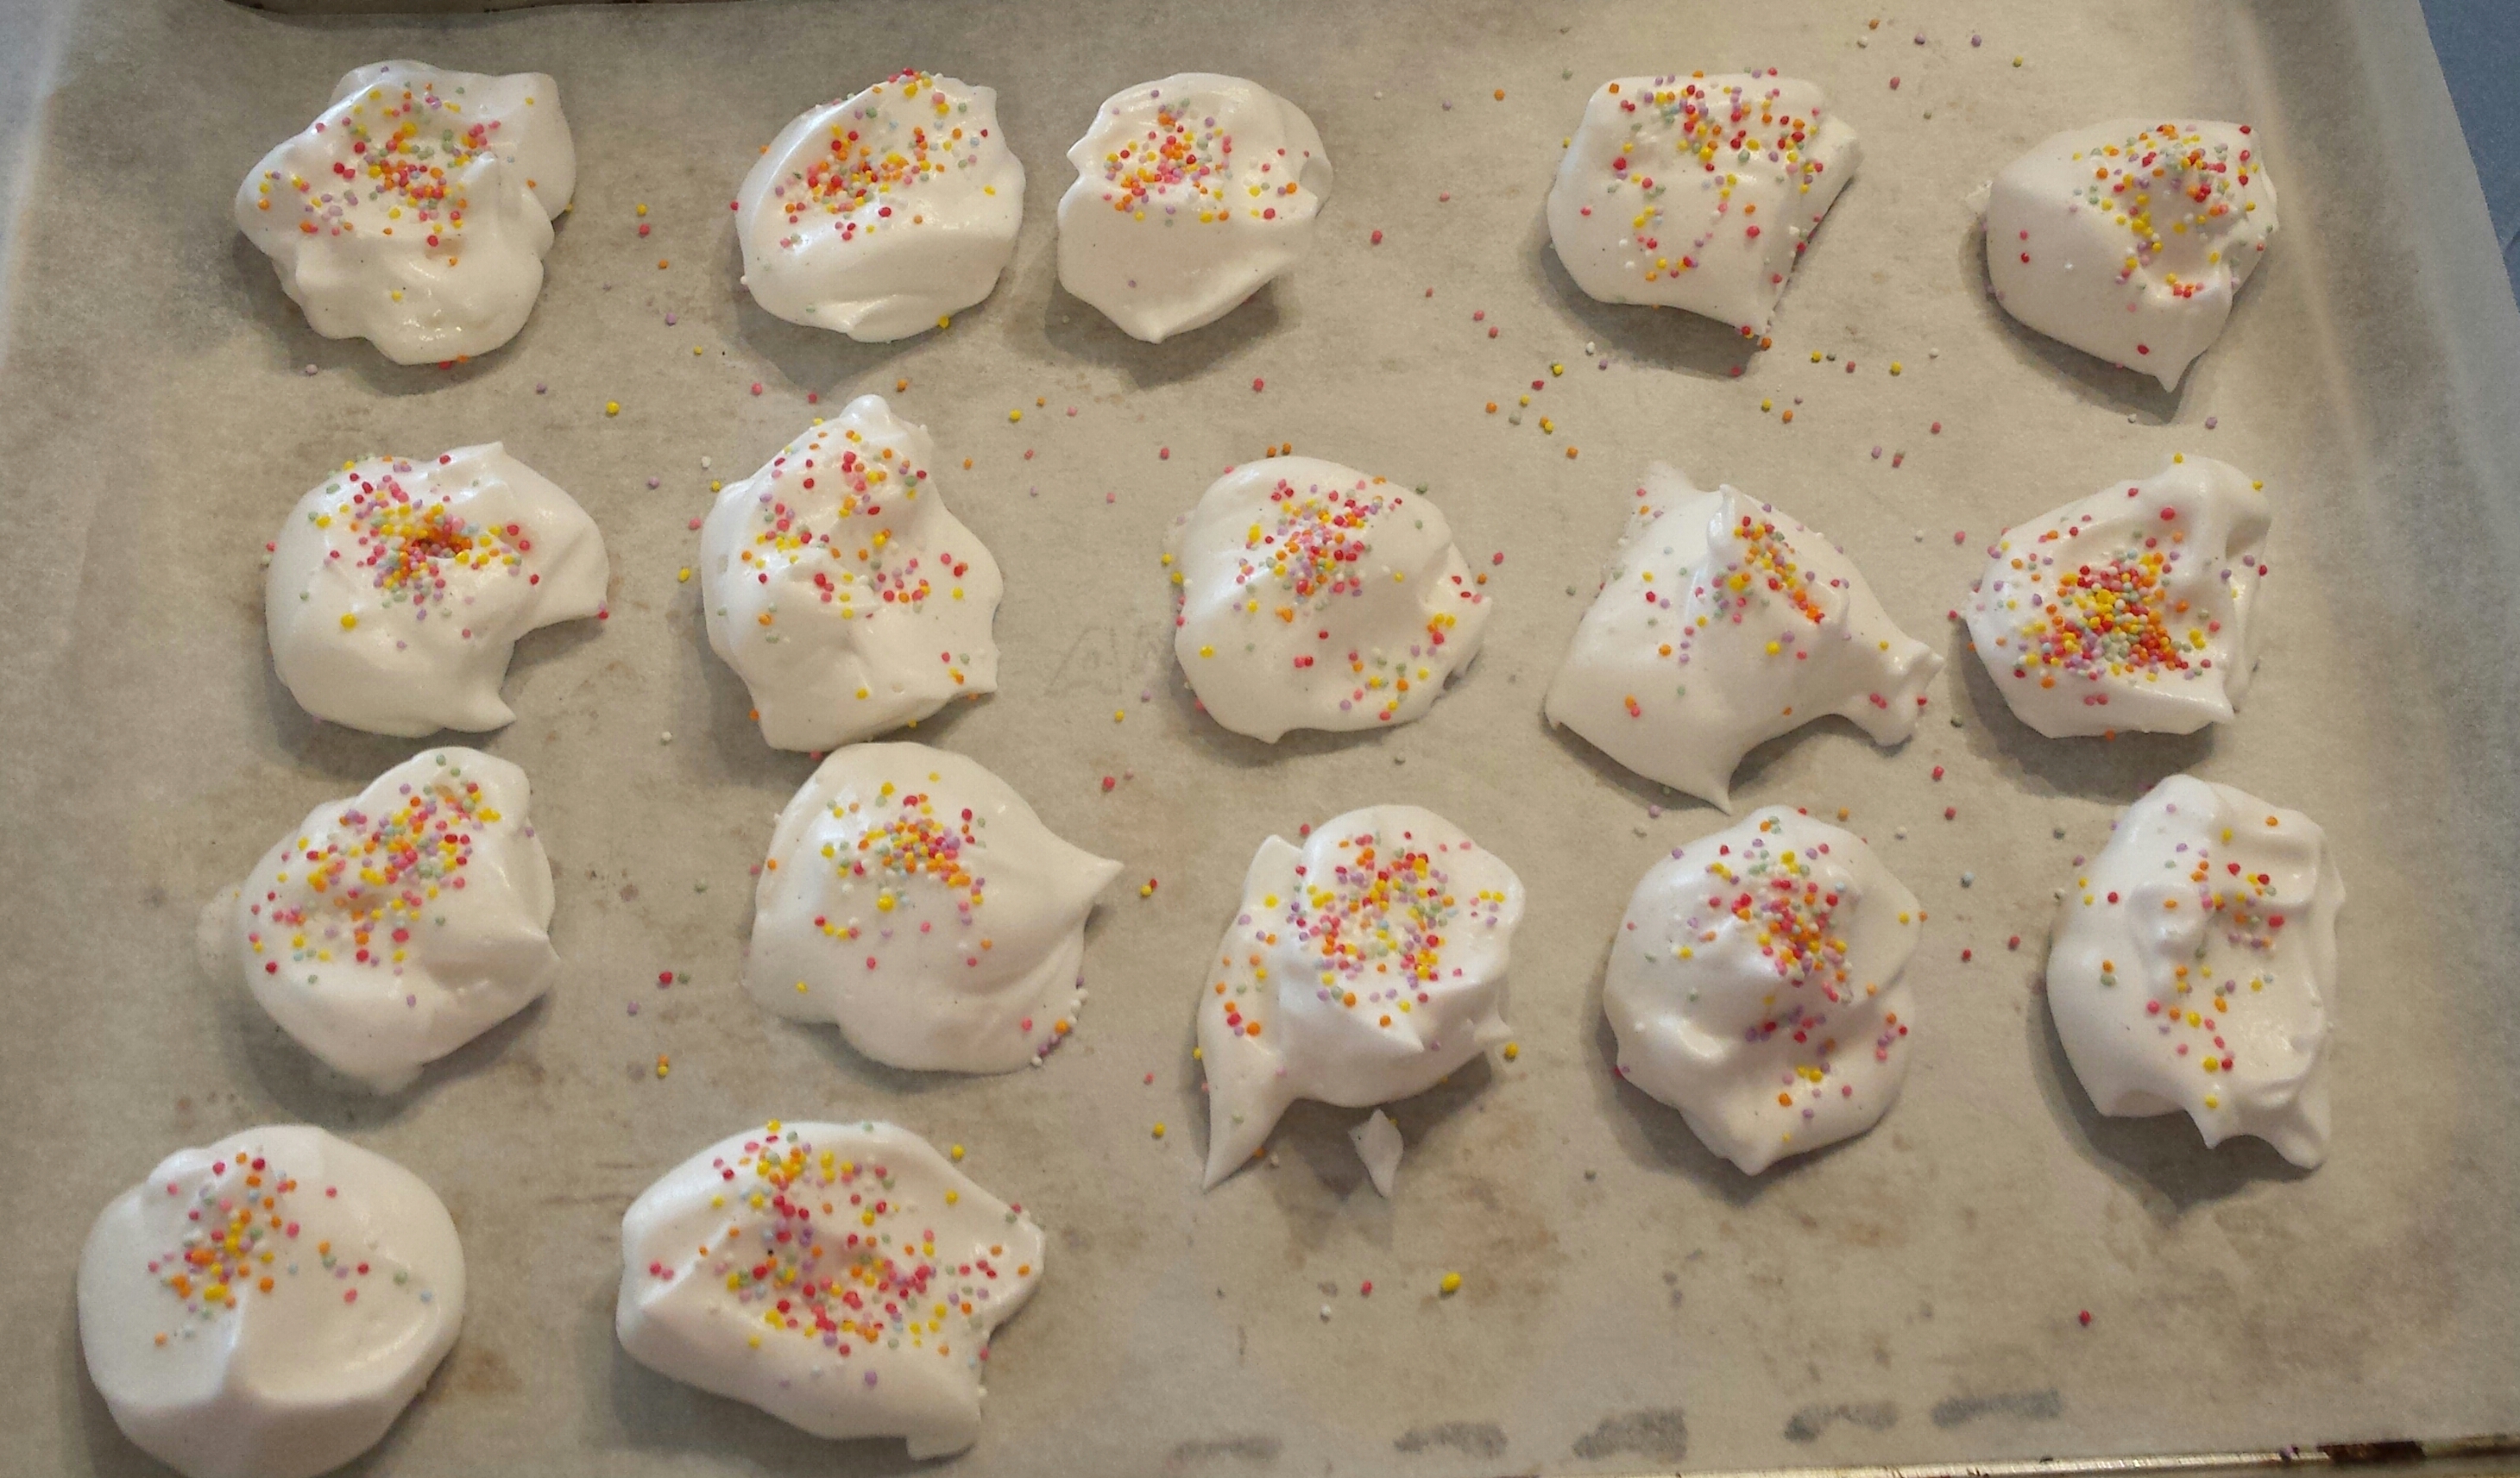
Do not bake any hotter because you are essentially drying out the mixture rather than baking it (kind of like a fruit leather). Low and slow is the best option.

Remove from oven and allow to cool.

20151016_125421-1

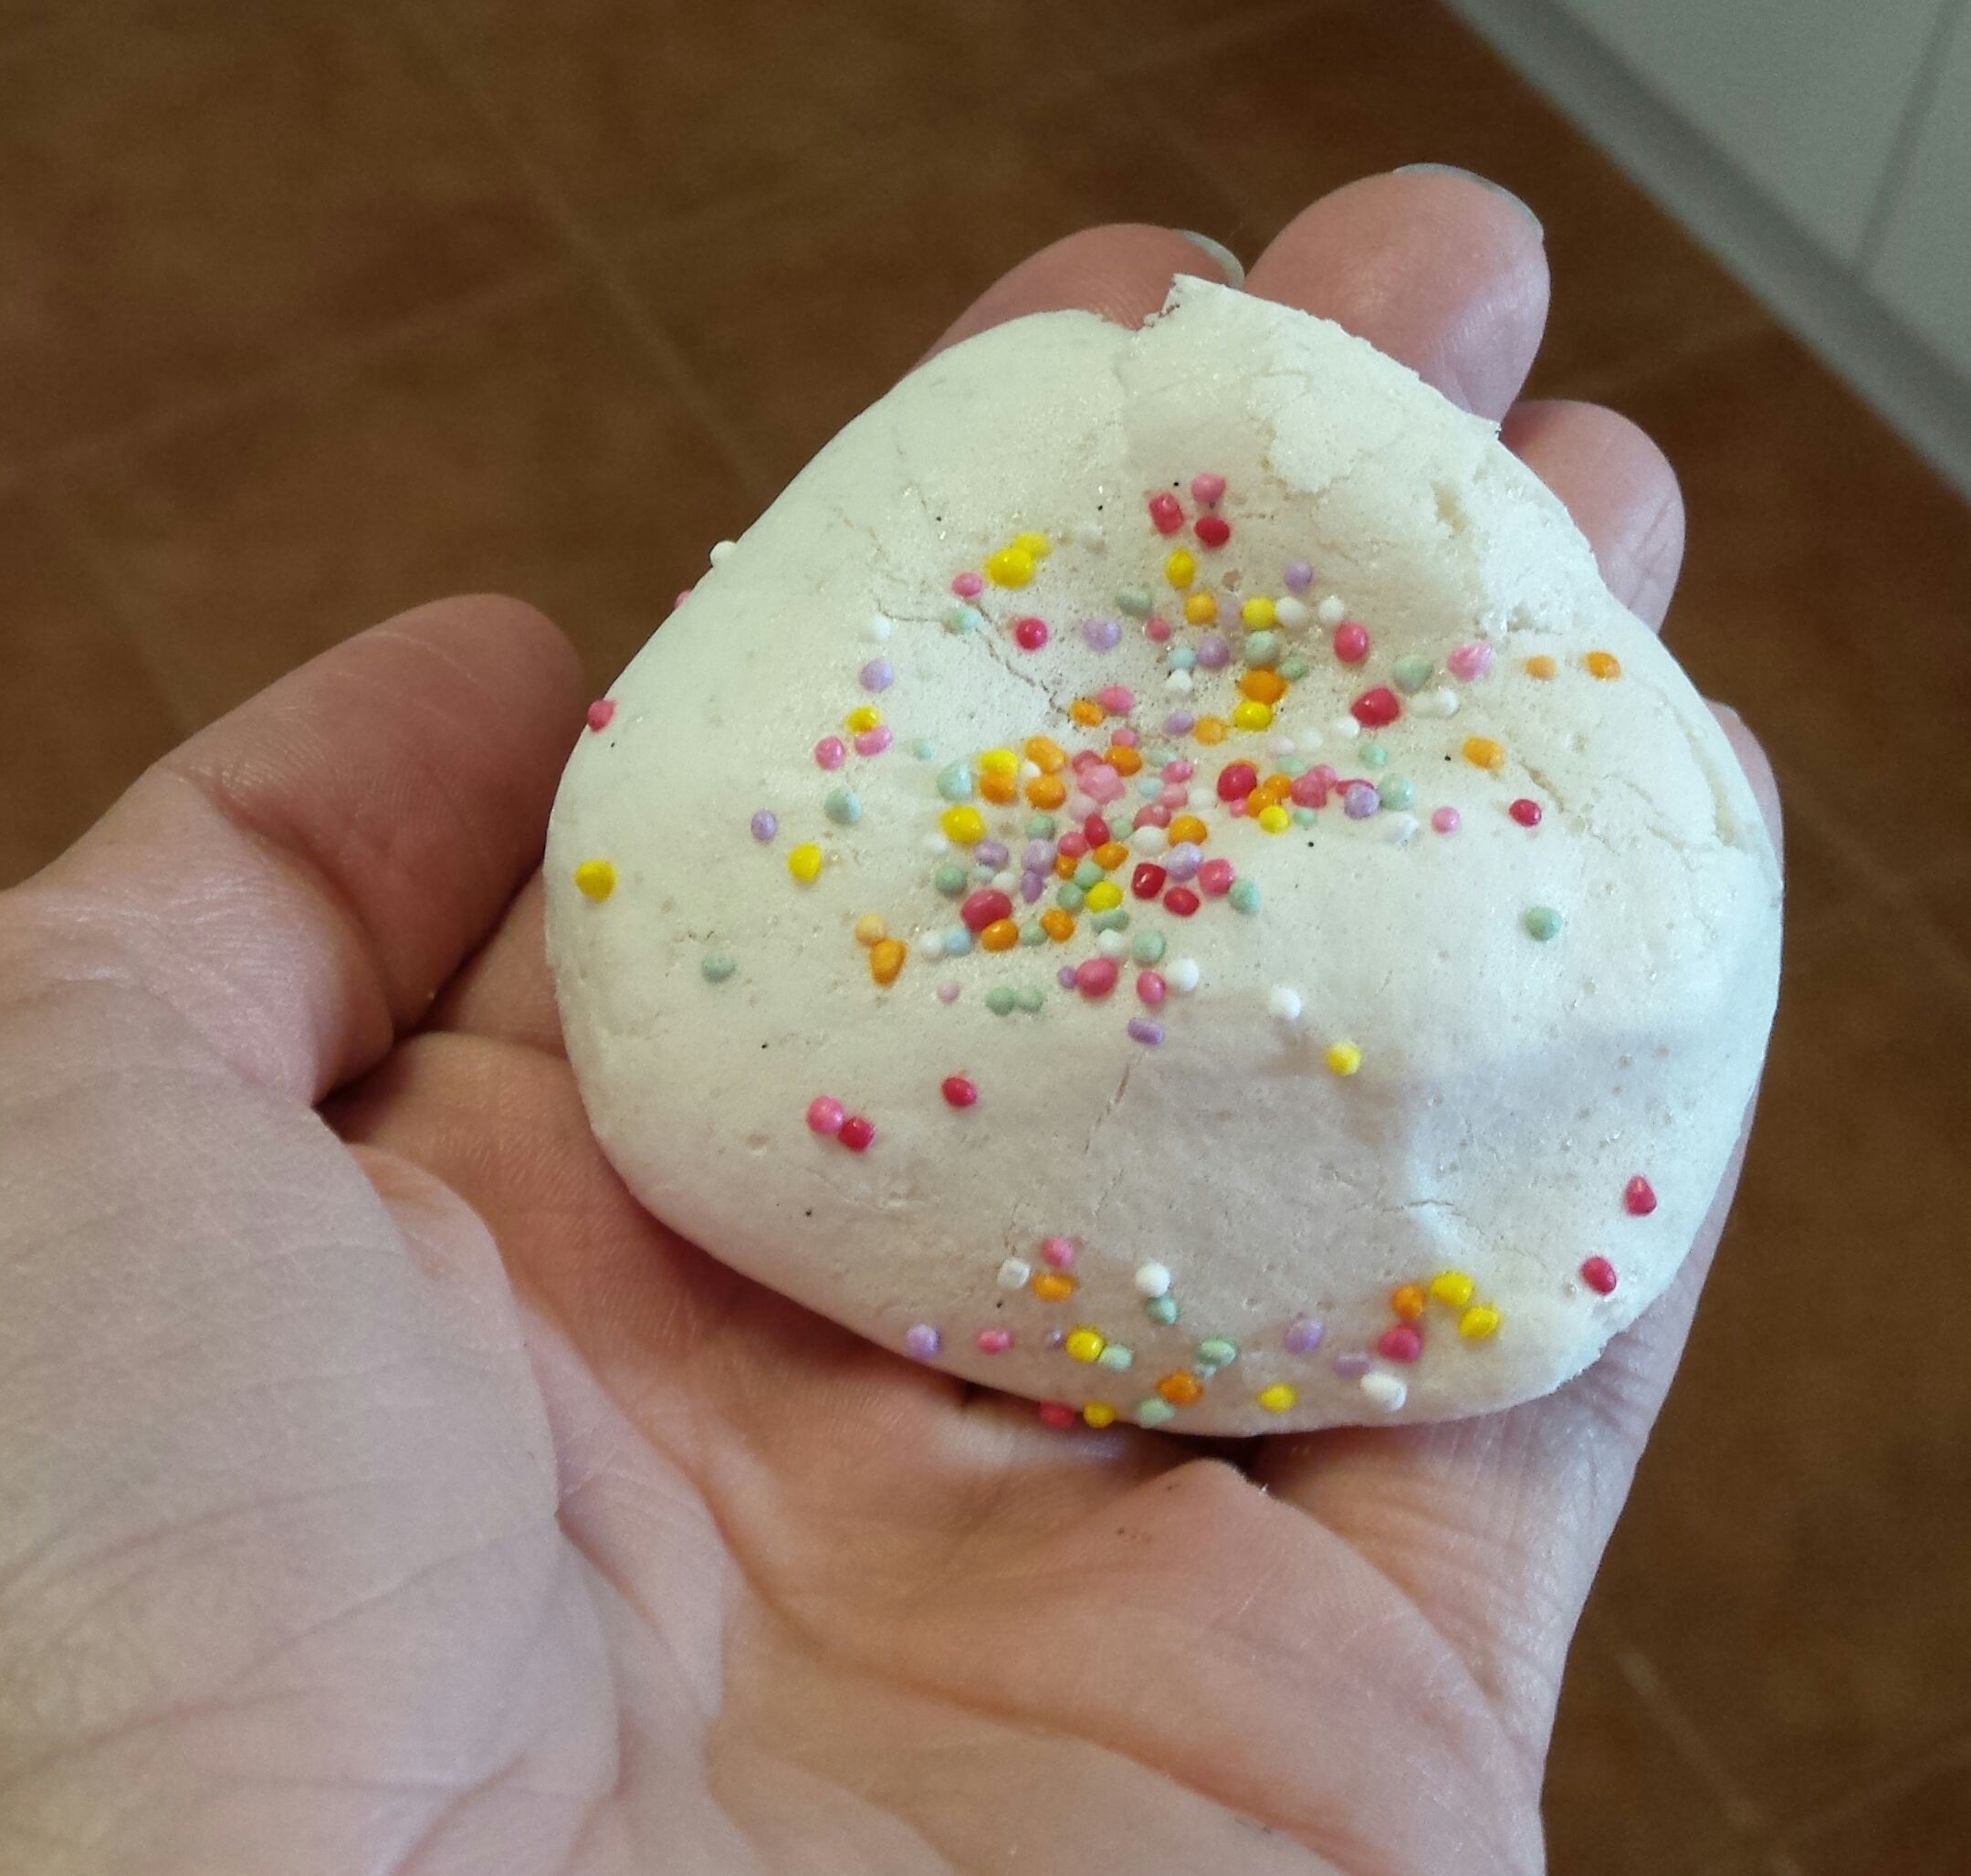
Store in an airtight container for a week.
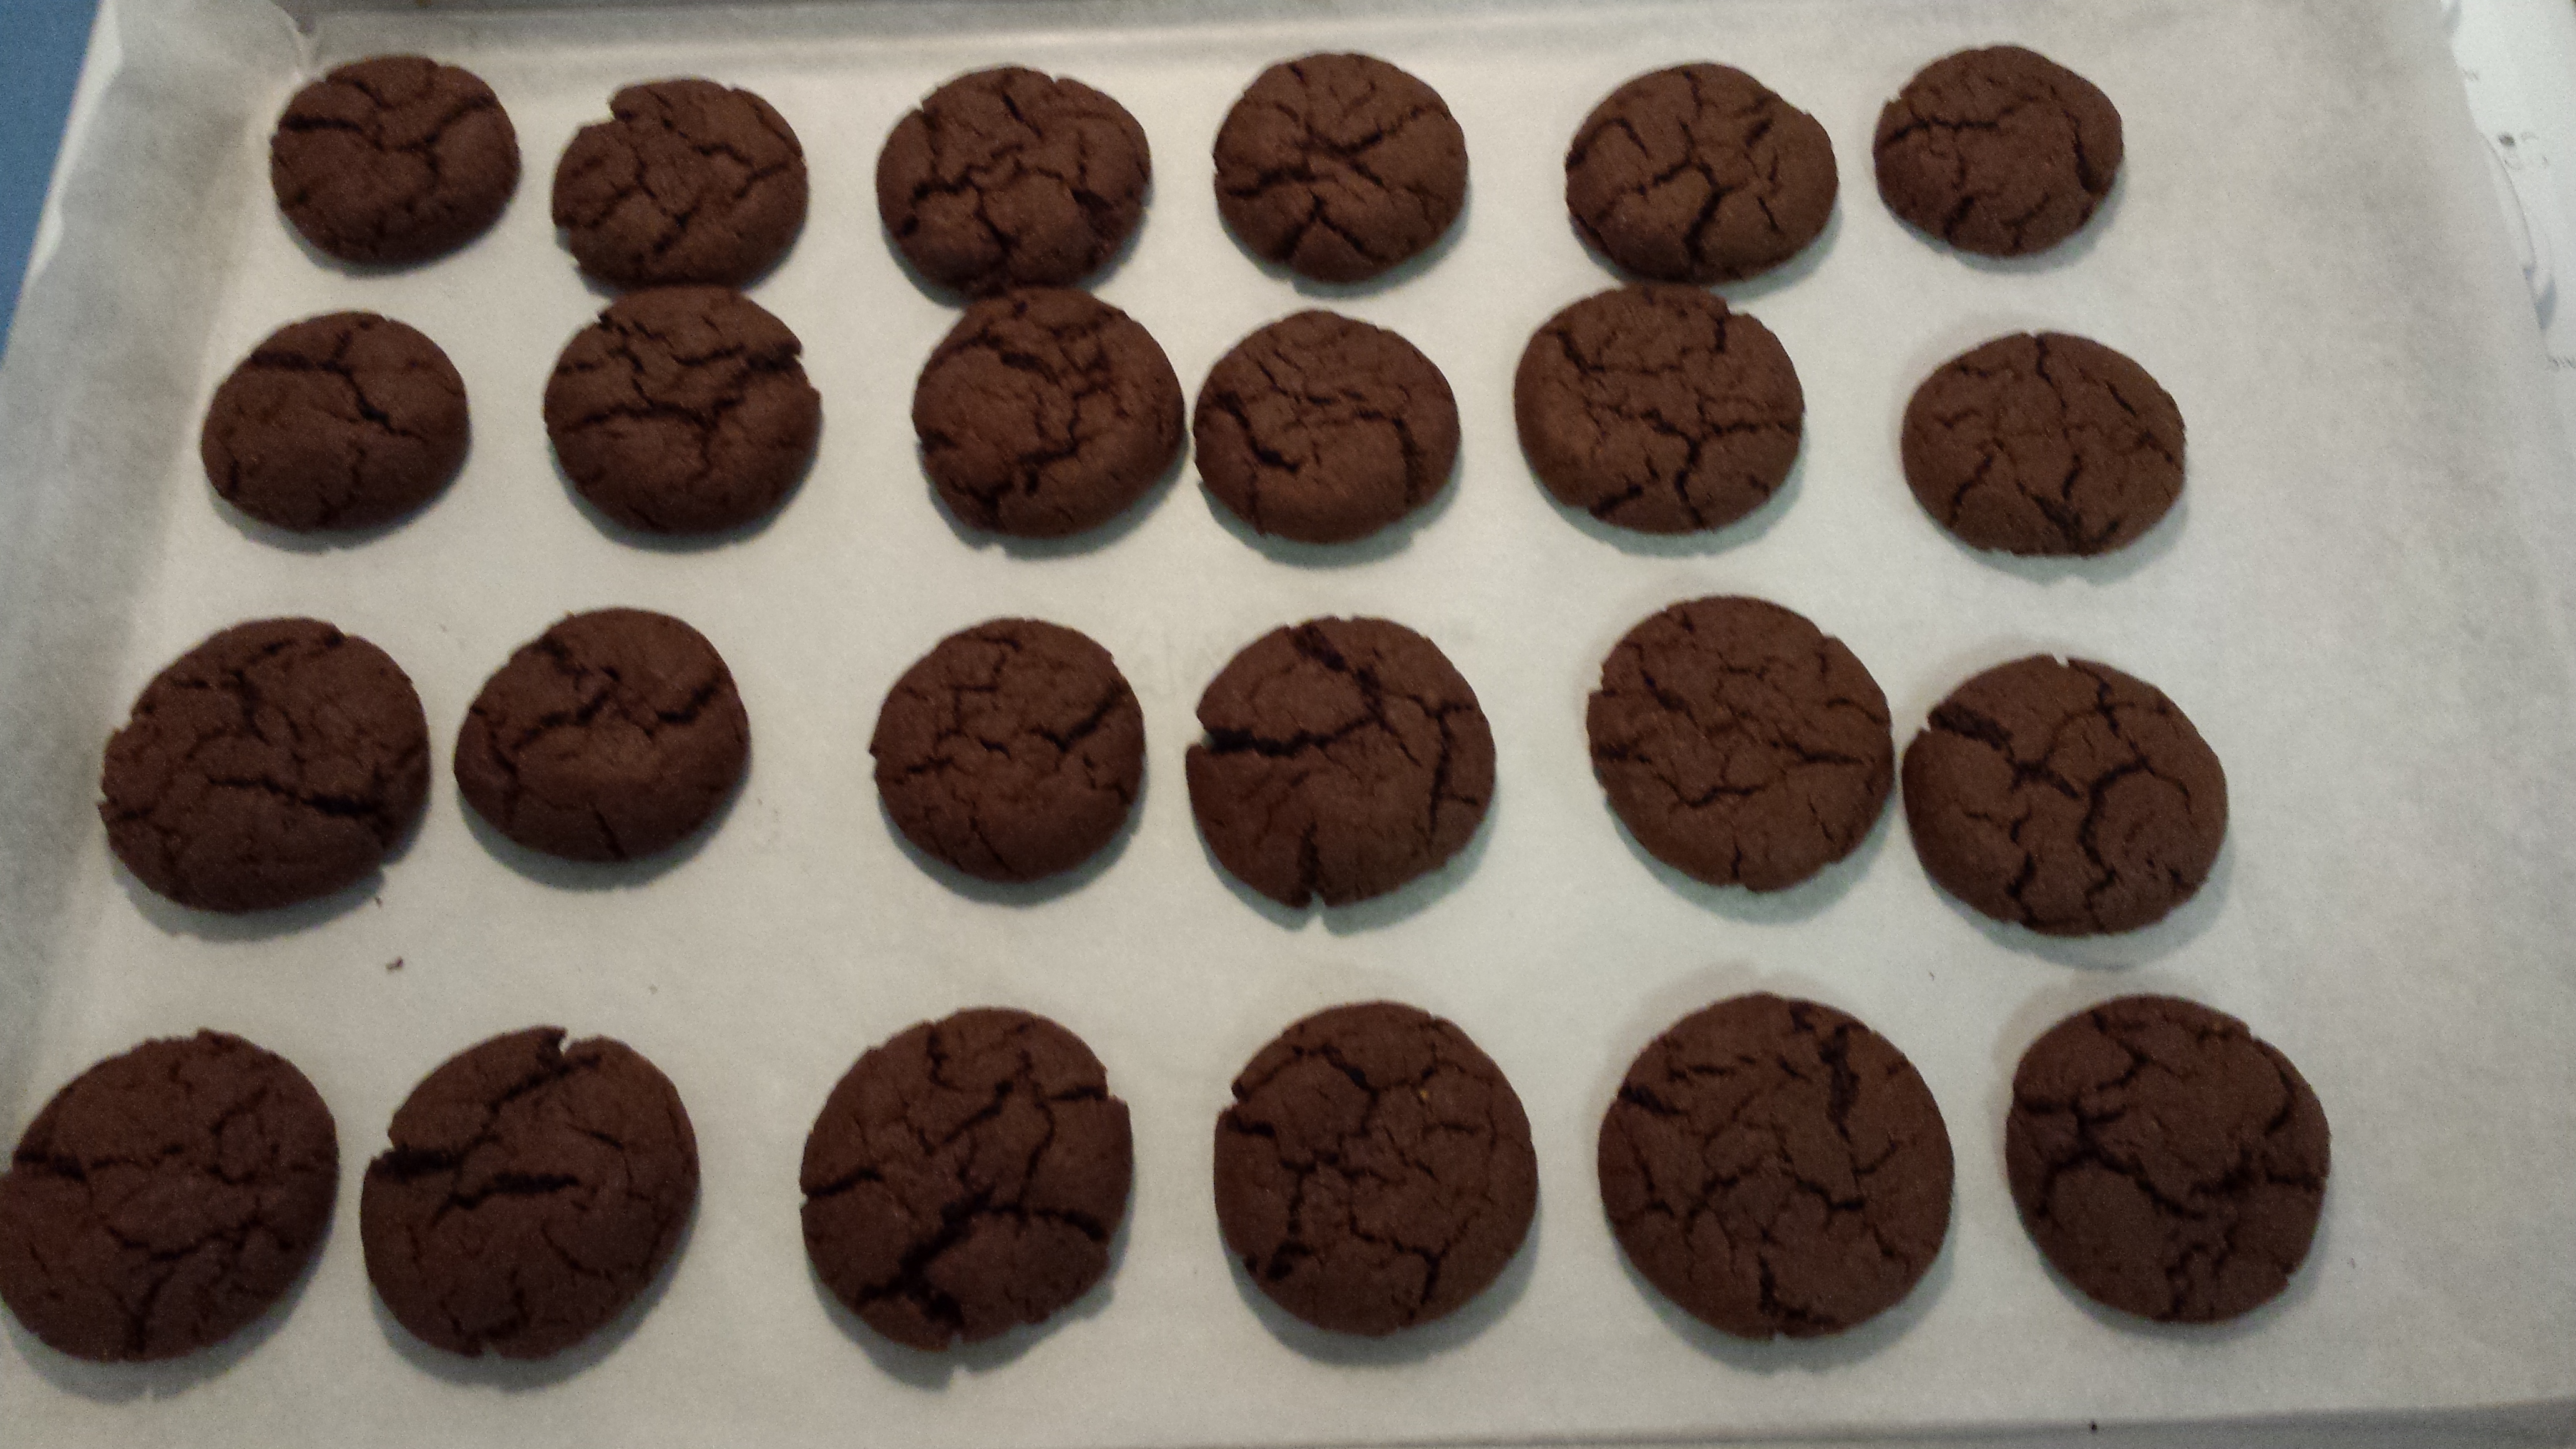
20151016_131427

Makes 24.

Enjoy!!

Crunchy Quinoa Biscuits

I love crunchy bikkies …. dunking them in a hot cuppa was always a  favourite!

These delicious bikkies definitely meet my sweet and crunchy requirements.

My kids (and husband!) all love them. They are simple to make, the kids love choosing their own shapes and they are really easy to adapt to meet most allergy requirements.

  • 100g rolled quinoa (or you can mill the whole grain)
  • 160g plain flour OR GF flour
  • 1/2 tsp bicarb soda
  • 1 tsp mixed spice
  • 70g of sunflower seed butter OR nut butter**
  • 1 tsp vanilla bean paste
  • 150g maple OR golden syrup

**You can use half seed butter and half butter here, or even all butter – all combinations work well!

In a saucepan, over a medium heat, stirring, melt together the seed butter, syrup and vanilla (100C, speed 2 for 2 11/2 mins or until completely melted). Remove from stove

Mix together all of the dry ingredients (speed 5 for 10 seconds). Then add in the wet mix and mix gently until combined (speed 4, 10 seconds. Scrape down and repeat if required)

Wrap dough and place in fridge for about 20 minutes.

Roll out, to about 3mm thick and cut into shapes. The thinner you roll them the quicker they cook and the crunchier they are.

20200214_074532

Place on lined baking trays and bake for about 9-10 minutes, or until golden brown, in a preheated 180C oven.

20200214_075549
The tri coloured grains milled for this batch

They will be soft when removed from the oven and will crisp up on cooling.

20200214_081718

Makes about 60 small cookies – depending on the size of your cutters.

When completely cooled, store in an airtight container for up to a week.

20200214_081729
Watch out for the Cookie Monster!

Enjoy!

Blueberry Almond Loaf

The recipe for this lovely, sweet, dense bread came about after we picked over 5kg of Mulberries …. and then my Harry declared that he didn’t like them, that blueberries were his favourite and please could I make him blueberry bread instead?

That gorgeous face is pretty hard to refuse sometimes!

  • 45g light tasting oil (or use a melted butter that suits)
  • 40g sugar OR 1/4 cup honey/maple syrup
  • 1 cup milk of choice
  • 6tbsp aquafaba OR 2 whole eggs
  • 1 tsp vanilla bean paste
  • 1/2 tsp ground cinnamon
  • 2 tsp GF baking powder
  • 1 1/2 cup spelt flour (half wholemeal) OR 1 1/3 cup GF flour mix
  • 1/2 cup almond meal OR  seed meal
  • 1 cup blueberries (fresh or frozen).

In a large bowl (or your processor) mix together all of the dry ingredients (Speed 4, 8 seconds), then set aside.

Now place all of the wet ingredients in your processor/blender/nutribullet/thermal cooker and process until well combined (Speed 6, 6 seconds).

Mix the the dry and wet ingredients until combined – don’t over beat them.

Then add the berries – if you are doing this in a food processor, tip mixture into a bowl and fold through blueberries. In a Thermal Cooker, use speed 4 for 8 seconds. Or for ease, sprinkle them on top of the batter once in the pan.

Pour into a small greased loaf pan and bake in a preheated 170C oven for about 1hr, or until cooked through.

20150927_114547

Or pour into lined muffin tins and bake for about 25 minutes or until cooked through (makes about 18).

Allow to cool before slicing.

20190324_144033

This recipe freezes and defrosts well, and is particularly lovely when slightly warmed (and even toasted!).

Enjoy 🙂

Chocolate beetroot muffins (with extra veggies!)

I know … beetroot and spinach (or pumpkin and chick peas!) are not ingredients you would normally associate with a chocolate muffin – but trust me, it works!

20180208_092101-1

My tribe wolf them down and have no idea of the goodies hiding inside – yay! They are a standard lunchbox favourite – I even use this recipe to make the base of our birthday cakes now and everyone digs in!

See below the recipe for the coeliac friendly option and some different veggie variations

  • 1 large cooked beetroot (approx 225g)*
  • 2 handfuls of baby spinach
  • 40g cocoa/30g cacao powder
  • 70ml tasteless oil (rice bran oil, melted vegan butter & coconut oil work well) OR 70g sunflower seed butter
  • 150ml oat/rice/soy/almond milk
  • 2 tsp apple cider vinegar
  • 90g maple syrup OR coconut sugar
  • 280g spelt flour (half wholemeal)
  • 2.5 tsp GF baking powder
  • 6 tbsp aquafaba OR 2 whole eggs
  • 1 tsp vanilla bean paste
  • pinch Himilayan salt

*If you don’t have access to fresh beetroot, use an equal weight of tinned beetroot and omit 1 of the teaspoons of vinegar), or when my garden gives us an abundance, I puree and freeze in batches to add in instead.

In your processor/blender/bullet/thermal cooker place the milk, beetroot, vinegar vanilla, oil, spinach and aquafaba and blitz until the mix is smooth with no obvious ‘green bits’ 😉 (Speed 5, 10 seconds, scrape down, then speed 8 for 10 seconds, scrape and repeat if required). Then set the wet mix aside.

Mix together the flour, cocoa, salt, sugar and baking powder until evenly combined (speed 4, 8 seconds).

Whilst mixing the dry mix (use speed 4), gradually pour in the wet mix until well combined. Don’t over mix.

Scoop batter into lined muffin tins and bake in a preheated 180C oven for about 20 minutes or until top springs back when gently pressed.

20180208_092004-1.jpg

Makes about 14, they freeze and defrost well and are especially delicious when slightly warmed.

To make these coeliac friendly: use rice, almond or soy milk and replace the spelt flour with 1 1/2 cup plain GF flour and 1/4 cup almond/seed meal.

To make a little variation on these, I switch out the spinach for a large handful of steamed sweet potato or 1/3 of a tin of chick peas. Just add them into the wet mix and blend at the same time as the beetroot. Yum!!


Enjoy 🙂

Warm Balsamic Chicken Salad

When we lived in Roxby Downs (a tiny mining community in the middle of South Australia), options for going out to dinner were fairly limited, and things I could eat on the menu were limited even further still by our diet.

There was one place we went to fairly regularly as a family, Chives, and their menu had two items I could choose from; steak and veggies or a warm chicken salad. Although very basic, that salad was really tasty and I always looked forward to it!

Since we’ve been back in Perth it is something I have made regularly on our warm weather menu. It feels a bit wrong for adding a ‘recipe’ for something so very simple but I love that it shows that you can have fresh, healthy, tasty, filling and simple meals that are allergy friendly.

  • 2 cups baby spinach
  • 1 carrot
  • 1/2 cucumber
  • a dozen cherry tomatoes
  • a couple of preserved baby beets
  • cooked chicken
  • 1 avocado (quite ripe and soft)
  • 1 tsp olive oil
  • 2 tbsp balsamic vinegar
  • pinch salt

Divide the spinach between 2 bowls.

Very finely julienne the carrot and cucumber (I did this with a sharp toothed peeler) then place on top of spinach.

Halve the tomatoes and dice the beets then add to bowls.

Warm the chicken (use the amount you desire – we did about 120g per bowl) and add to the salad.

Top with sliced avocado.

Mix together the oil, vinegar and salt then pour half over the top of each salad.

20150922_170249

Enjoy straight away.

Will-kshake

My biggest boy, William, is about to turn 7 and has recently become quite interested in ‘creations’ in the kitchen.

A couple of weeks ago, he made this smoothie which has now become known as a Will-kshake in our house and he was very keen for me to share it with you!

We made it in our Nutribullet, but you could also do it in a high powered blender.

It is very thick and filling and he tells me that it’s like having soft serve ice-cream for breakfast 🙂

So thick that the straw stands alone!
  • 1 cup milk of choice, nice and cold
  • 1/3 cup frozen blueberries
  • 1/3 cup frozen mango
  • 1/4 cup rolled oats
  • 1/2 a ripe banana (fresh or frozen – frozen makes it even thicker)

Add all ingredients to cup and blend until smooth.

Enjoy 🙂

Thick custard – vanilla & chocolate

I’ve made allergy friendly custards before, like this one, but I’ve been looking for a plain custard to use with cakes and puddings for desserts.

This is version I have come up with – so far I have only made it in my Bellini – so I’m not sure about stove top conversion, sorry.

The base for both flavours is:

  • 30g gluten free cornflour
  • 500g milk (to suit diet – but pick a high protein version if it is a plant based milk)
  • 1 tsp vanilla bean paste
  • 1 heaped tsp of No Egg powder

For the vanilla version add:

  • 1 extra tsp vanilla bean paste
  • 80g milled coconut sugar

For the chocolate version add:

  • 60g milled coconut sugar
  • 50g dairy free chocolate bits

Place 100ml of milk into a measuring jug, add to it the flour and No egg. Whisk well until well combined and smooth.

Put the mixing tool (butterfly attachment) in place and in the jug of the thermal cooker place the remaining 400ml of milk, vanilla and sugar (or syrup). Add in the floury milk mix.

Tilt the measuring cup on top of the machine so that it is cracked open.

Cook for 17 minutes at 100C on Speed 3.

For the Vanilla version, add both lots of vanilla at the same time. (Because of the coconut sugar and the lack of egg, the vanilla version is more a brown colour than regular vanilla custard).

20150802_084404

For the Chocolate version, add the chocolate at the end and mix through gently until melted and evenly distributed – speed 3 for about 20 seconds.

20150802_085034

The mix will thicken further as you let it cool.

If you are using a Thermomix instead of a less powerful version of the machine, you may need to adjust the cooking time to a minute or 2 less.

Makes enough for our family (2 adults and 4 kids) for dessert.

Best served warm.

Enjoy 🙂

Thai Red Curry (Poached Chicken)

This is such a quick and tasty curry!

  • 270ml coconut milk (I like the Aayam brand)
  • 1 heaped tbsp red curry paste
  • 2 medium sweet potatoes
  • 1/2 large head of cauliflower
  • 2 large handfuls green beans
  • 2 cups hot chicken stock (I used Massel)
  • 4 chicken thighs, fat removed

Place coconut milk, stock and curry paste in a large saucepan and stir well to combine.

Dice the potato and add to the curry mix. Bring to a gentle simmer.

Dice the chicken, about the same size as the potato, then add to the potato mix.

Allow to simmer for 10 minutes then  roughly chop and add the cauliflower.

Simmer for a further 5 minutes before adding the chopped green beans.

20150714_173552Serve with rice and your preference of sauce quantity.

20150714_175859

This made enough for about 8 adults.

20150714_175906

Enjoy 🙂

For a delicious vegan option for this curry simply omit the chicken and bulk up the other veggies. I have done this recently and no-one in my family even realised!

Singapore Noodles

Well, they’re not really Singapore Noodles because we can’t make them with egg noodles (so sad!!) but they are based on the dish that I grew up with.

The thing I love most about this dish, (well, apart from the fact that my family all loves it!), is that it can all be prepared in advance and then takes, literally, 10 minutes at dinner time. Yay!

20150710_141303

These are the rice noodles that we have found work well
  • 400g pork fillet
  • 2 medium carrots, finely julienned
  • 1/2 cabbage, finely shredded
  • wok ready rice noodles (go with egg noodles if your diet allows!)

Sauce

  • 1/4 cup honey
  • 3tbsp coconut aminos
  •  2 tsps minced ginger
  • 1 tbsp lemon juice
  • 1 cup chicken stock
  • 3 tsp pure corn flour

Marinade

  • 1tbsp garlic olive oil
  • 2 tsp pure corn flour
  • 1/2 tsp coconut sugar
  • 1 tbsp coconut aminos
  • 1 tbsp water

Mix together all marinade ingredients until smooth.

Finely slice pork and place into marinade. Mix to cover all meat and then leave, covered in fridge for at least 2 hours.

Mix together all sauce ingredients in saucepan and set aside.

Fry pork in a small amount of oil in wok or pan. Remove from heat and set aside.

Place cabbage and carrot in work and cover to wilt.

Put the sauce saucepan on a medium heat and bring to a gentle simmer. Allow to simmer gently for a few minutes to thicken and reduce slightly.

While the sauce is simmering, place the noodles in a large bowl and cover with boiling water. Stir until warmed through, then drain and add to veggie mix.

Pour the sauce into the noodle mix.

Serve the noodles then top with pork (and some sesame seeds if your diet allows).

20150710_175938

Serve about 6 adults.

Enjoy 🙂

Chocolate ripple bikies

We had a little bit of heartbreak here yesterday.

The ice-cream van came around, and as a school holiday treat, for only the 2nd time in their lives, my kids were allowed to go. They waited ages, just bursting with excitement, but when we got to the front, their snow cone machine was broken and so there was nothing that Ellie could eat. She was crushed and cried quietly by my side while the boys got their treats. Thank goodness for a stash of special treats at home!!

I felt so bad for her and I was so pleased with the way that she didn’t make a fuss that when she asked for ‘special chocolate bikkies’ to take to morning tea at the park, I was pretty well inclined to make her anything she wanted!!

I’ve seen lots of recipe for chocolate ripple biscuits so I decided to give them a go for her.

This is the version I based mine on here.

  • 200g GF flour (or 230g spelt)
  • 3 tbsp cocoa
  • 1 tsp baking soda
  • 1/4 tsp. baking powder
  • 1/2 tsp flaked salt
  • 150g raw sugar
  • 100g Nuttelex
  • 1 ‘no egg’ egg OR 3 tbsp aquafaba OR 1 whole egg**
  • 1 heaped tsp pysillium husk
  • 2 heaped tsp rolled quinoa
  • 2 heaped tsp flax seed
  • 50g sunflower seed butter

*You can use equal quantities of shredded coconut to replace the psyllium and quinoa if they aren’t pantry staples for you.

In your processor, grind down the sugar to resemble castor sugar (Speed 8 for 10 seconds in a thermal cooker)

Add in the baking powder and soda, cocoa, salt, psyllium, quinoa and flax and blitz until fine (speed 10 for 10 seconds)

Add in the flour and mix again (speed 6 for 10 seconds)

Add in the Nuttelex and seed butter and pulse several times to combine.

Add in the egg replacer and pulse to combine, then scrape down sides and process until mix resembles wet sand (speed 5 for about 20 seconds).

20150710_074549

Form teaspoons of mix into balls and place on lined baking tray.

Press down with hands and place into pre heated 180C oven for about 12 minutes.

20150710_075208

Biscuits will be soft when removed from oven, but harden on cooling. My kids (and husband!) are so delighted -they are delicious and are honestly one of those times you can’t tell that something is ‘everything free’!

20150710_080853

Makes about 24 biscuits – store in an airtight container for about a week.

20150710_082914

Enjoy – like my very happy girl did!!

** Recently I’ve had a few questions about the egg replacement options. I have tried flax eggs but they don’t work so well here. If you can’t use any of the above, suggestions then leave out the egg replacement and increase your vegan butter and seed butter each by 25g… Works really well!

20190327_155404.jpg