Weekend Waffles

You can find waffles recipes pretty much everywhere.

They’re not new.

So why would I share my waffle recipe? ๐Ÿ‘ฉโ€๐Ÿณ

Well, my family LOVE them. But also, this is Itchin’ Kitchen version. I have worked at making them more nutritious and more filling. Plus giving you allergy friendly options.

Let me be clear – there is absolutely nothing wrong with regular waffles. NOTHING. If you love your waffles, then you keep going ๐Ÿ‘

But I have big, super active teens and kids who are always hungry. So at the moment, my priority is working at ways to get my kids the nutrients they need to function well, to keep them full AND to do it in ways that will not break my budget (good luck right?!).

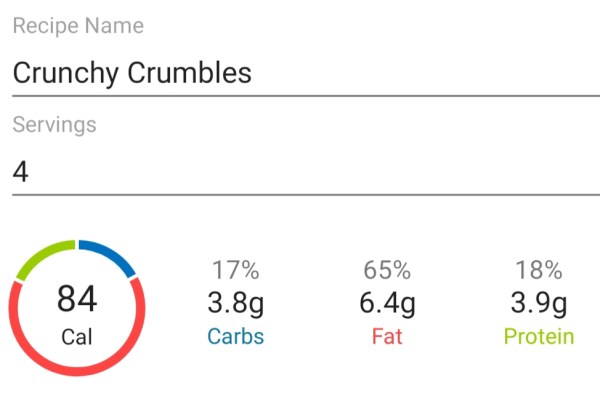
These waffles have more protein, more heart healthy fats, more fibre and are lower in sugar than your standard waffle, BUT importantly they still taste delicious!

  • 1 1/2 cups self raising flour
  • 1/2 cup almond meal
  • 1/2 tsp baking powder
  • 1/3 cup hemp seeds
  • 1/2 tsp cinnamon
  • 1 medium banana, very ripe
  • 2 eggs
  • 1 tsp vanilla bean paste
  • 1 cup milk
  • 25g butter, melted

Mix together all of the dried ingredients in a large bowl and set aside.

Into blender/bullet/thermomix, place the banana, eggs, vanilla and milk. Blend until very smooth (Speed 5, 8 secs).

Add the wet mix to the dry mix and mix until well combined (Speed 4, 12 secs. Scrape down and process again for 5 seconds if necessary). The mix doesn’t need beating.

Add in the melted butter and mix until well combined (Speed 4, 5 secs).

Into a preheated waffle maker, place approx 1/2 cup mixture of the batter, and cook until golden brown – this usually takes a couple of minutes, and I like to flip the waffle part way through to get an even colour … but that might just be my waffle maker!

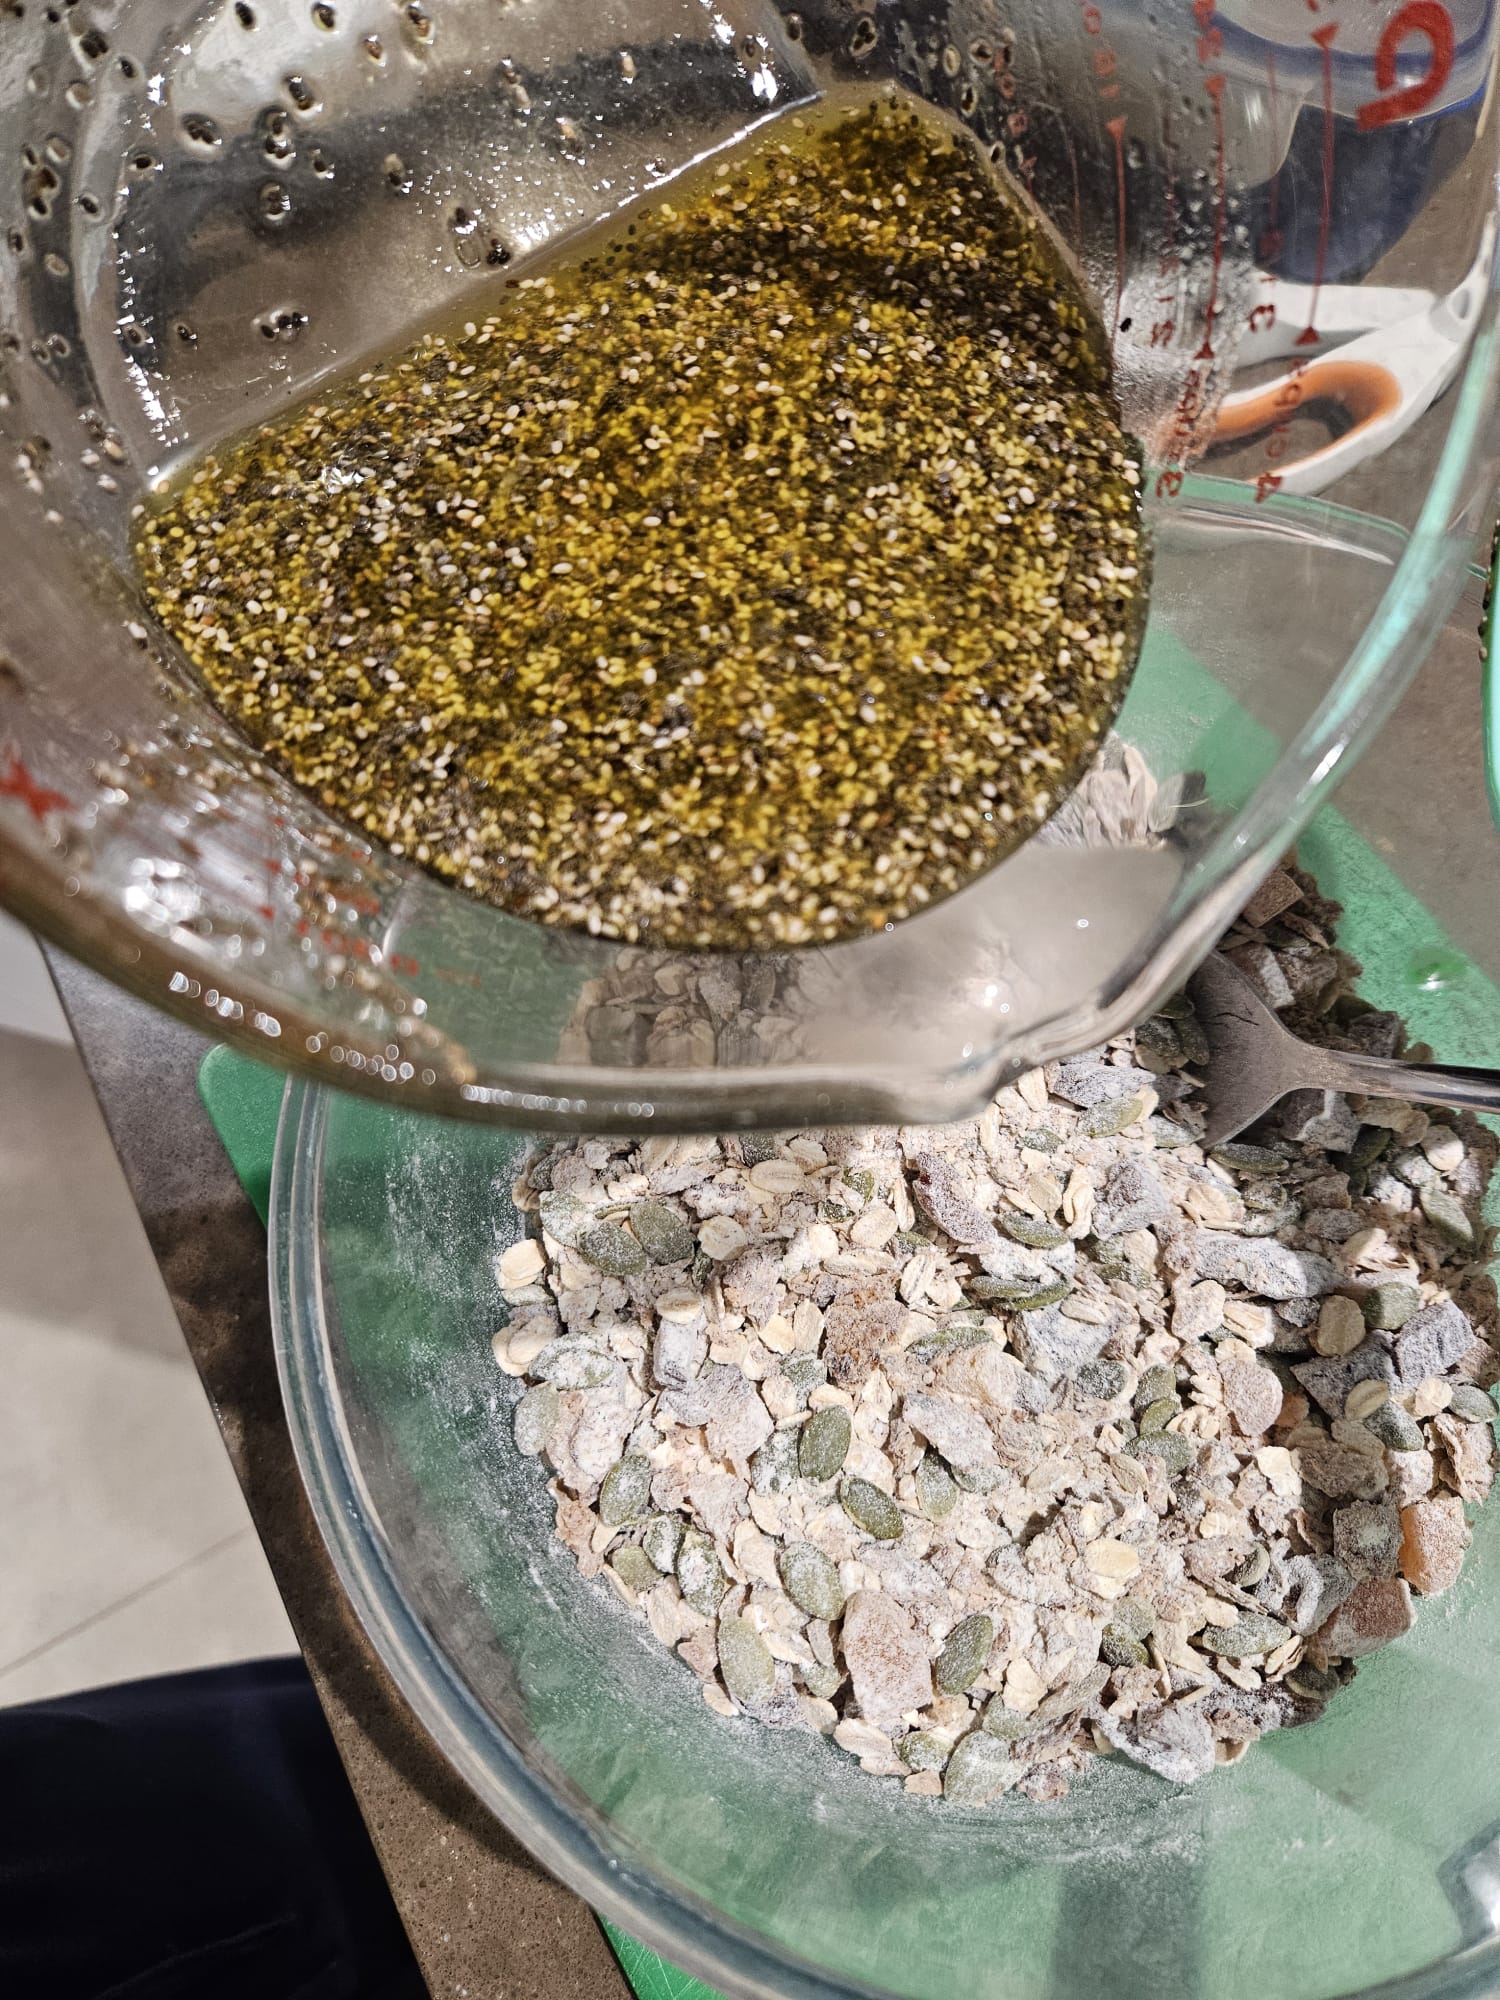
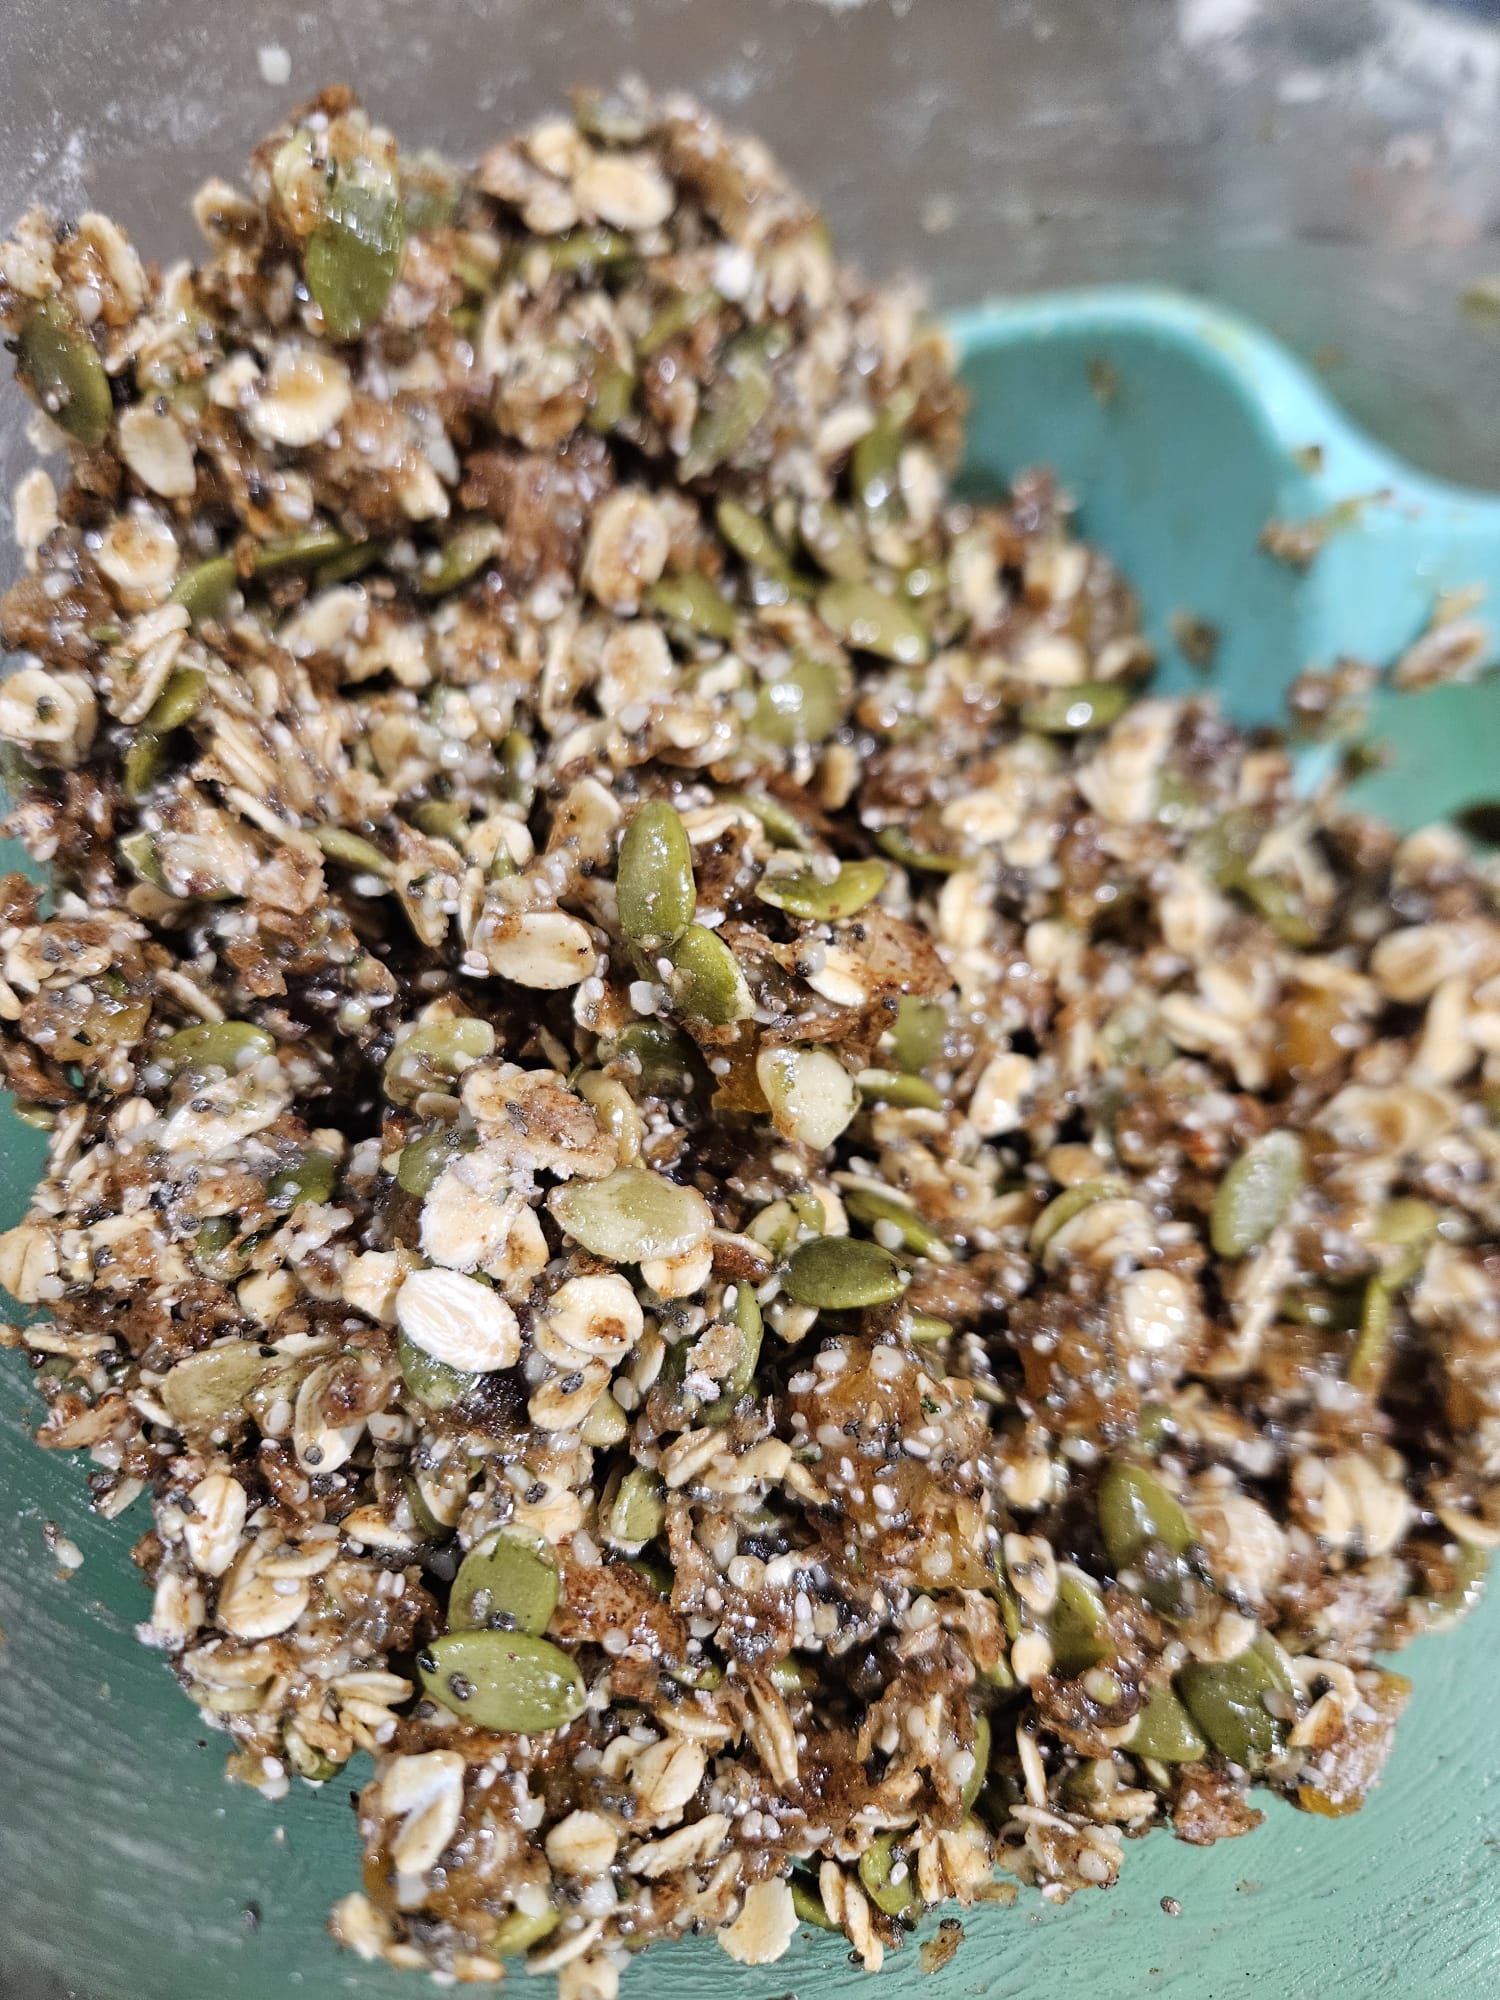
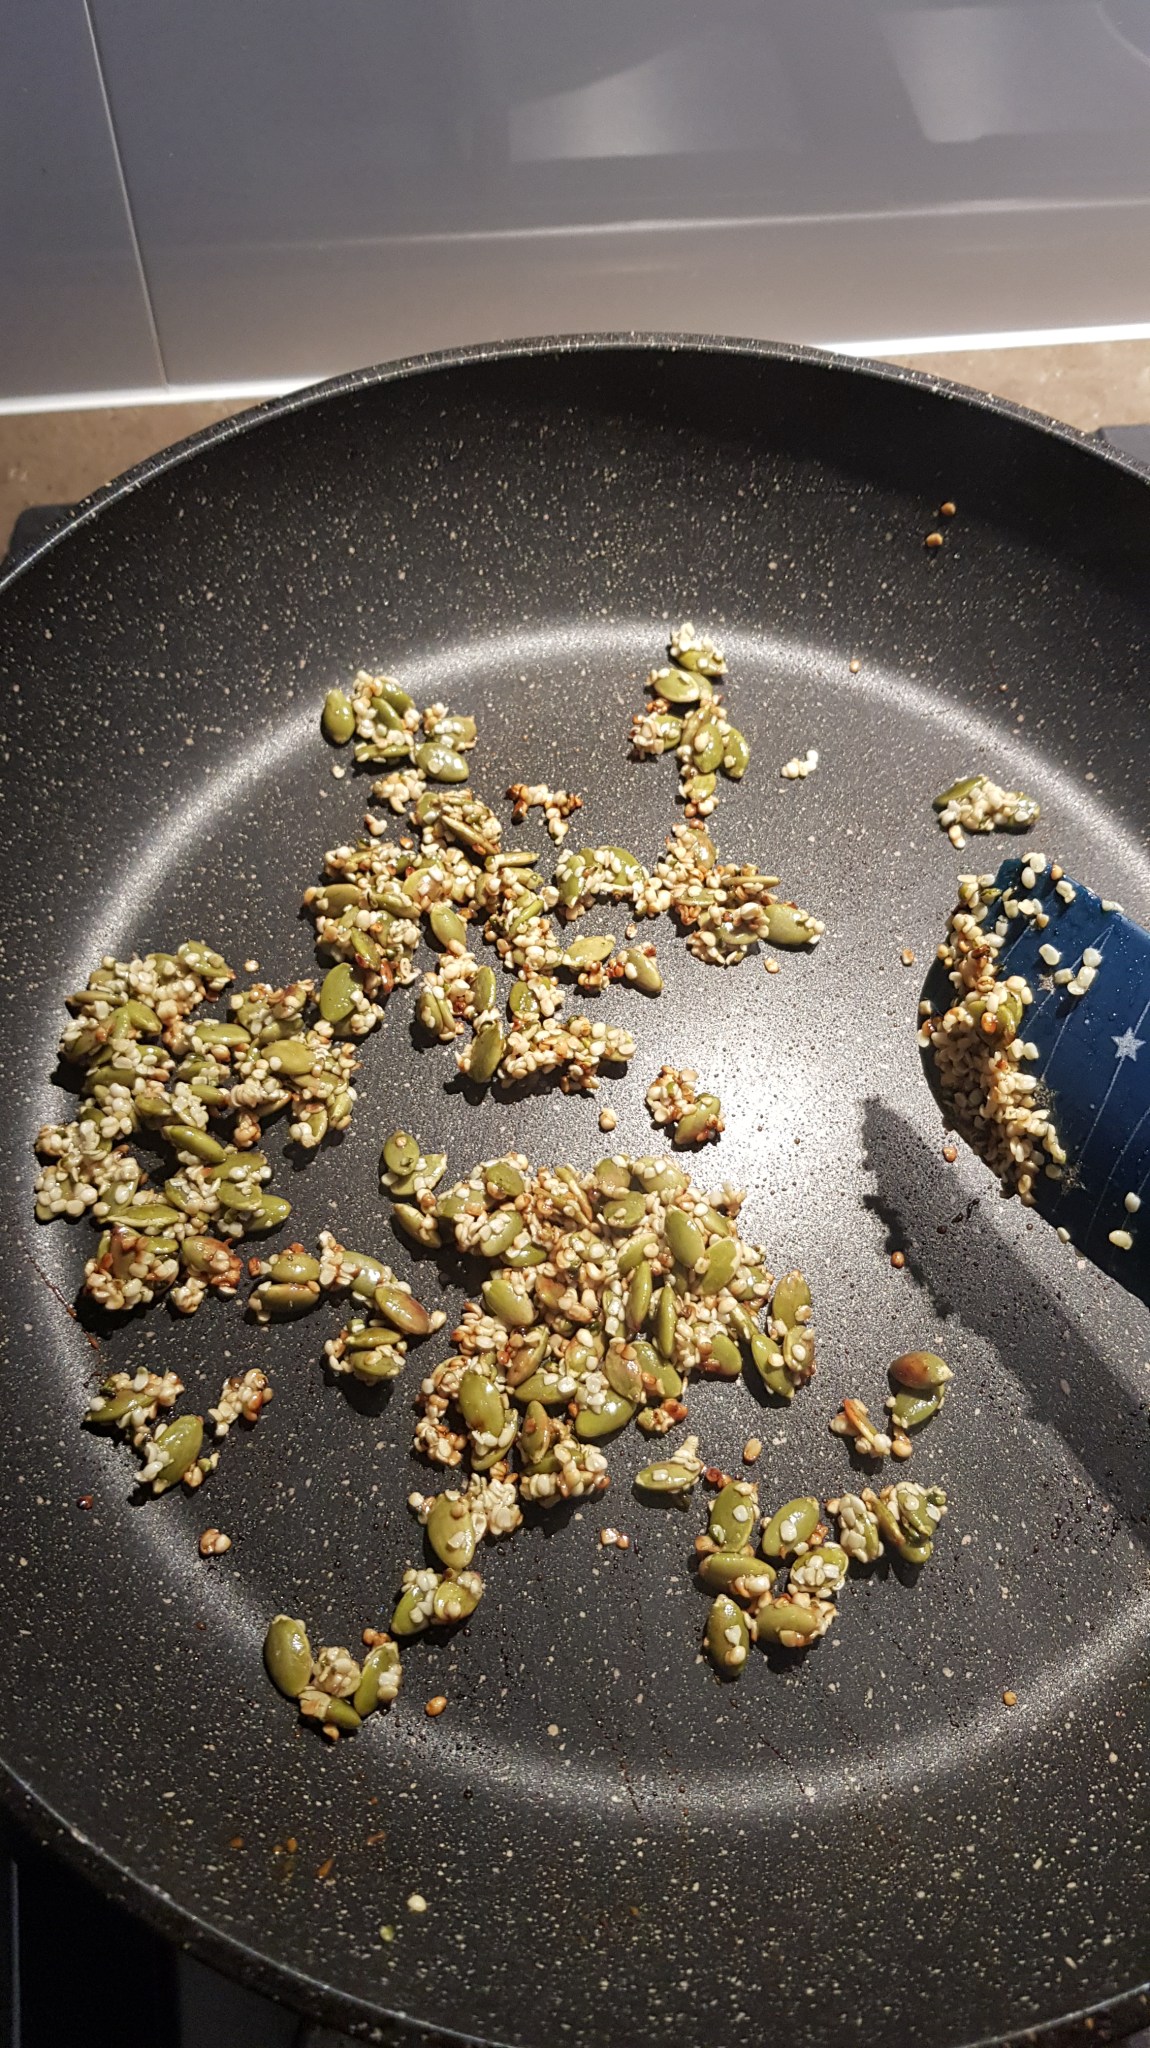
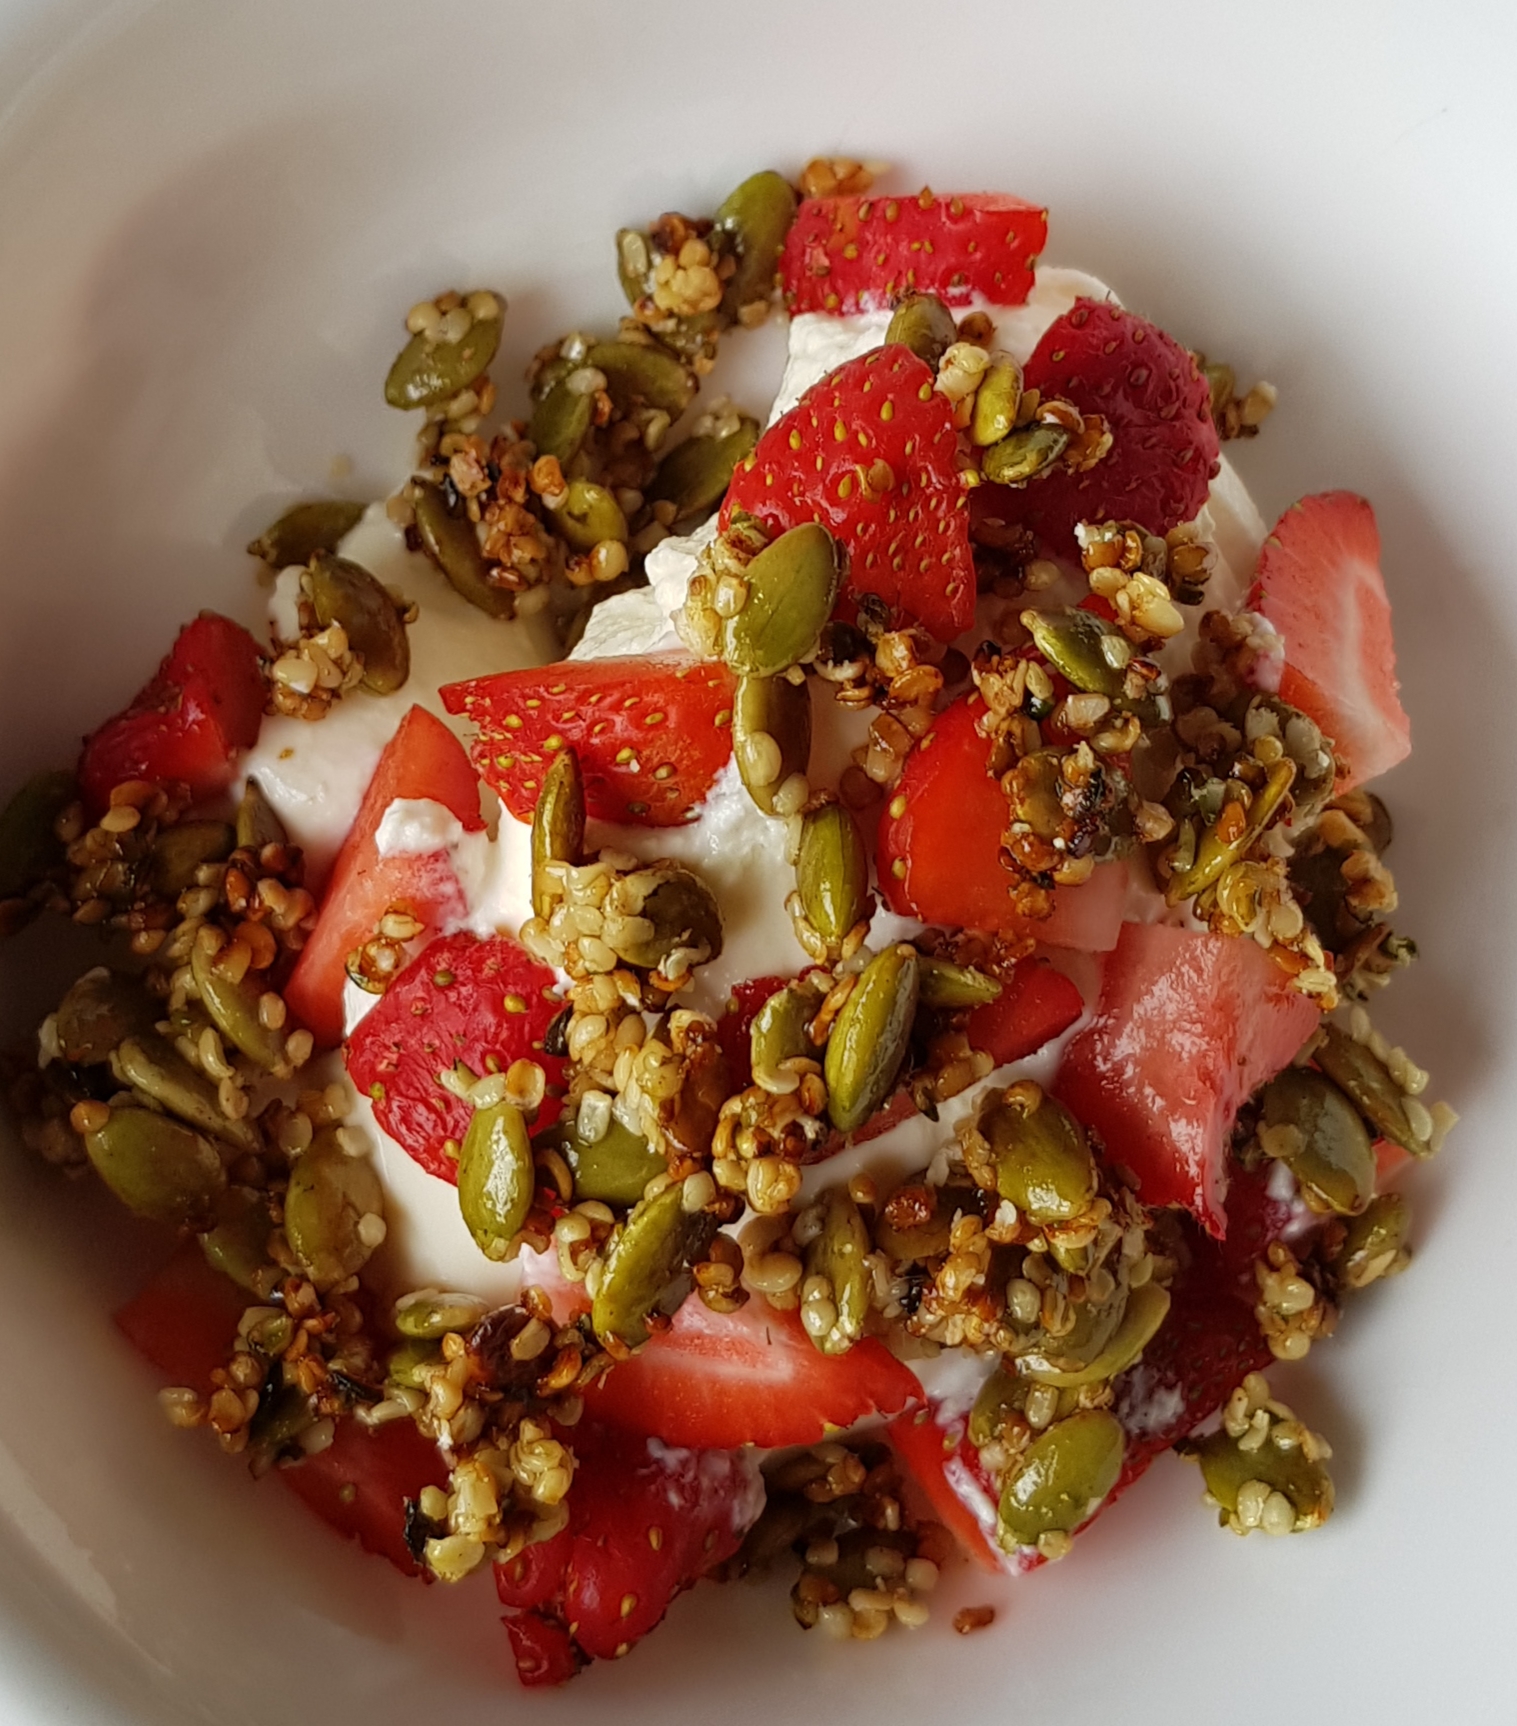
Serve warm with your favourite toppings. Nut or seed better with berries is my favourite, and it will help to keep those tummies satisfied. Chopped banana and a drizzle of honey is great too

Makes 5-6 depending on size … I usually (ok, always!) make a double batch ๐Ÿ˜†

To freeze, allow to cool completely and then lay on a paper towel in a single layer inside a ziplock bag. A great solution for when a speedy school day breakfast is required.

Need Gluten free? Use the same amount of a one-to-one GF flour blend, or use 1 1/3 cups of a standard GF, SR flour mix.

Need Dairy Free? Use equal quantities of a plant based milk (look for high protein and calcium fortified – we use high protein soy or almond mostly), and a vegan butter.

Need Egg Free? Use an egg placement mix (the Orgran one is great), or use another 1/2 a ripe banana and 3 tbsp of aquafaba. Add the egg replacement mix or the aquafaba in at the same time that you would add the butter, not at the blending stage.

Need Nut Free? Replace the almond meal with a seed meal, or 1/2 cup of roughly blended oats.

Enjoy ๐Ÿ™‚

P.S if you would like a chocolate version (and why wouldn’t you?! ๐Ÿ˜†) … Replace the almond meal with hazelnut meal, add in 2 tbsp of cocoa, 1/4 cup sugar and 2 tbsp more milk.

Cereal Bars

Knowing that I am always on the look out for delicious, nutritious food to feed my crew, my awesome Mum saw a recipe for a cereal bar on Facebook and tagged me in it:

They did look good – but I needed to make it fit our needs (and likes), so 15 minutes after I saw her tag I had my version in the oven! ๐Ÿ˜† You can find the original version here on Weetbix

It’s a great high energy, nutrient dense bar, that works really well (like you can see above) to fuel the biggest one who regularly does a day that includes school sport, 10km of bike riding, a game of footy immediately followed by an hour of parkour training. Yes. All in the same day. He is 15, 6 foot 2 and ACTIVE!

Mr Itchin’ Kitchen thinks they are delicious and has been happily taking them in his work lunchbox too.

The ingredients are all pantry staples for us and you can buy all of them at your regular grocery store.

  • 3 Weet-Bix, crushedโ€‹ (we use the sorghum gluten free Weet-Bix)
  • 50g butter/plant based butter
  • 125ml honeyโ€‹/maple syrup
  • 100g pumpkin seedsโ€‹
  • 2 heaped tbsp hemp seeds
  • 2 heaped tbsp chia seeds
  • 50g dried apricots, diced
  • 50g medjool dates, dicedโ€‹
  • 1 tsp vanilla bean paste
  • 75g rolled oatsโ€‹*
  • 75g self-raising flourโ€‹ (plain or Gluten Free)

Melt the butter, honey and vanilla over gentle heat. (Saucepan or microwave).

Add in the chia seeds, stir well and allow to sit for 5 minutes to thicken.

Mix together the remaining dry ingredients and dried fruit in a separate bowl.

Pour the dry mixture into the wet and combine until all of the dry mix is moistened. It will initially seem like not enough liquid, but keep stirring.

Place the mixture into a lined 20cm tin and smooth the surface, pressing down firmly with damp hands.

Bake in a 160ยฐC oven for about 25-30 minutes or until golden. Leave in the tin for 20minutes to cool before slicing.

We cut this one into 10โ€‹ bars.

Need it Gluten Free? Make sure you use a gluten free flour and use equal weight of either rolled quinoa or shredded coconut in place of the oats

Enjoy ๐Ÿ™‚

Crunchy Crumbles

These super speedy little bites are just slight sweet and deliciously crunchy.

They add great fats and proteins as well as some extra fibre and texture to yoghurt.

Add them to plain rolled or soaked oats too.

  • 2 heaped tbsp pumpkin seeds
  • 2 heaped tbsp hemp seeds
  • 2 tsp honey OR maple syrup

Place seeds in a hot frying pan.

Dry fry the seeds, stirring regularly until they start to brown … Watch carefully, it won’t take long!

Add in the honey and stir until all the seed are well coated.

Fry until the seeds are golden brown (only another minute or so).

20200716_134916

Remove from frying pan and spread out on a plate (don’t use kitchen paper or they stick!)

Place plate in the fridge or freezer for a few minutes until they have cooled.

20200716_140030

Then break up and sprinkle on.

20200716_141516

Keep the leftover crumbles in an airtight container in the fridge for a week.

This recipe has been included by Twinkl among their top picks for Healthy Lite Bites for Quick Snacking

If macros are important to you, here are the details for 1/4 of the mix.

20200716_193658

Baked Veggie Omelette

A little while ago I posted my Salmon Tart and I have had a few requests for a vegetarian version.

So, here is a my baked veggie omelette – you’ll need a frying pan that can transfer from the stove top into an oven.

I tend to make tarts like these so I have them on hand work work lunches โ€“ delicious cold or warm . Or if youโ€™re in a rush, grab a couple of slices out of the fridge and steam some extra greens โ€“ speedy and filling dinner!

  • 8 medium eggs
  • 1 large zucchini
  • 12 swiss brown mushrooms, finely sliced
  • 250g spinach
  • 1 tsp olive oil
  • 1 tbsp nutritional yeast
  • salt and pepper to taste
  • Optional: 50g grated tasty cheese

Heat the oil in the frying pan, then slice the zucchini into rounds and place into the frying pan.

Fry for 1 minutes until the first side is golden, then flip over the zucchini before adding in the mushrooms to the pan. Cook, stirring for another minute until the mushrooms start to soften. Then add the spinach to the pan.

20200621_112148
it’s a LOT of spinach!

Add in the salt, pepper and nutritional yeast and stir through to make sure the veggies are evenly coated.

Whisk together the eggs and then pour evenly over the veggies.

Turn the frying pan to a gentle heat and allow to cook until the side of the omelette just start to pull away from the sides of the pan – the top of the omelette will still be very wet at this point.

20200621_112137

Sprinkle the top with cheese if you wish before popping it in a pre-heated 180C oven for about 10 minutes or until the top just stops wobbling … Remember that the eggs will keep cooking while it is warm so if you leave it in the oven for too long you’ll get a rubbery omelette.

20200621_112125

Let it cool and then slice into 6.

20200607_102520
Store it in the fridge for about 3 days.

20200624_121128

If macros are important to you here are the details (which includes the cheese) for 1 slice, which is 1/6thย  of the omelette:

20200624_130455

Enjoy ๐Ÿ™‚

Berry Fruit Compote

So simple to make. Quick and delicious … and you can adapt it to whatever fruits you have lying around.

  • 1 cups frozen berries*
  • 1 medium apple or pear, finely diced
  • Lemon peel (peel into strips for easy removal)
  • 1 tsp vanilla bean paste
  • Optional: 1-2 tsp maple syrup

*if you are using fresh berries and not frozen, you’ll need to add a little splash of water when you first start cooking.

Place all ingredients into a small saucepan and turn on to a low heat.

Stir regularly until the juices from the berries release.

20200604_152018

Allow the mix to come to a simmer and then leave to a very gentle simmer for about 10 minutes, stirring occasionally. Leave the saucepan partially covered with the lid to stop it splattering!

It is ready when you can very easily slide a fork through the apple and the juices in the pan are becoming thick and sticky.

Remove the lemon peel and if you want a smoother compote, use a potato masher to crush down the fruit.

20200605_104443

Thermo Cooking instructions:

Place all ingredients into a bowl and turn on to Speed 2, 100C. For about 10-12 minutes.

Remove the lemon peel. If you want smoother compote, turn off heating, increase speed to 4, in 5 second bursts until you are happy with the texture, scraping down the sides as required.

—–

Serve warm on cakes, scones or pancakes, or allow to cool and serve with yoghurt, custard or ice cream … or just eat it on it’s own!!

20200605_104331

Enjoy ๐Ÿ™‚

Salmon Tart

I love a good veg tart.

So simple to make and I love the way that you can bulk them up with whatever you had on hand – so they’re budget friendly too!

I tend to make tarts like these so I have them on hand work work lunches – delicious cold (so I don’t stink out my office colleagues!) or warm (for those days I work at home). Or if you’re in a rush, grab a couple of slices out of the freezer and steam some extra greens – speedy and filling dinner!

  • 7 medium eggs
  • 130g (approx) salmon fillet*
  • 150g broccoli
  • 3 large celery sticks
  • 20g olive oil
  • 25g milk of choice (I mostly use unsweetened high protein almond milk)
  • 1 tsp freshly chopped dill
  • salt and pepper to taste

*If you don’t have a salmon fillet, just used plain tinned salmon, and skip the cooking part.

Start by pan cooking the salmon, so it is almost cooked – it will finish in the oven. Then break it in to small pieces.

Steam your broccoli – I did a couple of minutes in the microwave. And then use a knife to diced it evenly.

Finely dice your celery.

Place the broccoli, celery and salmon into a bowl.

In a separate bowl (I prefer a decent sized measuring jug because it pours well), break all of your eggs. Then add in the dill, salt and pepper, milk and oil and then whisk really well.

Pour the egg mix into the salmon and veg mix and then fold together until even.

20200524_134443

Pour into a lined baking dish (21cm x 21cm) and place into a preheated 180C oven.

Bake for about 25 minutes or until it is golden and the egg is mostly set …. as the egg is still hot it will continue to cook as it cools when you remove it from the oven.

20200524_134422

Allow to cool a little before slicing into 9 squares.

20200524_140348

You can gently reheat this one in a microwave from the fridge. Or if you are going to freeze it, lay it between 2 sheets of kitchen paper before you do, as this will help to absorb the ice crystals as it defrosts.

20200524_140324

If macros are important to you, here are the details for 1 slice (that is 1/9 of the total dish)

20200524_142250


If you want an easy switch to make this a vegetarian option, omit the salmon and replace with a few handfuls of sliced mushrooms – I like the swiss brown variety!

Enjoy ๐Ÿ™‚

Baked Cauliflower, Broccoli, Miso ‘Bread’

I think will be a recipe that divides you!

I adore it and my husband is totally won over (despite the way he looked at me when I first told him about it!). But I think it might be the worst thing he’s ever heard of, according to my dad!

Where will you sit I wonder? Are you game to give it a try?!

Lots of people choose not to eat traditional bread, because they are wary of carbohydrate levels, or their bodies don’t respond well through either allergies or intolerances.

Me? I love bread. I don’t eat it often, but when I do, I relish it! Seeded sourdough rye is my favourite!!! Especially with avo ….yuum!

So why this recipe then? Well I have seen recipes around for wraps or bread sticks or pizza bases using cauliflower (like this one …ย  but too much dairy for us) and you know that I LOVE anything that involves cauliflower!

I love to include a variety of veggies in our meals and since there is more and more information around about the potential benefits of fermented food, I’ve been playing more with Miso paste.

I think it’s quite possible that the outrageous health and healing claims that abound about the miracle properties of fermented food could be over-stretching it! But it does seem likely that there is certainly some health benefit to these foods. Since, due to allergies, cabbage is right out for us (no kimchi or sauerkraut here!), yoghurt and miso are our go-to ferments.

The recipe isn’t going to replace your morning toast but it is a great option if you need a naan bread type option for curries or if you want to change up your lunches a bit.

  • 350g cauliflower
  • 150g broccoli
  • 1/2 cup (20g) Nutritional yeast
  • 40g white miso paste
  • 2 medium eggs

Wash the cauliflower and broccoli and let it drain before patting it dry – you don’t want any extra moisture in this recipe.

Put it in to the food processor/blender/thermo machine and process until fine (Speed 4, 10 seconds, scrape down and repeat)

20200221_090911

Add in the nutritional yeast and miso and process again until the miso is well combined (Speed, 4, 6 seconds)

While the machine is still processing add in the 2 eggs through the top chute and continue to process.

It won’t initially look like enough egg … but keep processing (on Speed 4 or 5) for a little longer – it will come together!

20200221_091330

Spread the mixture out onto a large, lined baking tray. It needs to be even and fairly thin spread – about 3 to 4mm thick. Then place in to a preheated 180C oven

20200223_130004

Cook for about 20 minutes before removing from the oven and gently scoring into 8 pieces – this make it much easier to flip and helps with even cooking.

20200223_134003

Flip the pieces over and return to oven for a further 10 minutes. Until golden brown.

Remove from oven and allow to cool on tray for 10 minutes.

20200223_145419

Serve warm or cold.

20200223_145519

Our favourite way to eat it is slightly warm, and layered with a bit of tinned salmon or topped with some avocado and tomato. Yum!

If you aren’t using this all straight away, it does not freeze well, but it does keep well in the fridge for a couple of days – place some kitchen paper in the air tight container to help absorb any moisture and then reheat gently.

**If you don’t have a food processor, or similar: Grate the veg as finely as you can, mix the yeast and miso well, then whisk the eggs well before adding in and keep stirring until you bring it all together

If Macros are important to you, here are the details for 1 slice, that is 1/8th of the recipe:

20200227_060231


Enjoy …. and let me know if you were brave enough to try!!


J

Egg Wraps

A couple of months ago I saw Michael Mosely’s idea of using what is essentially a very thin spread omelette base to use as a substitute for a grain based wrap.

Pretty cool if you need to avoid gluten (several of us). Or if you need to keep an eye on your carbohydrate intake (eg managing diabetes).

Except 1 single egg wasn’t really enough for a meal for my husband or I so, to make a more filling option that gives a decent vegetarian source of protein with your meal … this is how we make ours:

  • 2 medium eggs
  • 1 tsp hemp seeds
  • 2 tsp nutritional yeast
  • pinch flaked salt
  • 1/2 tsp Italian style herbs, or 1 tsp fresh chopped thyme
  • optional: small spray of olive oil

Whisk the eggs together, then add in all the other ingredients and whisk again until well combined and frothy.

If you’re not sure about how non-stick your frying pan is, then give it a little spray of olive oil and set to a medium heat.

Pour in the egg mix and swirl around the pan until it is evenly distributed over the whole base.

20200127_114712

Allow to cook gently for about a minute, then test that the side of the egg are well cooked, slide a spatula underneath to the centre and then flip it over to briefly cook the other side.

20200209_112719

Remove from heat and lay on plate. Eat warm or cold.

Treat it like a normal wheat based wrap – We fill ours with a variety of salad and it keeps us full of ages – plus … it’s really delicious! And as a bonusย  – it is WAY more flexible than your average gluten free wrap!

20200127_144153

20200209_112746

You can make several in advance and store them in the fridge for a couple of days – lay a paper towel between each one for storage.

Enjoy!

20200209_112836

If Macros are important to you … are are the details for just the wrap – you will need to account for your own fillings:

20200209_112644

Pear, Pomegranate & Date Overnight Oats

Every year in January our extended family gathers at the beach for breakfast to remember my Grandad on his birthday.

20200126_125419

It’s always a bring and share affair; fruit, savoury muffins, bacon and eggs, pancakes … And I’m pretty well not allowed to attend without bringing some form of fruity overnight oats.

This is the one I took this year.

It’s a super simple way to make a delicious, filling, summer breakfast when you are short on time in the mornings (ok โ€“ so every morning then?!).

  • 2 cups rolled oats
  • 2 cups unsweetened almond milk (or other milk of choice)
  • 1 tsp ground cinnamon
  • 1 large very ripe green pear, grated
  • 1 pomegranate, seeded
  • 6 medjool dates, quarted
  • Small handful of dry roasted almonds (or sunflower seeds), roughly chopped
  • 1 heaped tbsp each pumpkin seeds and hemp seeds
  • Several mint leaves, torn

Place the oats, milk and cinnamonย in a bowl and mix together. Cover and place in the fridge over night, or for at least 2 hours.

In the morning, fluff up the oats with a fork, then grate the pear and stir it though.

20180101_094424

Top with the fruit, nuts and seeds and then mint and serve.

20200126_125339

Add a spoon of your favourite yoghurt (dairy, soy or coconut) if youโ€™d like too.

Serves 8

Enjoy ๐Ÿ™‚

Fragrant Stewed Apples (and the best ever apple sauce!)

Such simple comfort food!

We often wind up making this recipe when the apples (or pears!) we’ve bought are really floury or soft but we don’t want them to go to waste. My biggest little one is very excited whenever this recipe appears. He has Oral Allergy Syndrome and reacts quite badly to raw apple, but cooked he can handle it!!

Like most of my recipes I take the simple (lazy?!) option!

As well as taking less time, leavingย  the skin on the fruit is terrific for the added fibre and nutrients. Very simple, and you don’t need to add any extra sweeteners.

  • 6 apples (whichever kind you like)
  • Slices of the peel of 1 lemon or orange
  • 1 tsp of ground cinnamon
  • 6 cloves
  • 1/4 cup water

Thermal Cooker Method: Core and slice the apples, place them in the machine, sprinkle over cinnamon and cloves. Then use a peeler to remove the yellow layer only of the lemon. Add the strips to the top of the apples.

20200116_205652

Add in the water and set for 15 minutes, speed 1, ST.

Stove top method: place all of the ingredients into a large sauce pan, cook, stirring frequently, with the lid on in between stirring. Will take about 15-20 minutes on the stove.

Microwave method: place all of the ingredients into a microwave safe container, cook, on high for about 5 minutes.

If you want a sweeter fruit desert, add in a handful of sultanas during the last few minutes of cooking.

20200116_212638

Place in an air tight container in the fridge and use for up to a week. Remove the peel and cloves before serving.

If you want a most delicious, fragrant, thick apple sauce instead, follow the same steps as above, then remove the citrus rind and either transfer to a blender or set a speed 4 for 15 seconds, scrape down and repeat.

20200118_210422

How can I use stewed apples?

  • Eat them on their own!
  • Mix it with yoghurt for breakfast or dessert
  • Use it as a topping for your soaked overnight oats
  • Add it to your cereal
  • Add in some roasted, crunchy nuts and have it for an afternoon ‘pick-me-up’
  • Serve it as a side to a soft tea cake

And the sauce?

  • Perfect if you’re doing baby food
  • Mix it through yoghurt
  • Use it as an egg or sugar replacer in cakes and baking (check out my Apple, Pumpkin and Oat muffins, or my Maple Cinnamon Weet-bix slice)
  • Use it with you next pork roast or pulled pork burgers.
  • Freeze it in ice cube trays so you can grab it out at short notice

20200118_205715
Delicious with yoghurt for dessert!

Enjoy ๐Ÿ™‚