Banana Bread

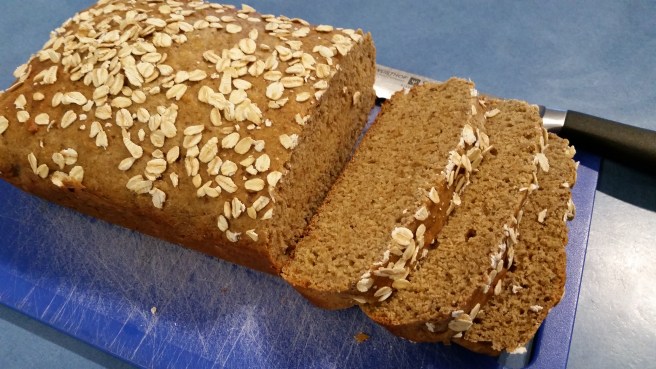
Banana bread sounds good in theory right? It’s fruit – it must be healthy.

Nope, sorry. Most banana breads that you find in cafes are pretty well just glorified cake …. don’t get me wrong – they are super delicious, but just the healthy choice people think they’re making!

This recipe is a lot lower in sugar and has lot of extra goodies added to it. Still super delicious, but I am really happy to pop this one in lunch-boxes or enjoy at brunch or with an afternoon cuppa.

See below the recipe for a coeliac friendly option.

  • 2 cups flour (Plain flour is fine but I have used mixes of spelt, barley and rye and they all work well too)
  • 1/3 cup sugar (optional, but add it in if you’re a sweet tooth!)
  • 2 rounded tsp GF baking powder
  • 1/2 tsp salt
  • 1 tsp cinnamon/mixed spice
  • 1/2 cup milk of choice (oat, almond and rice work well)
  • 1 tsp apple cider vinegar
  • 2 medium, very ripe, bananas, mashed
  • 75g vegan butter/tasteless coconut oil
  • 50g maple syrup or honey*
  • 1 tsp vanilla bean paste
  • 3 tbsp seeds (use whichever are your favourite – process these first if you’d like less obvious bits). A small handful of chopped walnuts also works well here.
  • 3 tbsp aquafaba (liquid drained from a can of chick peas) OR 1 whole egg
  • rolled oats to top (or more sliced banana)

Into a large bowl add all of the dry ingredients. I don’t do sifting (ever if at all possible!), so I use a whisk to gently mix this dry mixture until it’s even.

In a large measuring jug, mix the milk and the vinegar and whisk vigorously for a minute. It should become slightly thicker and have lots of frothy bubbles on top. Then set aside for a few (3-4) minutes. Or blitz in your blender/nutribullet for a few seconds.

To the milk mix, add the mashed banana, oil, syrup, aquafaba/egg and vanilla and whisk until well combined. (or another few seconds in the blender/nutribullet)

*If you’d like an alternative to the honey or syrup, you can blend in 6 medjool dates to the wet mix

20190720_093930

Add the wet ingredients to the dry, folding them in until just combined – don’t over mix.

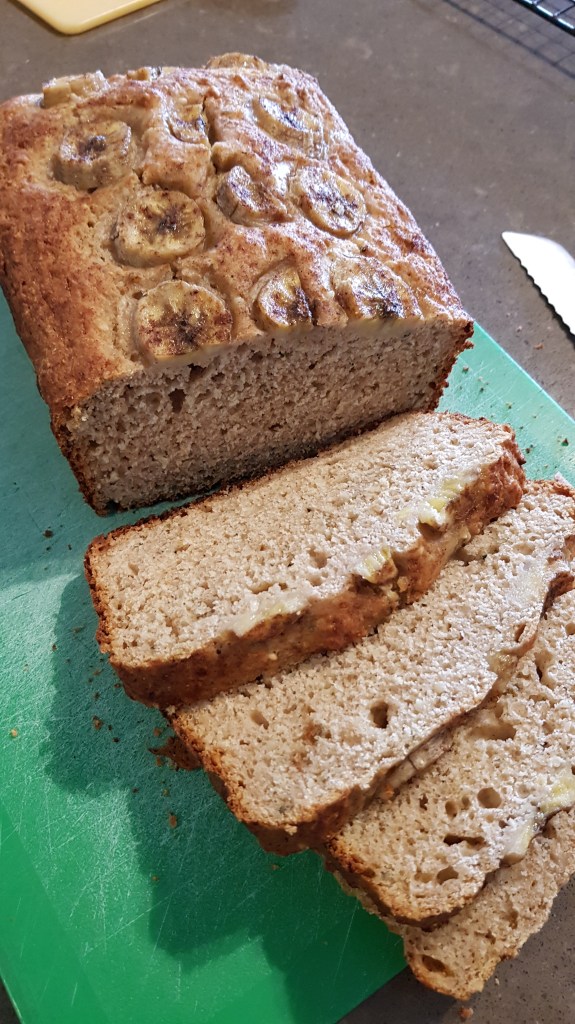
Pour into a large greased loaf pan, sprinkle oats on top and bake at 180C for about an hour, or until a skewer, inserted in the middle comes out clean.

20170430_120053

Allow to cool in the tin for 10 minutes before transferring to a wire rack for another 10-15 minutes.

20190720_132446

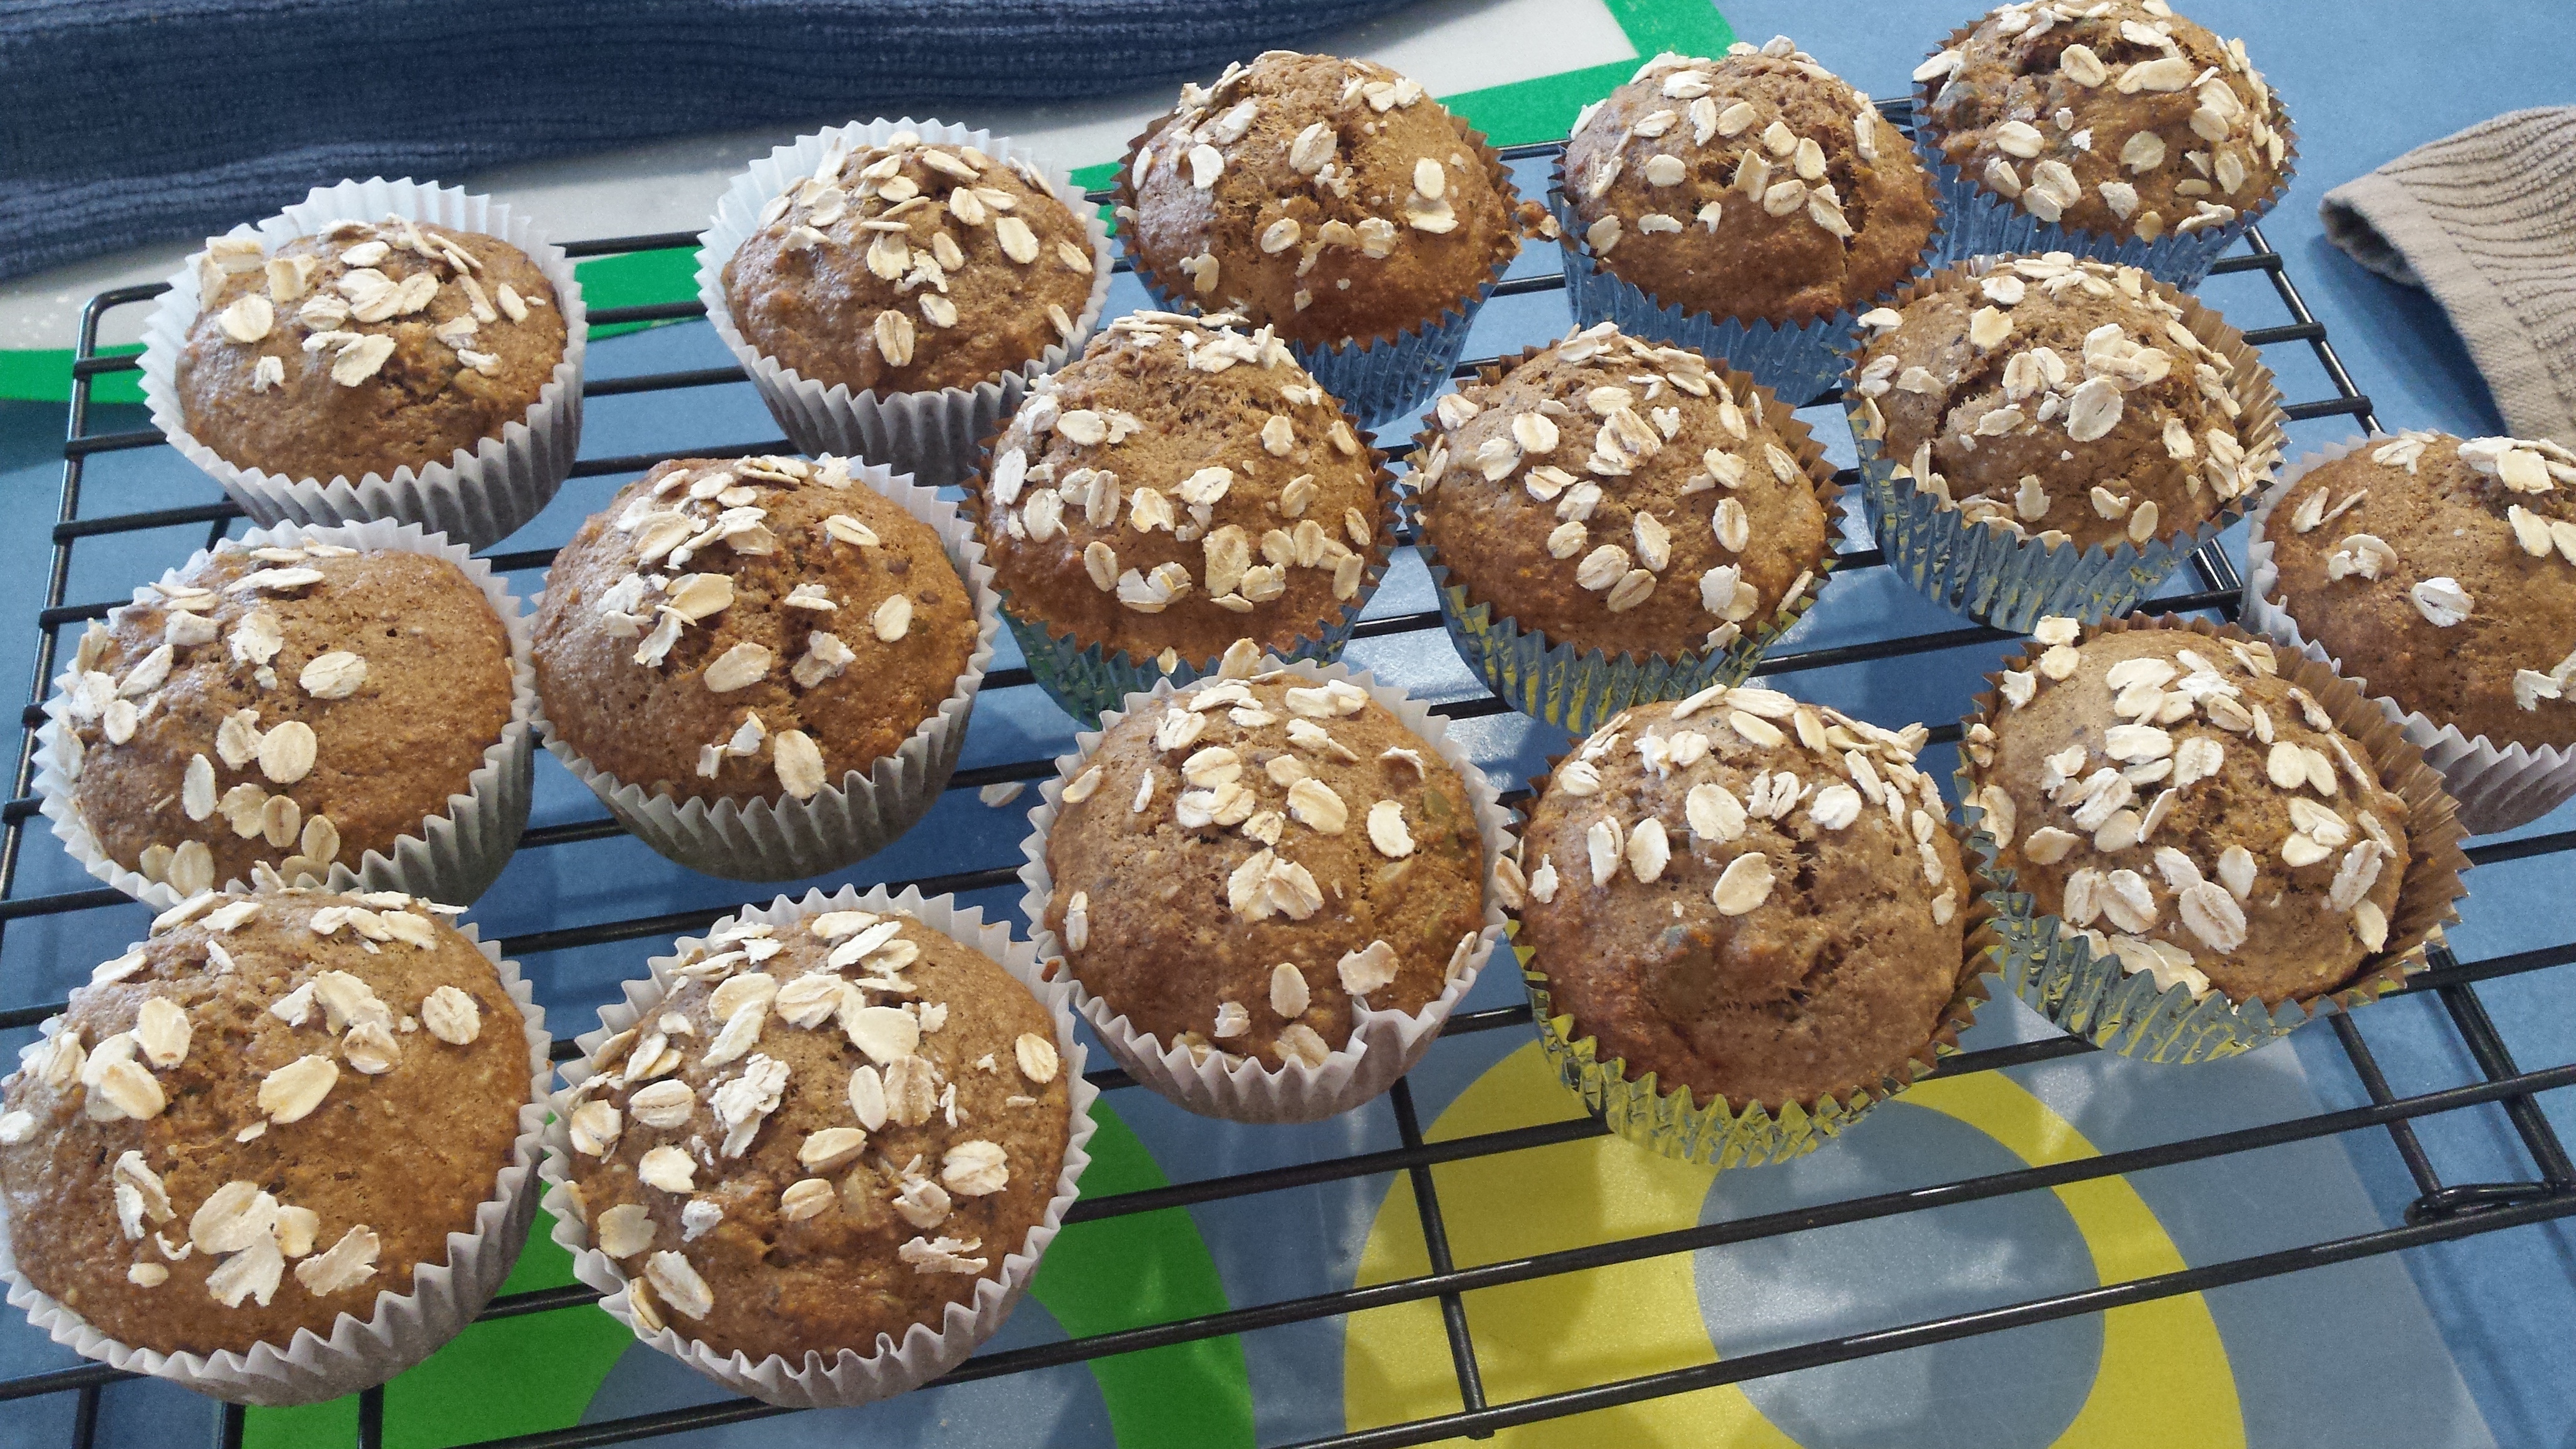
I also make these into muffins when I don’t have as much baking time – makes 18-20.

20151106_153616

This is yummy as is, or with a bit of butter, or even toasted. It freezes and defrosts well, just slice and wrap individually before freezing.

Enjoy … as I currently am, with a cuppa 🙂

To make these coeliac friendly, use 1 2/3 cups of GF flour mix (I like Bobs Red Mill All purpose baking flour) plus 2 flat tsp of psyllium and make sure you use a gluten free milk then top with rolled quinoa or use the extra banana option.

20190720_105755.jpg

To make these in a thermal cooker:

Whisk the milk and vinegar and set aside (Speed 4, 10 seconds).

Place the bananas, oil, vanilla, aquafaba/egg and syrup in the bowl and process on speed 5 for 8 seconds.

Add in milk mixture and process on speed 4 for 8 seconds. Then set aside the wet mix.

Add all of the dry ingredients to the machine and process on speed 4 for 8 seconds.

Add the wet mix back into the dry and process on speed 4 for 6 seconds, the scrape down and repeat.

Bake as per regular method.

Gingerbread Cookies

IMG_0812

I love cooking gingerbread at Christmas time. I am looking forward to making a gingerbread house with my kids soon too! I’ve adapted an already adapted recipe based on Sheriden Rogers ‘Entertaining at Home’ (1994 p143 – I think!) that my friend gave me. After the results of my recipe, I can only imagine how yummy the ‘normal’ version is. The kids loved helping with the cookie cutters.

This gingerbread is crunchy on the outside and soft on the inside. It’s hard to even tell it doesn’t have ‘normal’ ingredients in it. This is a big amount of dough so I usually divide it in half and get about 50 small cookies (I use the Tupperware cookie cutters as pictured).

250g dairy free spread
185g brown sugar
2 eggs worth of egg replacer
300g honey
750g plain g.f. flour
pinch salt
3 tsp ground ginger
2 tsp ground cinnamon
1/2 tsp ground allspice
3 tsp bicarbonate of soda dissolved in
125ml boiling water

Preheat oven to 170 degrees Celcius (325F)
Cream dairy free spread and sugar until light and fluffy (use a large bowl and a mixmaster/kitchenaid is best)
Beat in egg replacer
Add honey and mix
Sift together dry ingredients and then add to mixture in parts alternating with dissolved bicarb soda
If dough feels too soft, add a bit more flour
Refrigerate for 2 hours – overnight
Roll dough out and cut out with cookie cutters
Place on trays with baking paper lining
Cook until lightly browned (about 20min)
Remove from oven but leave on tray for 5 mins before transferring to a wire rack.

Tips – I found the dough got easier to work with after it had been out of the fridge for a couple of minutes.
– If you are using normal flour you might need a bit more to make it into a dough. When I made it this week, I had to add quite a bit. I would add more of the spices next time too.

Overnight Oats – breakfast heaven!!

It is getting hot in the desert, which means that porridge for breakfast isn’t so appealing any more.

I am keen to stick with oats as they are a great, filling and easy, low GI breakfast, but I just don’t love muesli without cows milk.

So it is overnight oats to the rescue – they’re soaked to soften them instead of cooking.

This will be breakfast (and possibly lunch!) all summer at my place – hope you delight in it as much as we do 🙂

  • 150ml almond milk (soy/oat/rice milks work too, if nuts are out)
  • 50g oats
  • 1/2 tsp ground cinnamon
  • 1 tbps honey (agave/maple for a vegan version)
  • 1 tsp vanilla bean paste
  • 1 tbsp chia seeds, and
  • diced fruit to top (I’ve been using blueberries, strawberries and mango)

Mix the oats and milk in a glass container, then add in honey, cinnamon and vanilla and stir well.

Leave overnight in the fridge.

Just before serving in the morning mix through the chia seeds and top with fruit.

Serves 2.

I have also made this for lunch (on more than one occasion!). Just mix up in the morning and allow at least 4 hours in the fridge.

Nigella’s Spanish Chicken

I am a bit of a fan of Nigella Lawson.

Lately I have been enjoying watching the re-runs of her Kitchen series on iview while I do Ellie’s dream-feed.

Usually I can only dream of eating most of the things she cooks, but then the other night I saw her make this meal and was so excited that I could make it with only a few changes that I re-watched the episode and wrote it down after Ellie was back in bed.

It was very well received in our house, despite initial objections from the two fusspots!

  • 8 skinless chicken thighs, left whole
  • 4 spicy chorizo sausages cut in to bite size pieces (check they meet your allergy requirements as they all have different ingredients)
  • 2 large potatoes cut in to bite size pieces
  • approx 1 tsp dried oregano, and
  • zest of 1 orange, finely grated.

Place all ingredients into baking pan. Make sure they are packed in quite tightly as you want it all to roast in the spicy oils from the chorizo.

Sprinkle with oregano and zest, then place in a pre-heated oven at 200 degrees for about an hour, or until chicken and potatoes are golden brown. Using tongs,  turn the meat and veg after about half an hour to make sure they are evenly covered.

I served with a salad of baby spinach leaves and diced roma tomatoes, dressed with extra virgin olive oil, a splash of red wine vinegar and a pinch of salt flakes.

This serves about 6 adults.

Salmon and roast vegetable quinoa

My friend Amy introduced me to quinoa (pronounced ‘keen-wah’) a couple of years ago as I was desperately searching for some allergy friendly variety for our diets … and I am SO glad she did!!

It is an amazing seed – a real super-food; high in amino acids and full of protein, iron and calcium and a great source of low GI gluten-free fibre. For all of these reasons it has become a regular feature on our menu. Quinoa has a lovely nutty taste – almost like a mix between the chewiness of barley and the fluffiness of cous cous. It can have a bitter taste, but that is easily fixed by soaking and rinsing before you cook it.

This is one of my favourite quinoa recipes;

Salmon and roast vegetable quinoa.

  • 1.5 cups quinoa (I use the white variety, but it also comes in black and red)
  • spray oil
  • 2 tbsp extra virgin olive oil
  • salt and pepper
  • 2 tsp Massel chicken stock
  • dill (to taste)
  • 1 large tin of salmon, bones and skin removed, flaked
  • 1 large zucchini
  • 1.5 punnets cherry or grape tomatoes
  • pumpkin

Place the quinoa in a large saucepan and cover with about 2L of water. Allow to soak for at least an hour (mine often sits for a few hours before I get back to it!), then drain and rinse well.

While the quinoa is soaking, cut up the vegetables (leave the tomatoes whole) and place in a large baking dish. Spray with oil and season with salt and pepper. Roast in a pre-heated 180 C oven for about an hour, or until they are just cooked (you don’t want them to get too squishy).

Return the drained quinoa to the saucepan and cover in 4 cups chicken stock. Bring to a boil and then reduce to a simmer for about 15 mins. Drain the excess stock.

Add the salmon, dill and olive oil to the saucepan and gently mix through on a low heat.

Serve the quinoa into bowls and top with the roast veggies.

Serves 4-5

Lemon Thyme Mushroom Linguine

A few months ago my sister-in-law came to stay, which was lovely, but she is a vegan …. so my challenge for the week she was here was to cook vegan food that was also soy and gluten-free, that satisfied my rather carnivorous husband and that actually tasted good.  A scary challenge! But we did ok and we have continued to make some of the meals we shared with her – this is now Will’s favourite dinner.

It is an adaptation of a recipe that I saw on ‘Nigella Kitchen’.

  • 50ml garlic infused olive oil
  • 500g sliced mushrooms (I use a mix of Button and Swiss Brown)
  • salt and pepper
  • 3 sprigs of thyme, leaves finely chopped
  • zest and juice of 1 large lemon
  • steamed green beans
  • GF linguine

Place the mushrooms in a large mixing bowl, add in the oil, herbs and lemon. Mix well so that the mushrooms are all coated.

Cover mushrooms and allow to infuse for a couple of hours (or at least 30mins if you are short of time).

Heat a large frying pan and tip in the mushrooms, cooking until soft.

Add steamed beans to the frying pan and stir through (don’t leave them too long because there’s a better contrast if the beans are still a bit crunchy).

Cook the linguine, drain and serve. Add mushroom mix to the top. Make sure you don’t waste any of the yummy pan juices – pour them over the top!

Serve and eat immediately.

Serves 4.

Roast Lamb

I love a good roast … trouble is, that as well as being a bit of an organise freak, I am also somewhat of a clean freak … which means that I don’t like letting my oven get dirty! So when I discovered how simple it was to cook a huge leg of lamb outside in the bbq I was very excited!

I use quite a large leg (about 2.5kg), then when it is cooked I carve it all up and freeze it in a couple of separate batches. It thaws well and it is great to be able to have a roast ready at such short notice!

  • Leg of lamb
  • 2 tbsp olive oil
  • ground salt
  • ground black pepper
  • fresh rosemary (before I had it growing in my garden, I used the dried variety and it works just fine)

Pre-heat the covered bbq to approx 180 degrees C.

Place the lamb in large baking dish, mix together the oil, salt, pepper and rosemary and rub into the lamb.

Place the baking dish on the bbq plate and turn off the burners that are directly underneath it. (I place the dish on the bbq plate on the left and only use the burners under the grill on the right going), then close the cover.

Leave to cook for about 30mins per 500g for a medium cooked roast. Do 5 mins less for 500g for a rare roast or 5 mins more for well done. Try to avoid lifting the cover of the bbq as you lose a lot of the heat each time.

The roast is cooked to medium when you stick a knife in and the juice runs out clear.

After cooking, cover in foil and leave to sit for 20-30mins before carving.

Serve with roast veggies and gravy.

Now all I need to do is learn how to carve properly 😉

Nut -free Satay Chicken

My husband calls my satay sauce ‘frautay sauce’ (fraudulent satay‘).

To be honest, I don’t really mind what he chooses to call it because it is really yummy and everyone loves it … we have even had dinner guests eat it and then look at my kids in horror and say ‘Oh no – but they can’t eat peanuts!’, not realising that it was this substitute.

See below the recipe for a Thermal Cooker method.

  • 1tsp olive oil
  • 1 sml brown onion, finely chopped
  • 2 cloves garlic, crushed
  • 1 small fresh red chilli, finely chopped (remove the seeds if you don’t want too much heat)
  • 3 tbsp Sunflower seed butter
  • 1/3 cup water
  • 2 tbsp lemon juice (about 1/2 a lemon)
  • 1 tsp balsamic vinegar, and
  • 1/2 tsp coconut sugar

Heat oil in a small saucepan over medium heat. Add onion and cook, stirring until onion is soft and golden.

Add garlic and chilli and cook for 1 minute.

Remove from heat and seed butter and stir to combine.

Return to low heat and add water, lemon juice, vinegar and sugar.

Cook, stirring for about 3 minutes until sauce thickens.

To make the satay chicken, I just wait until the sauce cools, then put about 1/3 of it aside. Use the remaining 2/3 to marinate strips of chicken thigh and leave covered in the fridge for 2 hours.

Thread chicken strips on to bamboo skewers (soak them in water before hand so that they don’t burn when cooking) and cook on the bbq.

I serve with steamed veggies on a bed of rice and top with remaining sauce.

The sauce makes about 3/4 of a cup and I use about 400g of chicken thighs, which is enough to feed all 5 of us, with one or two left over for lunch the next day.

To adapt for a Thermal Cooker:

Place onions, garlic and chilli in bowl and use speed 6 for 8 seconds.

Scrape down sides and add oil. Saute on 100C, speed 1 for about 4 minutes, or until onions are soft and golden.

Add in the sunflower seed butter and mix on speed 4 for 10 seconds.

Add water, lemon juice, vinegar and sugar. Cook on speed 1, 90C for about 6 minutes to allow the sauce to thicken.

(Not so) Fried Rice

‘The best dinner in the whole world of ever time’ …. This is how Will describes my fried rice.  So nice when you get something right!!

This is a fairly regular feature on our menu because; it’s a meal that everyone loves, is easy to make, can be easily adjusted to cater for allergies, you can make most of it in advance, you can make it in bulk, it freezes well for emergency dinners later on and it is a muuuuch healthier option than the Fried Rice you’d get in a restaurant! What is not to love?!

  • 2 cups brown rice*
  • 4 cups of finely chopped veggies (peas, corn, carrots and bean shoots are our regulars)
  • 200g sliced mushrooms
  • 3-4 diced chicken thighs
  • 6 rashers short cut bacon, diced
  • finely grated, fresh ginger, to taste
  • 1/2 brown onion, finely chopped
  • 1/3 cup coconut aminos
  • 2 tbsp garlic olive oil
  • 1/2 cup chicken stock (Massel for a store bought variety)

We have recently been increasing the veg to 6 cups and leaving out the chicken, to make this a cheaper meal. To make it a completely vegan meal we simply leave out the meat and double the mushrooms.

*We prefer to eat Brown rice, but if your family prefers white, go with Basmati.


20161112_173856

The night before (if possible, but even a couple of hours before is ok), cook the rice so that it is just tender, rinse and drain it well, then spread it out evenly in a baking dish and refrigerate.

Heat the oil in a large frying pan, add the onion, chicken and bacon and cook for a few minutes. Then add the ginger and aminos. Cook until the chicken is browned, then add in the sliced mushrooms. Continue to cook, stirring, until the chicken is cooked through.

Separately, steam veggies and keep aside.

Just before dinner (if you’ve made up to this point in advance), reheat meat in the frying pan, add rice,  stock and warm over low heat for a couple of minutes. Stir in meat, mushrooms and veggies.

If your diet allows, you could also mix through some fried and chopped up egg.

It takes a few minutes to all warm through. This quantity easily makes 2 meals for all 6 of us.

20170519_171345

Hugh’s muesli bars

I mostly pack my own snack for our morning outing when I pack the boys lunch boxes the night before, that way there’s not as much temptation to cave in and buy pre prepared stuff that isn’t so great for me – especially when I know how yummy the snacks ready waiting for me are.

To aid in my baking adventures, I was given the River Cottage ‘Everyday’ cookbook for mother’s day (I have to confess that I am a little bit in love with Hugh and I often wish I lived at River Cottage … but given that I live in the middle of the desert and that I am a real veggie growing novice, I am just making do with some of his amazing recipes for now!). This muesli bar recipe is adapted from one of the recipes that I first saw on his show.

It is probably more of a ‘grown ups’ recipe but I have taken to packing some for my boys when I have them because otherwise they just pinch mine!

  • 250g nuttelex/butter
  • 250g Sunflower seed butter 
  • 1/2 cup honey/maple syrup
  • zest of 2 oranges and 2 lemons (I mix and match with lime too, depending on what’s hiding in my fridge)

Mix all above ingredients in a large saucepan and cook over low heat until all melted and mixed together.

Remove from heat and add;

  • 2 1/2 cups diced dried fruit (I’ve just used sultanas, dates, apricots and cranberries)
  • 75g sunflower seeds
  • 100g pumpkin seeds
  • 75g flax seeds
  • 75g chia seeds, and
  • 400g rolled oats.

Stir in thoroughly, press the mixture down firmly into a greased baking pan and cook in a preheated oven at 160 C for approx 45 mins, or until golden.

Allow to cool completely before cutting into bars.

I find it’s best to leave it in the fridge for an hour or so before I cut it up, then store it in the fridge in an airtight container and it keeps well for a fortnight.

This makes a large batch and it is quite calorie dense, but because of all the protein and good fats it is filling and you don’t need a huge serving to be satisfied. Great for school lunchboxes when you’re at a ‘nut-free school and it can also serve as a quick and filling breakfast.

To make this Coeliac Friendly replace the oats with equal weight of a mix of puffed rice, rolled quinoa and desiccated coconut.