We love salmon here so we’re always looking for different ways to enjoy it … And this simple, low mess way was a huge success!
Hope you like it as much as we did!
2 fillets de-boned salmon (ours were roughly 140g ea)
2 tbsp coconut aminos
1 tsp garlic olive oil
1 tsp red Thai paste
1 small lime
1/2 tsp sunflower seed butter (or peanut butter)
2 tsp coconut cream
Preheat oven to 180C.
Lay salmon, skin side down on foil sheet.
Mix together the aminos, oil, thai paste and the finely grate zest and juice from the lime.
Spoon over the salmon and then close up the foil making sealed packets around the salmon.
Place in the oven and cook for 15-20mins or until just cooked through (thickness of the fillets will impact the cooking time).
Remove from oven and pour juices from foil packets into a small bowl, add to the hot juices the seed butter and coconut cream. Stir well, until smooth and well combined.
Serve the salmon with steamed veg of choice, drizzled with the creamy sauce.
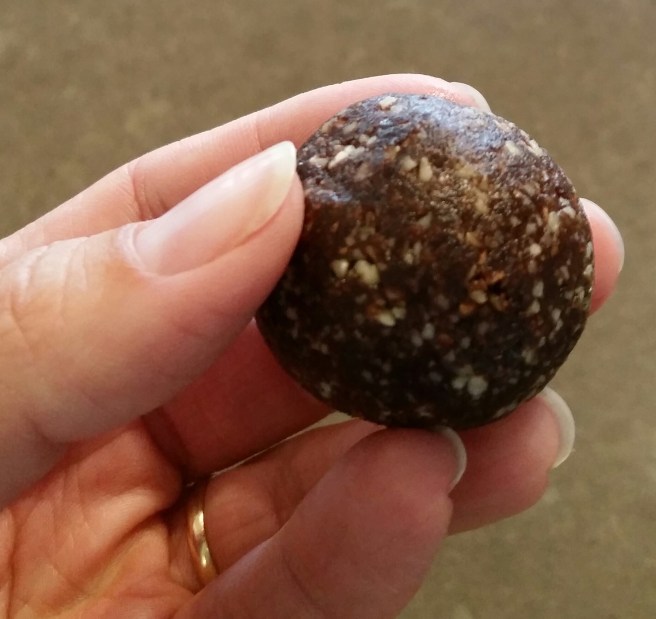
These are the go to chocolate fix in our house. They are miss Ellie’s absolutely favourite and she usually pinches a couple of balls worth of mix from the machine before I even get to roll them! And mister George has learned how to find them in the fridge very quickly when mummy goes out to the washing line 😉
Quick and easy to whip up and they are actually a satisfying choc fix that won’t lead to a sugar crash later down the track!
See below the main recipe for my Christmas variation too!
200g natural almonds OR roasted sunflower seeds
50g pepitas
30g hemp seeds*
30g cocoa powder (or 20g cacao)
1/2 tsp ground cinnamon
1 tsp vanilla bean paste
12 medjool dates, pitted (roughly 300g)
Mixed spice coconut sugar for dusting (optional).
*If you aren’t using hemp seeds, just use 80g pumpkin seeds.
If you are using sunflower seeds in place of the almonds, toast them first, either in a dry frying pan or under the grill in the oven until they are golden. Watch them carefully – they don’t take long!
Place almonds, seeds, cocoa and cinnamon in the food processor and process until fine and crumbly. (Speed 10, 10 secs)
Add dates and vanilla beans through chute at the top whilst processing and continue until well combined. (Use speed 4 whilst adding the dates then increase slowly up to speed 6 for 15 sec on bursts)
The ‘wetness’ of the mixture hugely depends on the moisture content and size of the dates you use, so test the mixture – when squeezed together it should easily form into a ball. Mine was slightly too dry so I needed an addition of 1 tsp water and another quick blitz.
Tip – if your dates are really cold from the fridge they won’t be as sticky. Either allow them to come to room temperature, or pop them in the microwave for just a few seconds until they are at room temperature – they’ll bind much more effectively!
Form the mixture into small balls and then roll in a covering if you desire. We mostly leave these plain, but occasionally we make up a mix of coconut sugar and mixed spice (about a 5:1 ratio) and sprinkle it over.
Makes about 20. Store in an airtight container in the fridge. They can keep for 2 weeks … not likely in my house 😀
If you’re in a hurry and don’t have the time to roll balls, press the mix firmly into a baking dish and pop in the freezer for half an hour begged cutting into squares.
For a Christmassy flavoured bliss ball: Remove 1 date and replace it with a small handful of dried cranberries. Replace the vanilla with the finely grated zest of half an orange and replace the cinnamon with 1/3 tsp of ground cloves.
Fair warning. If you start, you’ll probably not be able to walk away! I made a batch of this for my dad for Father’s Day …. and then had to promptly make another batch after it sat on the bench and my 4 little people discovered it!!
Air pop the kernels. Place in a large baking tray.
Preheat the oven to 215C.
Mix the remaining ingredients together in a saucepan and heat gently, stirring until the mix is completely melted and smooth (speed 2, 100C, approx 90 secs)
Pour mix over the popcorn and mix well to coat.
Optional: if you like sweet and salty together, you can sprinkle over 1/2 tsp of pink salt flakes here.
Place into oven. For about 4 minutes.
Remove from oven and stir again, then return to oven for a further 4-5 minutes.
Allow to cool completely before storing in an air tight container.
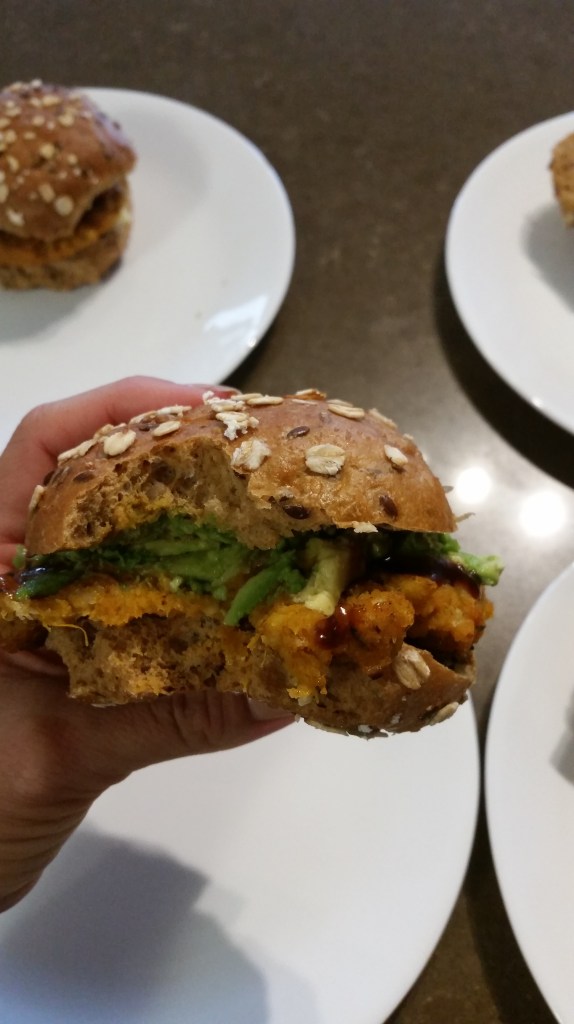
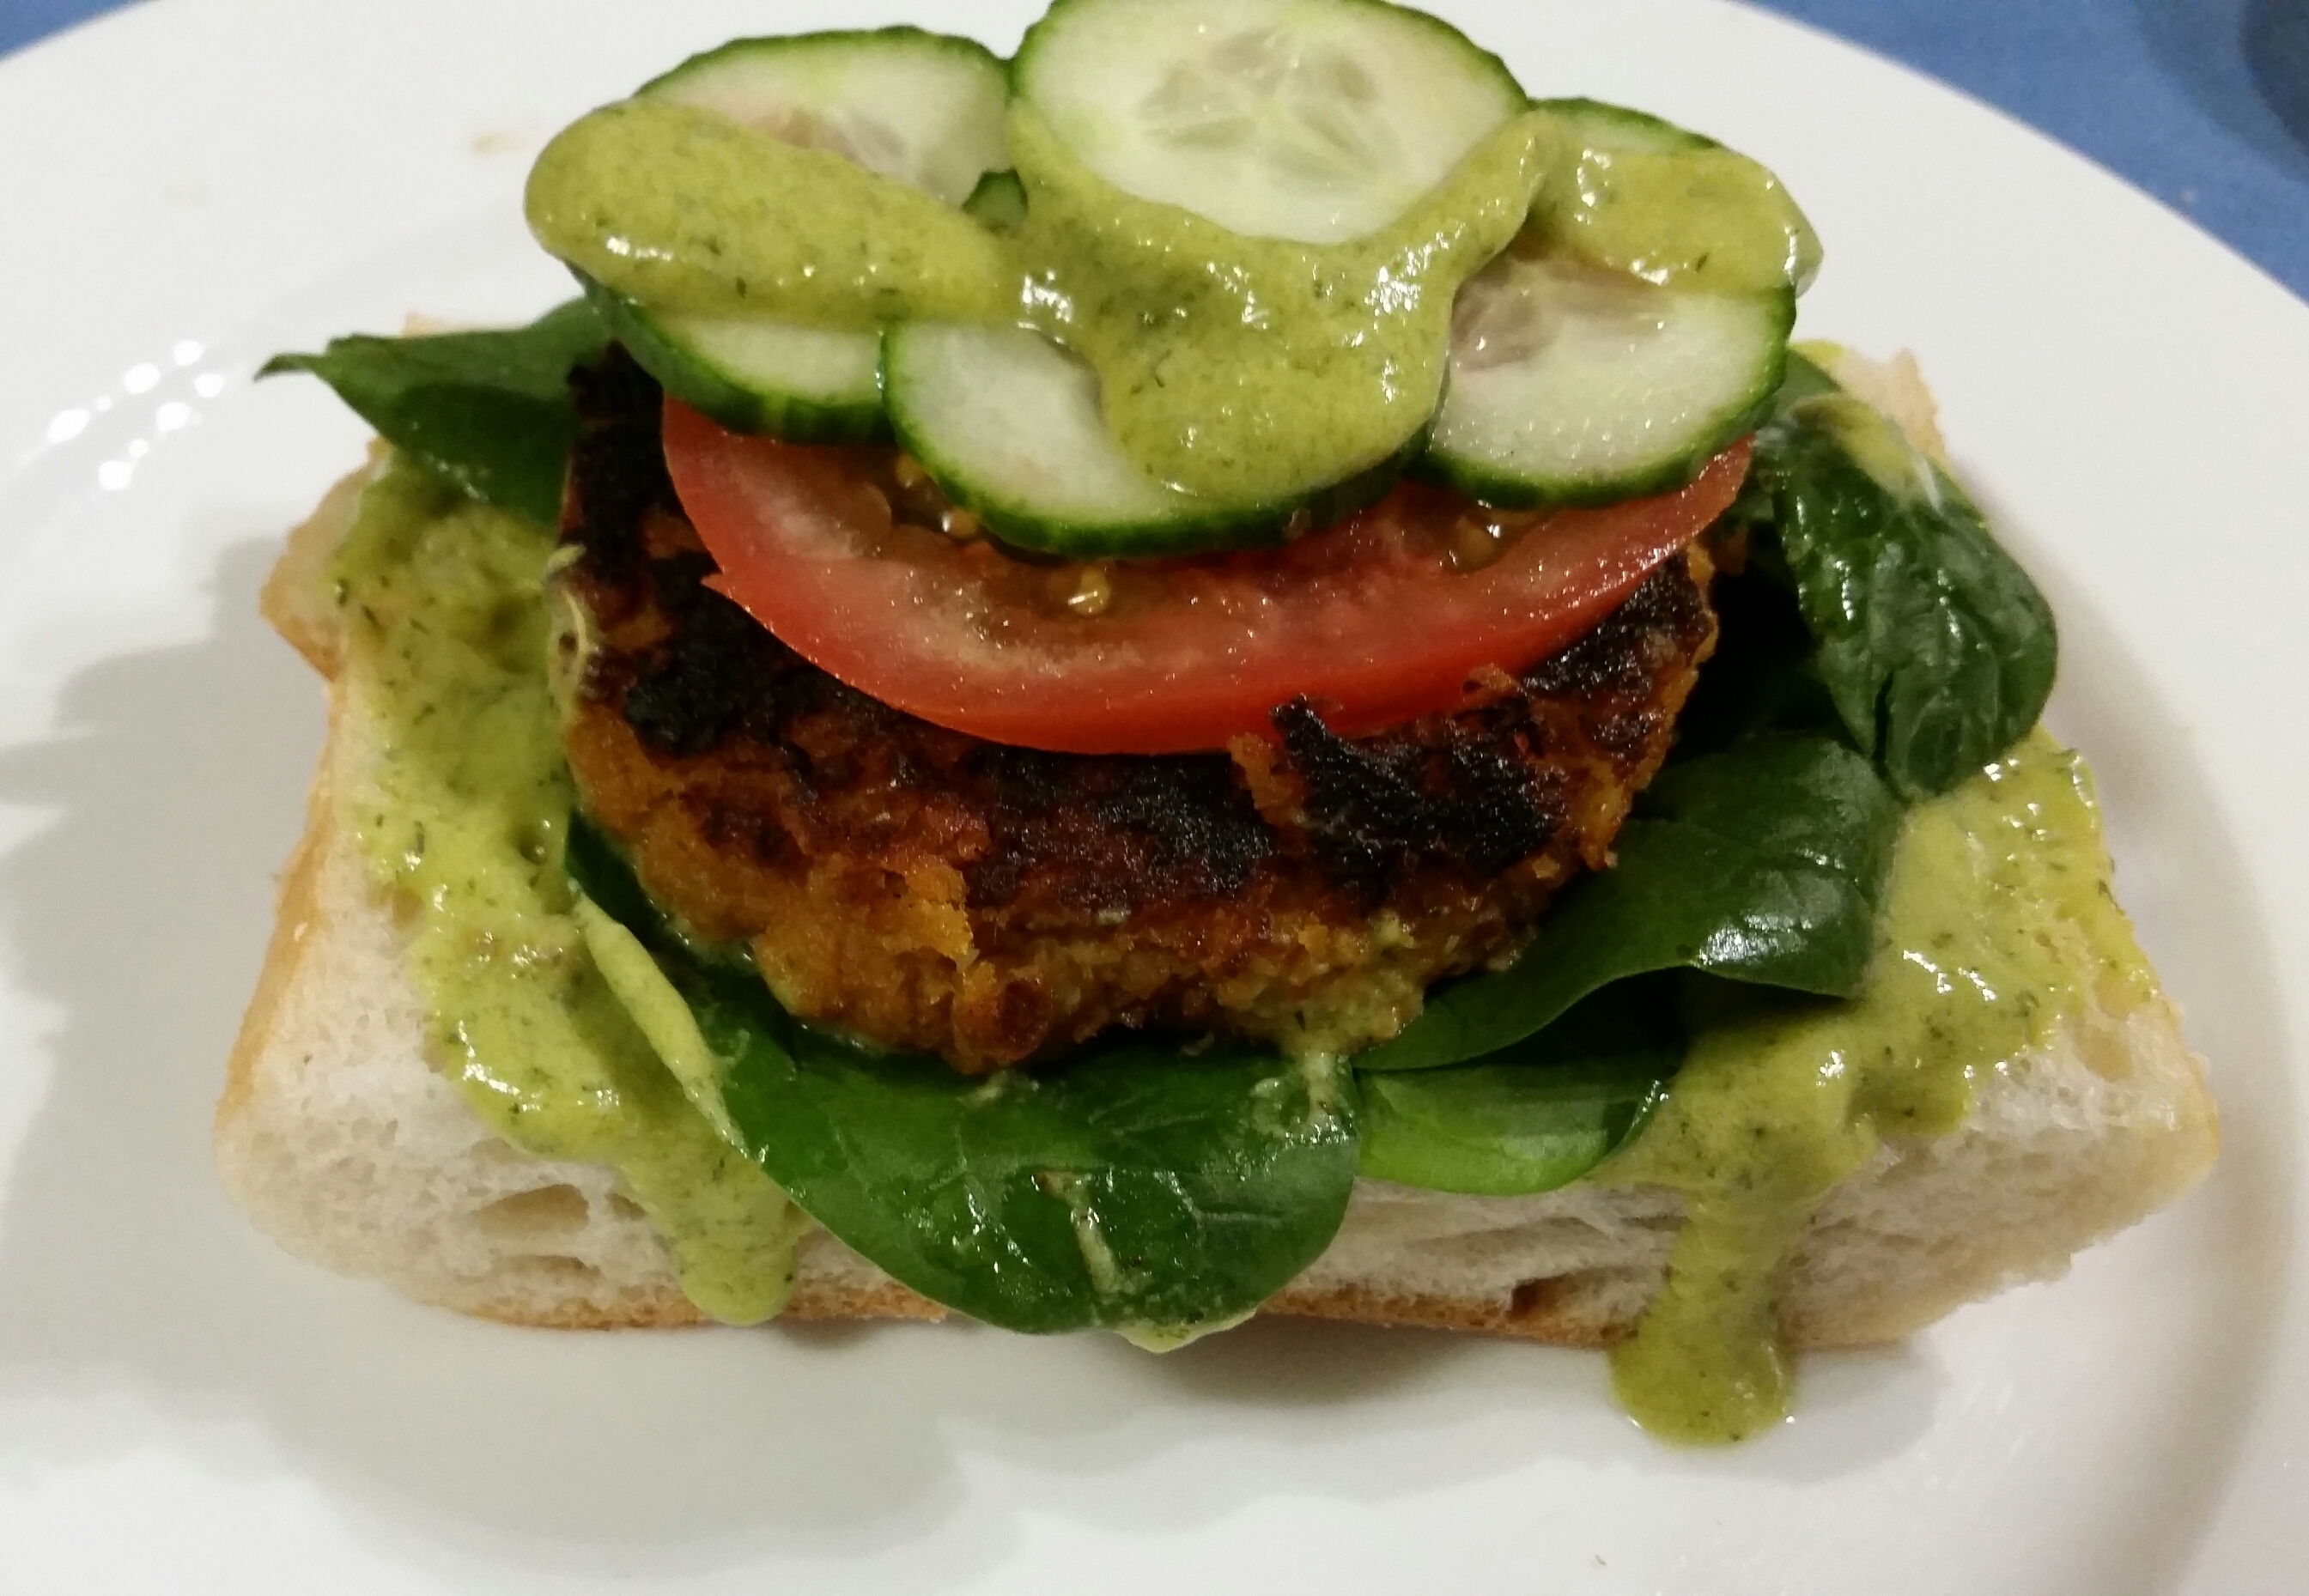
I have mentioned before that I am really not a fan of minced meat. I have managed to teach myself to eat it in some family meals but, eating a beef patty in a burger is something I’d prefer to skip if I can!!
So, especially as we seek to eat less meat and increase our plant based options wherever we can, these delicious patties have become our go-to option!
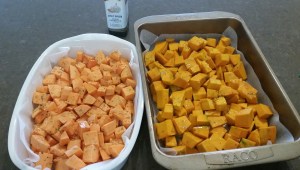
1 medium, peeled and diced Sweet potato, about 500g
1/2 a medium butternut pumpkin, peeled and diced, about 500g
400g tin Chick peas, drained – Butter beans also work well.
1 tbsp Garlic olive oil
1/2 tsp salt
2 tsp finely diced fresh herbs (think Italian Style herbs – I mostly use rosemary and thyme)
1/2 cup Nutritional yeast
1/3 cup hemp seeds
3 tbsp flax meal
Place the sweet potato and pumpkin in a lined baking dish and drizzle with garlic olive oil.
Bake in a preheated 200C oven for about 60 minutes.
Place the chick peas or beans in a bowl and cover them with boiling water to soften for about 10 minutes.
Remove veggies from oven and transfer to a bowl appropriate for mashing.
Drain the chick peas and add to the veggies before mashing all together.
Once mashed, sprinkle over the flax meal, nutritional yeast and hemp seeds and stir in well and allow to sit for 10 minutes.
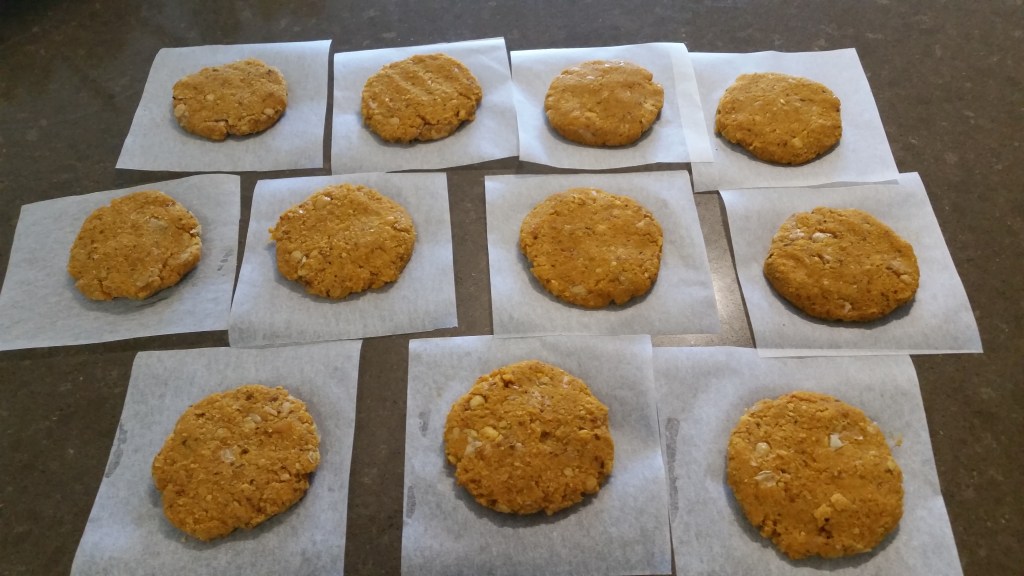
Form into balls (roughly the size of a tennis ball), then squash into patties and place into the fridge for at an hour (but overnight is fine too).
Heat some olive oil in a heavy based pan, or on the BBQ and place patties in the oil.
Cook over a medium heat (so that the outside doesn’t burn before the inside is cooked!) about 4 minutes on each side or until golden brown.
We like to have them in burgers together with salad and my Creamy Avocado Dressing. Or even just with lots of avocado.
The kids like their to have a slice of cheese melted onto the top of them under the grill before going into their burgers …. and Peter prefers his with a little bacon!
Makes 6 large patties.
These patties work well cold the next day too – in another another bun or with a plate of salad or steamed green veg.
I love soup (for taste, health, ease and budgetary reasons!!), Peter loves soup and the kids mostly like soup, so it features pretty regularly in the cooler weather …. however I’m pretty sure the main reason they like it, is for the bread that we let them ‘dunk’ in it.
Check freezer tonight. Oops. No bread.
Harry, my little carbivore, looks up at me like he’s actually going to cry.
Never mind my boy …. yoghurt dough to the rescue! We loaded it up with my delicious Cheesey Sprinkles (Vegan Parmesan) for a fabulous flavour and nutrition boost.
470g Spelt flour (or 420g GF flour together with 1tbsp psyllium husk)
*If you haven’t made these, you can roughly replace this quantity with 2 tbsp Nutritional yeast, 1 tbsp milled nuts/seeds plus a pinch of salt, pepper and Italian type herbs.
Place all ingredients, except oil and salt, into processor and mix until it forms a dough and gently bring it together. (Speed 5, 15 seconds).
If the dough is too sticky, add in 1 tsp of extra flour at a time and process to combine …. I have found that I often need to add more flour when I work with homemade soy yoghurt.
Split the dough into 4 pieces and, using wet hands, form into 4 bread stick shapes, laying them on a lined baking tray.
Brush the tops of the bread with garlic olive oil and sprinkle with flaked salt.
Place into a preheated 200C oven for about 20 minutes or until the bottoms are golden brown and sound hollow when tapped. Finish with a short time under the grill to give an extra crunchy top crust.
Allow to cool for a few minutes before slicing and eating.
This bread freezes and defrosts well, just make sure it is wrapped in an airtight seal before you place in the freezer.
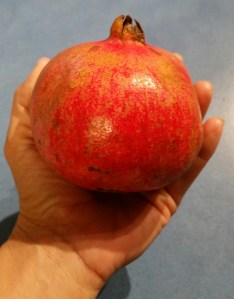
My gorgeous sister in law recently gave me some beautiful fat, juicy pomegranates (thanks Mish!) and I was dreaming up ways to use them, when I noticed the pears that I had bought the previous week sitting, a bit past their best, in the bottom of the fridge. And there next to it was the pomegranate juice I’d used in another recipe …. I like to be creative with what I’ve got on hand and avoid waste …. so we had a very delicious, and very easy, dessert!
500ml Pomegranate juice
1 tbsp coconut sugar
1 tsp mixed spice
peel of 1 lemon, sliced
6 medium pears
1 cup pomegranate seeds
Optional: toasted slivered almonds
Place juice and sugar in bottom of slow cooker, whisk together and cook on high for 10 minutes.
Whisk in spices and add lemon peel.
Core and slice pears into quarters. Peeling is optional (I tend to leave it on for more fibre)
Place pears into the slow cooker juice mixture, place lid on slow cooker and cook on low for 4 hours. Add in the seeds and cook for a further 30 minutes with the lid off.
Remove lemon slices, and serve warm, sprinkled with the almonds (if using), with a cream, ice cream, yoghurt or custard that suits your diet. Alternatively, serve cold on top of breakfast porridge, or granola, use as the fruit base in dessert crumbles or blitz in your processor until smooth and use as a fruit puree.
I love it with my crunchy granola and natural yoghurt for dessert!
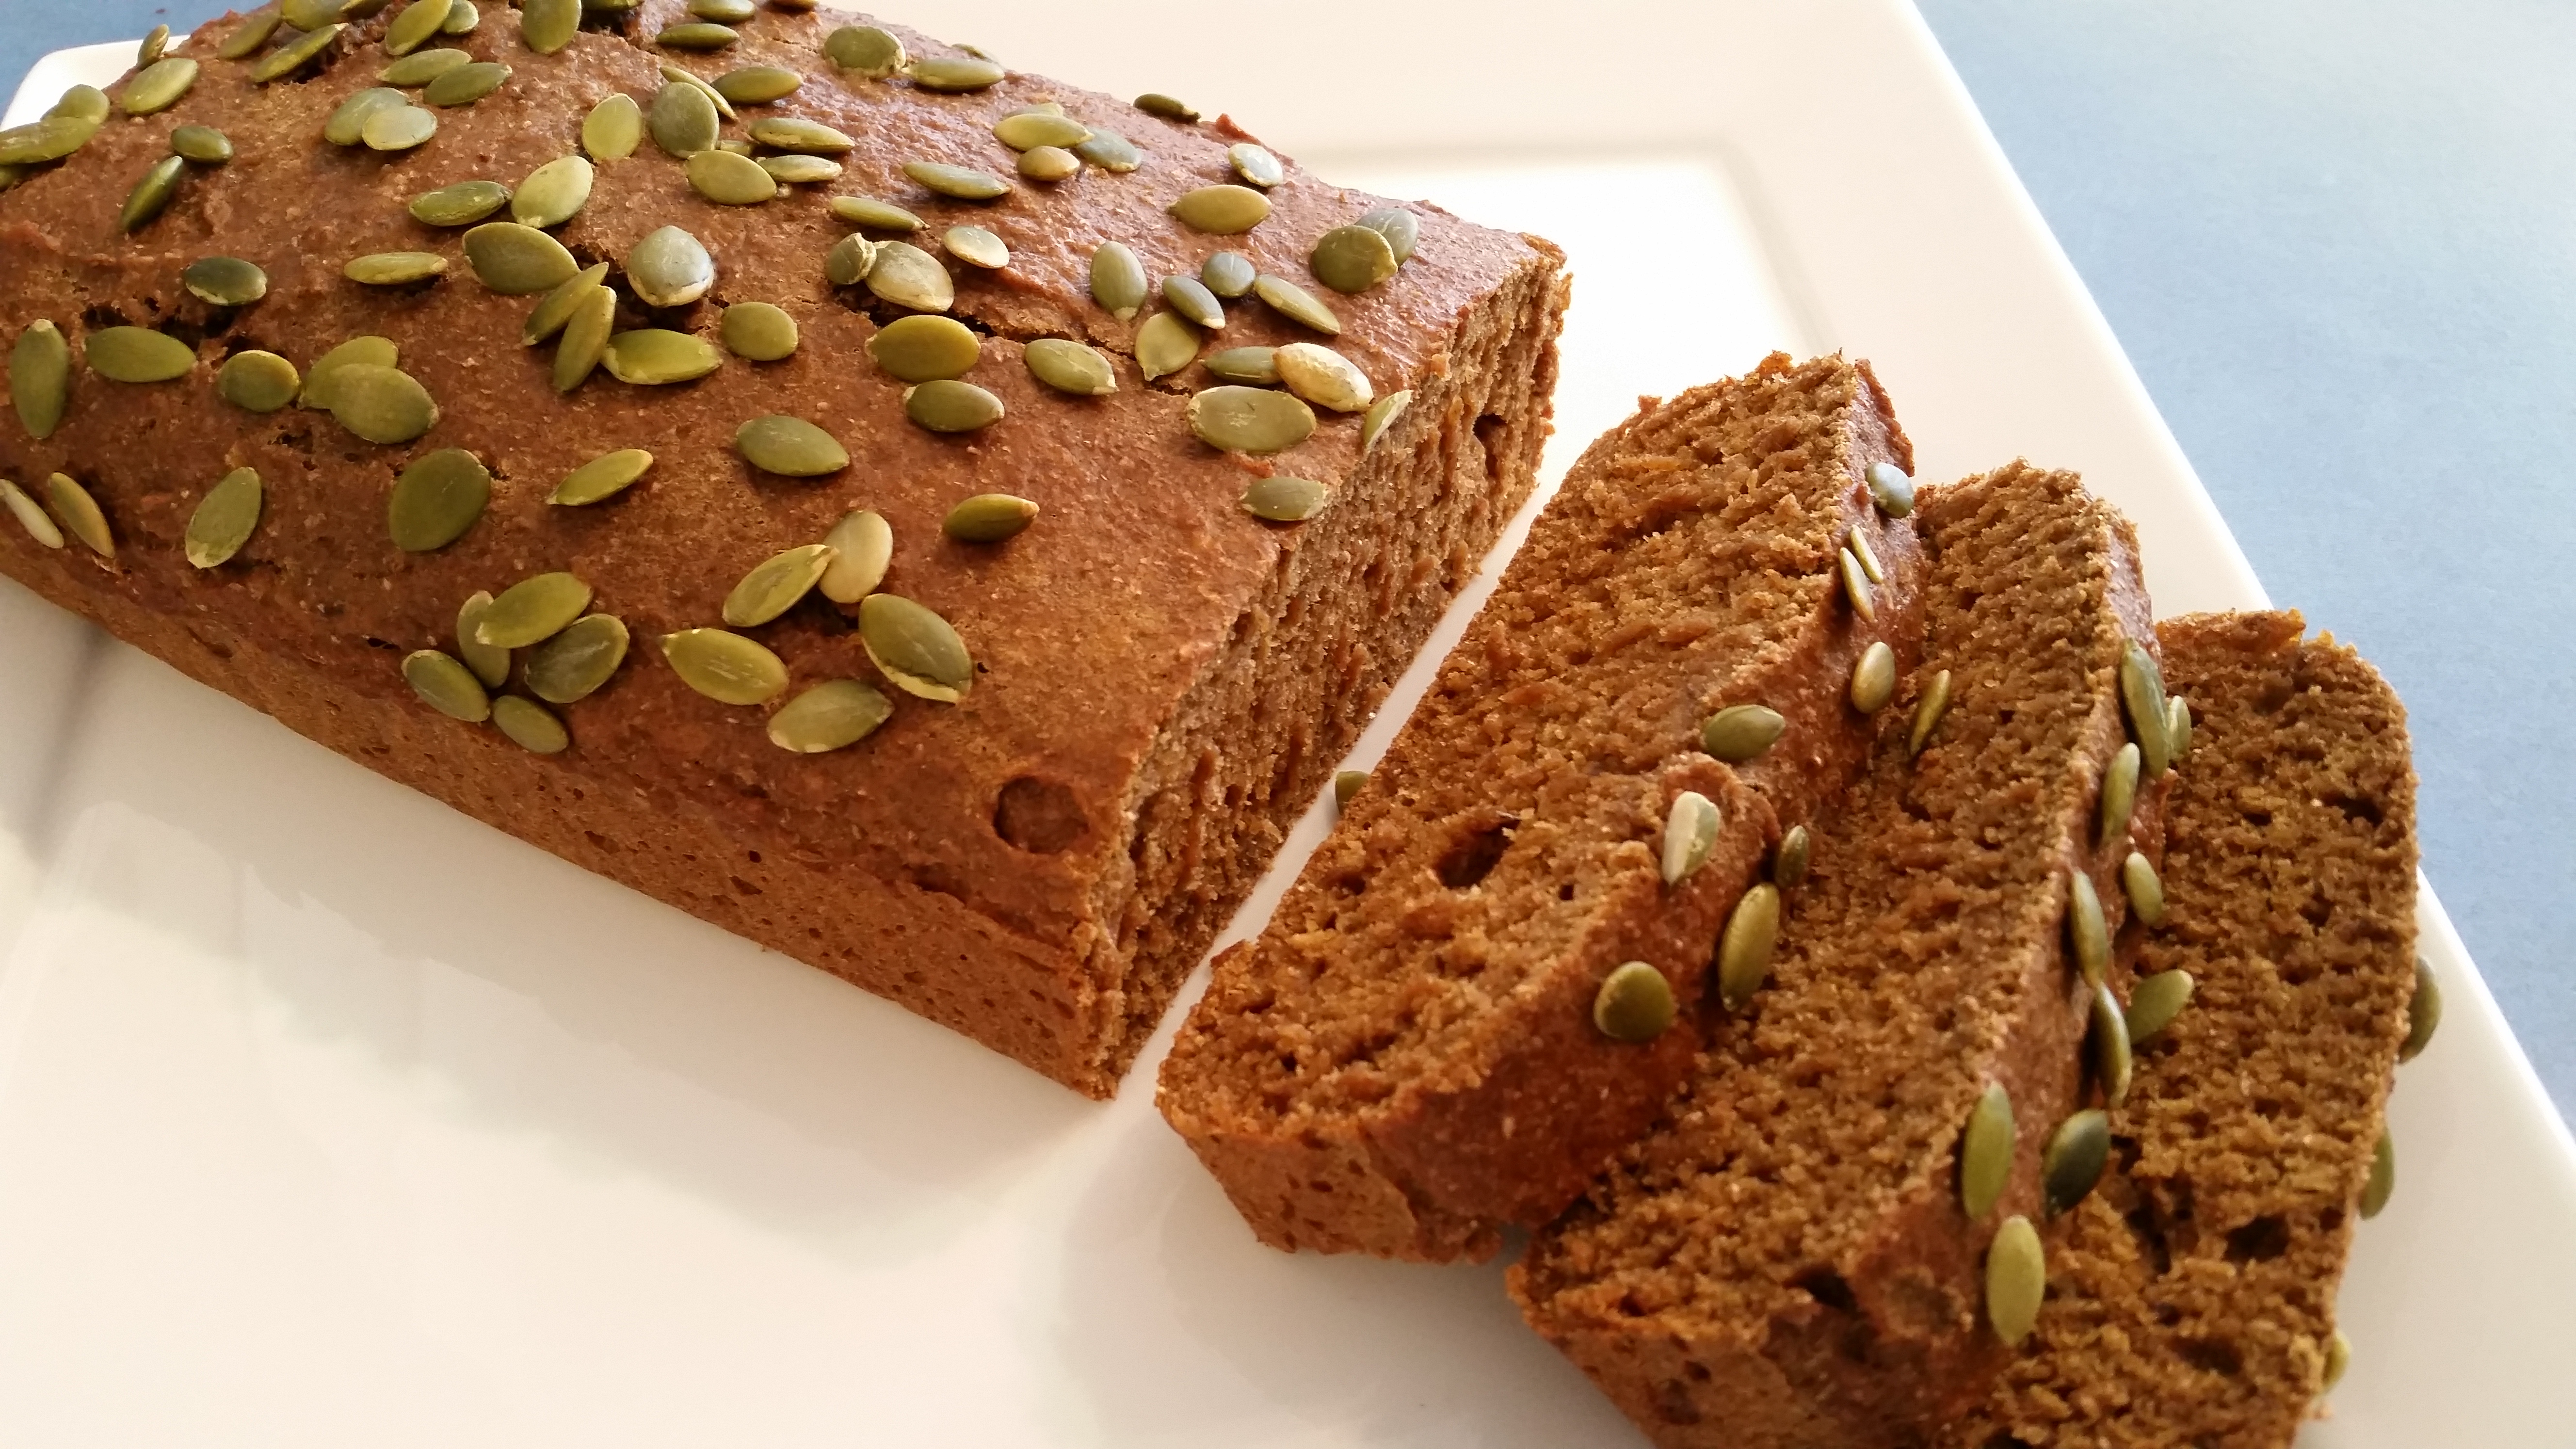
It is just perfect with an afternoon cuppa or in a lunchbox to fuel busy little bodies and brains at recess time.
Plus, no oil, no eggs, no dairy and very low sugar make it a healthier ‘cake’ option.
See below the recipe for a Coeliac friendly option too.
200g butternut pumpkin
6 medjool dates, pitted and halved
1 cup very hot water
1/4 cup coconut sugar
50g sunflower seed butter
1/2 teaspoon bicarbonate of soda
2 cups wholemeal spelt flour
2 tsp GF baking powder
1 tsp ground ginger
1/2 teaspoon mixed spice
1 medium, very ripe bananas
1/4 cup pepitas
Place roughly chopped pumpkin into Thermal cooker or food processor and process until well chopped, Speed 6, 8 seconds.
Now add dates, water, sugar and bicarb in the Thermal cooker and cook at 110C on speed 2 until the mix comes to the boil (a few minutes), then a further 2 minutes.
Add in the banana and seed butter and start processing on speed 3 and working your way up to speed 5 for about 12 seconds, or until the mixture is fairly smooth and consistent.
(Do this in a saucepan over a medium heat with regular stirring and then transfer to a food processor or blender to do this without the thermal cooker)
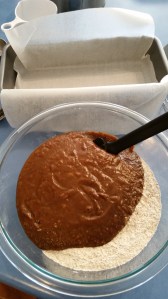
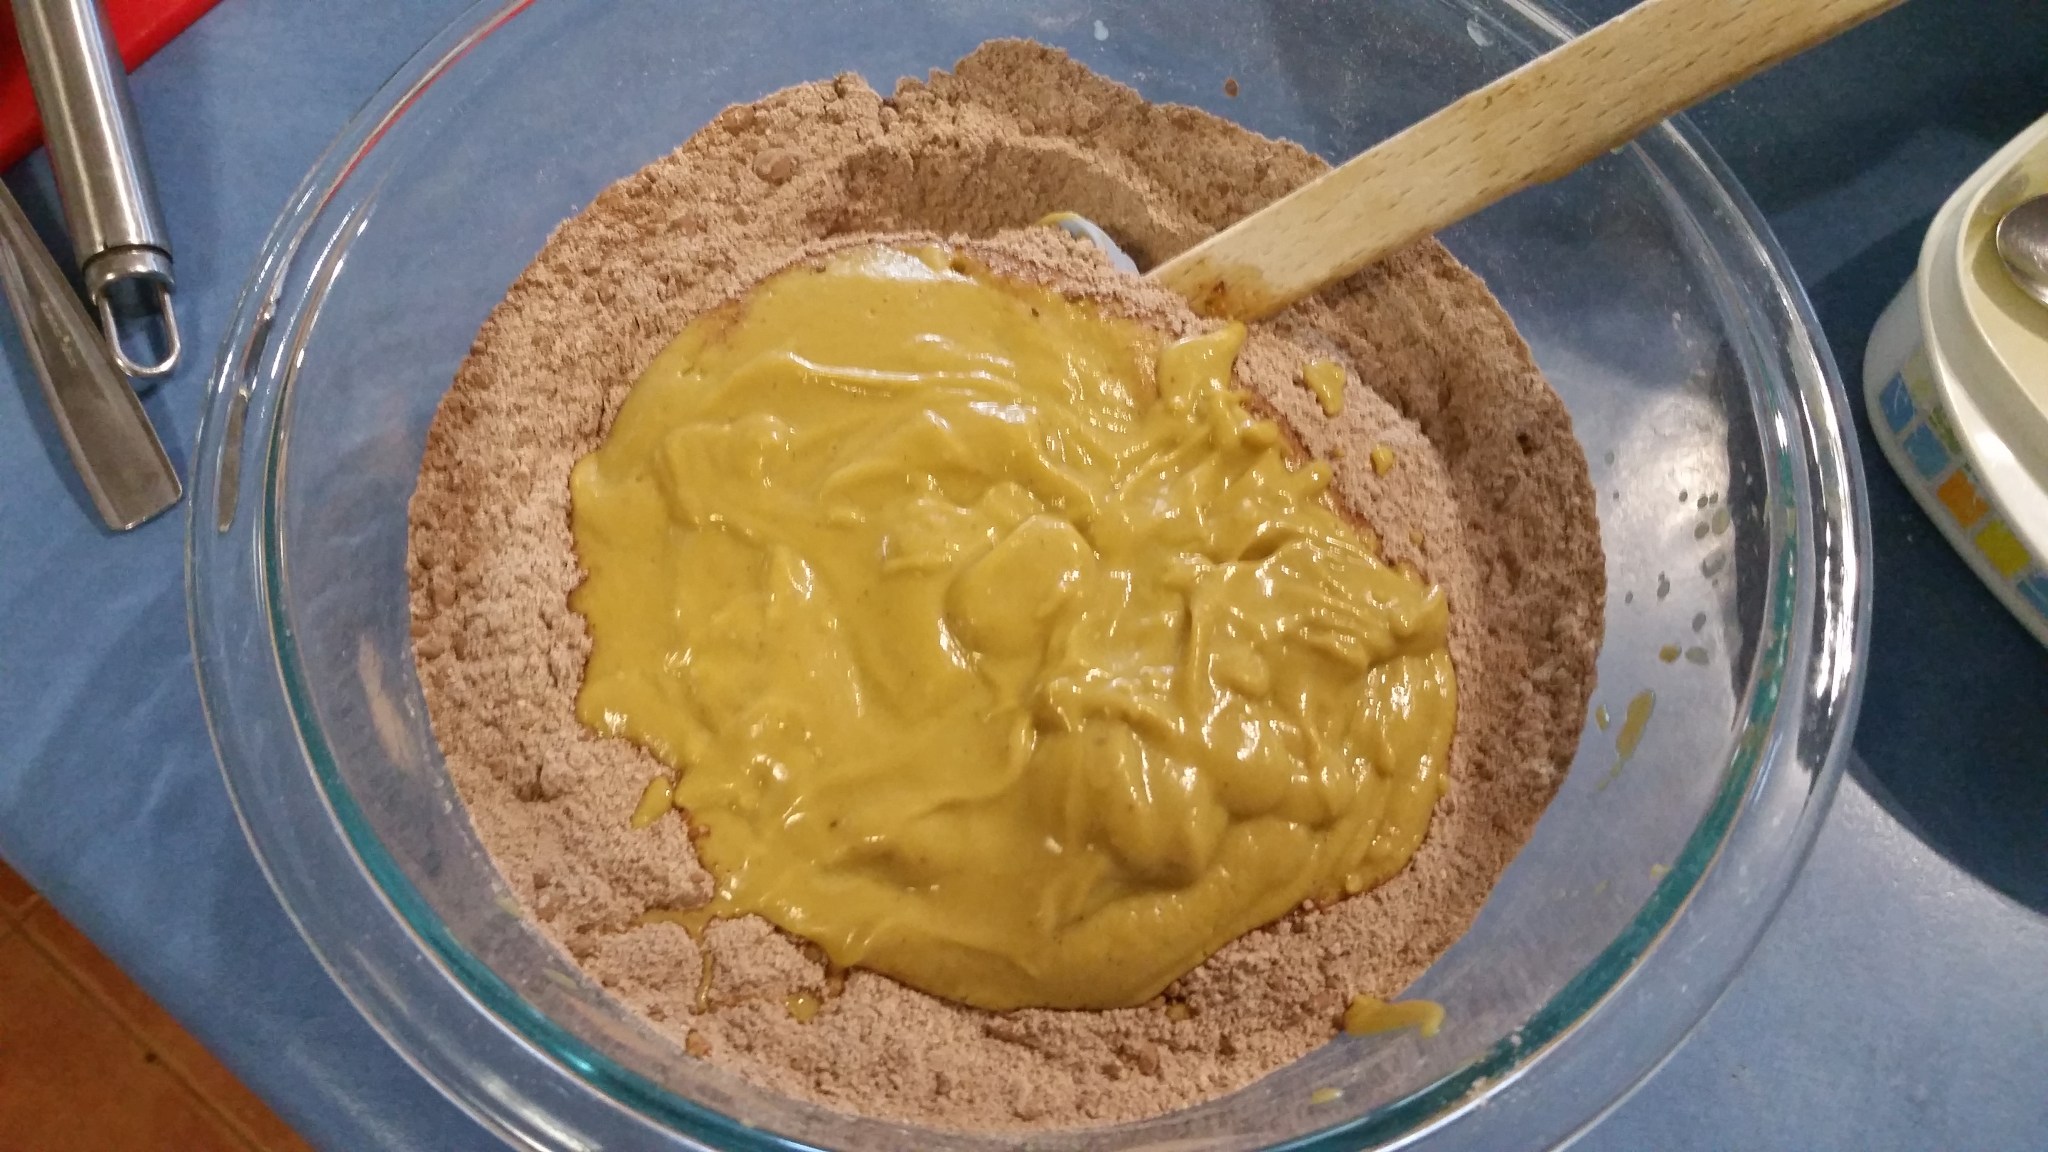
In a large separate bowl mix together the flour, baking powder and spices (speed 5, 8 seconds).
Pour the pumpkin and date mix into the flour mix and fold together until all combined. Don’t over mix.
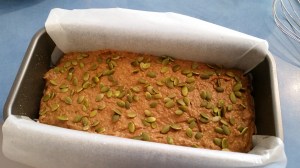
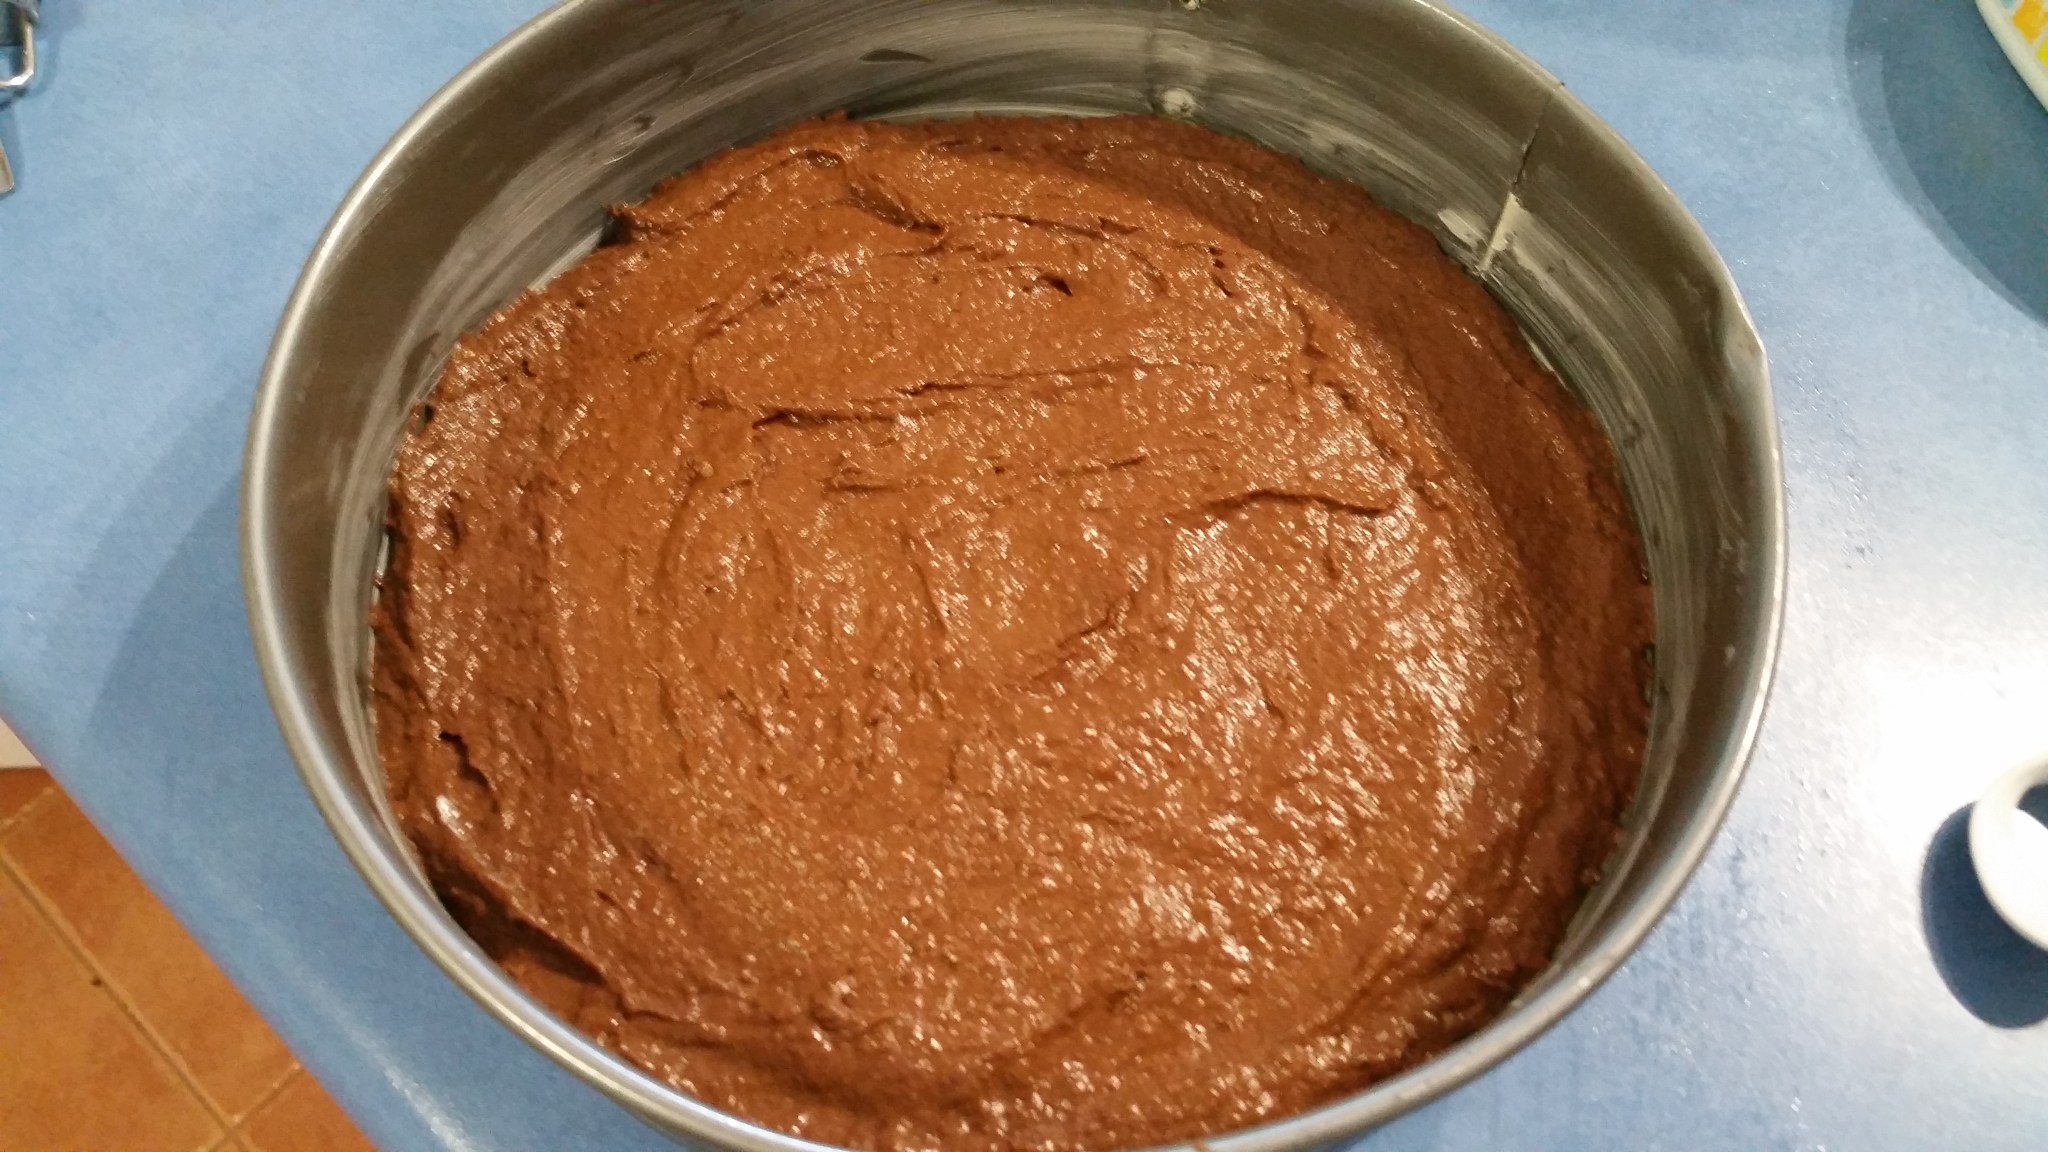
Pour into lined loaf tin and sprinkle with the pepitas
Place into a preheat 160C oven for 35mins or until an inserted skewer comes out clean.
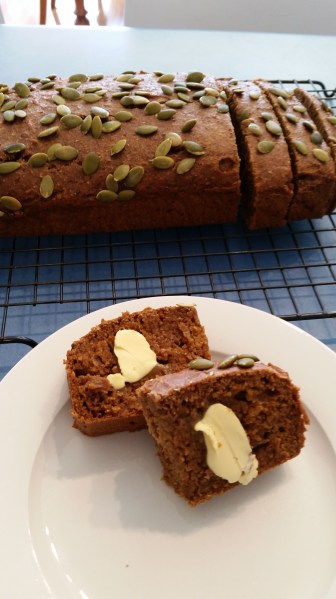
Cool in tin for 10 minutes before transferring to a cooling rack. Allow to mostly cool before slicing. Serve on it’s own or even serve with some cream or ice cream for dessert.
To make this cake Coeliac friendly replace the spelt with 1.5 cups of plain GF flour mix and 1/3 cup of almond/seed meal.
For a lower sugar version remove the coconut sugar and add another 2 dates.
This is a moist cake and freezes and defrosts beautifully – Enjoy 🙂
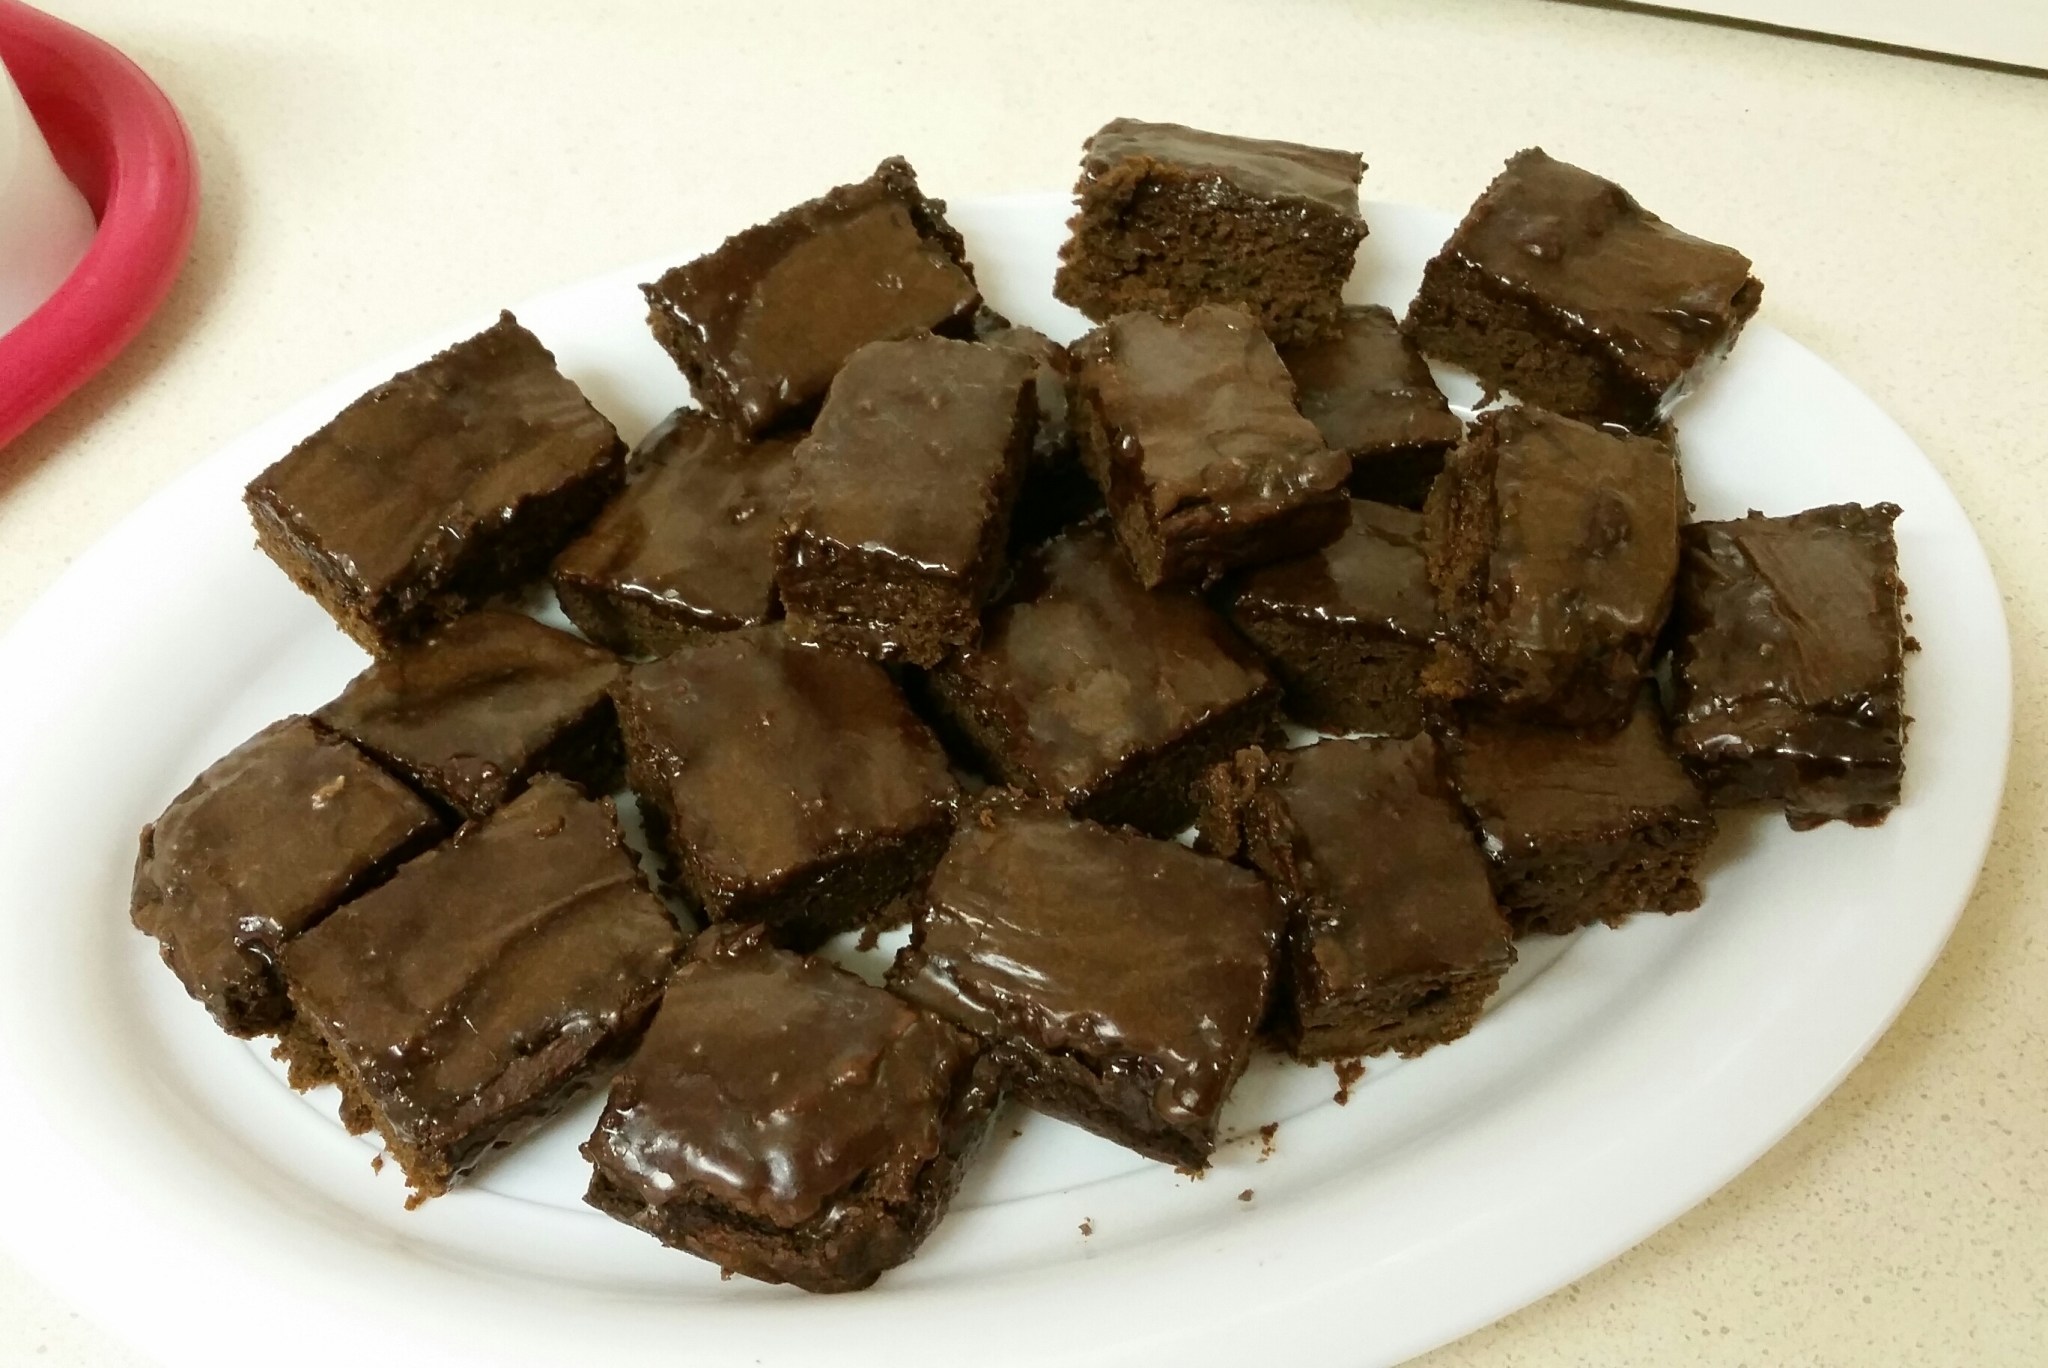
This is lovely dense cake… Not too sweet though, so it’s not overpowering if you ice it or serve it with ice cream or cream.
Instead of butter or oil, this torte uses the delicious, creaminess of avocado and richness of seed butter to provide the fats. Delicious and nutritious!
Don’t worry, despite the unusual ingredients, there’s no taste of the hidden avocado when it’s baked!
1 3/4 cups spelt flour (I use half white and half wholemeal) OR 1 1/2 cup GF flour mix
1/4 cup hemp seeds (optional)
2 tsp GF baking powder
3/4 cup coconut sugar*
2 tbsp cocoa
70g very ripe avocado
1 heaped tbsp sunflower seed butter (or other nut butter)**
1 cup milk of choice
1 tsp vanilla bean paste
3 tbsp aquafaba (liquid drained from a can of chic peas) OR 1 whole egg
*if you’re a sweet tooth or you are serving this uniced or in its own you might like to increase the sugar to 1 cup.
**Olive oil is a delicious substitution here for the nut or seed butter. Use 2 flat tablespoons.
Mix together all dry ingredients and whisk to combine evenly (Speed 5, 10 seconds). Set aside.
In your blender/processor/thermal cooker/bullet place the milk, avocado, vanilla, seed butter and aquafaba then blitz until smooth (Speed 6, 10 seconds, scrape down and repeat).
Add the wet mix to the dry mix and mix until well combined and smooth. (Speed 4, 8 seconds, scrape down and repeat).
Pour into a lined, greased cake tin or approx 14 regular muffin holes.
Bake in a preheated moderate oven for approx 40 minutes (for the cake) or 25 minutes for the muffins, or until a skewer comes out clean.
Allow them to cool and then ice as desired.
You could use; a simple melted dark choc ganache or just dust with pure icing sugar. I like to use an icing made from melting together tasteless coconut oil, seed butter, maple syrup, vanilla essence, whisk it until smooth and then add pure icing sugar till you get the consistency you want.
With the seed butter and maple syrup icing, ready to share at a church lunch
Serve on its own or with cream or ice cream of choice.
Serves 12
If you’d like a more decadent cake, you can grate a handful of dark chocolate into the flour before you add the wet mix. We like Lindt dark 70%.
I love my salads … but as the cooler weather comes, they don’t quite hit the spot like they do in Summer.
This is a great way to be able to enjoy salads all year ’round!
1 kg butternut pumpkin
400g can chick peas
2 tbsp garlic olive oil
2 sprigs fresh rosemary
1 tsp pink salt flakes
4 large handfuls of baby spinach
1 tbsp balsamic vinegar
avocado to serve
Dice the pumpkin and toss it in the olive oil. Place it in a lined baking tray and sprinkle with the rosemary and salt.
Place in a preheated 200C oven for about 45 minutes.
Add the chick peas to the pumpkin and mix in well to coat in oil. Return to oven for further 15 minutes.
Remove from the oven and drizzle with the vinegar.
Then add in the spinach and mix well so that the leaves are coated.
Serve into bowls and top with avocado.
Enjoy 🙂
If you are going to eat this one over a couple of days, store in an airtight container in the fridge leave the avocado off so that you can warm the salad before adding fresh avocado each day.
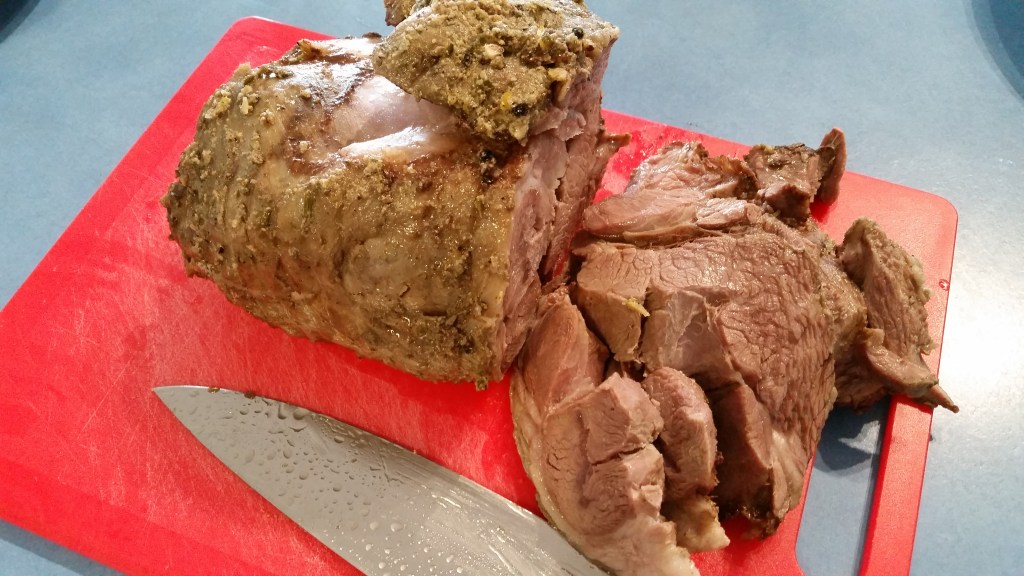
Slow cooked, tender and fragrant Lamb – serious comfort food!
The slow cooker makes it super easy – to cook and clean up! I mostly do our accompanying veg separate so that we get them crispy. Some days though, there is just not enough time for evening meal prep past the 10 minutes first thing in the morning to get the slow cooker on …. and on those days we do our veg in the slow cooker and turn them into a veg mash instead – easy and delicious!
Boneless lab joint (2-2.25kg). Pick one that fits your slow cooker!
approx 1.2kg veg (I use a mix of butternut pumpkin, sweet potato and cauliflower)
400g tin butter beans, drained and rinsed
3/4 cup warm vegetable stock
1/4 cup red wine
1 tbsp fresh rosemary leaves
1 tsp pink flaked salt
1 tsp pepper corns
4 cloves garlic
1 tsbp olive oil
1 tbsp coconut aminos
zest of 1 lemon (slice it off finely so you don’t get in too much of the white pith)
To make the paste for flavouring the lamb you’ll need either a bullet type blender, a small blender or a mortar and pestle. If you use a mortar and pestle, grind the dry/hard ingredients and then mix in the aminos and oil at the end.
Blitz together the rosemary, salt, pepper, garlic, lemon zest, aminos and oil until you get a chunky paste.
Chop the veg and place them in the bottom of the slow cooker – make them roughly even pieces. Add in the butter beans.
The pour the wine and stock over the top of them.
Place the joint of lamb on top of the vegetables and rub the paste into it.
Place the lid on the slow cooker and set to low for 5 hours.
Remove the lamb and pull apart with a fork (or carve if you are so inclined!)
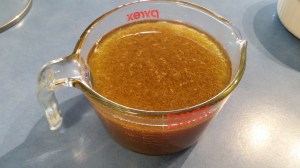
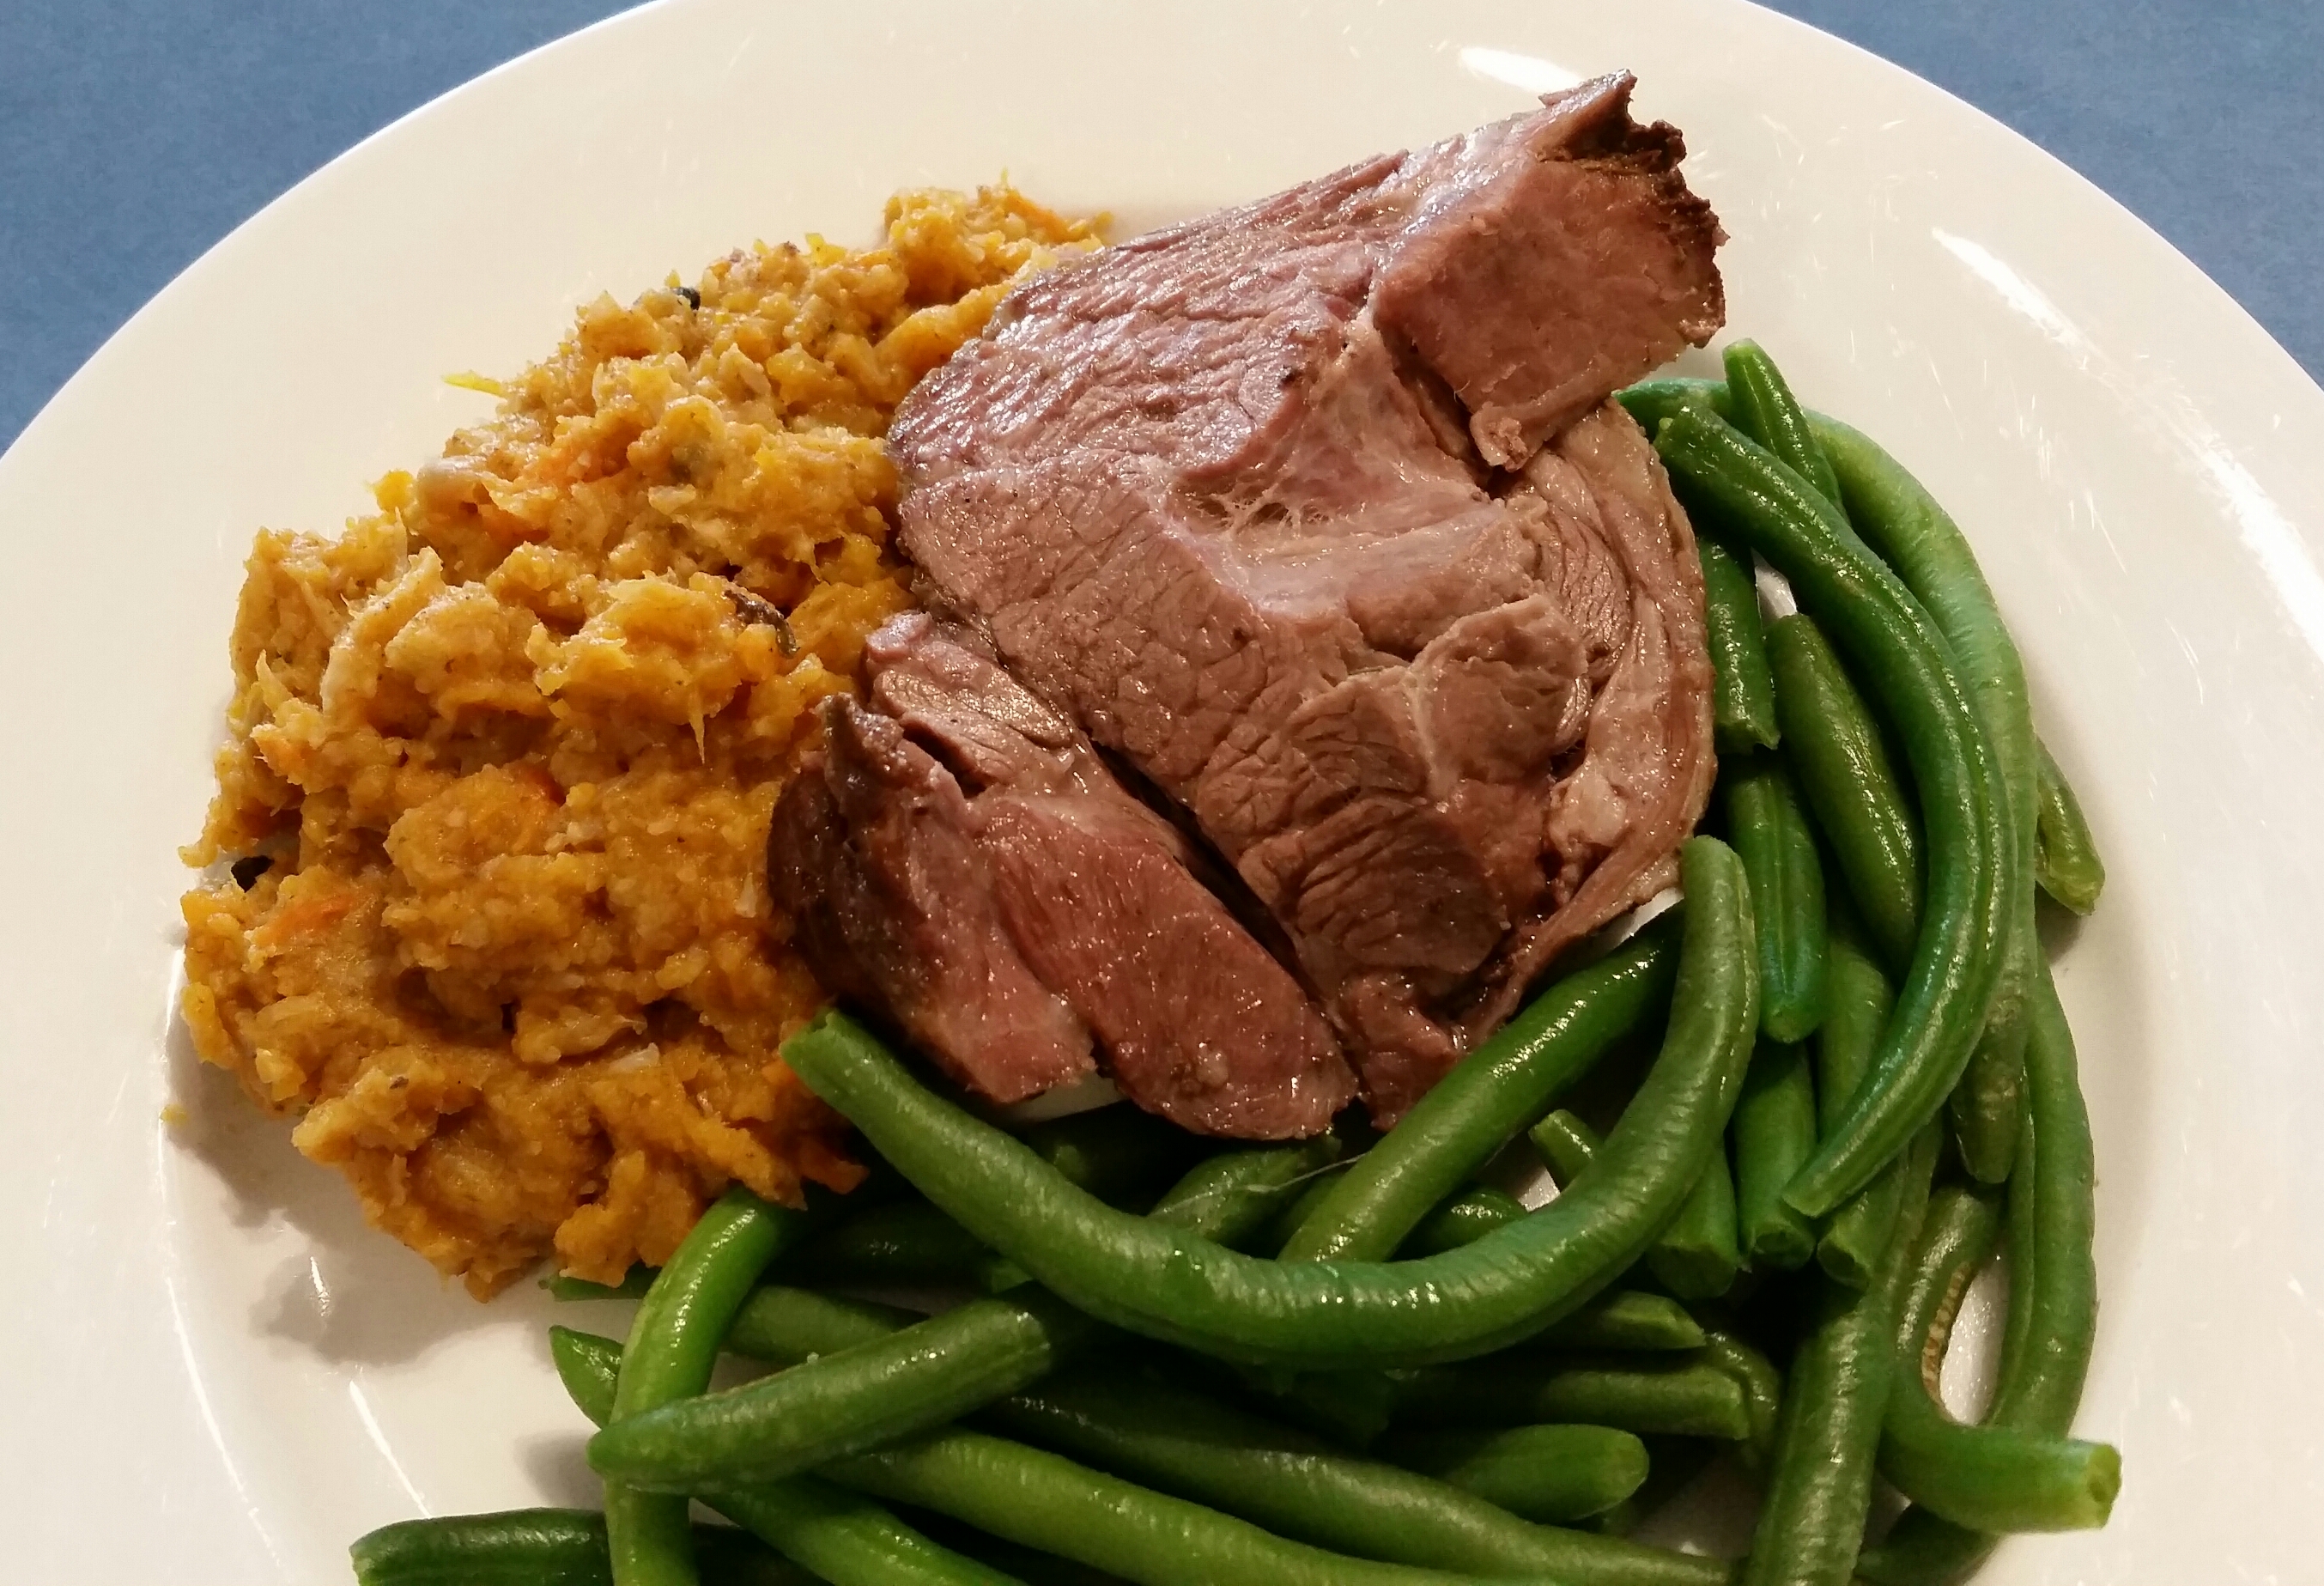
Drain off (but reserve) the liquid from the slow cooker and set aside, then use a potato masher or a fork to roughly crush the veg into a chunky mash.
If you’d like a gravy to drizzle over the meat, use the liquid that you have strained and reserved and follow my gravy method.
Serve with steamed greens – I love broccoli or green beans.
Enjoy 🙂
P.S. This amount of meat is enough for about 3 dinners for our family. So I freeze the extras in 2 meal size portions, together with the gravy and it defrosts beautifully later on for a very quick meal with some steamed veg.