This is my amazing friend, Alecia.

Her birthday was last week and I wanted to make her something special for when we got together to celebrate.
She’s vegetarian, allergic to peanuts … and she doesn’t like cake. But I know that she LOVES raspberry!
So I decided to create a special chocolate named for her … Happy Birthday A … hope you enjoyed your goodie bag 🧡
It’s pretty simple and fast to make, but it has amazing crunch and a beautiful tang to go with the sweetness of the chocolate.

If you’re headed out to a special function during the lead up to Christmas, it’d make a great dessert too.
- 275g Dark Chocolate melts (which ever suits your dietary needs)
- Pumpkin seeds 1/4 cup
- Hemp seeds 1/4 cup
- 1 tsp dehydrated raspberry powder
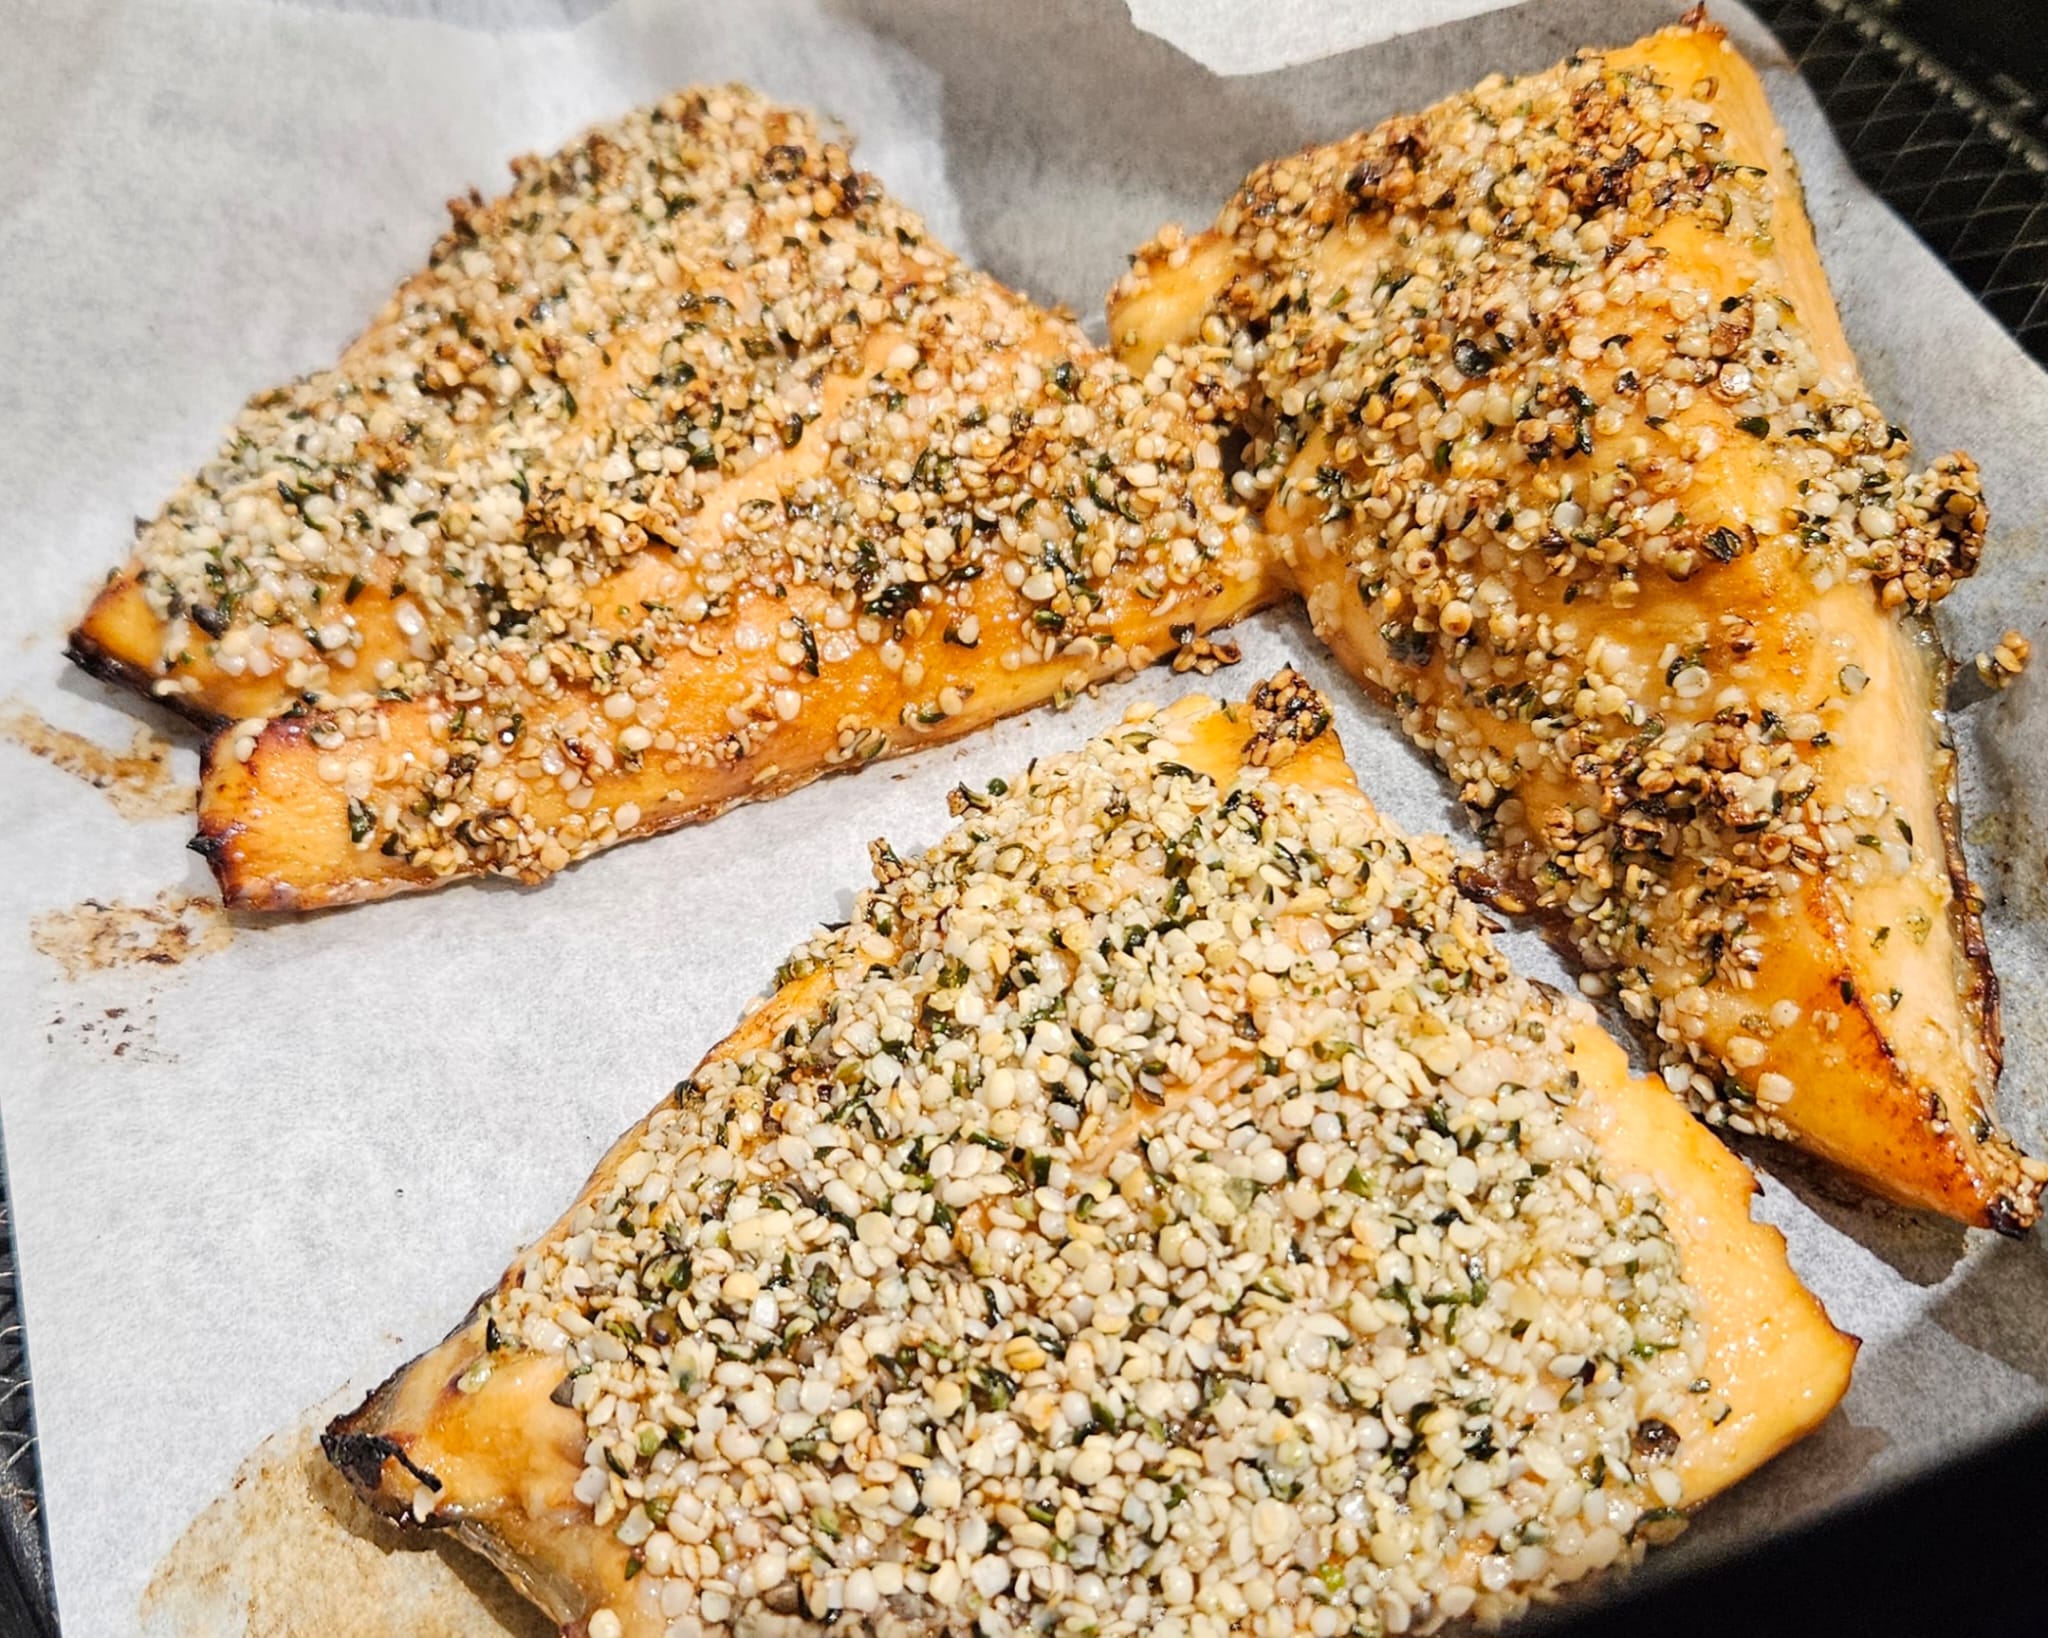
Heating a frying pan to medium heat and add in the pumpkin seeds. Dry fry them, stirring very frequently.
When they start to look a little golden, add in the hemp seeds. As they are so tiny, these cook much faster than the pumpkin seeds. Dry fry them, stirring very frequently, until they are golden brown – it doesn’t take very long!
Put the seeds to to the side.
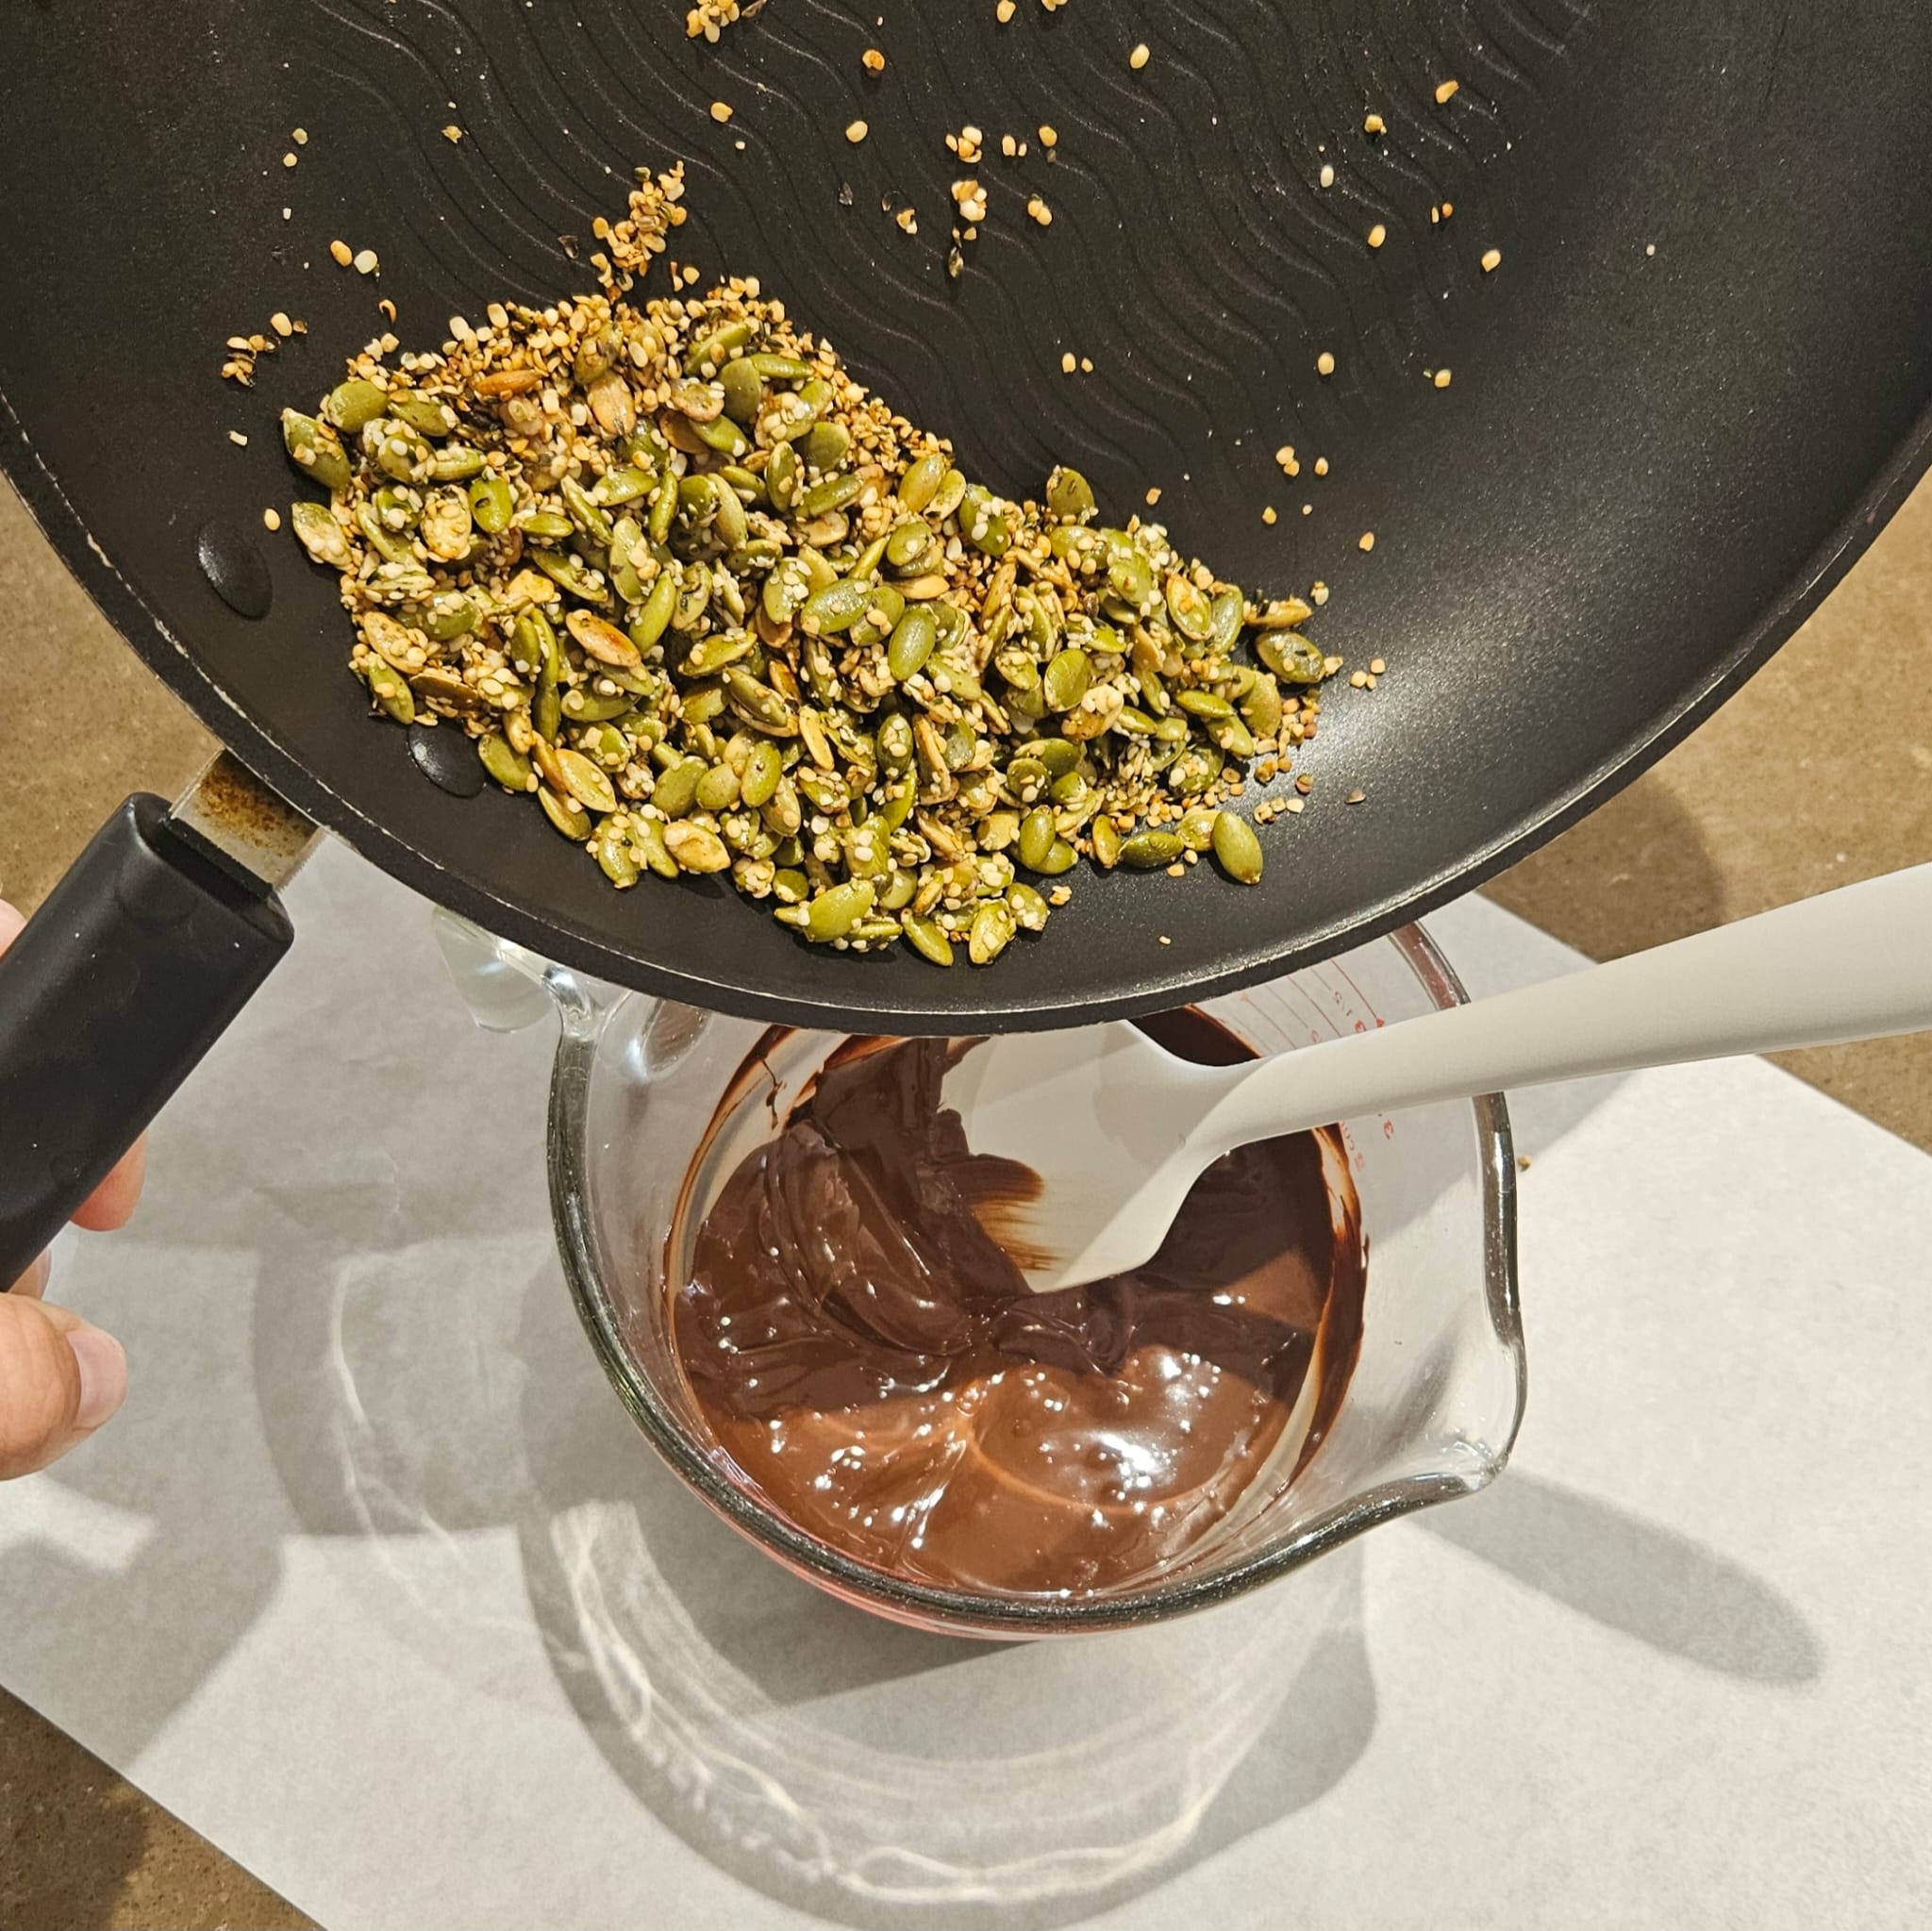
Melt the chocolate until it is very runny … I use my microwave in about 30 second bursts.
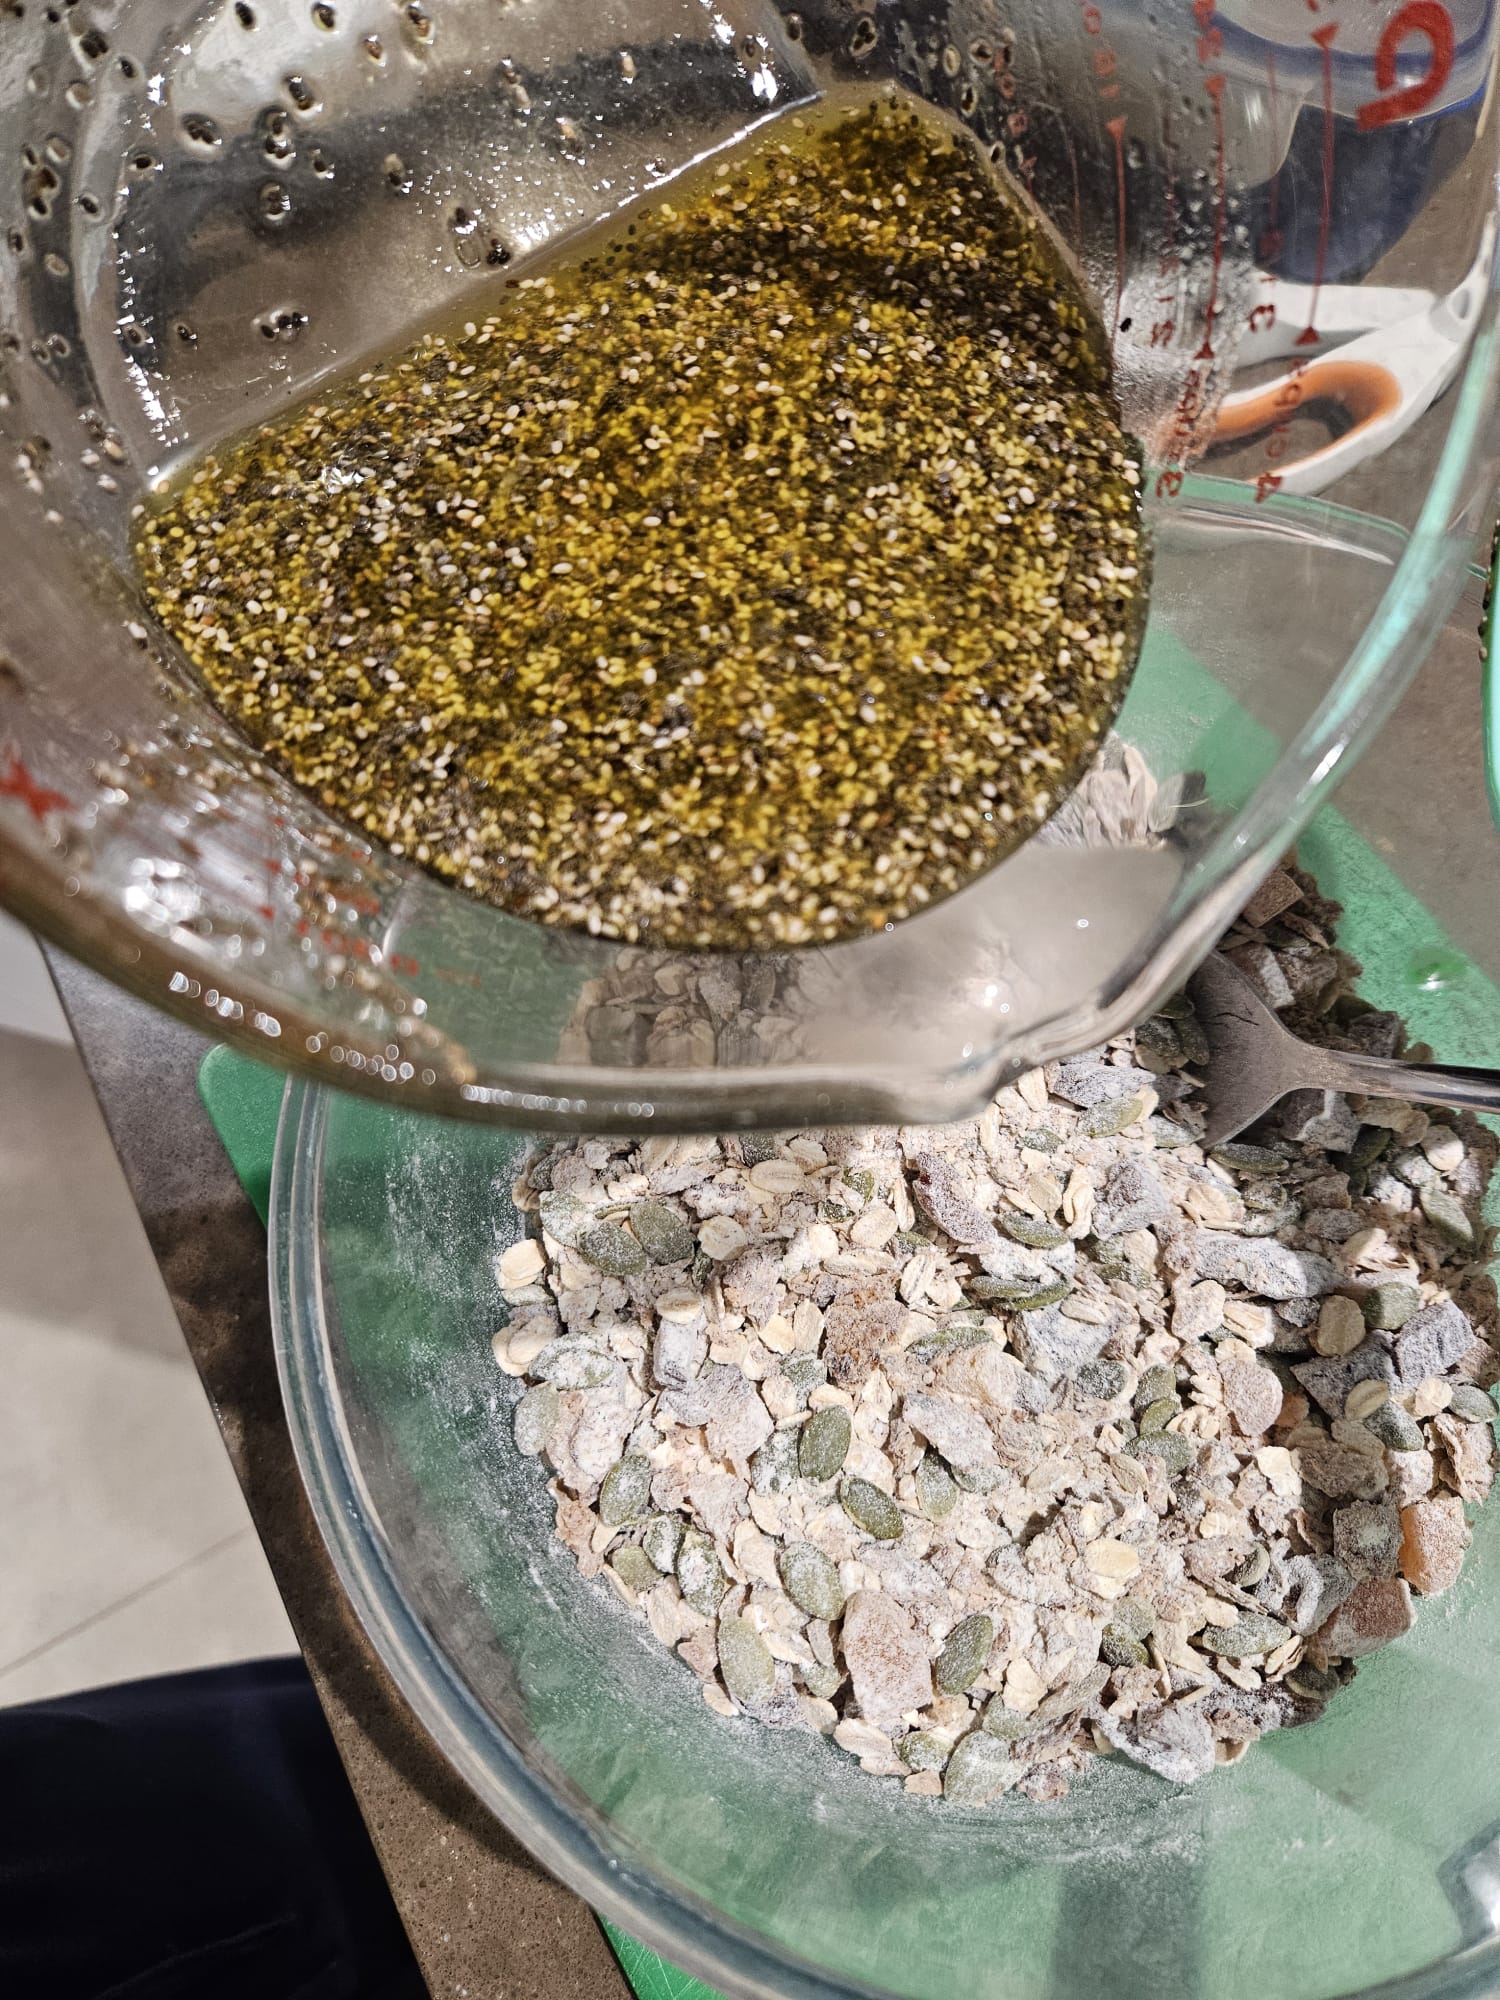
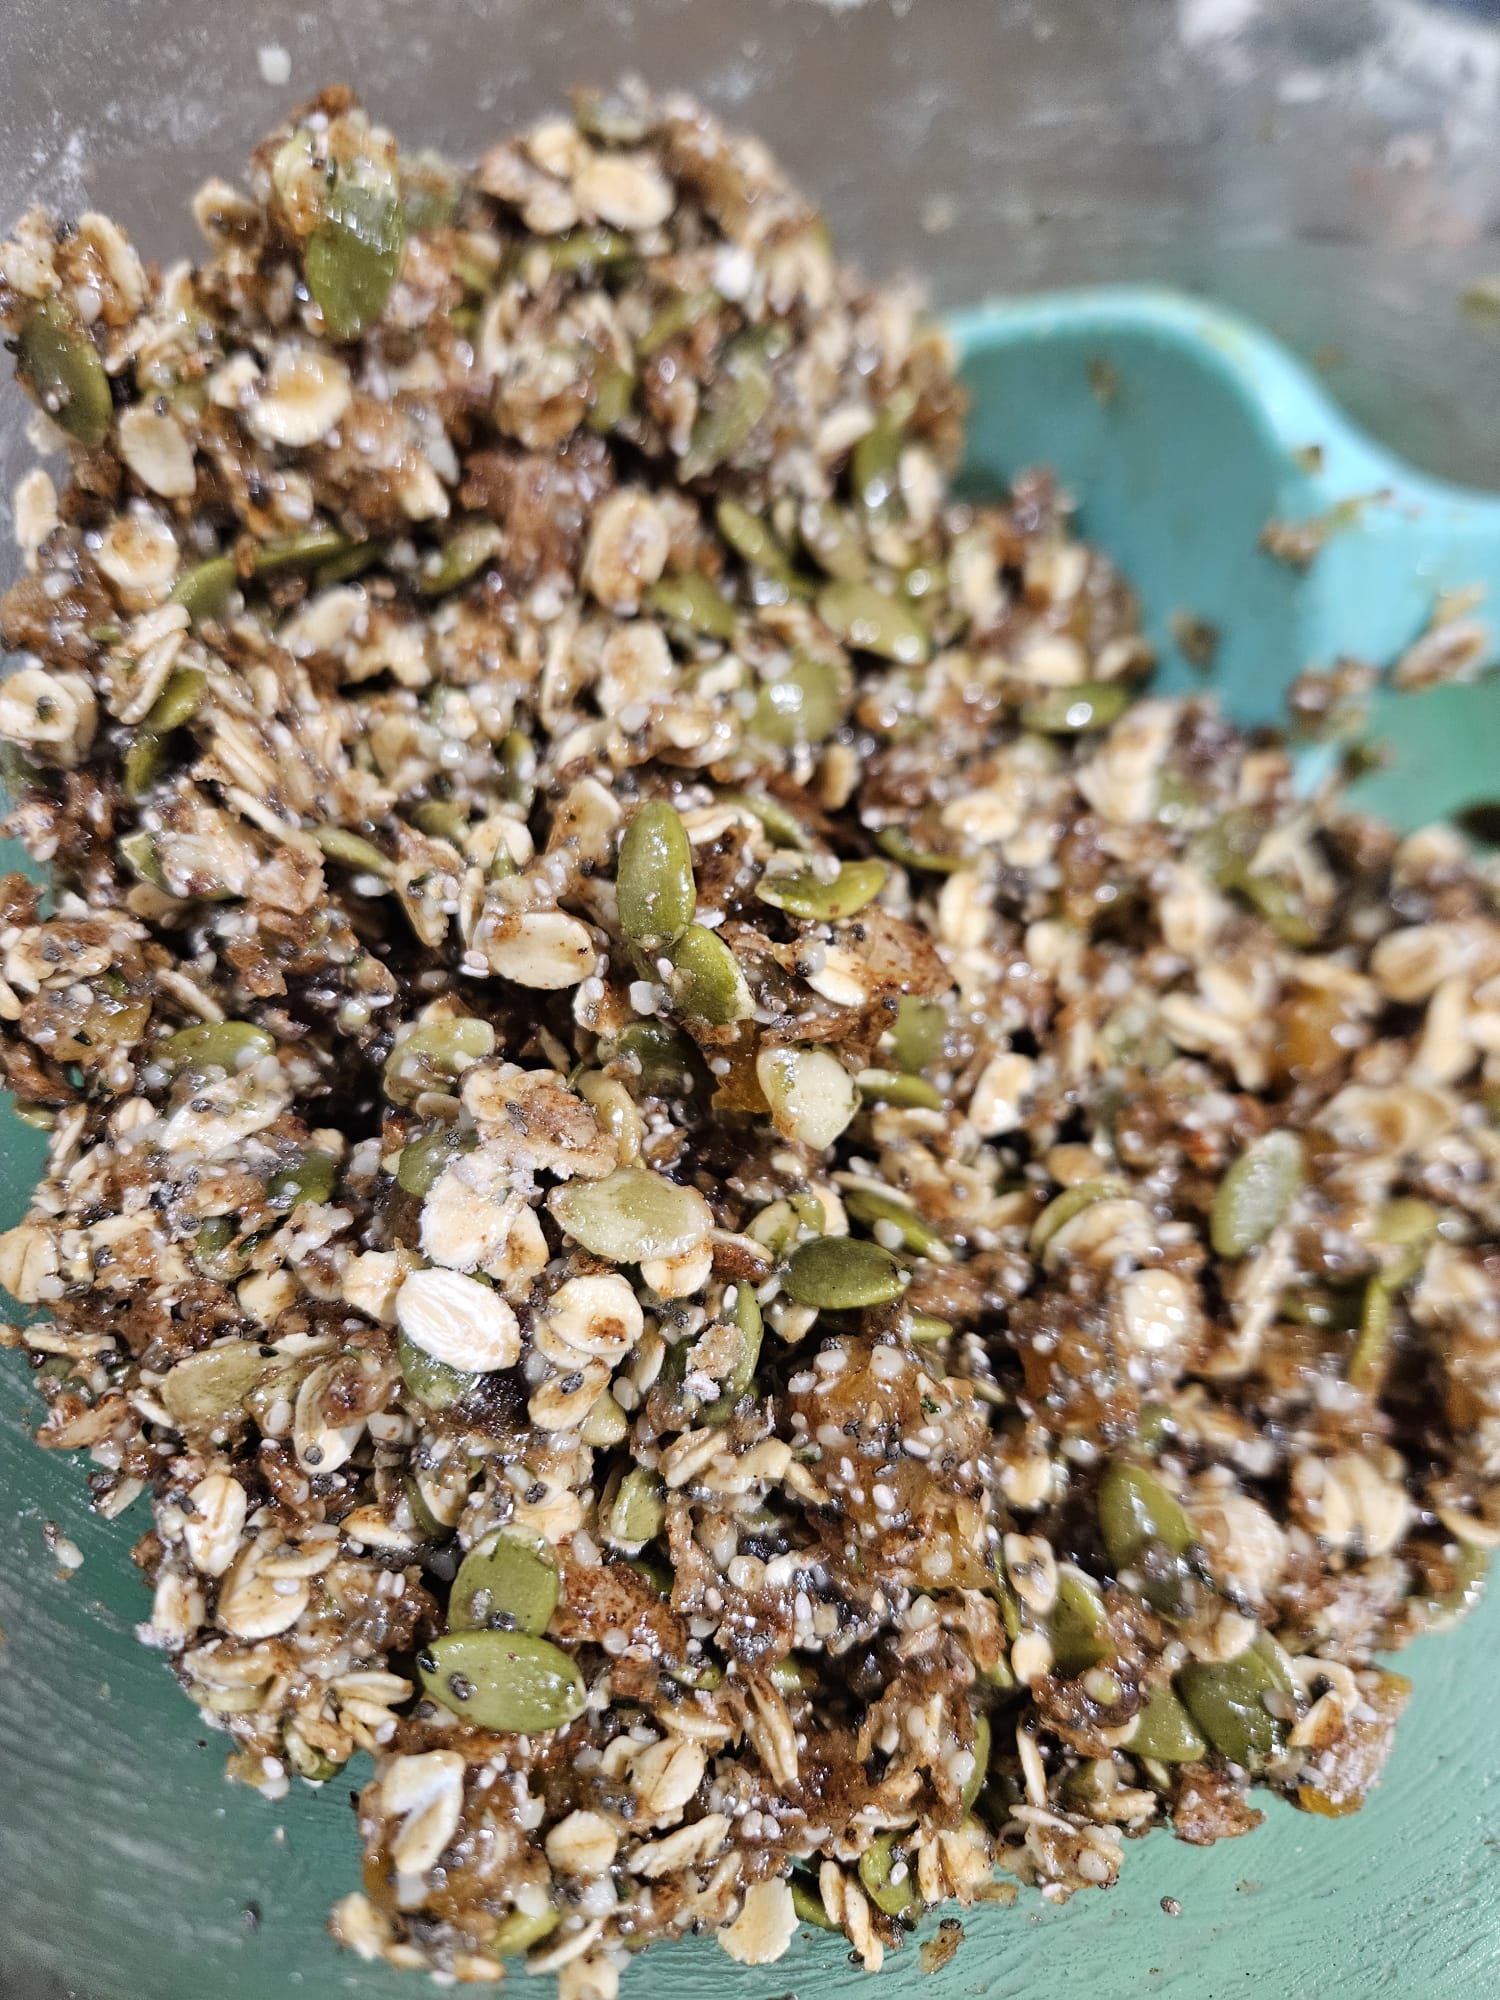
Tip the seeds into the melted chocolate and mix well. It helps if the seeds are still warm.
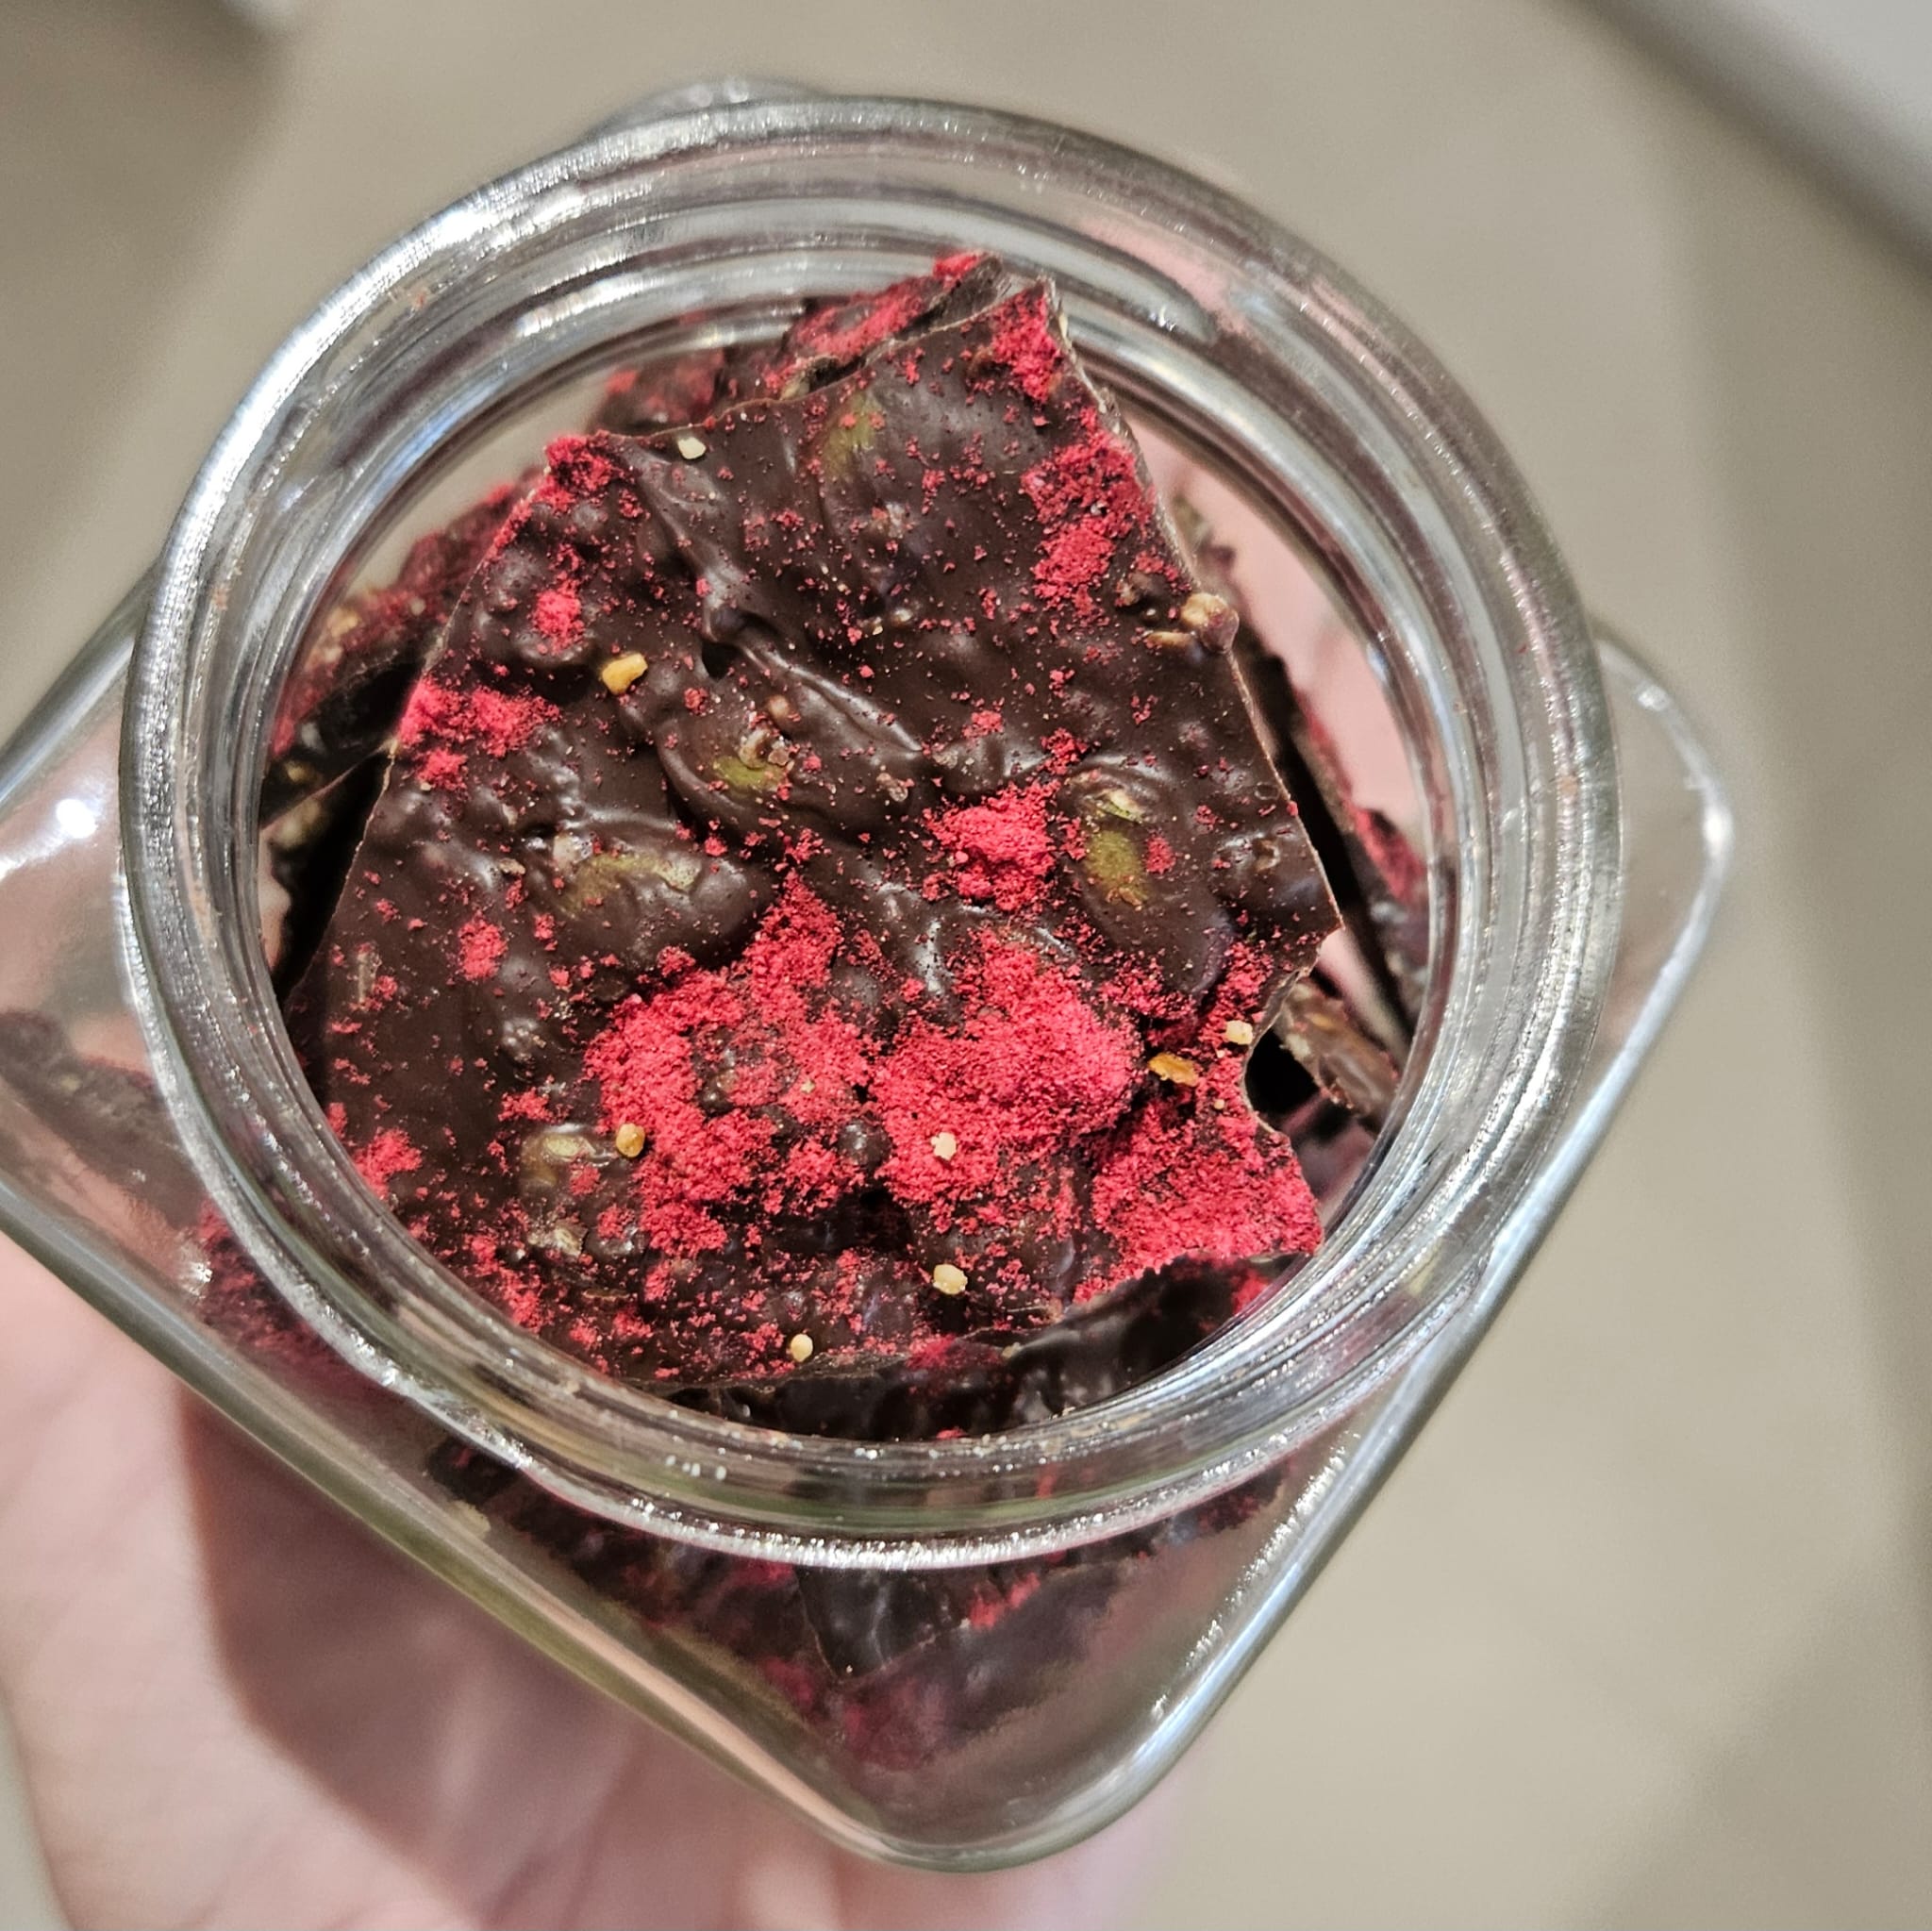
Pour the chocolate mix onto a sheet of baking paper and spread it out as thin as you are able.

Before the chocolate sets, sprinkle over the raspberry powder.

Allow to cool and set before snapping into pieces.
Enjoy however you wish … my preference is for a couple of pieces along with a book and a hot coffee ☕️

*A note on the raspberry powder: I got mine from Weigh n Pay in Woodvale. It is fairly expensive as a single ingredient but the taste is so beautiful and strong and a little goes a loooooong way. Thanks to Craig for all of your helpful advice!!!

You will need to eat this within a couple of days because the raspberry power will draw in moisture and get a little clumpy … but trust me … that shouldn’t be a problem!!