OPTIONAL – 1 tsp maple syrup (I tend to leave this out for me)
Place the oats on the processor and blitz until fine (Speed 9, 8 seconds)
Place the banana, syrup (if using), salt, seed butter and about 25mls of milk in the processor/blender and pulse a few times.
Scrape down the sides. Then while the processor is running, add in the dates one at a time. Process for a further 20 seconds (Speed 4 during the addition then up to 7 for 10 seconds).
Add in the rest of the milk and the ice blocks (through the chute whilst running) and process until well combined and fairly smooth. (Speed 6)
Serve immediately.
If you’re using a bullet style blender, use half of the ingredients in each of 2 large cups.
*I’ve recently been using cow’s milk as my husband’s taste preference. I use 1/4 full cream milk and 3/4 cold water.
I love these delicious, soft biscuits – They are very easy and quick to knock up as they are made from ingredients that I always have on hand.
They are low in sugar but they are sweet enough to take the edge off those cravings.
The fibre and protein help them to boost your energy levels and keep you full for a while … what’s not to love?! Great for afternoon tea…. Or even breakfast!
See below the recipe for a Coeliac version and a few extras.
2 medium bananas, very ripe
3 cups rolled oats
1 tsp ground cinnamon
1/2 cup nut and seed based protein powder (plain almond or seed meal if you’re short on time!)
1 tbsp maple syrup
2 tbsp milk of choice (unsweetened vanilla almond is great here)
3 tbsp aquafaba OR 1 whole egg
Pinch salt flakes
Blend together all the wet ingredients, including the banana, until just smooth (speed 5, 6 secs)
In a separate bowl mix together the oats, seed/nut meal, salt and cinnamon. (Speed 4, 6 secs)
Add the banana mix to the dry mix and process until well combined (speed 4, 8 secs, scrape and repeat if required).
Place spoonfuls on a lined baking tray and cook in a preheated moderate oven for about 12 minutes.
I think these are best served with an afternoon cuppa!
Makes about 24 biscuits.
Extra Options:
To make these coeliac friendly use 2 cups puffed rice and 1 cup rolled quinoa in place of the oats.
Add a tbsp of cocoa or cacao for a chocolate version.
For a sweeter option stir through some chopped dried fruit (dates or sultanas are my favourite but cranberries or apple work too) … Or even a handful of chopped dark chocolate.
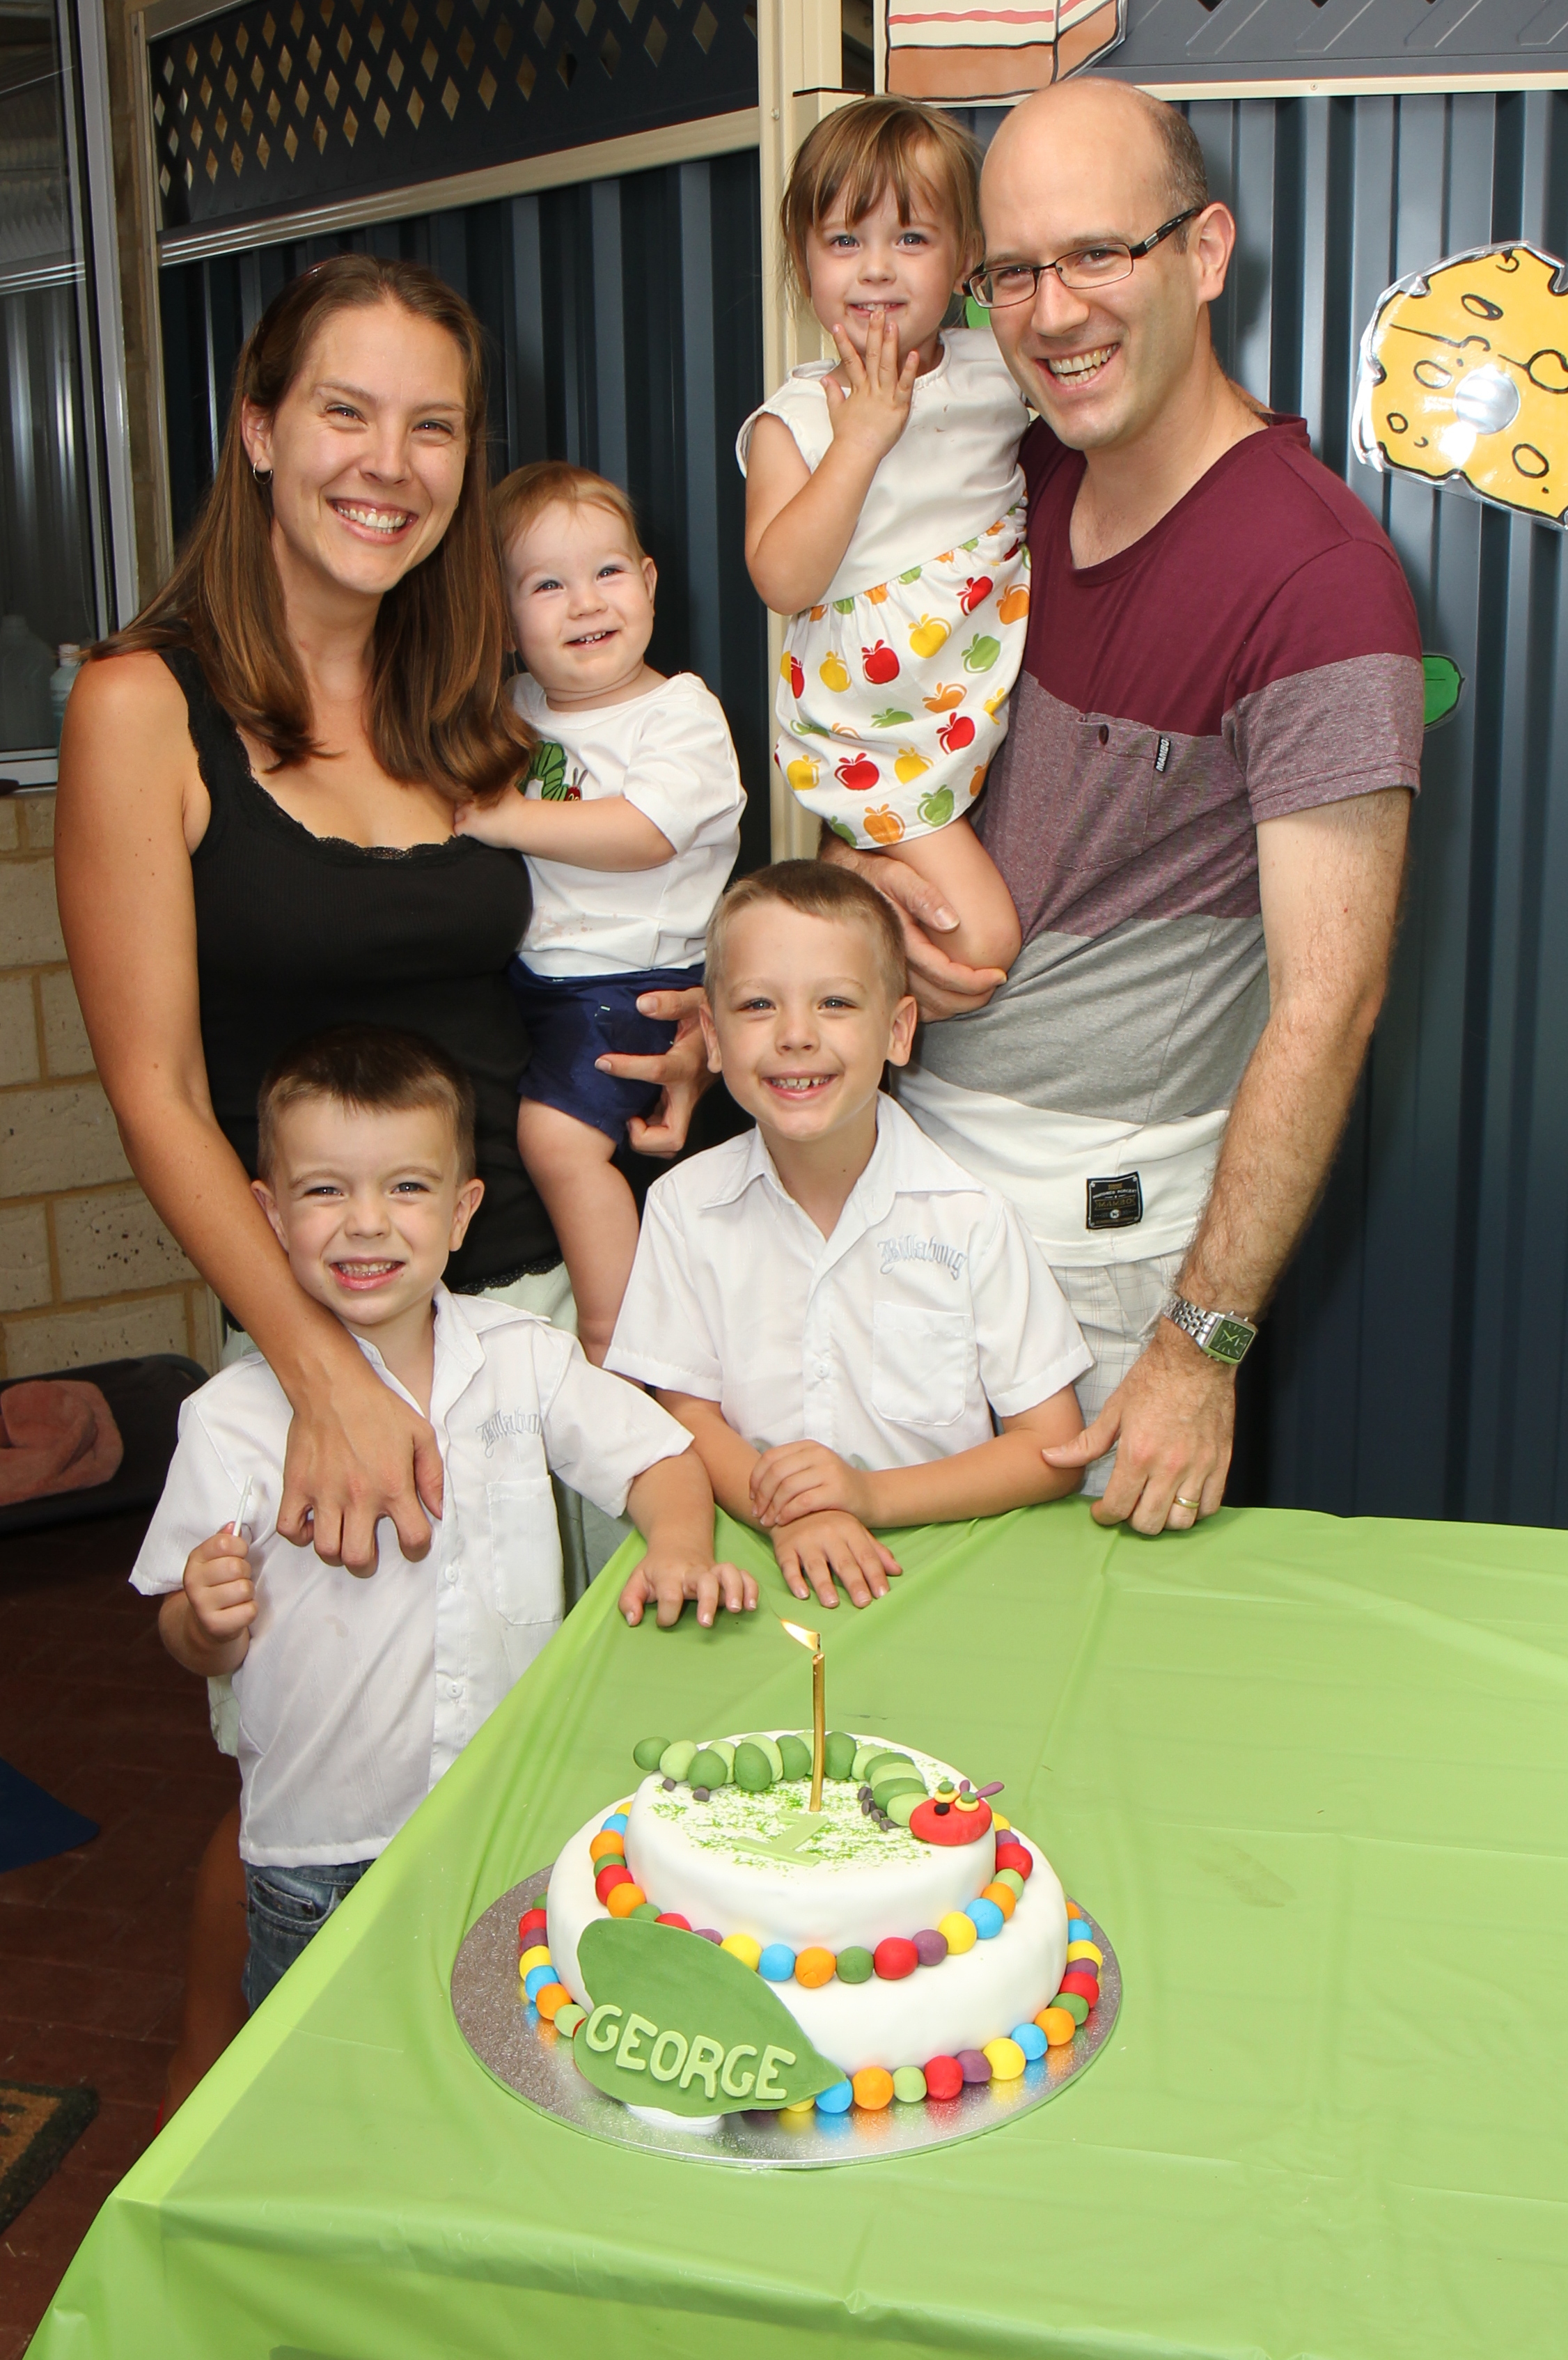
It really does seem like just yesterday that we bought him home from hospital as a tiny bundle who was thrust into the middle of the very noisy, messy and fun life that is 4 kids under 5 and a half!!
He has been an absolute delight and we thank God every day for him – our family would not be whole without him.
To celebrate his birth (and the fact that we survived and thrived the first year with 4 children!) we had a little party – with the theme of his favourite book – The Very Hungry Caterpillar.
This is what ‘Saturday’ food looks like in the story:
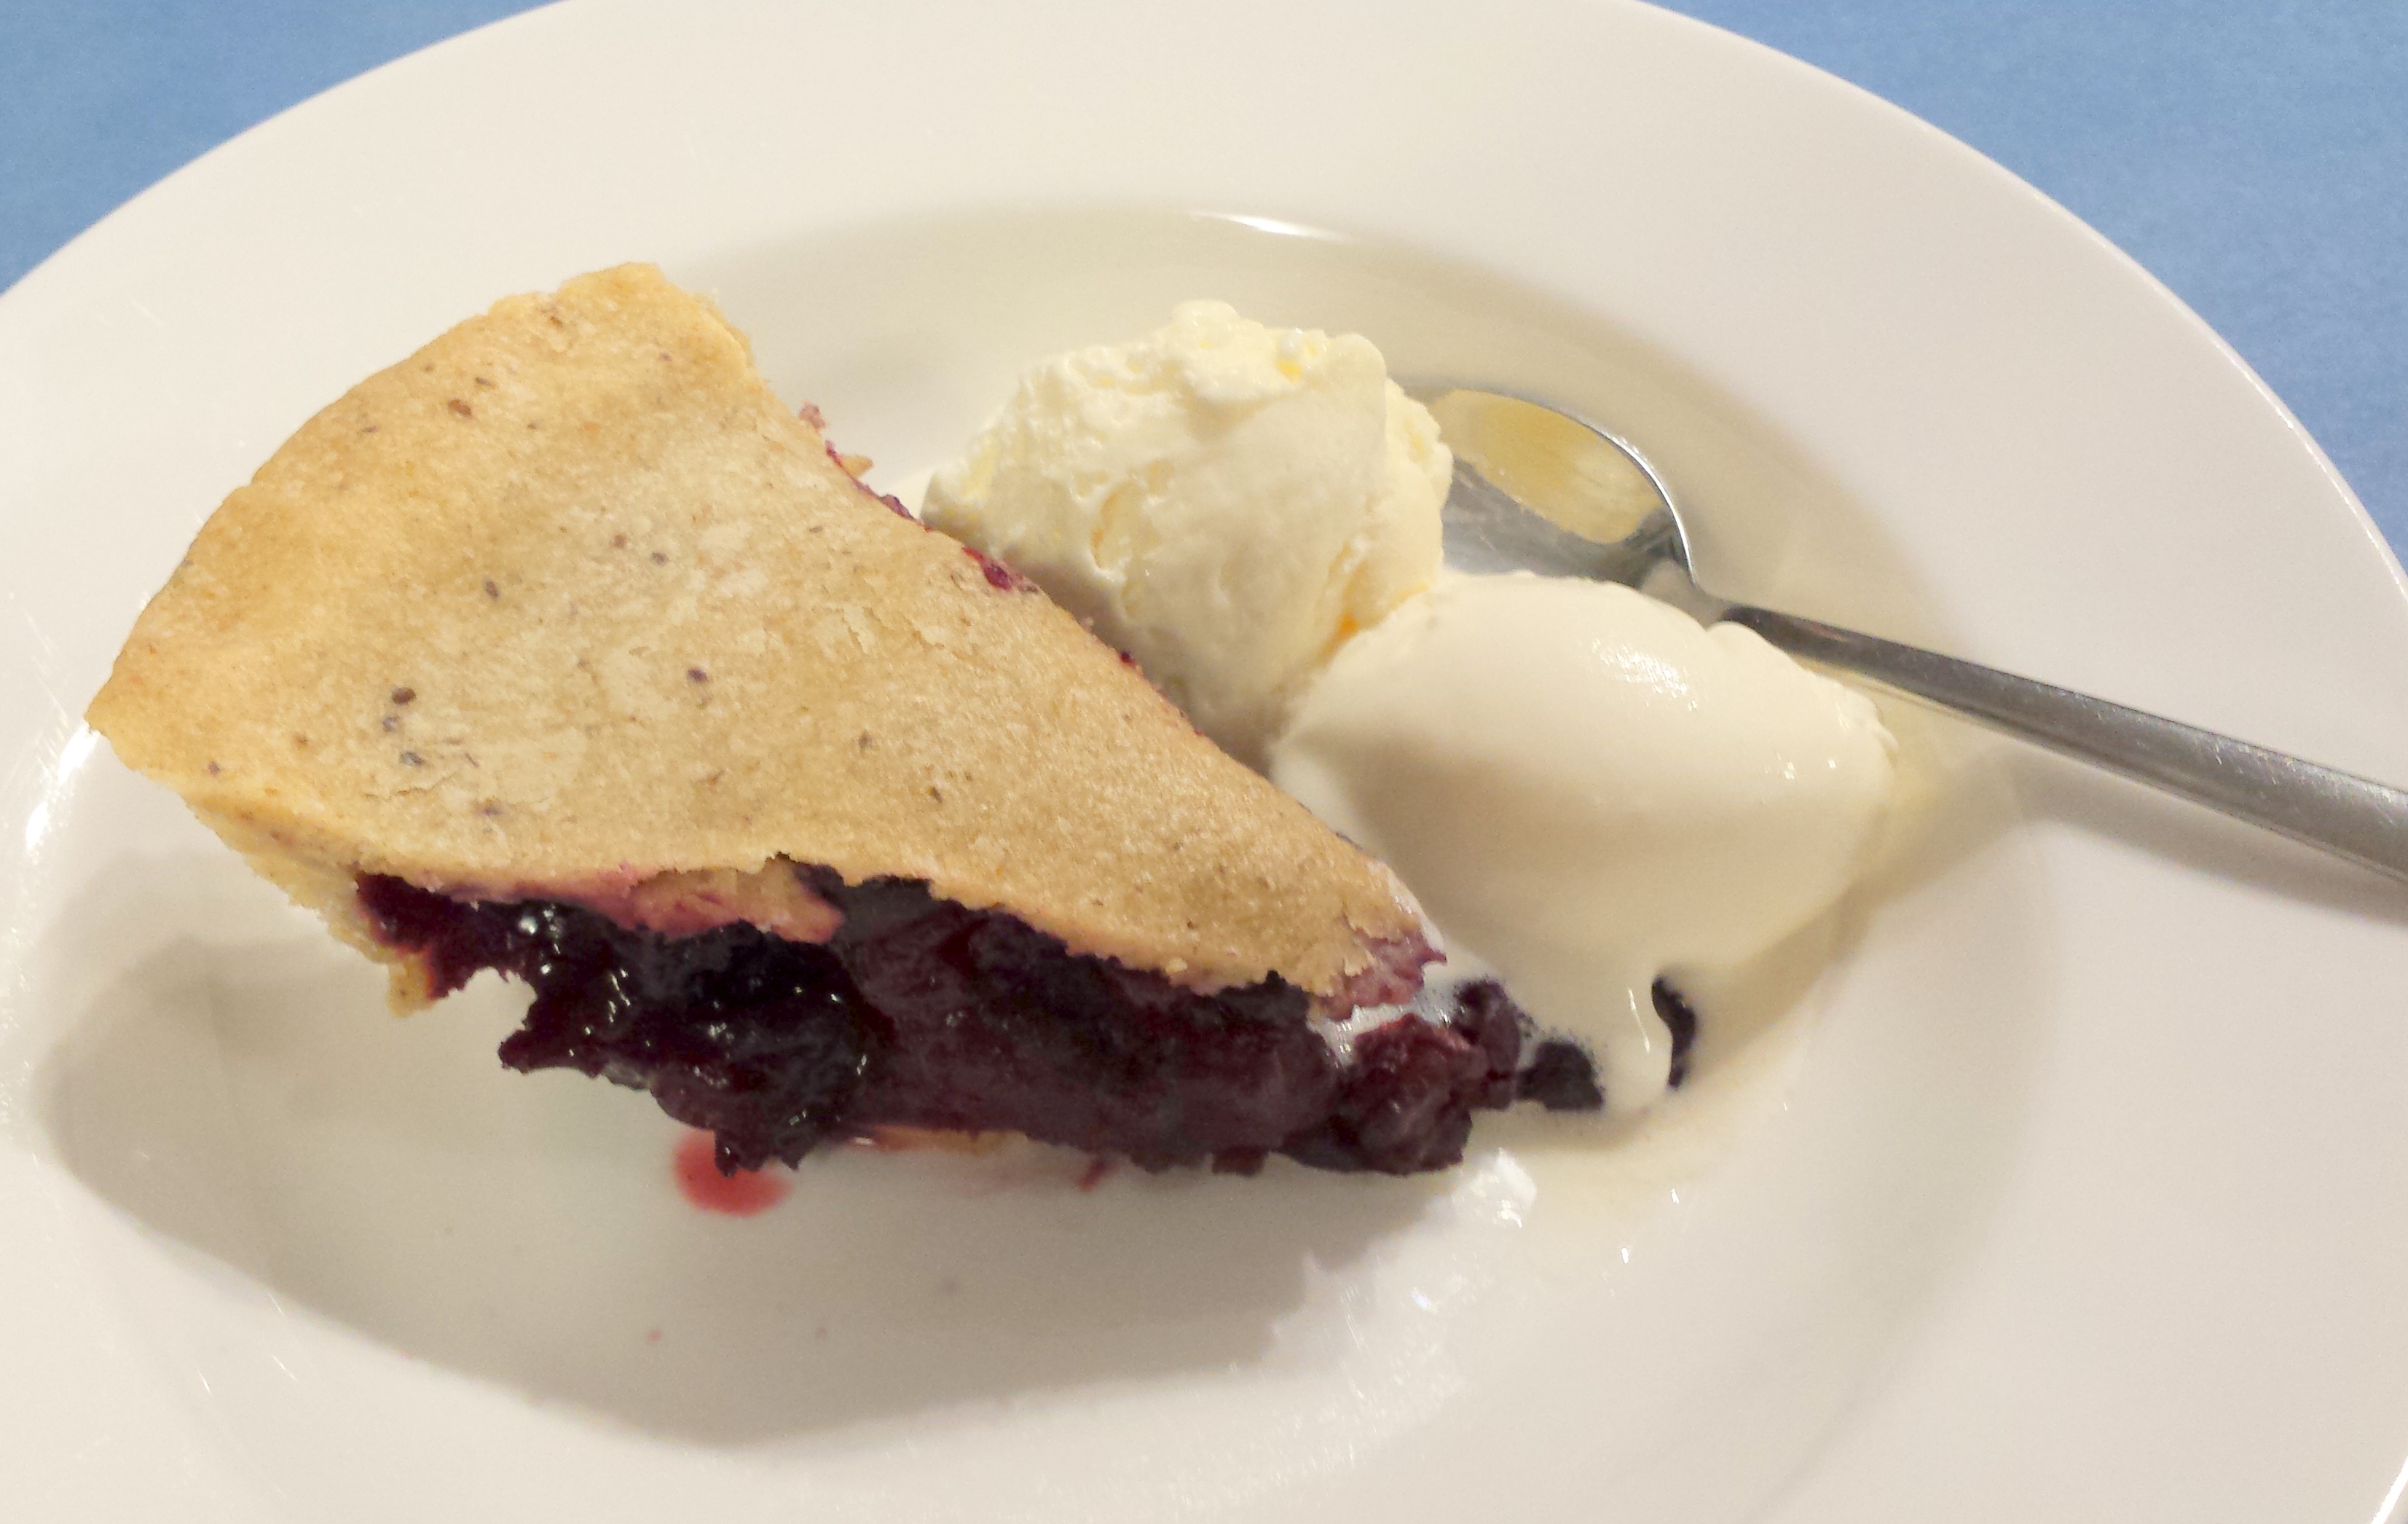
So, we had soy ice creams with gluten free cones, lollypops, watermelon, red sausages, a plate of vegan cheese together with gluten and dairy free salami and pickles (gherkins), banana muffins, chocolate cake (the birthday cake) and then cherry pie. I hadn’t ever made cherry pie before so it was my big challenge!
It turned out to be very tasty and will be back on my dessert menu again!
To make the sweet shortcrust pastry:
2 1/4 cups wholemeal spelt flour
1/3 cup GF icing sugar
1 tbsp chia meal
2 tbsp iced water
90g Nuttlelex
85g lard (or omit this and replace with more Nuttelex for a vegan version)
In a small container, mix together the iced water and chia meal and set aside.
In a food processor pulse together the flour, sugar, Nuttelex and lard until they resemble breadcrumbs.
Add in the gel that has formed from the chia meal and pulse again a few times until it is well combined.
Tip on to the bench and knead gently into a dough. Form into a disc, cover in plastic wrap and place in the fridge.
To make the cherry filling:
750g pitted, frozen cherries
1.5 tbsp pure corn flour
1 tbsp coconut sugar
1 tsp vanilla bean paste
Place 500g of the cherries in a large saucepan. Stir over a medium heat until the cherries are quite soft and have released a lot of their juices. (About 5 minutes at 90C, speed 1 with a blunt blade in a Thermal cooker)
Remove from the heat, then add in the corn flour and sugar. Mix well until the flour and sugar is dissolved (Speed 1 for 20 seconds with a blunt blade in a thermal cooker).
Add in the vanilla and return to a low heat. Mix until the liquid thickens (about 4 minutes at 90C, speed 1 with a blunt blade).
Remove from the heat and gently stir through the remaining 250g of whole cherries. Set mixture aside to cool. It will get thicker as it cools too.
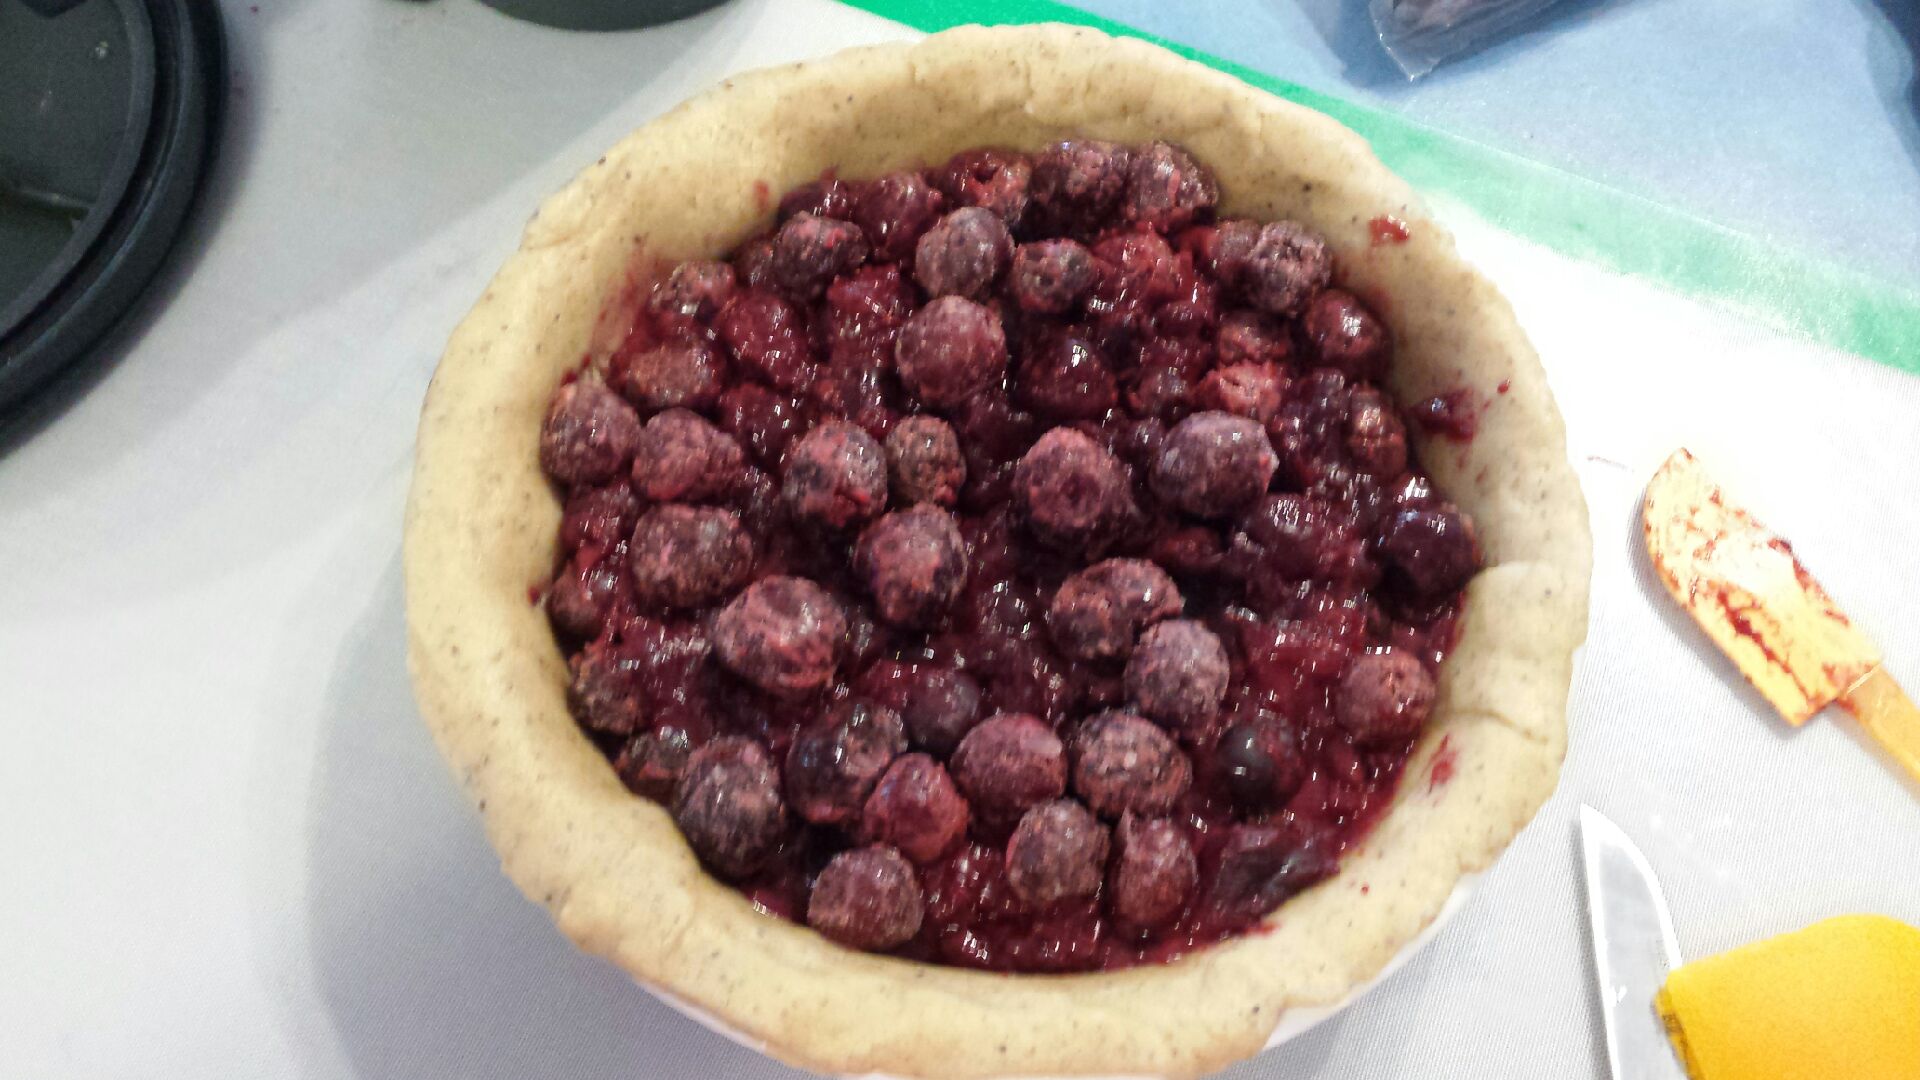
To assemble the pie:
Take the pastry out of the fridge and split into 2 (one slightly bigger than the other for the bottom crust).
Roll out to fit your pie dish – mine is a 22cm round dish and this quantity of pastry is the perfect size.
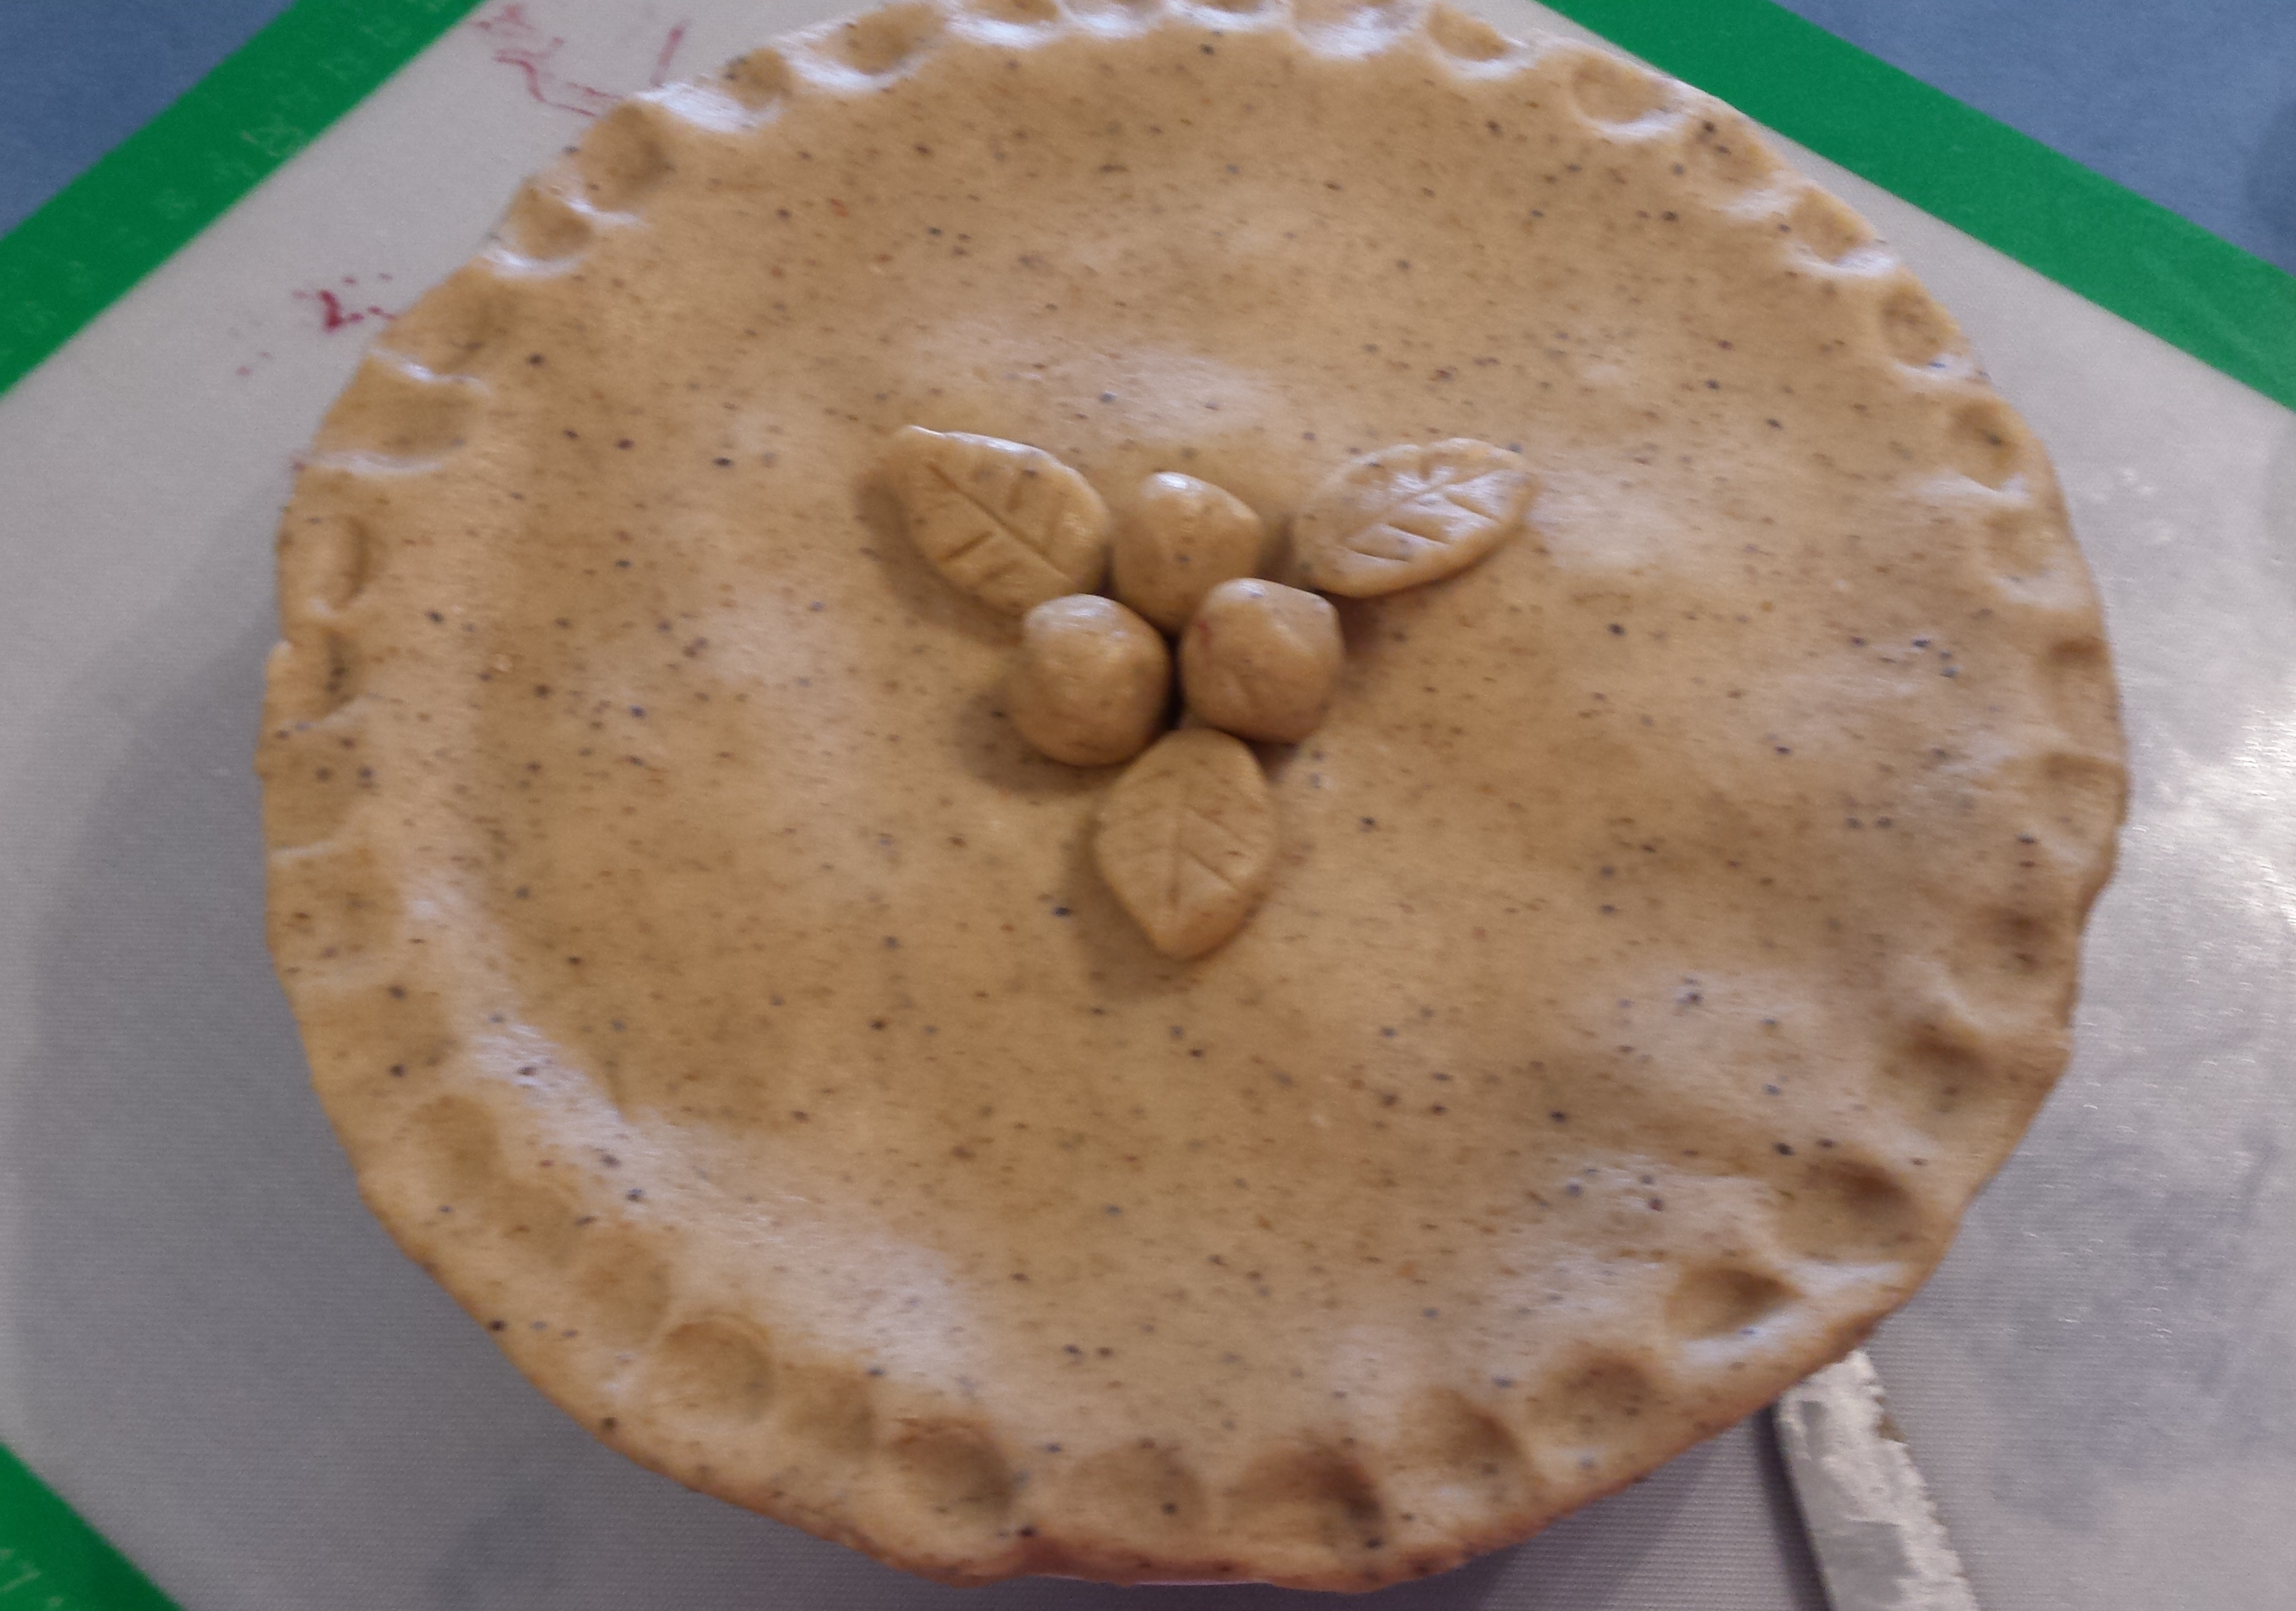
Grease the pie dish and lay the bottom crust in, add the cherry filling and top with the pie crust. Press the sides together and cut a couple of small slits for steam. Decorate as you wish.
Bake in a preheated 180C for about 50mins – 1 hour.
Sprinkle with icing sugar and serve warm with ice cream, cream, custard or just on it’s own!
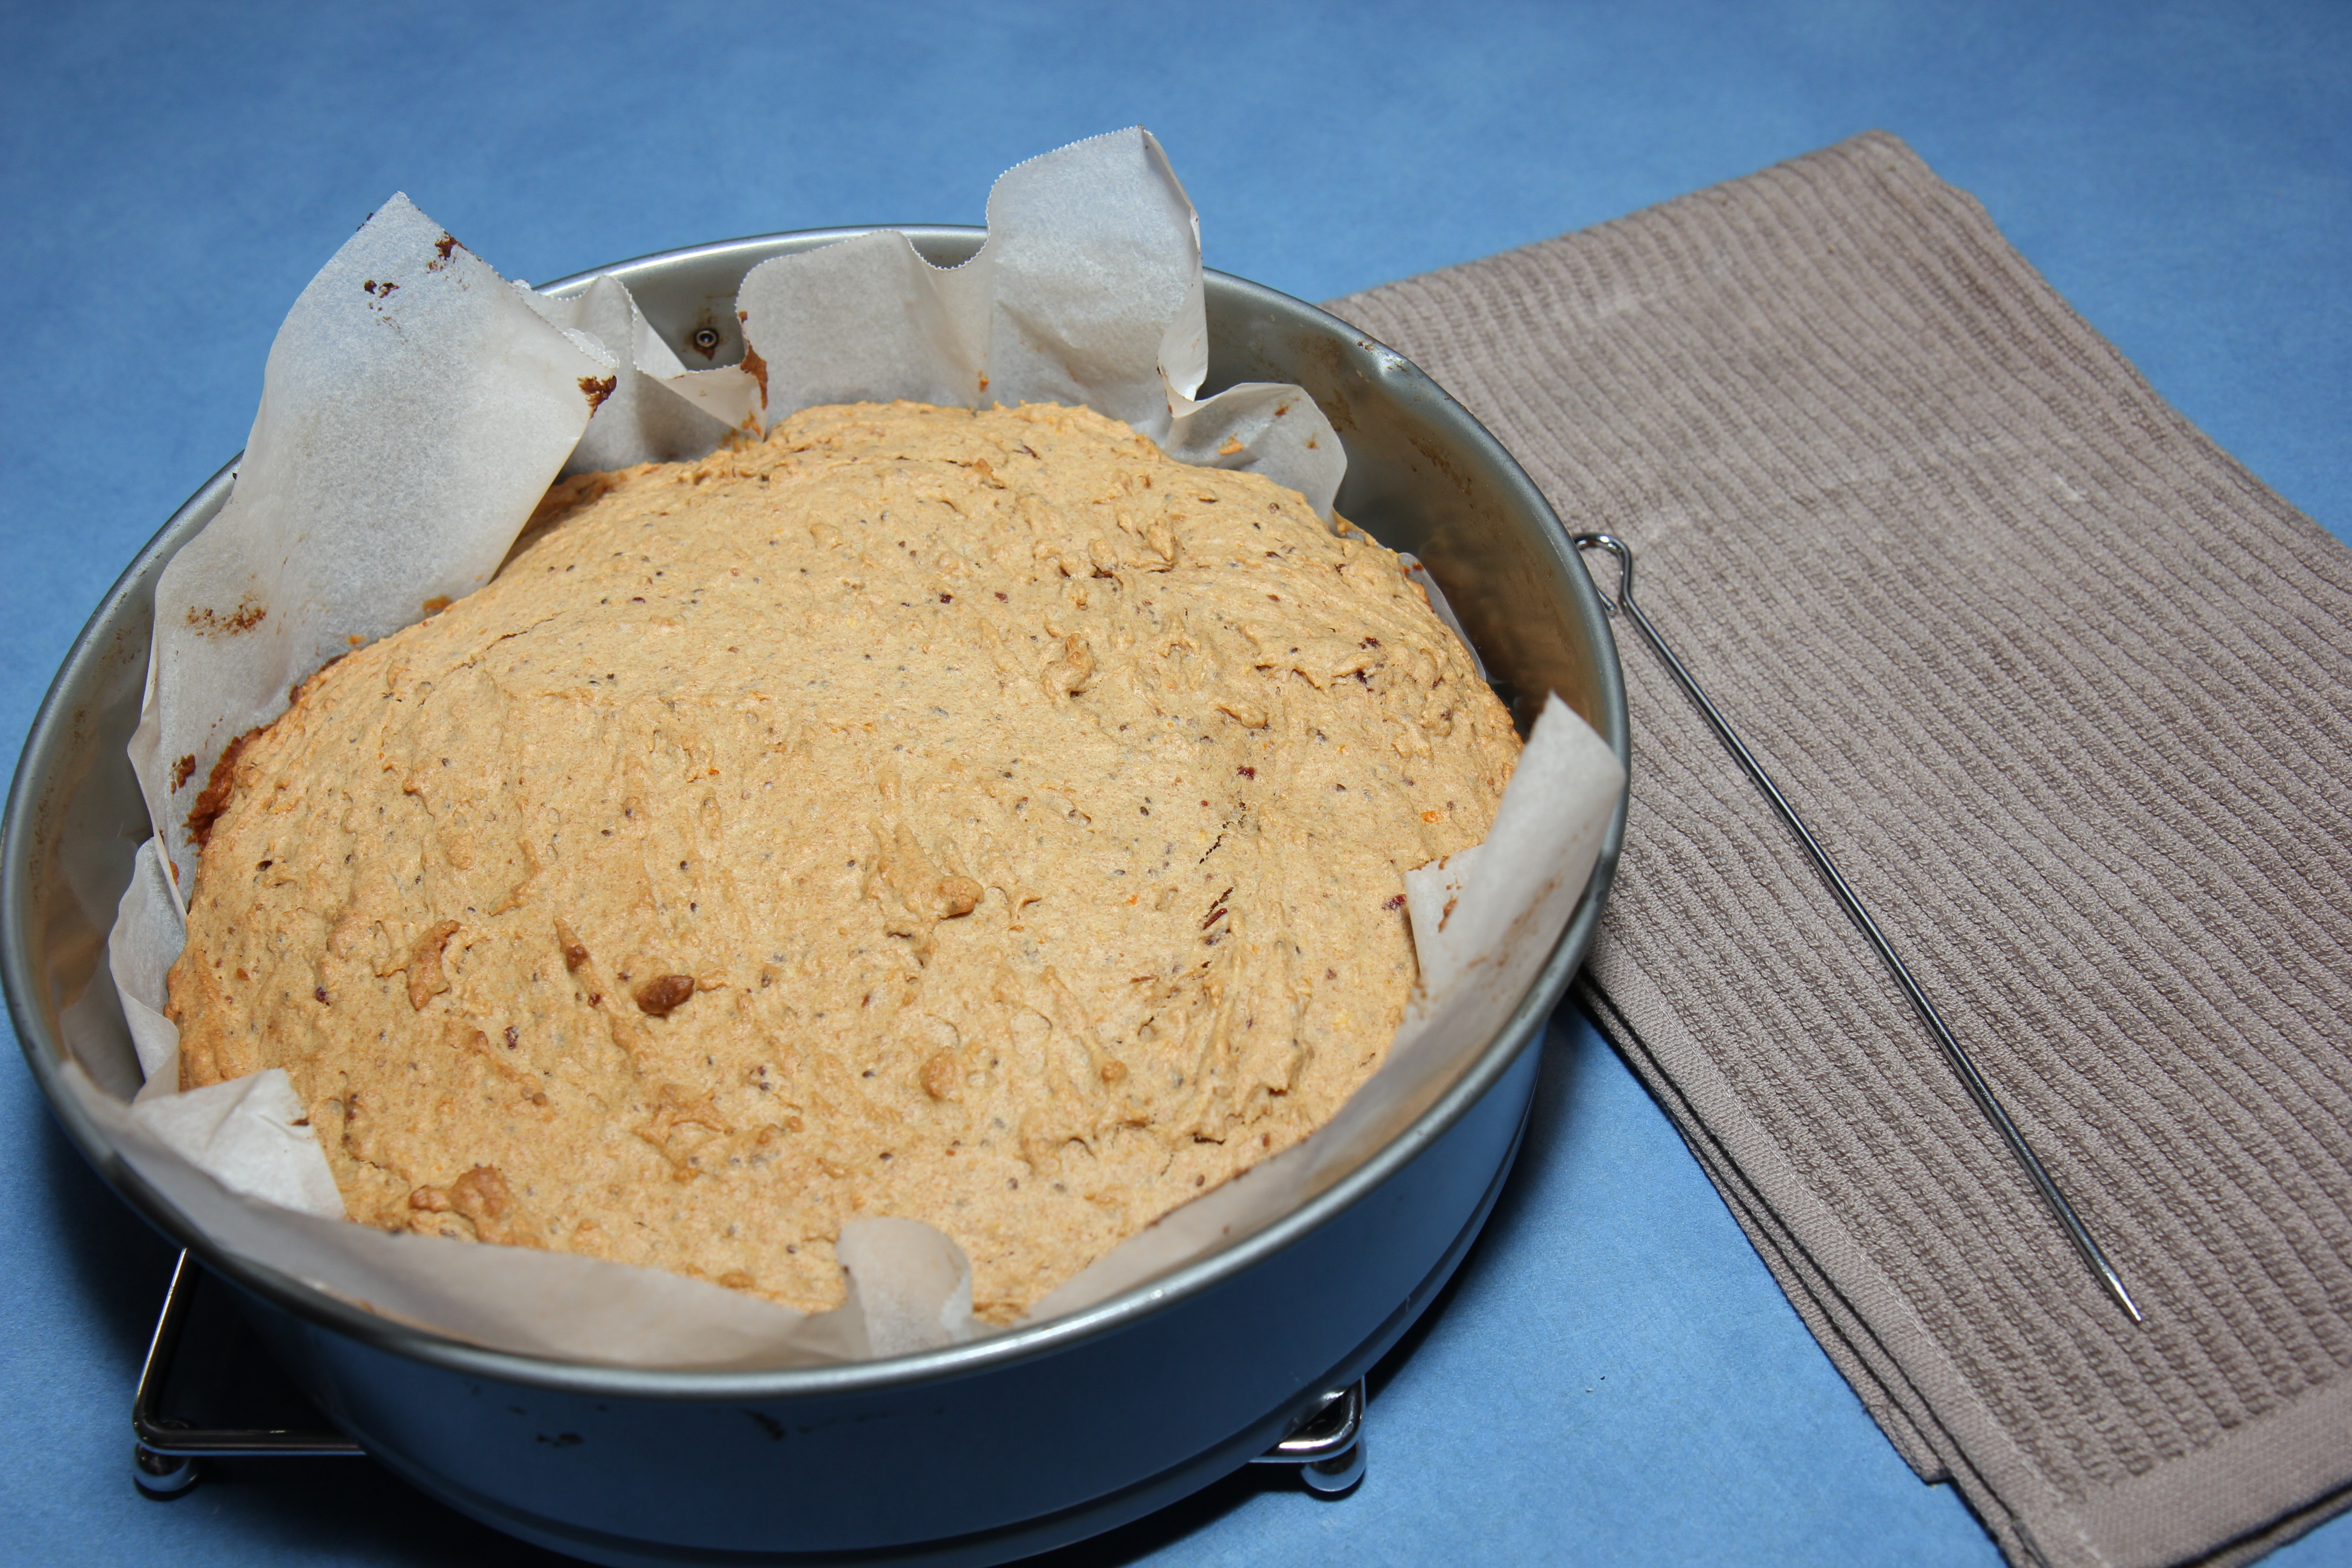
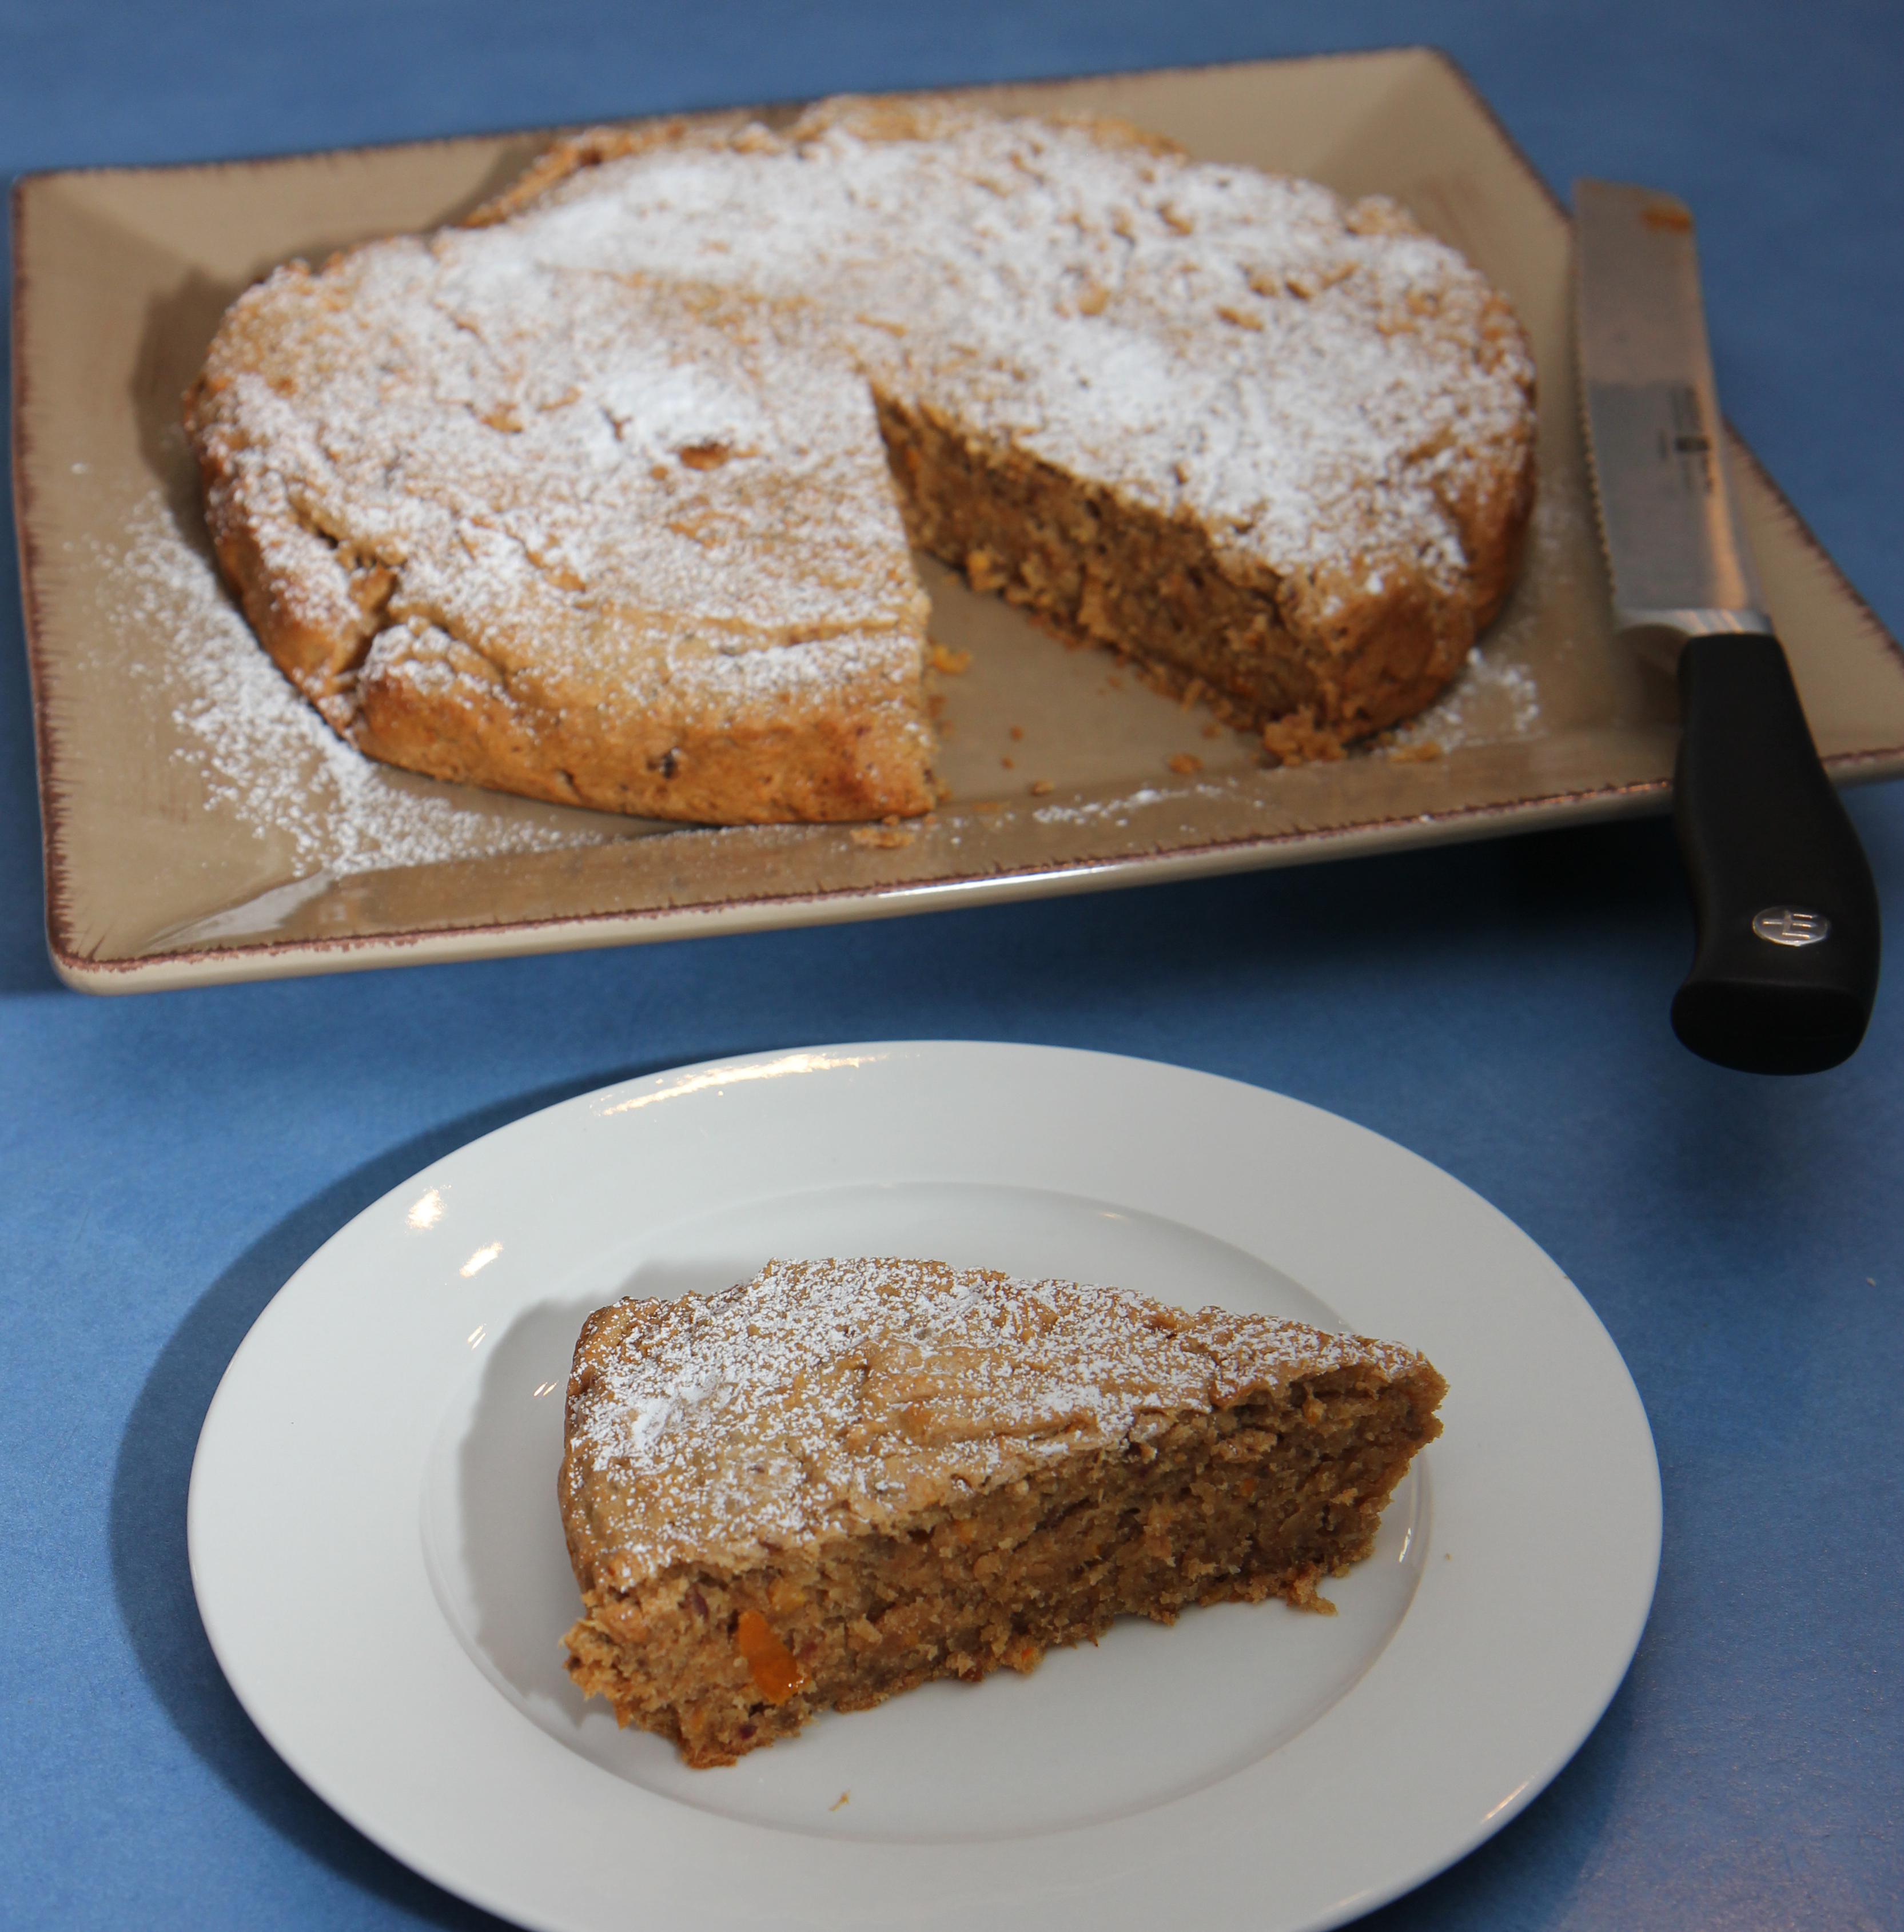
This cake is based on the idea of the 30 second Orange cake from the Thermomix recipe community and you can find the original here. It is quite a dense, moist cake. I made it in my Bellini, but I think you could make it in a high powered food processor – you’ll just need to increase the times.
1 whole orange (yes, ALL of it – skin, pips, the lot)
6 medjool dates, pips removed
225g Nuttelex/vegan butter/ tasteless coconut oil
80g coconut sugar
1 1/2 cups GF SR flour plus 1/3 cup almond/seed meal OR 2 cups (350g) spelt flour plus 2.5 tsp of GF baking powder
6 tbsp aquafaba (liquid drained from a can of chick peas)
1 tbsp chia seeds
Place orange, in quarters, dates and Nuttelex in the machine and blitz on speed 9 for about 10-15 seconds.
Add in the sugar, chia (and baking powder if required) then process on speed 5 for 15 seconds.
Add in the aquafaba through the top chute whilst mixing on speed 4.
Add in the flour (and meal if using) and mix on speed 4 for 20 seconds, then scrape down the sides and then again on speed 5 for 15 seconds.
Place in a greased 20cm springform cake tin and bake in a preheated 180C oven for about 60 minutes. Allow to cool slightly in tin before transferring to cooling rack. Sprinkle with GF icing sugar to serve. Freezes and defrosts well too. Enjoy 🙂
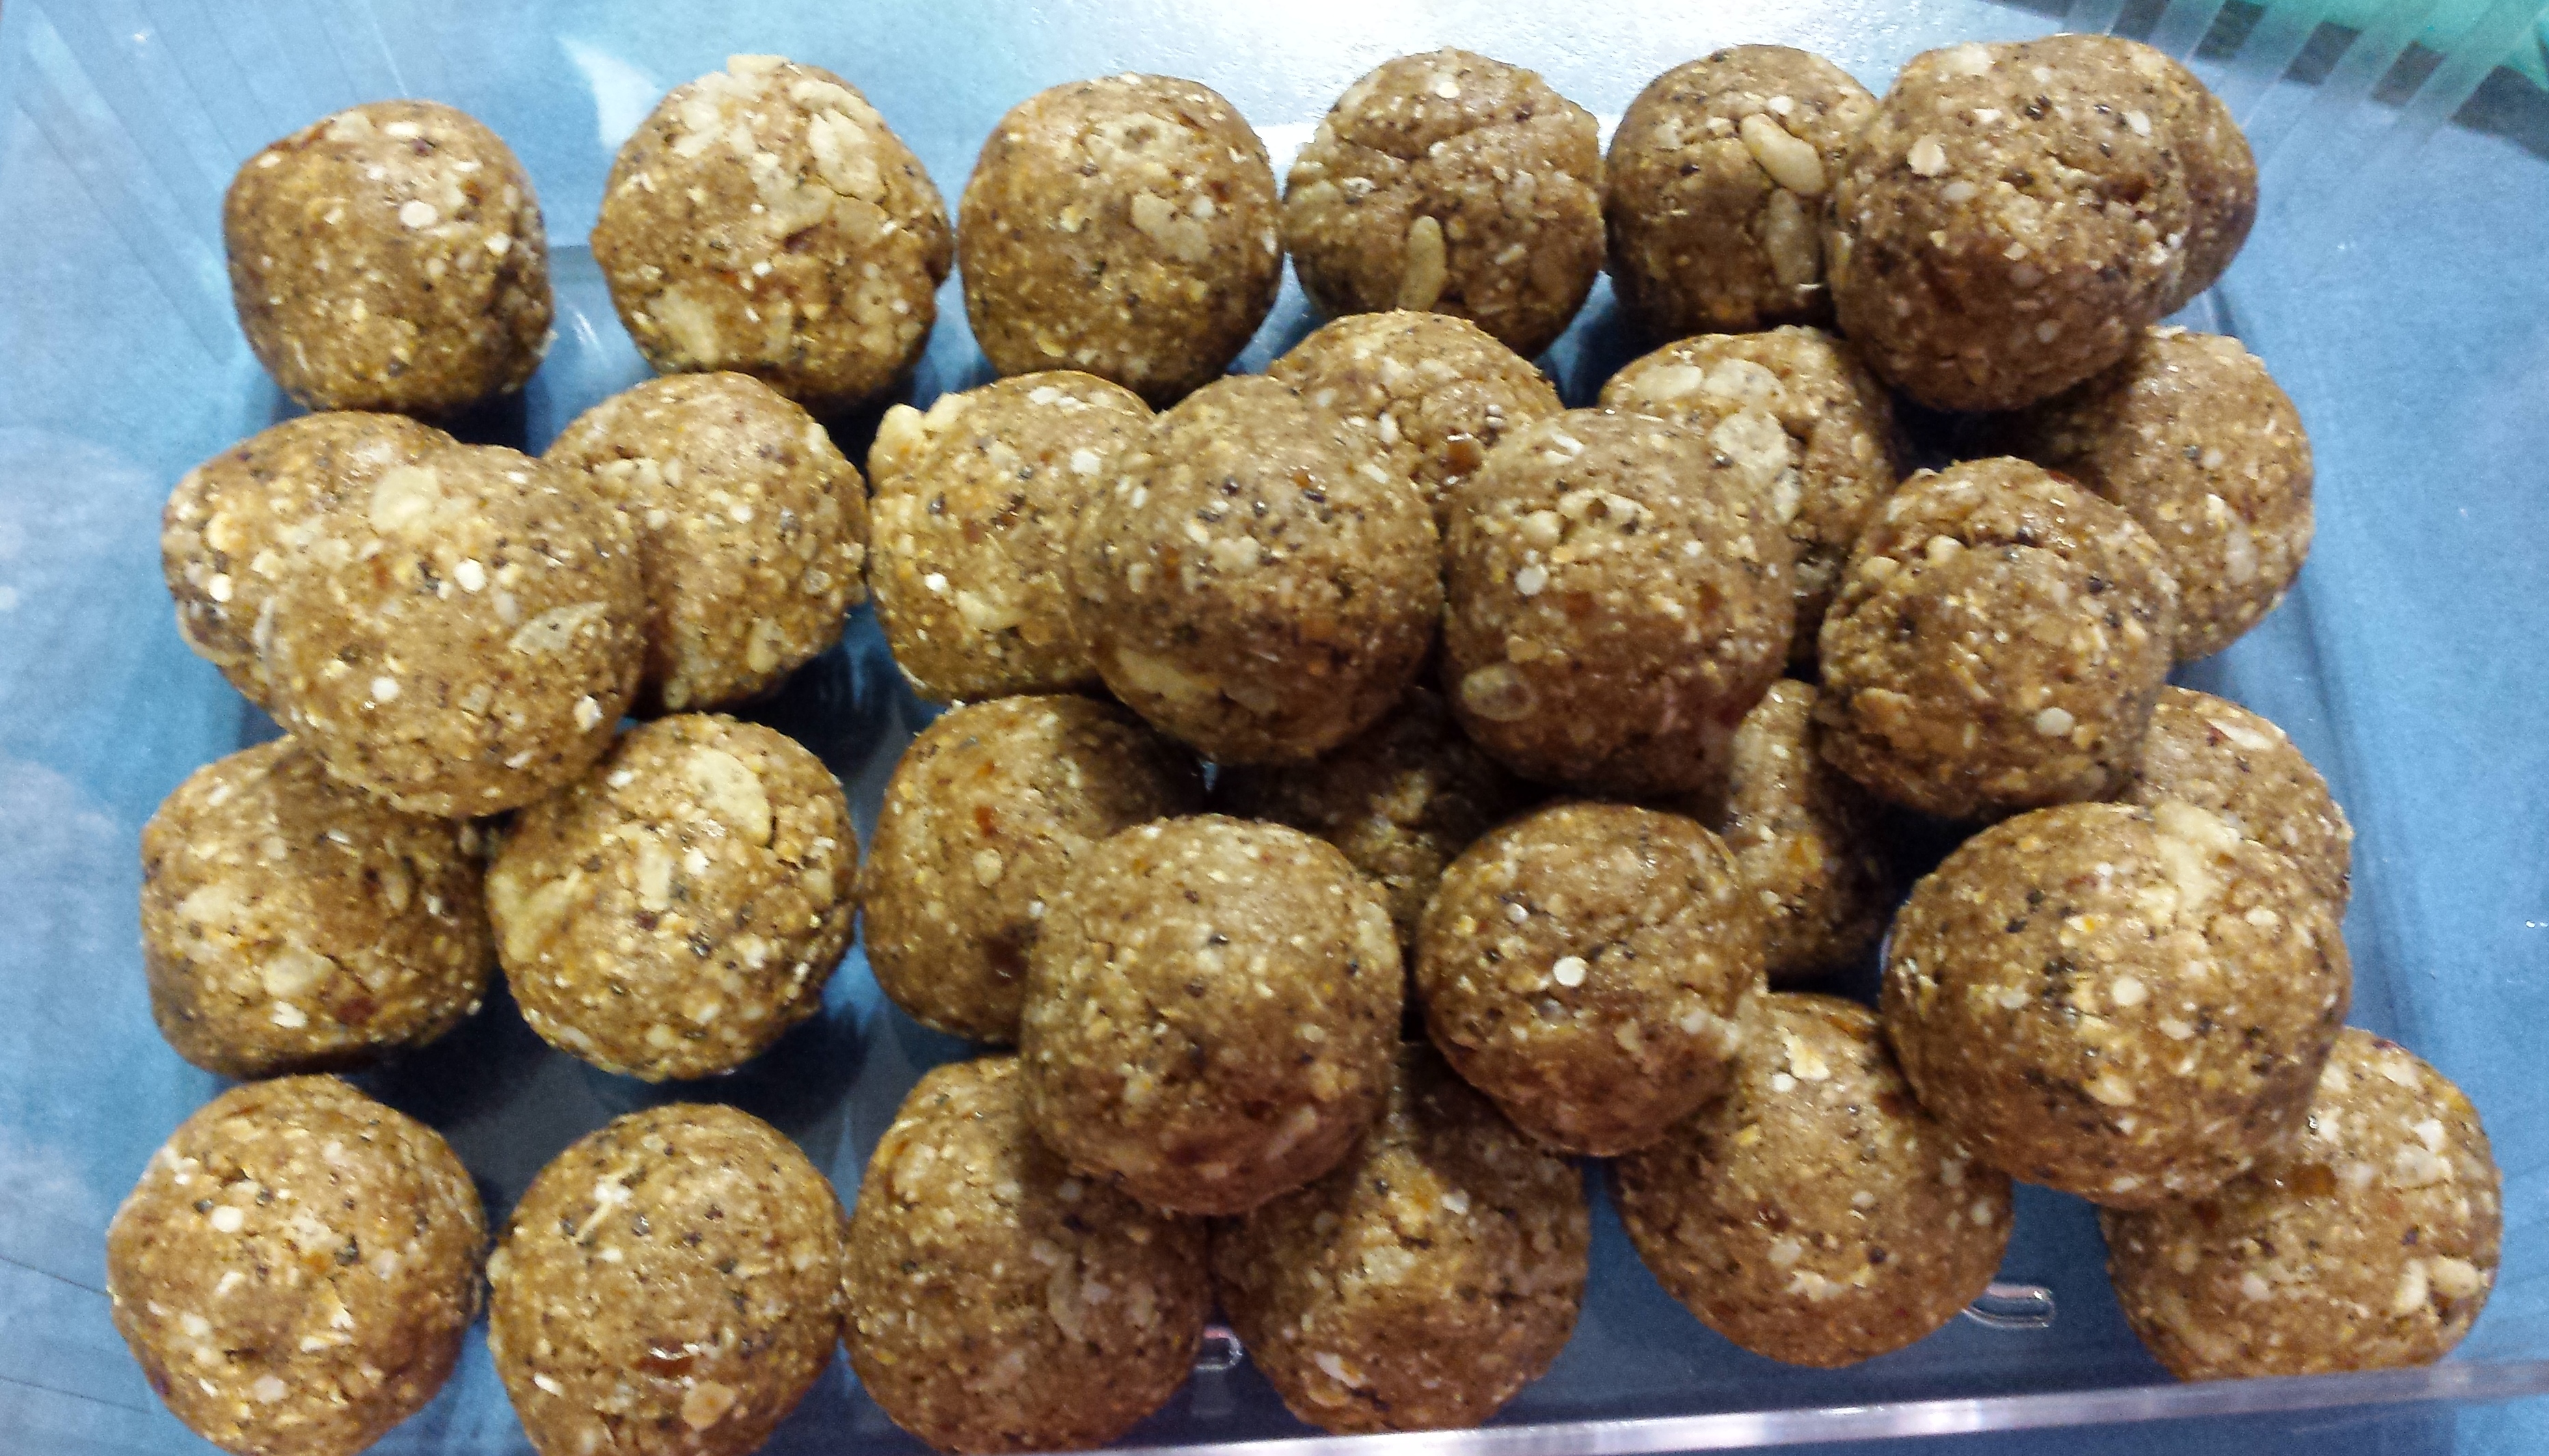
Our kids are getting to the age now where we are getting home from school and racing out again to other activities – so afternoon tea needs to be quick and give them a good energy boost! These are a great snack for little people on the go … and for their Mumma too!
6 medjool dates, pitted
150g Free Nut Butter
100g Agave syrup
2 tsp vanilla bean paste
1 tsp mixed spice
20g chia meal
2 cups GF rolled oats
1 cup puffed rice
50g rolled quinoa
You can find my recipe for homemade Free Nut Butter here: https://itchinkitchen.com/2015/01/22/nut-butter-substitute-free-nut-butter/
Use a food processor to blitz the dates, then place in a large saucepan together with the Free Nut Butter, agave, vanilla and spice. Melt all ingredients together over a gentle heat.
Return mixture to the food processor and add oats, chia and quinoa. Process until oats are finely chopped and mixed well.
Add puffed rice and pulse until combined (but not finely chopped)
Roll a teaspoonful of the mixture into a ball and store in airtight container in the fridge .
Makes about 30.
For a Thermal cooker (TMX, Bellini etc):
Blitz dates and Free Nut Butter on speed 9 for 10 seconds.
Scrape down sides and cook on 1ooC at speed 3 for 2 minutes.
Add vanilla, agave and spices and cook again on 100C at speed 3 for 1 minute.
Add oats, chia and quinoa and process on speed 7 for 20 seconds.
Add rice and process on speed 4 for about 10 seconds.
It’s getting close to the end of holiday and return to school time for my 2 biggest munchkins … sob!
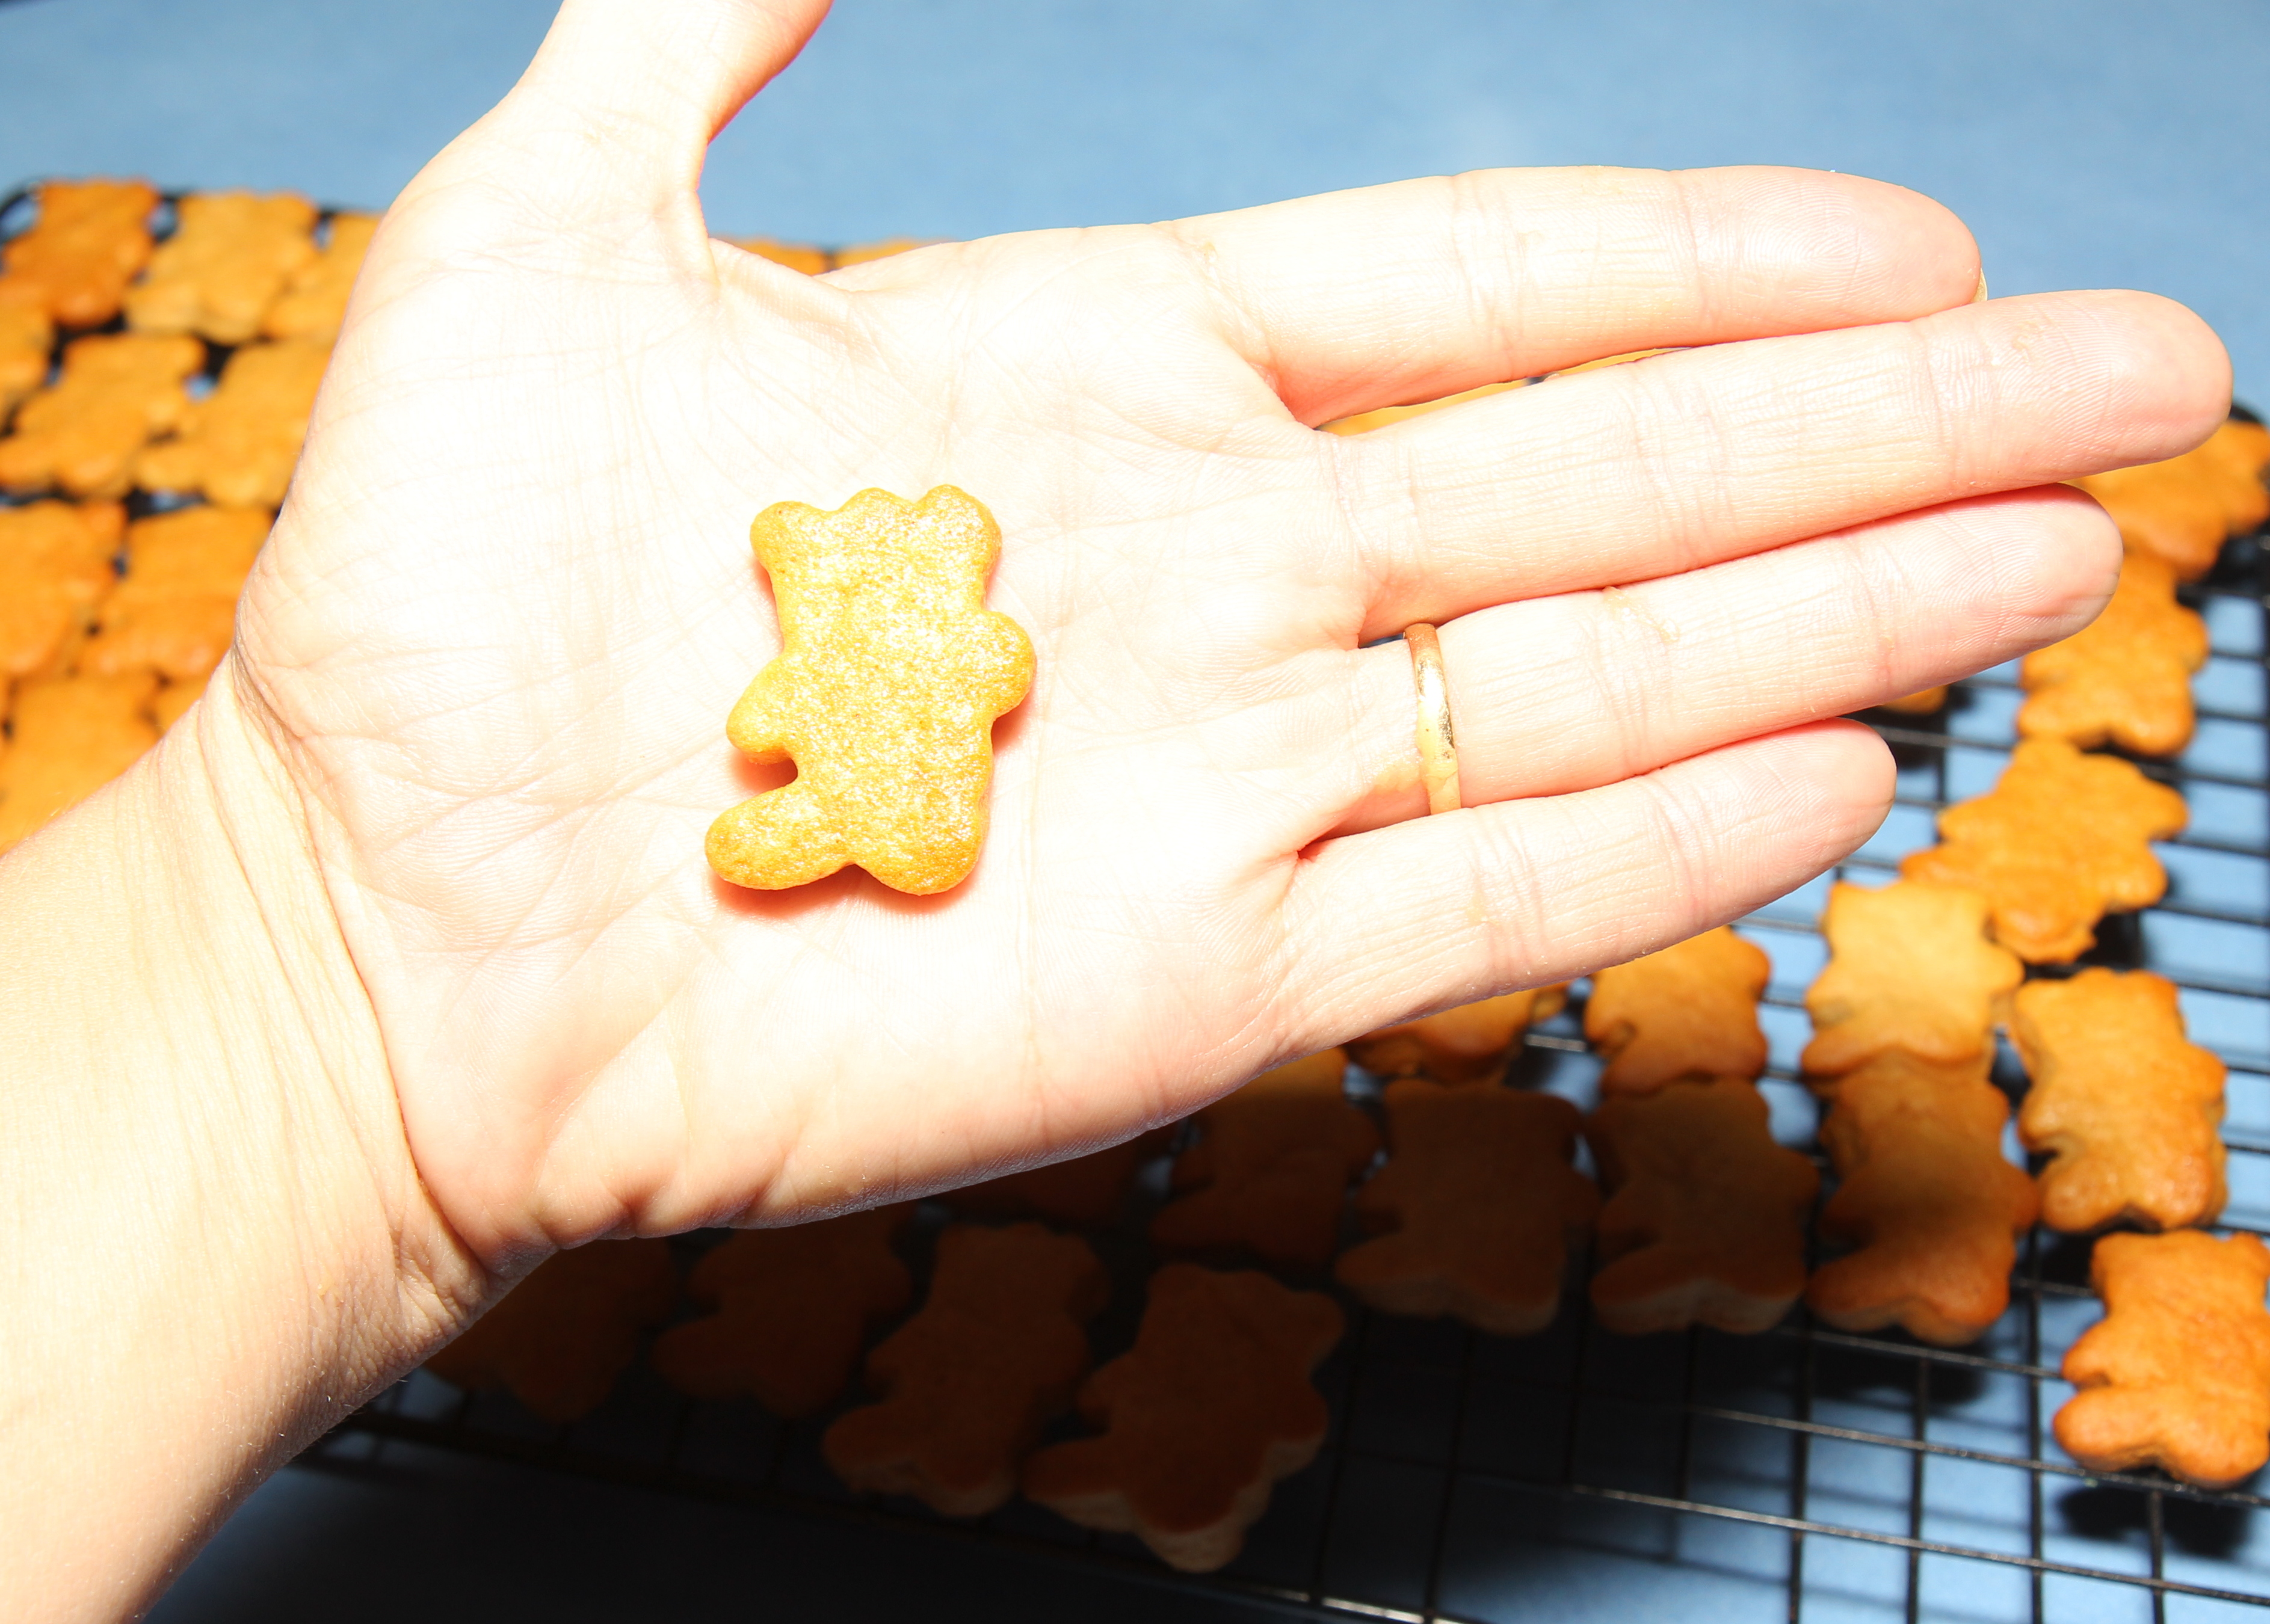
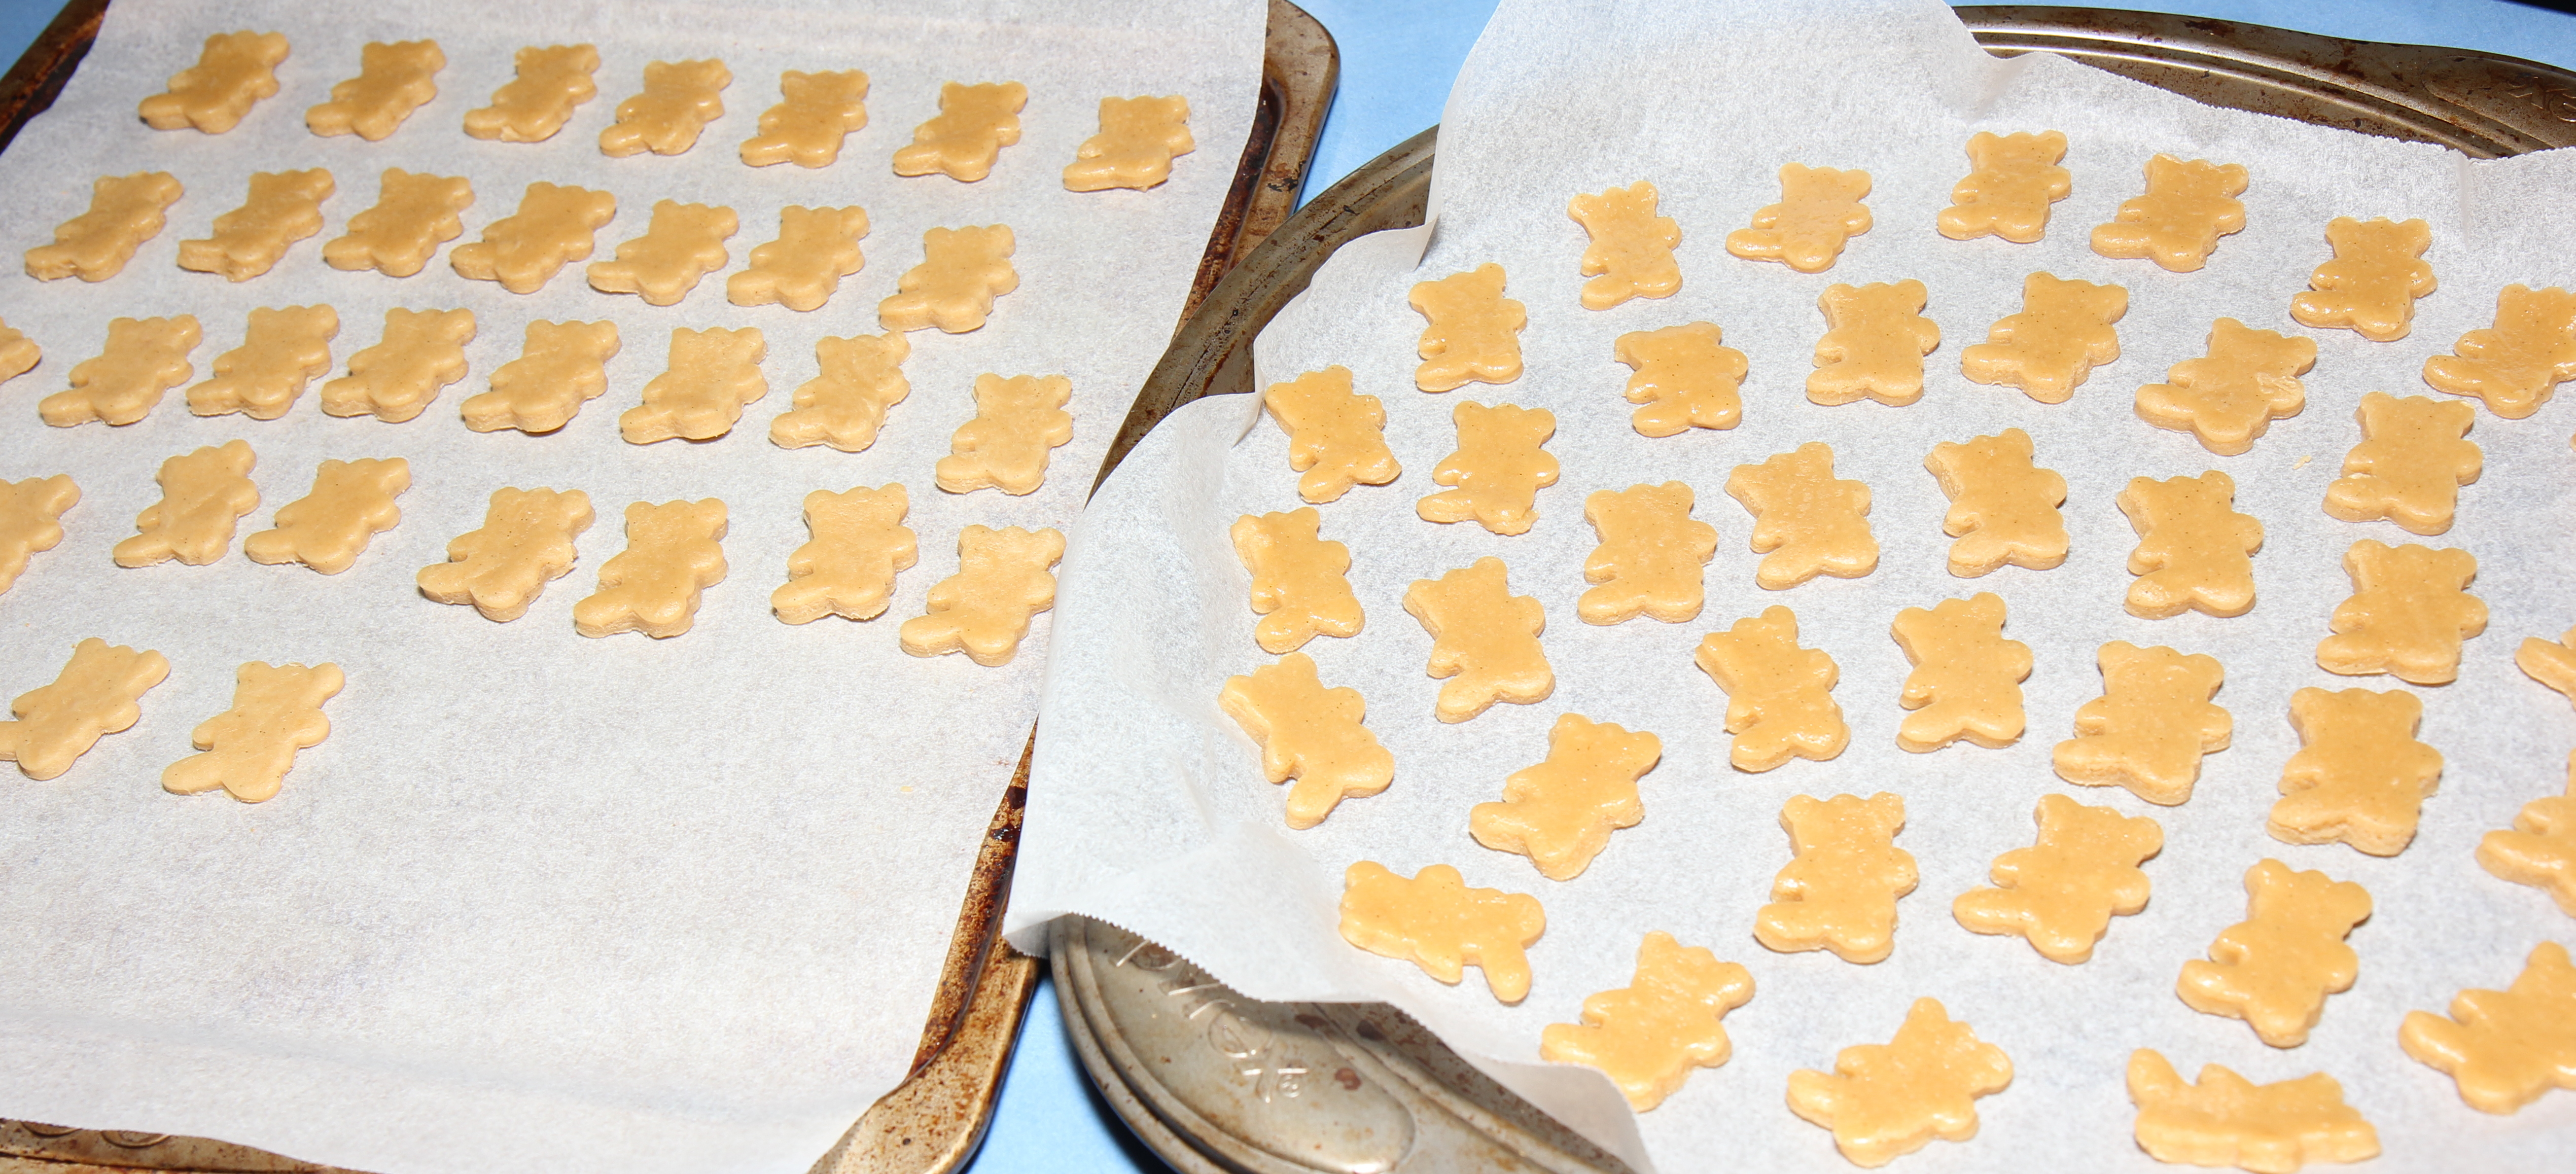
So I have been thinking ahead to lunchboxes again. These delightful little guys are based on these ones from TRTLMT.
and I have just adapted them to suit our allergy needs. See below the recipe for variations with ginger and seed butter.
They are super delicious and quick to make, and all in our family heartily approve. Much nicer (and cheaper!) for lunchboxes than the packaged ones.
60g vegan butter*
140g honey/maple syrup
1 tsp vanilla bean paste
260g flour of choice (I use spelt or a plain GF mix with about 1 tsp of psyllium)
3/4 tsp bicarb soda
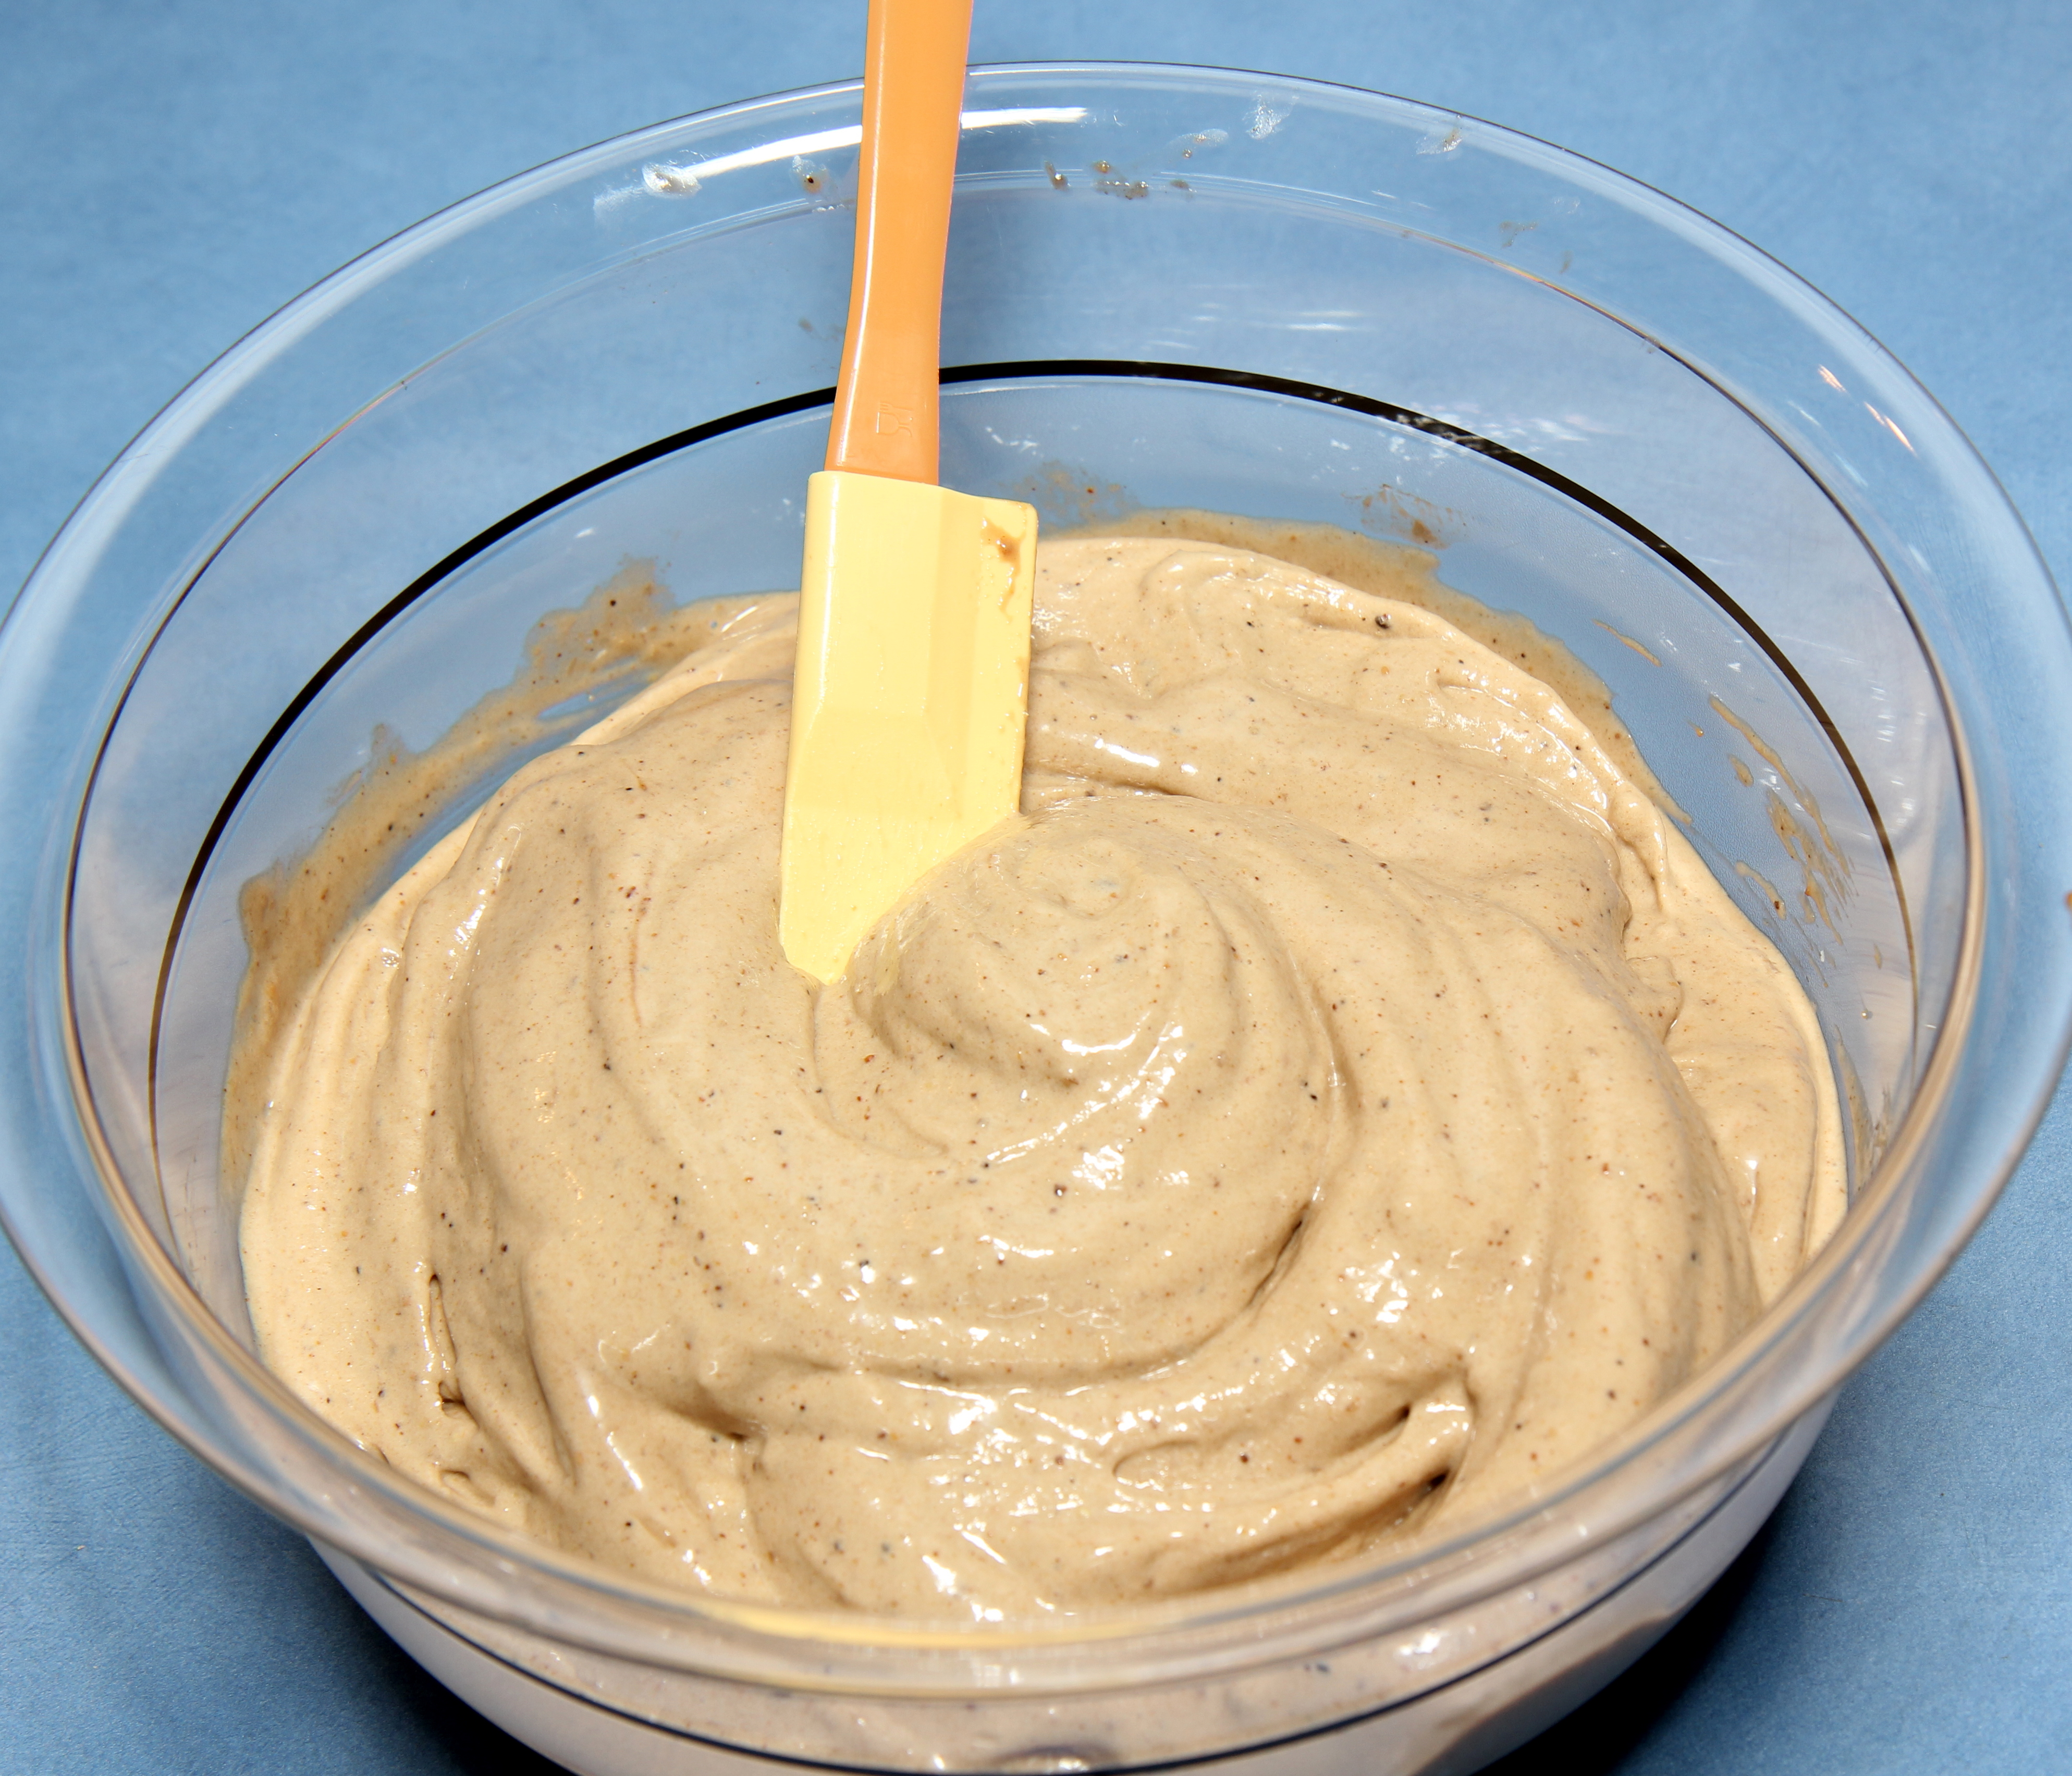
In a saucepan, over a medium heat, melt together the butter, honey and vanilla (100C, speed 2 for 2 11/2 mins or until completely melted). Remove from stove
Whisk in the bicarb (Speed 3, 5 secs) and then add the flours (speed 5 for 15 seconds).
Mix gently until combined.
Tip out on to a silicone mat or floured work surface and allow to cool for a few minutes.
Roll out the dough into a large rectangle about 2mm thick (much thicker and you don’t get the same crunchy texture as store-bought ones).
This is the most time-consuming part … Use a teddy cutter to cut the shapes and place on a lined baking tray.
Cook in a preheated moderate oven for about 8 minutes, or until golden brown. My oven in fan forced so I do them for 7 minutes.
Leave on tray to harden and cool. Store in an airtight container for about a week.
Makes about 120, depending on the sized cutter you use … and how much dough your helpers eats in the process 😉
Enjoy!
To make a ginger snap version of these bikkies: Replace the honey with equal weight of maple syrup and replace the vanilla with 1.5 tsp ground ginger and 1/2 tsp ground cinnamon. These are a much quicker to make than traditional gingerbread but very similar in taste…. and now my house smells like Christmas in September!
*if you are wanting to eat less butter, you can replace half or even all of the straight butter with a nut or seed butter off your choice. We love our sunflower seed butter. Be warned that it does make a darker coloured bikkie though …. If that is important to your little ones 😉
Today we were heading out to a party but when I went to the freezer to grab out a safe cake for miss Ellie – there were none left … eek!
So, with an hour to go before we needed to leave … these cookies were the made-up-on-the-spot result. They have now been a firm favourite for the past 4 years!
I use legumes in soooo many things, little powerhouses of fibre and protein and so good for your gut health – but I was inspired to add legumes to my cookies by TRTLMT
We most often use chick peas, but when I’m after a little variety, or the pantry dictates, we also used butter beans and kidney beans. They are all delish!
My little miss loves them – I’m pretty sure she’d eaten about 6 of them by the end of the day while I wasn’t paying too much attention … oops!
See below the recipe for the Coeliac friendly option.
120g rolled oats
30g nuts or seeds of choice (I’m partial to hemp, pumpkin or flax seeds here)
your choice of decorations (cachous, sprinkles, nuts etc)
* you can use butter, vegan butter or any nut butter here – or any combination of them too!
** We don’t use the additional sugar when we make these for our family, as we are used to less sweet food. But if you are used to sweeter baked goods then you might like to start out with the sugar in – you can decrease it over time if it suits your family and your taste.
Place all of the dry ingredients into your processing bowl and blitz until fine (speed 10 for 10 seconds).
Add in the dates through the top hole one at a time whilst processing (speed 4). Once the dates are all added continue processing until really well combined, and there are no large bits of dates visible (turn up to speed 7 and blitz for another 30 seconds).
Add in the chick peas, seed butter, vanilla and syrup/sugar (if using) and process until the dough begins to clump together. (Speed 6, then up to 7 for about 20 seconds)
This is quite a thick mix. Use a teaspoon to scoop out and using damp hands roll it into balls, place it on to a lined baking tray and press down gently with a fork.
Decorate, if desired before placing in the oven. Because this is not a wet mix, the decorations do not stick so well if sprinkled from above. I placed the decorations in a small bowl and then picked up the cookies and pressed them upside down into the bowl.
Bake in a preheated moderate oven for 13-15 minutes.
These are often the request of my littlest sous-chef 🙂
Allow to cool and store in an air tight container – they last best in the freezer and defrost really well.
Makes about 20.
Enjoy 🙂
To make these Coeliac friendly replace the oats with 80g of rolled quinoa and 50g puffed rice. You can also use shredded coconut or seeds or any combination of these GF ingredients in equal weight to replace the oats. For a very simple switch, use 100g of a Gluten free flour mix plus 1 tsp of psyllium.
Yesterday was hot in Perth. Really hot. Over 44C. Not very pleasant at all.
Thankfully, we were able to beat the heat because my very generous parents shared their delightful pool with us … and we took this sweet icy treat along.
600g frozen, very ripe mango
1 tsp ground ginger
2 tbsp lime juice
Allow mango to defrost for a few minutes, then add all ingredients into a high-powered processor or blender and blitz until well combined and creamy.
Eat immediately if you want a soft serve type ice-cream or return to the freezer until it is hard enough to scoop.
If you want to turn this into a sorbet, also add about 2 dozen ice cubes to the blender.
Makes about 10-12 scoops.
Enjoy!
Personally, I think it is best served whilst floating in the pool 😉
Allow the bananas to defrost for a few minutes then place all ingredients into a high-powered processor or blender and blitz until well combined and creamy.
Eat immediately if you want a ‘soft serve’ type ice cream or place in the freezer until more solid for a version that you can scoop into cones.
Makes about 16 scoops. Store in freezer … if there’s any left 😉
I may have gone slightly overboard in my excitement to see bananas for $1.50/kg at the markets the other day … I came home with 30 of them!!!! Eek … too many even for us, and we eat about 8 a day in this house!
So banana inspired baking it is!
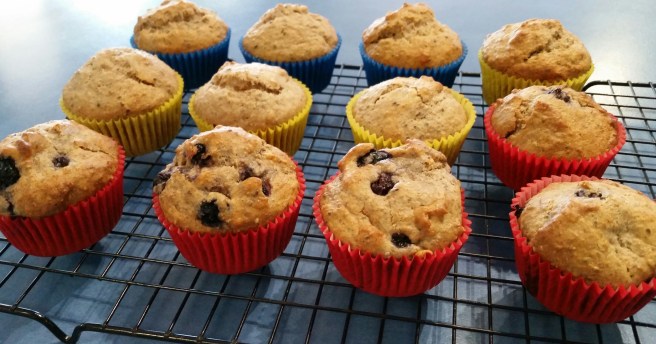
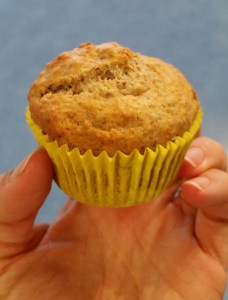
These muffins are super easy to make, they are moist and sweet, lightly sweetened with honey, they freeze well for lunchboxes, and best of all – my little people love them!
See below the recipe for a Coeliac friendlyoption and a nutritionally boosted version too.
300g flour (I use like a half wholemeal mix with the white flour)
2tbsp chia seeds (black are great, but white are less obvious – hemp also works well here)
2.5 tsp GF baking powder
4 tbsp honey/maple syrup
4 tbsp melted butter/vegan butter
1 large, very ripe banana
220ml milk of choice (I love unsweetened vanilla almond)
1 tsp vanilla bean paste
Optional extras – 50g choc chip of choice and 1 cup frozen blueberries.
In a large bowl, mix together the flour, baking powder and chia seeds (Speed 4, 8 seconds) then set aside.
In the bowl of your blender/processor/bullet/thermal cooker, place together the butter, honey, milk, vanilla and banana. Blend/process until well combined and smooth (Speed 5, 10 seconds).
Pour the wet mix into the dry mix and fold together until just combined. Don’t over-mix. (Speed 4, 6 seconds, scrape down and repeat).
I often do a double batch and split the mix into 2 bowls – fold the berries through one and the choc chips through the other. (if you’re not going to add in any extras, a tsp of ground cinnamon gives a bit of a boost).
Spoon into lined muffin pans and place in to a preheated moderate oven for about 20 mins, or until well risen, golden brown and they spring back to a light touch.
All to cool before freezing.
Makes 12-14
Enjoy 🙂
For a Coeliac friendly option, replace the glutinous flours with 1.5 cups gluten free flour plus 2 heaped tbsp almond meal/seed meal.
To boost the nutritional content of these muffins, I often replace 1/2 a cup of flour with 1/2 a cup of my ‘Real Protein Powder‘.