Will-kshake

My biggest boy, William, is about to turn 7 and has recently become quite interested in ‘creations’ in the kitchen.

A couple of weeks ago, he made this smoothie which has now become known as a Will-kshake in our house and he was very keen for me to share it with you!

We made it in our Nutribullet, but you could also do it in a high powered blender.

It is very thick and filling and he tells me that it’s like having soft serve ice-cream for breakfast 🙂

So thick that the straw stands alone!
  • 1 cup milk of choice, nice and cold
  • 1/3 cup frozen blueberries
  • 1/3 cup frozen mango
  • 1/4 cup rolled oats
  • 1/2 a ripe banana (fresh or frozen – frozen makes it even thicker)

Add all ingredients to cup and blend until smooth.

Enjoy 🙂

Thick custard – vanilla & chocolate

I’ve made allergy friendly custards before, like this one, but I’ve been looking for a plain custard to use with cakes and puddings for desserts.

This is version I have come up with – so far I have only made it in my Bellini – so I’m not sure about stove top conversion, sorry.

The base for both flavours is:

  • 30g gluten free cornflour
  • 500g milk (to suit diet – but pick a high protein version if it is a plant based milk)
  • 1 tsp vanilla bean paste
  • 1 heaped tsp of No Egg powder

For the vanilla version add:

  • 1 extra tsp vanilla bean paste
  • 80g milled coconut sugar

For the chocolate version add:

  • 60g milled coconut sugar
  • 50g dairy free chocolate bits

Place 100ml of milk into a measuring jug, add to it the flour and No egg. Whisk well until well combined and smooth.

Put the mixing tool (butterfly attachment) in place and in the jug of the thermal cooker place the remaining 400ml of milk, vanilla and sugar (or syrup). Add in the floury milk mix.

Tilt the measuring cup on top of the machine so that it is cracked open.

Cook for 17 minutes at 100C on Speed 3.

For the Vanilla version, add both lots of vanilla at the same time. (Because of the coconut sugar and the lack of egg, the vanilla version is more a brown colour than regular vanilla custard).

20150802_084404

For the Chocolate version, add the chocolate at the end and mix through gently until melted and evenly distributed – speed 3 for about 20 seconds.

20150802_085034

The mix will thicken further as you let it cool.

If you are using a Thermomix instead of a less powerful version of the machine, you may need to adjust the cooking time to a minute or 2 less.

Makes enough for our family (2 adults and 4 kids) for dessert.

Best served warm.

Enjoy 🙂

Thai Red Curry (Poached Chicken)

This is such a quick and tasty curry!

  • 270ml coconut milk (I like the Aayam brand)
  • 1 heaped tbsp red curry paste
  • 2 medium sweet potatoes
  • 1/2 large head of cauliflower
  • 2 large handfuls green beans
  • 2 cups hot chicken stock (I used Massel)
  • 4 chicken thighs, fat removed

Place coconut milk, stock and curry paste in a large saucepan and stir well to combine.

Dice the potato and add to the curry mix. Bring to a gentle simmer.

Dice the chicken, about the same size as the potato, then add to the potato mix.

Allow to simmer for 10 minutes then  roughly chop and add the cauliflower.

Simmer for a further 5 minutes before adding the chopped green beans.

20150714_173552Serve with rice and your preference of sauce quantity.

20150714_175859

This made enough for about 8 adults.

20150714_175906

Enjoy 🙂

For a delicious vegan option for this curry simply omit the chicken and bulk up the other veggies. I have done this recently and no-one in my family even realised!

Singapore Noodles

Well, they’re not really Singapore Noodles because we can’t make them with egg noodles (so sad!!) but they are based on the dish that I grew up with.

The thing I love most about this dish, (well, apart from the fact that my family all loves it!), is that it can all be prepared in advance and then takes, literally, 10 minutes at dinner time. Yay!

20150710_141303

These are the rice noodles that we have found work well
  • 400g pork fillet
  • 2 medium carrots, finely julienned
  • 1/2 cabbage, finely shredded
  • wok ready rice noodles (go with egg noodles if your diet allows!)

Sauce

  • 1/4 cup honey
  • 3tbsp coconut aminos
  •  2 tsps minced ginger
  • 1 tbsp lemon juice
  • 1 cup chicken stock
  • 3 tsp pure corn flour

Marinade

  • 1tbsp garlic olive oil
  • 2 tsp pure corn flour
  • 1/2 tsp coconut sugar
  • 1 tbsp coconut aminos
  • 1 tbsp water

Mix together all marinade ingredients until smooth.

Finely slice pork and place into marinade. Mix to cover all meat and then leave, covered in fridge for at least 2 hours.

Mix together all sauce ingredients in saucepan and set aside.

Fry pork in a small amount of oil in wok or pan. Remove from heat and set aside.

Place cabbage and carrot in work and cover to wilt.

Put the sauce saucepan on a medium heat and bring to a gentle simmer. Allow to simmer gently for a few minutes to thicken and reduce slightly.

While the sauce is simmering, place the noodles in a large bowl and cover with boiling water. Stir until warmed through, then drain and add to veggie mix.

Pour the sauce into the noodle mix.

Serve the noodles then top with pork (and some sesame seeds if your diet allows).

20150710_175938

Serve about 6 adults.

Enjoy 🙂

Chocolate ripple bikies

We had a little bit of heartbreak here yesterday.

The ice-cream van came around, and as a school holiday treat, for only the 2nd time in their lives, my kids were allowed to go. They waited ages, just bursting with excitement, but when we got to the front, their snow cone machine was broken and so there was nothing that Ellie could eat. She was crushed and cried quietly by my side while the boys got their treats. Thank goodness for a stash of special treats at home!!

I felt so bad for her and I was so pleased with the way that she didn’t make a fuss that when she asked for ‘special chocolate bikkies’ to take to morning tea at the park, I was pretty well inclined to make her anything she wanted!!

I’ve seen lots of recipe for chocolate ripple biscuits so I decided to give them a go for her.

This is the version I based mine on here.

  • 200g GF flour (or 230g spelt)
  • 3 tbsp cocoa
  • 1 tsp baking soda
  • 1/4 tsp. baking powder
  • 1/2 tsp flaked salt
  • 150g raw sugar
  • 100g Nuttelex
  • 1 ‘no egg’ egg OR 3 tbsp aquafaba OR 1 whole egg**
  • 1 heaped tsp pysillium husk
  • 2 heaped tsp rolled quinoa
  • 2 heaped tsp flax seed
  • 50g sunflower seed butter

*You can use equal quantities of shredded coconut to replace the psyllium and quinoa if they aren’t pantry staples for you.

In your processor, grind down the sugar to resemble castor sugar (Speed 8 for 10 seconds in a thermal cooker)

Add in the baking powder and soda, cocoa, salt, psyllium, quinoa and flax and blitz until fine (speed 10 for 10 seconds)

Add in the flour and mix again (speed 6 for 10 seconds)

Add in the Nuttelex and seed butter and pulse several times to combine.

Add in the egg replacer and pulse to combine, then scrape down sides and process until mix resembles wet sand (speed 5 for about 20 seconds).

20150710_074549

Form teaspoons of mix into balls and place on lined baking tray.

Press down with hands and place into pre heated 180C oven for about 12 minutes.

20150710_075208

Biscuits will be soft when removed from oven, but harden on cooling. My kids (and husband!) are so delighted -they are delicious and are honestly one of those times you can’t tell that something is ‘everything free’!

20150710_080853

Makes about 24 biscuits – store in an airtight container for about a week.

20150710_082914

Enjoy – like my very happy girl did!!

** Recently I’ve had a few questions about the egg replacement options. I have tried flax eggs but they don’t work so well here. If you can’t use any of the above, suggestions then leave out the egg replacement and increase your vegan butter and seed butter each by 25g… Works really well!

20190327_155404.jpg

Doughnut muffins

They were a really easy (and VERY popular!) school holiday treat to bake with the kids, and I have done my best to make it a little healthier than the original, which you can find here.

See below the recipe for a gluten free Coeliac friendly version and several options for a nutrition boost.

Also see below the recipe for how to make mini baked doughnuts with this recipe.

  • 200g SR flour (half wholemeal)
  • 90g sugar
  • 1/2 tsp flaked salt
  • 1 tsp mixed spice
  • 1 egg worth of egg replacer (OR 3 tbsp aquafaba OR 1 whole egg)
  • 65g light olive oil/melted butter or nuttelex
  • 240g milk of choice
  • Melted nuttelex/butter to top
  • extra sugar and spice to top (mix in a 10:1 ratio)

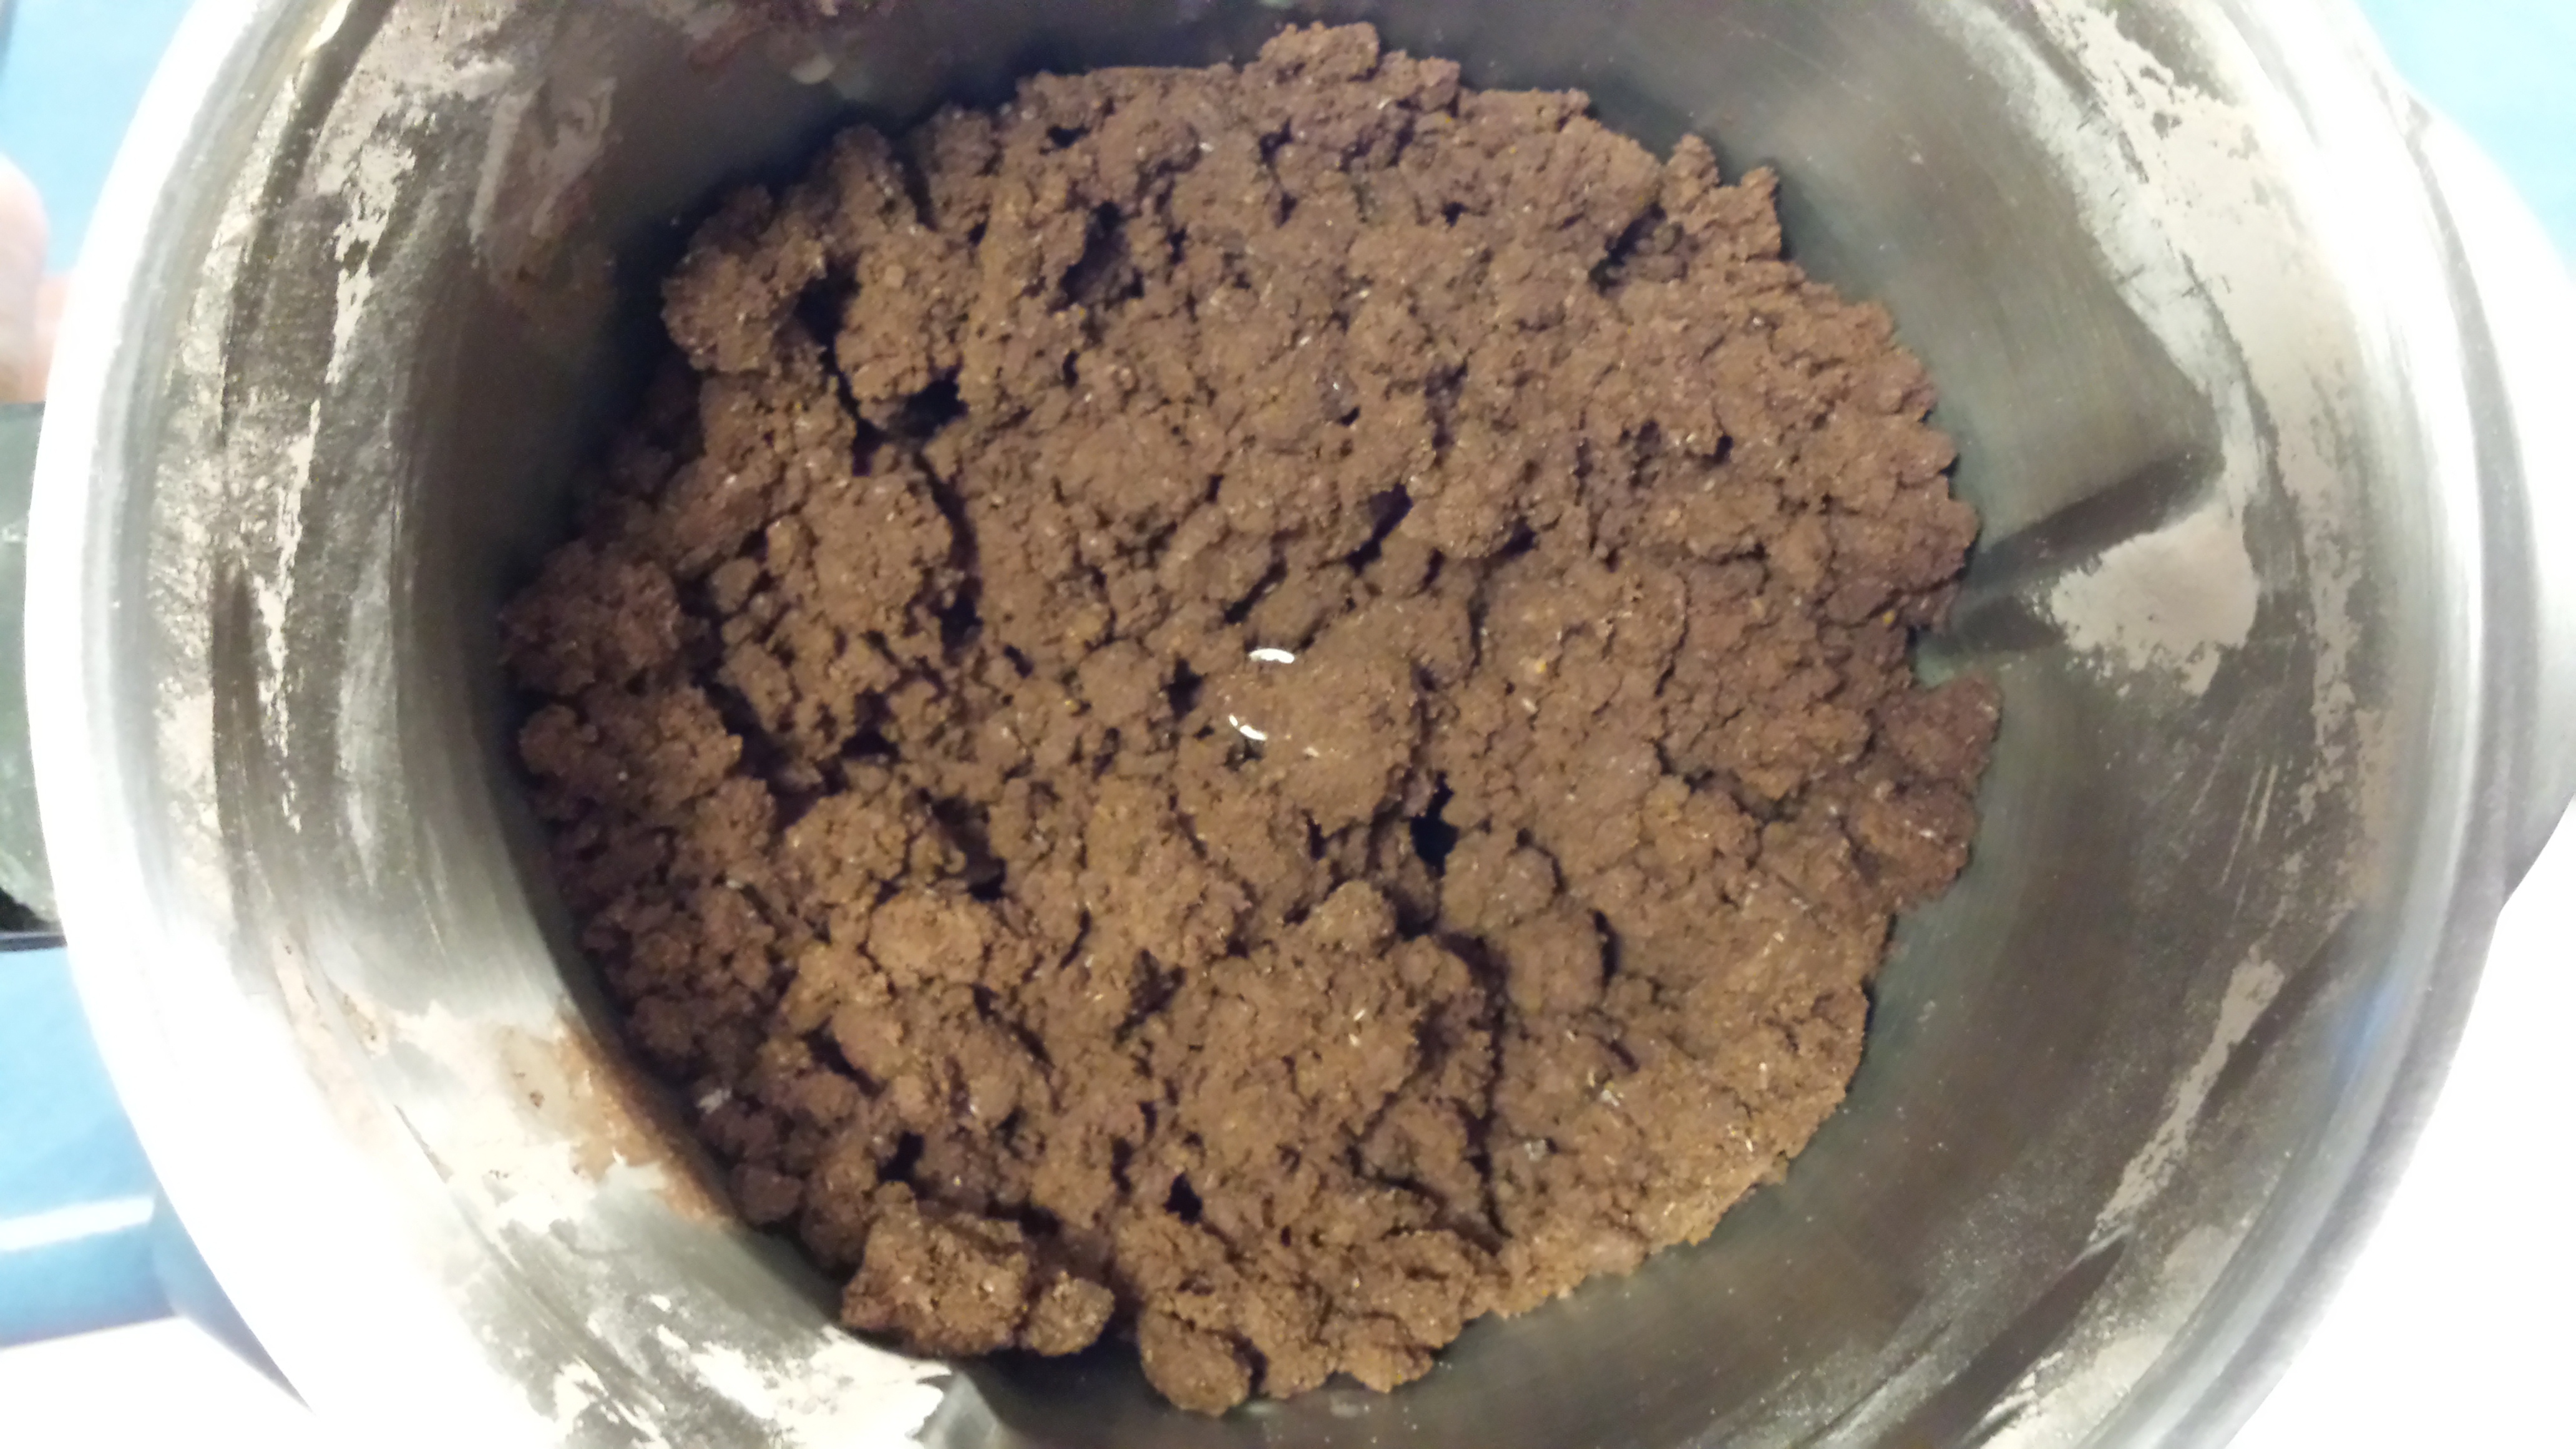
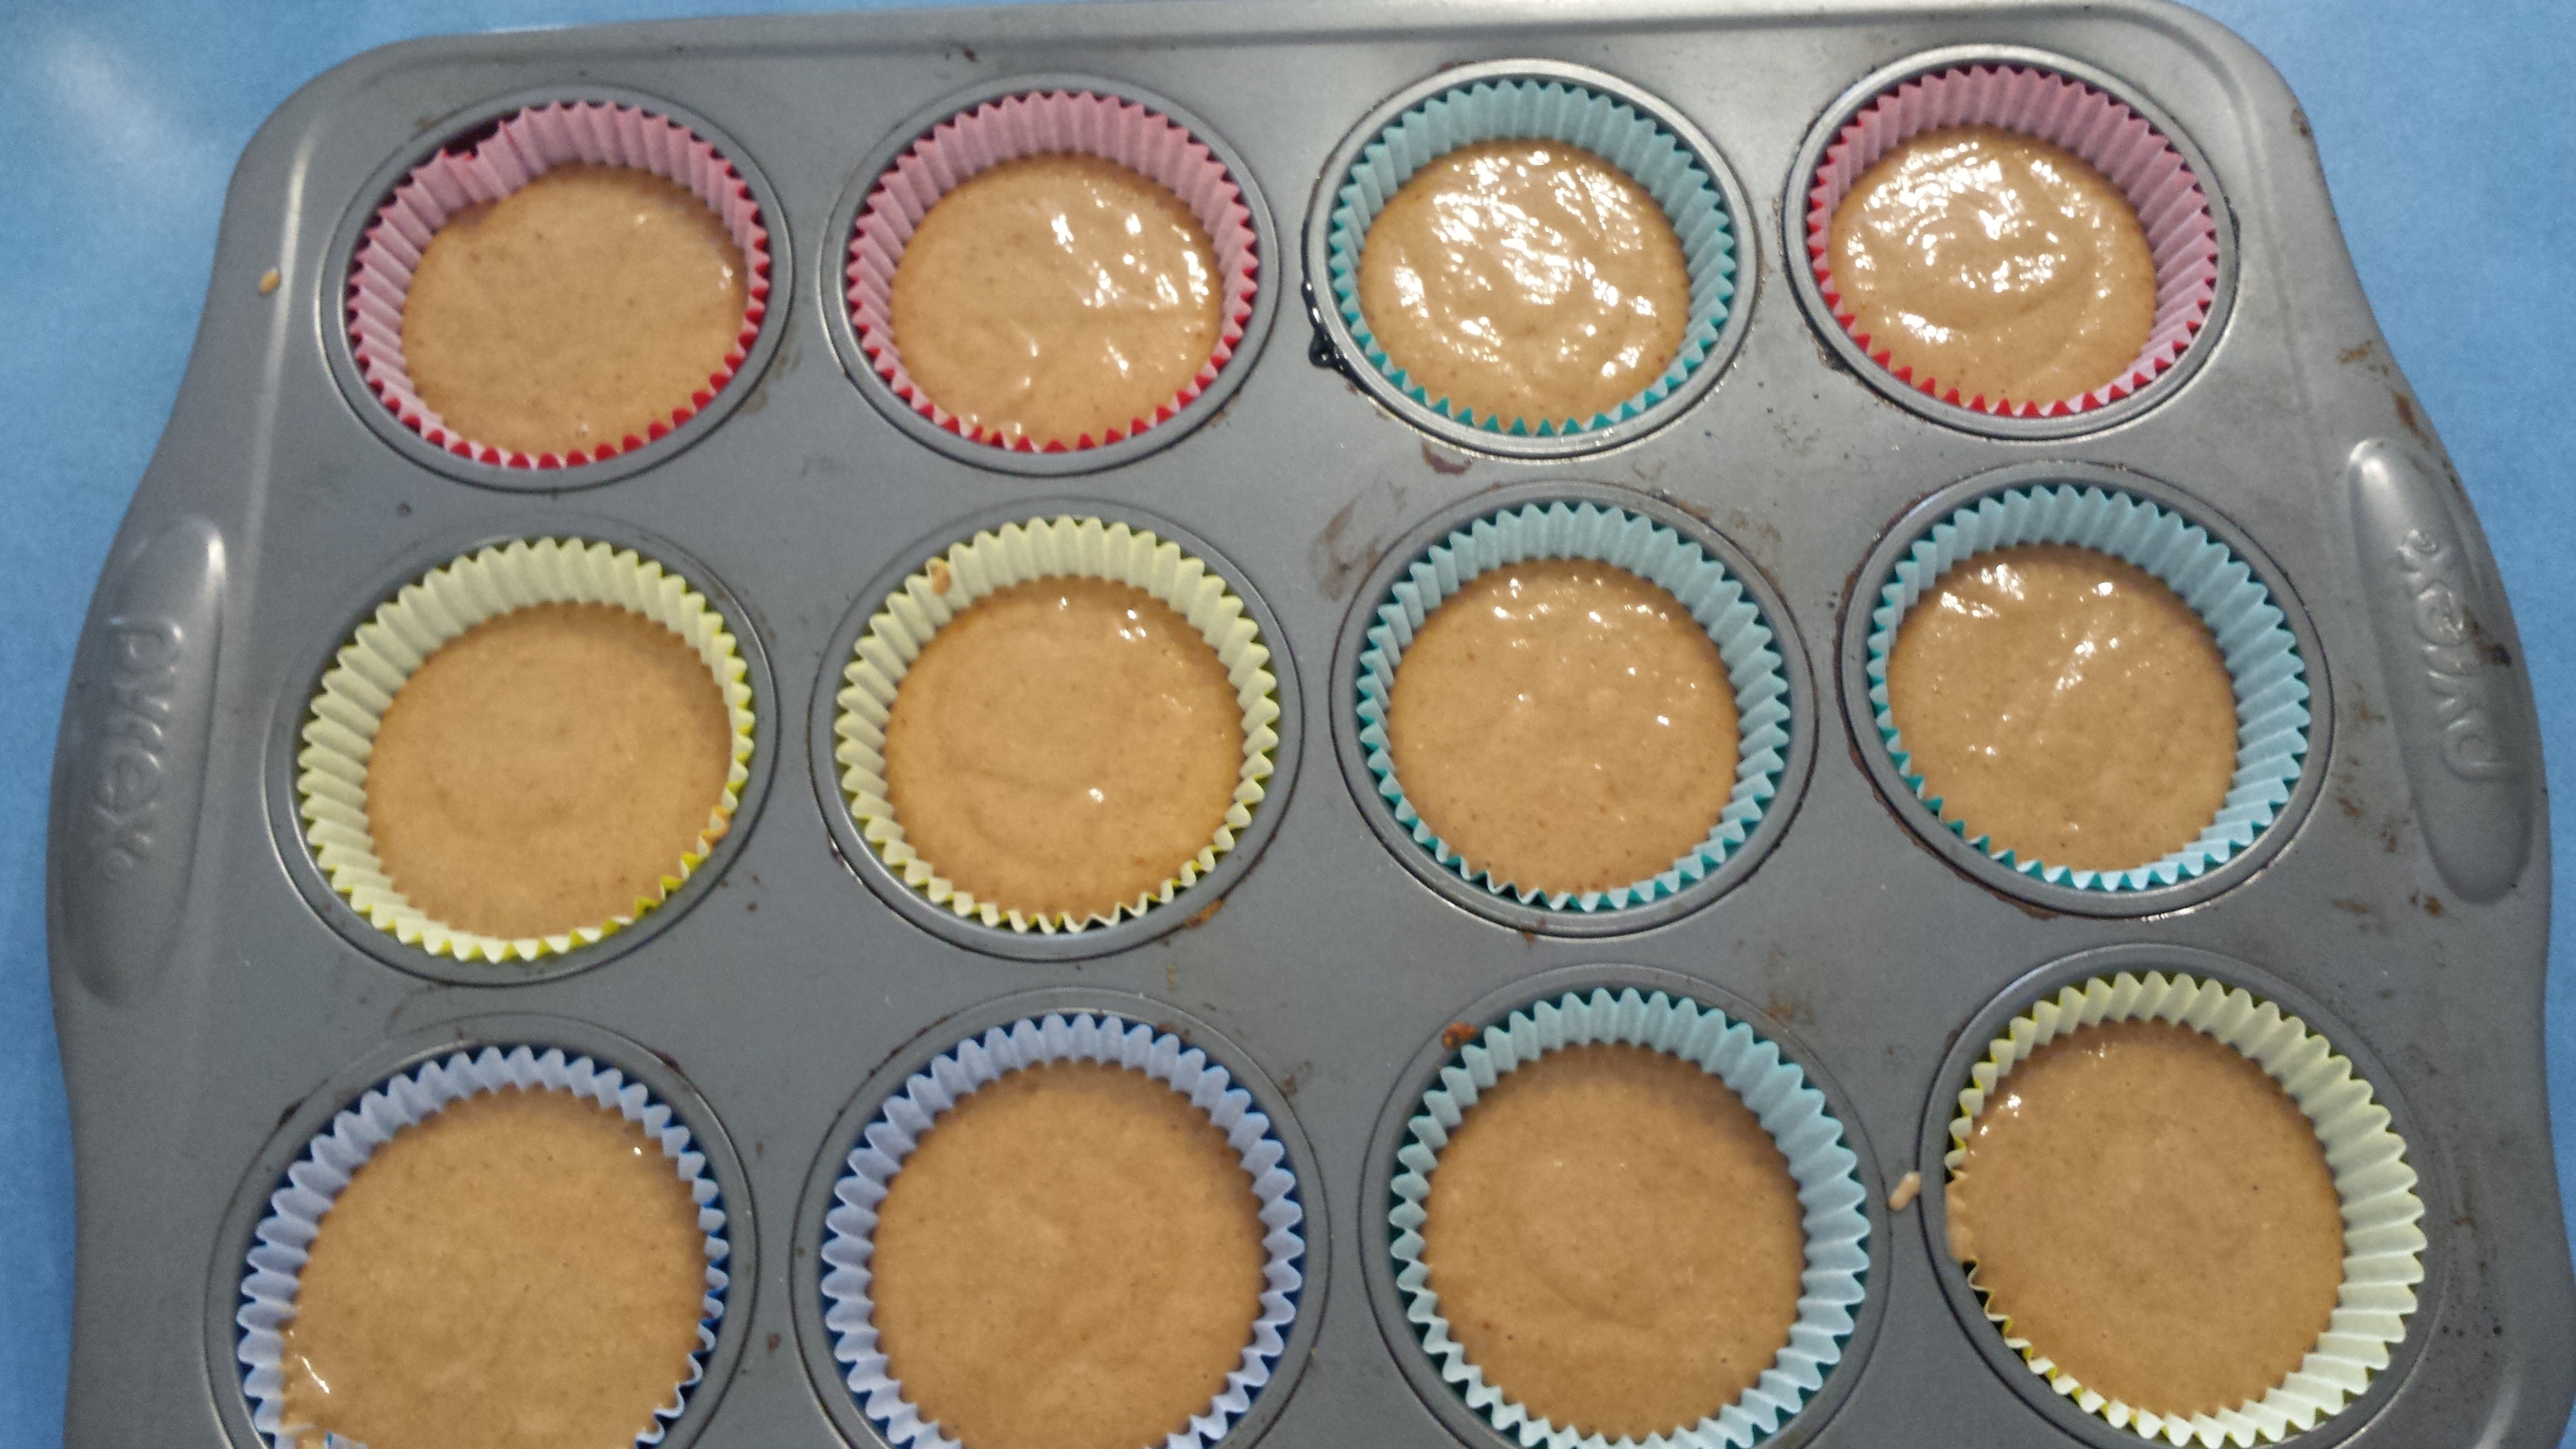
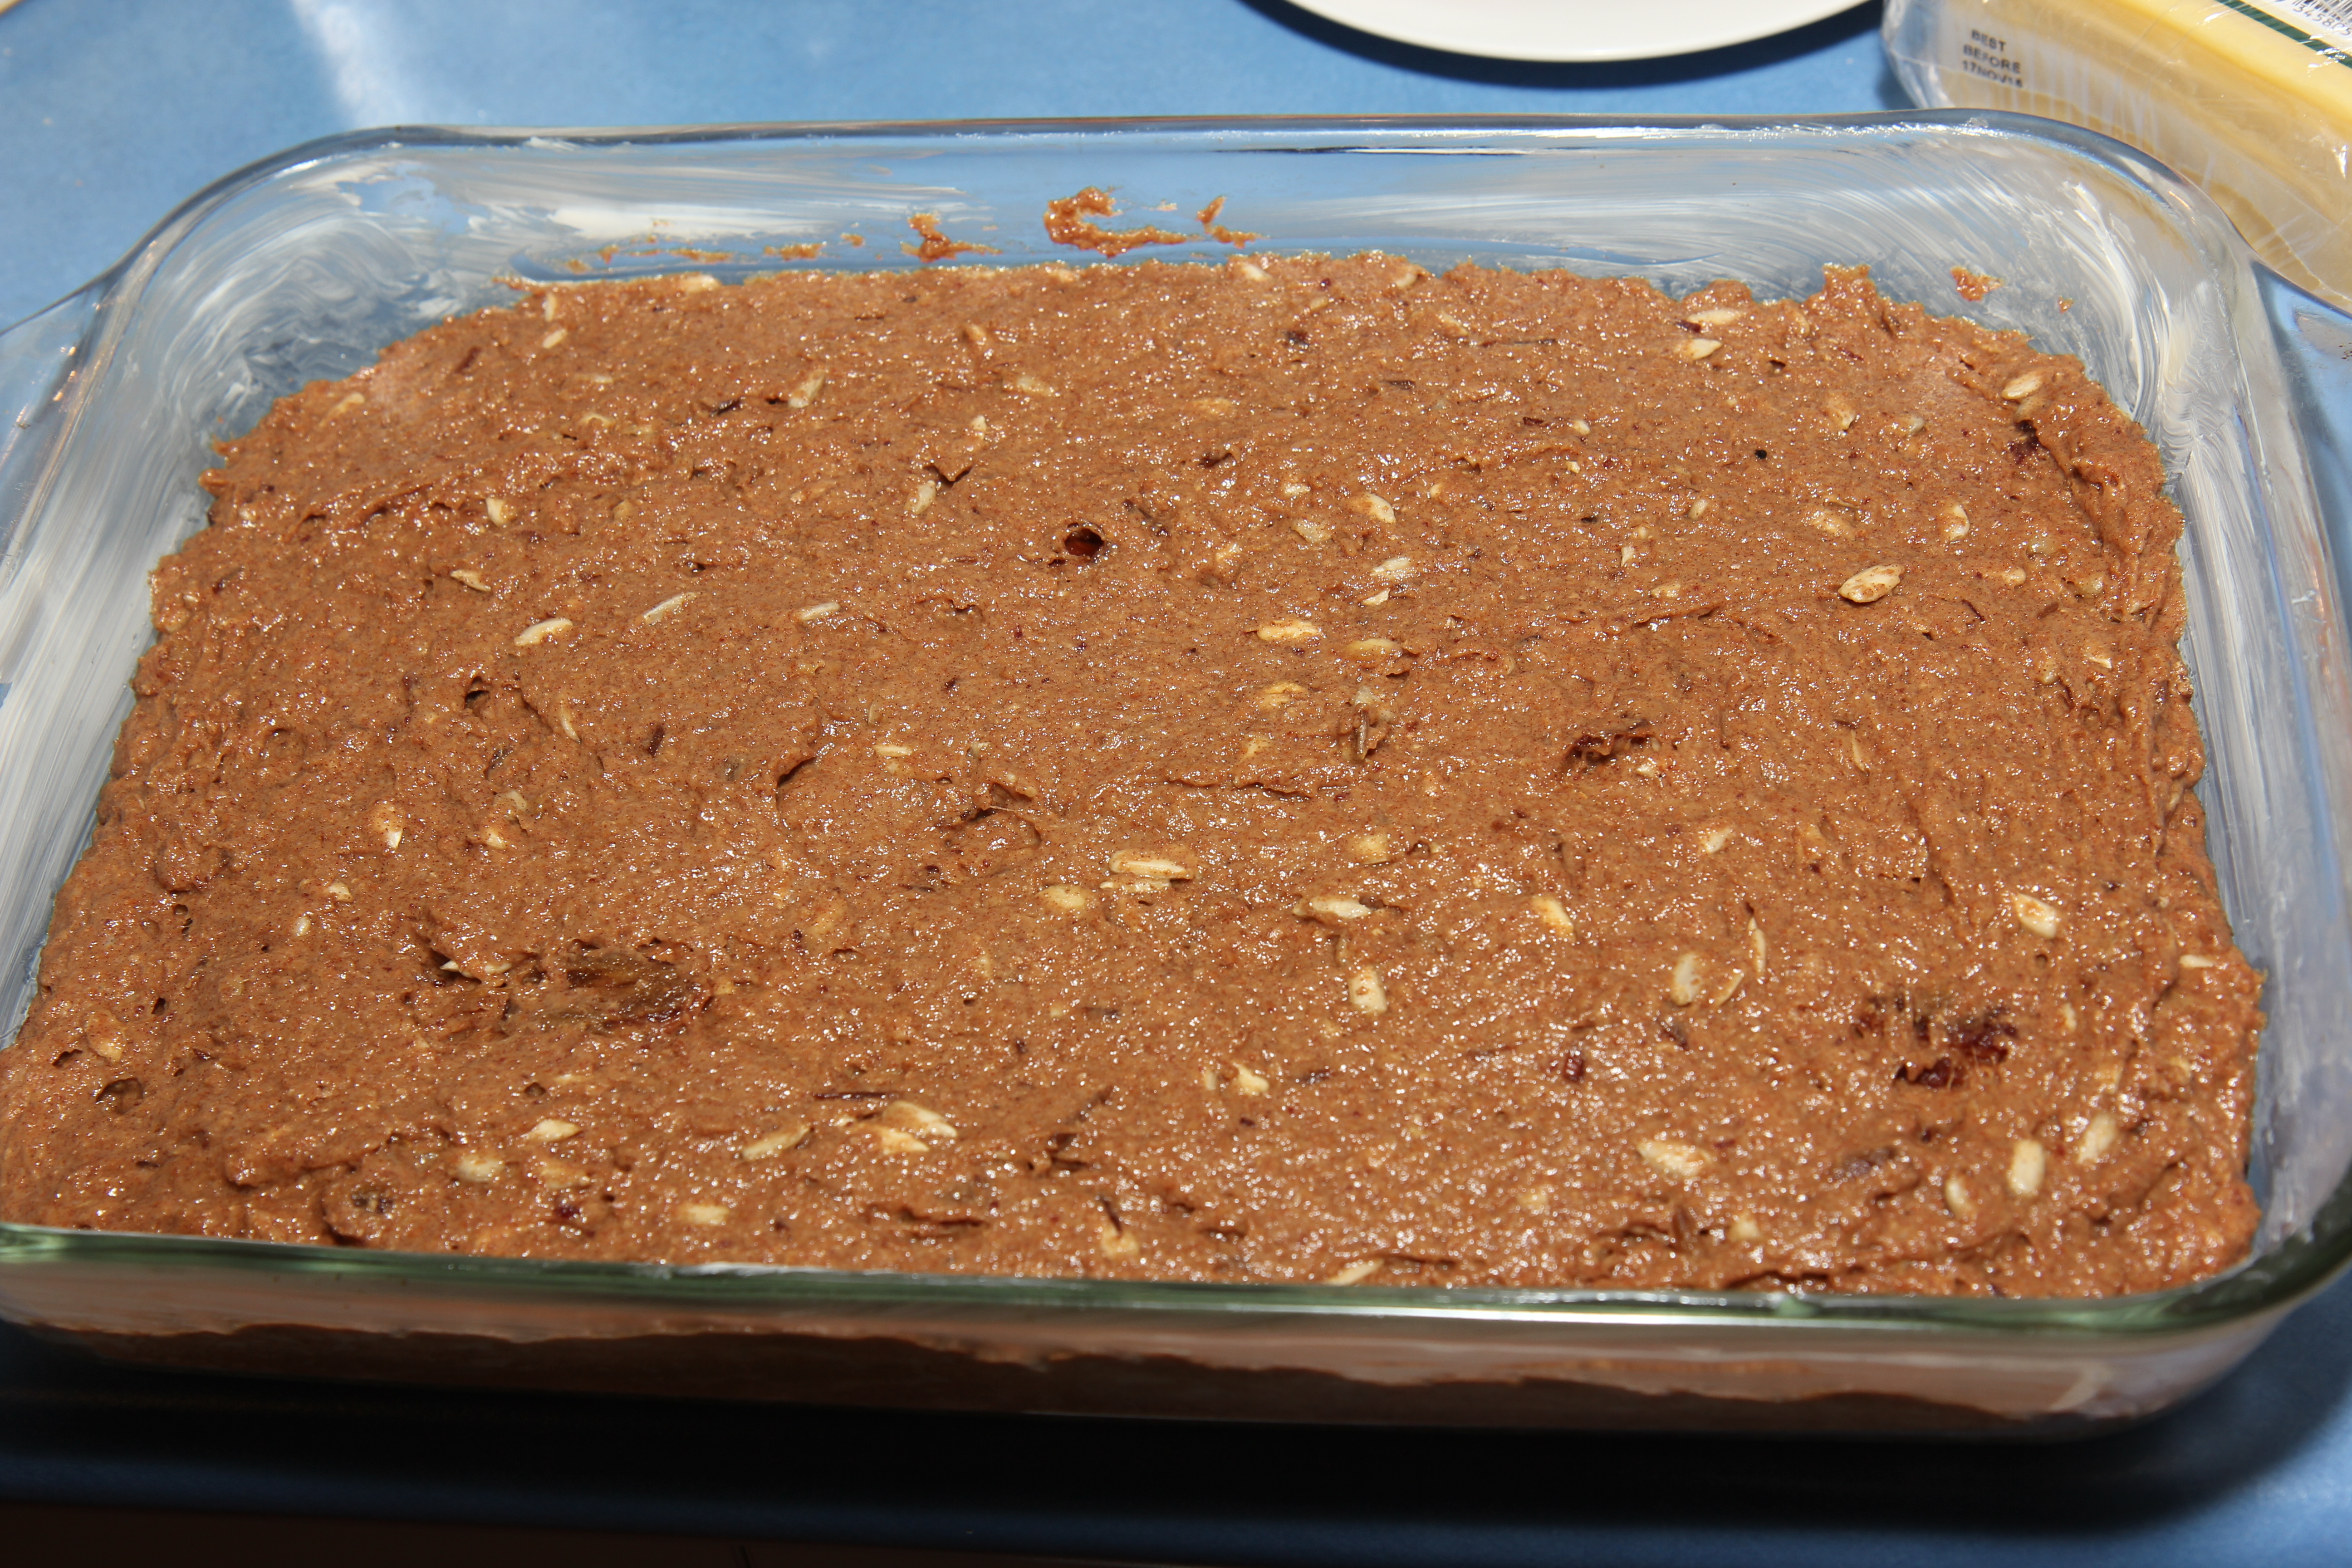
In a large bowl place the flour, sugar, salt, spice and egg replacer (if using). Use a whisk to combine the dry mix. (Speed 4, 8 seconds)

In a separate smaller bowl whisk together the oil and milk. Add in aquafaba or whole egg at this point if using. (If using a thermal cooker, add the liquids to the dry mix here)

Pour the wet mix into the dry mix and whisk vigorously to combine mix until smooth. (Speed 4, 8 seconds)

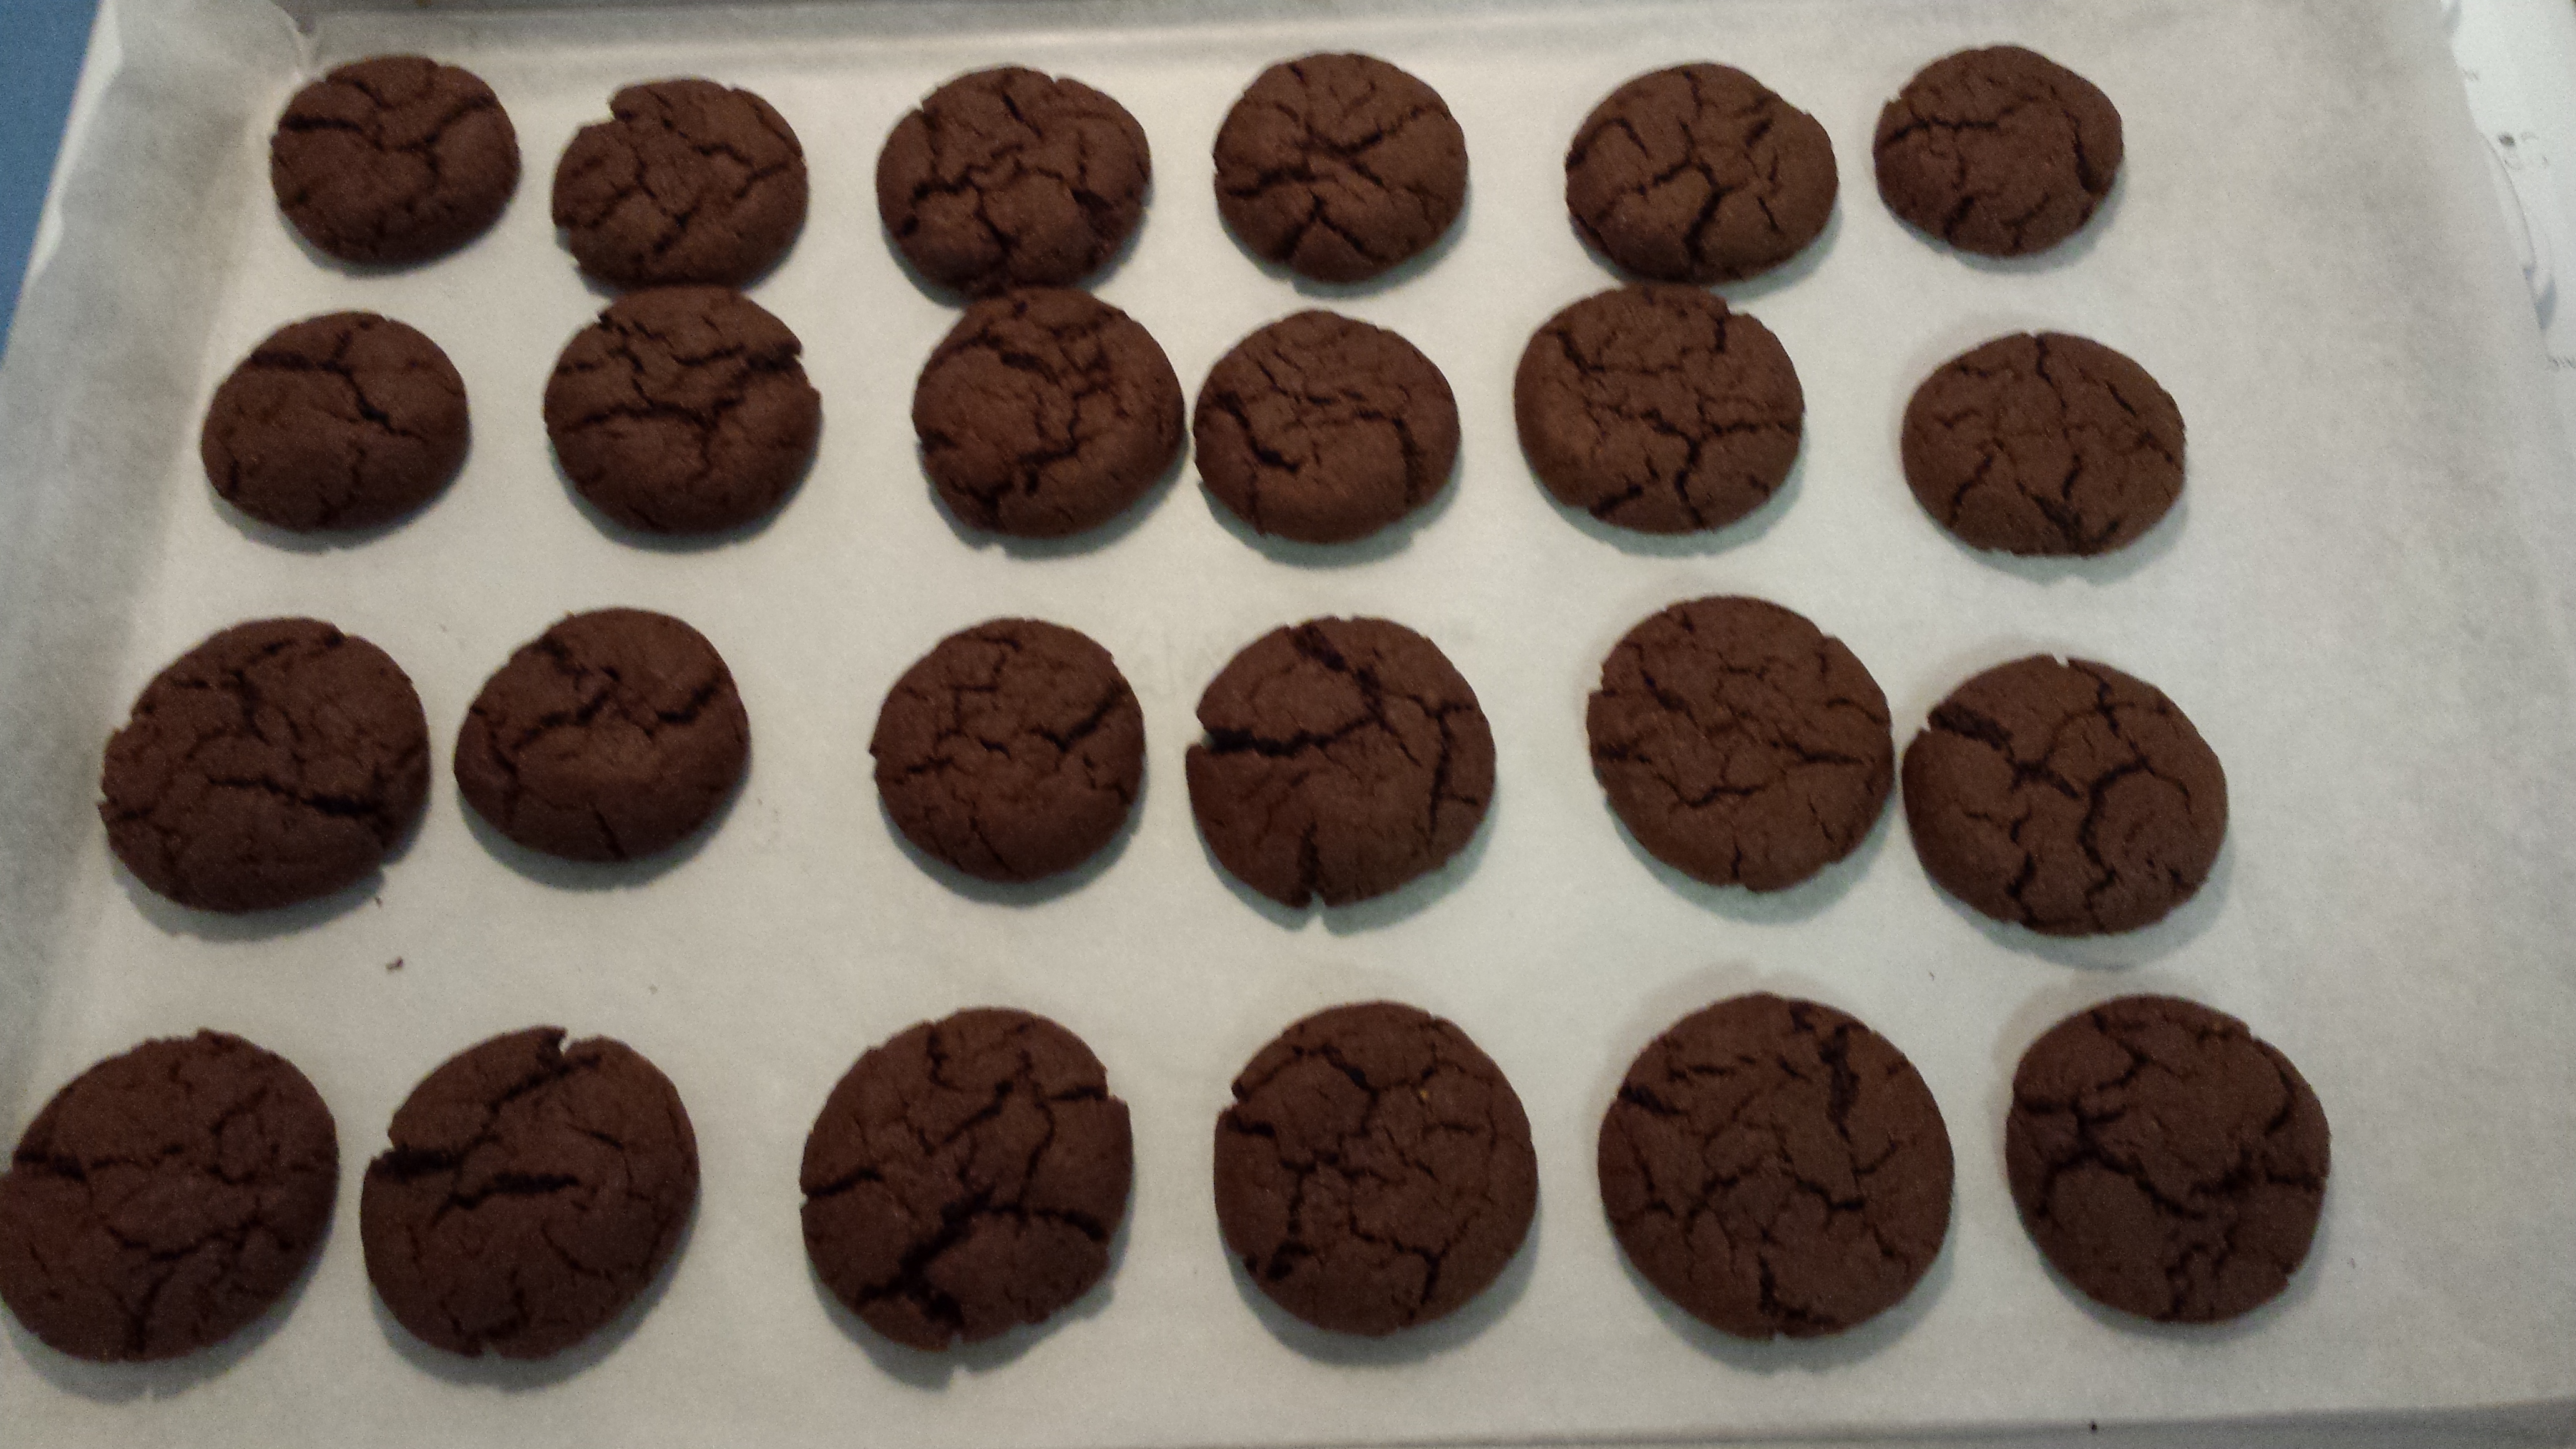
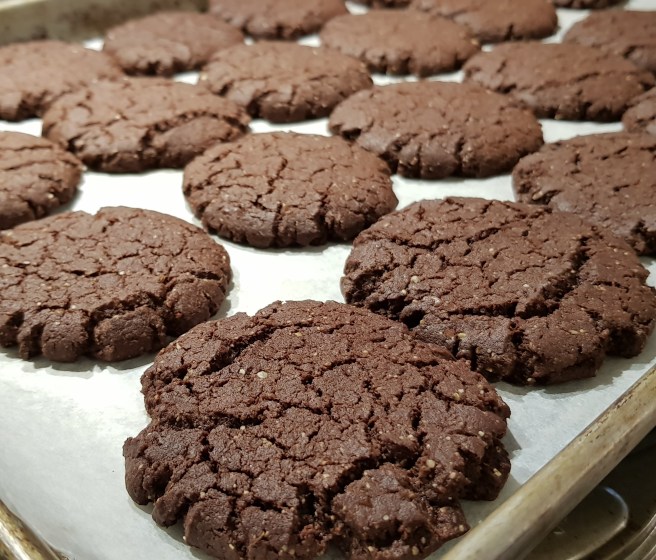
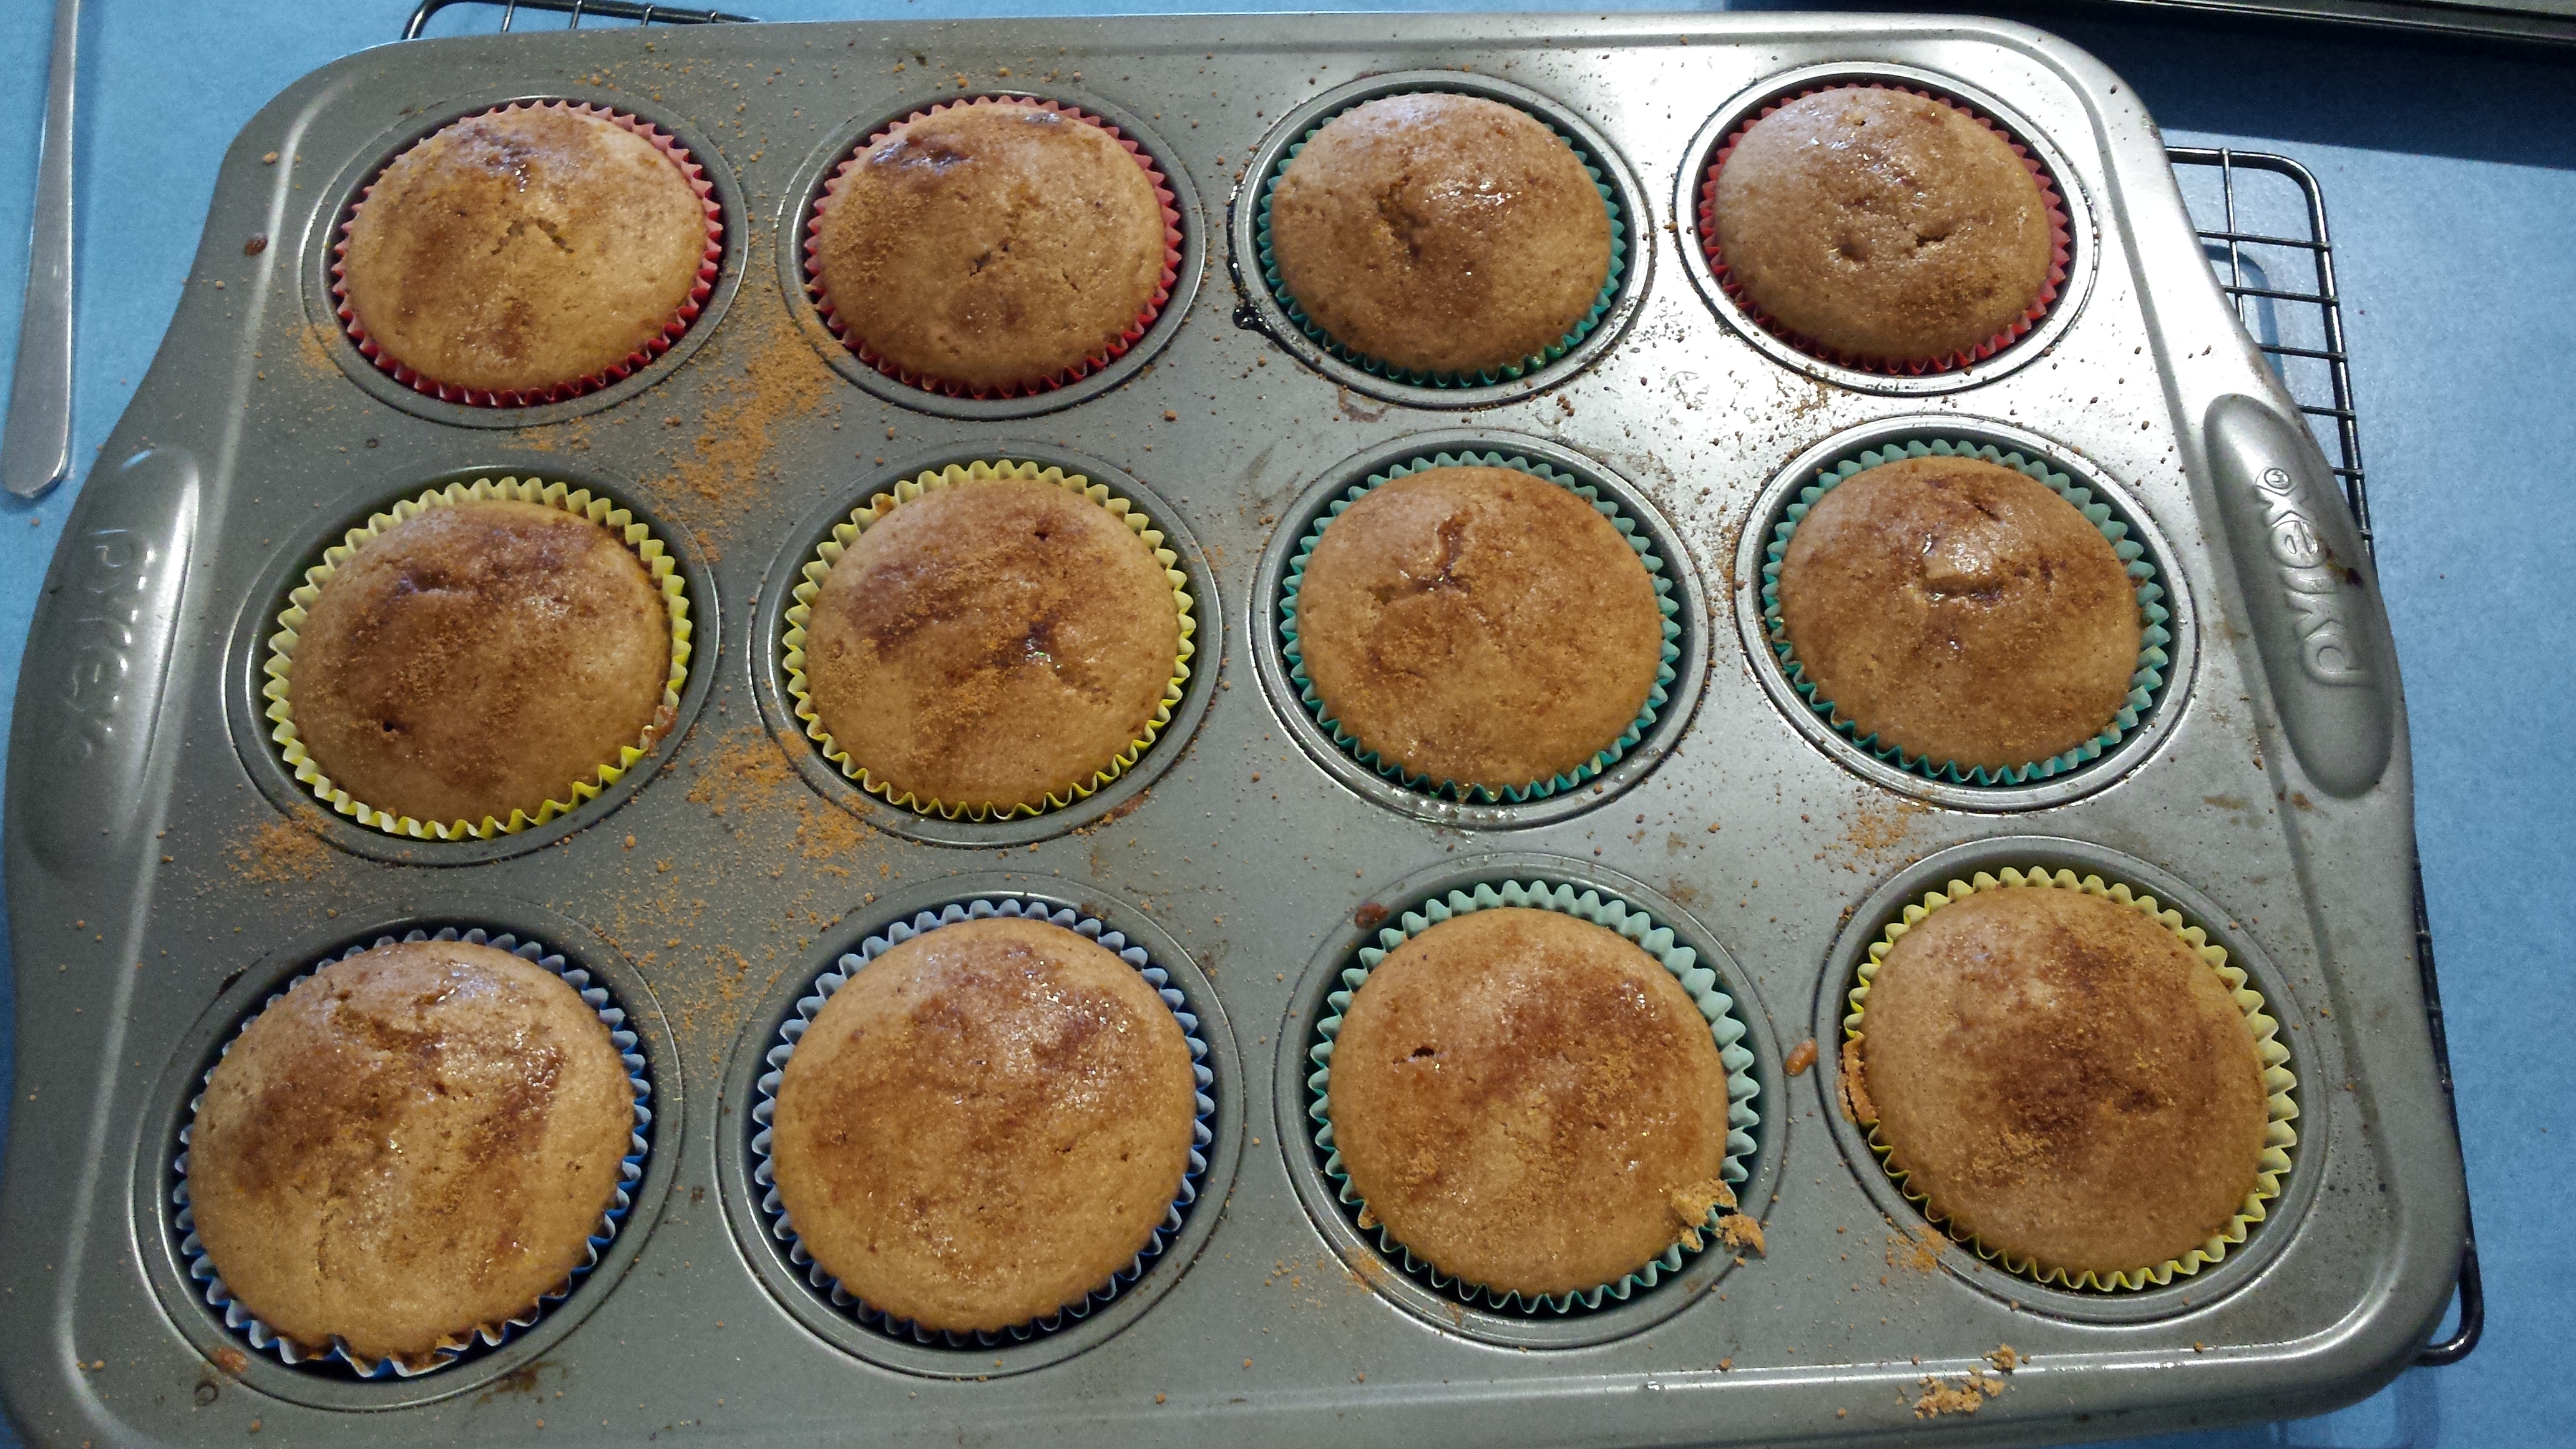
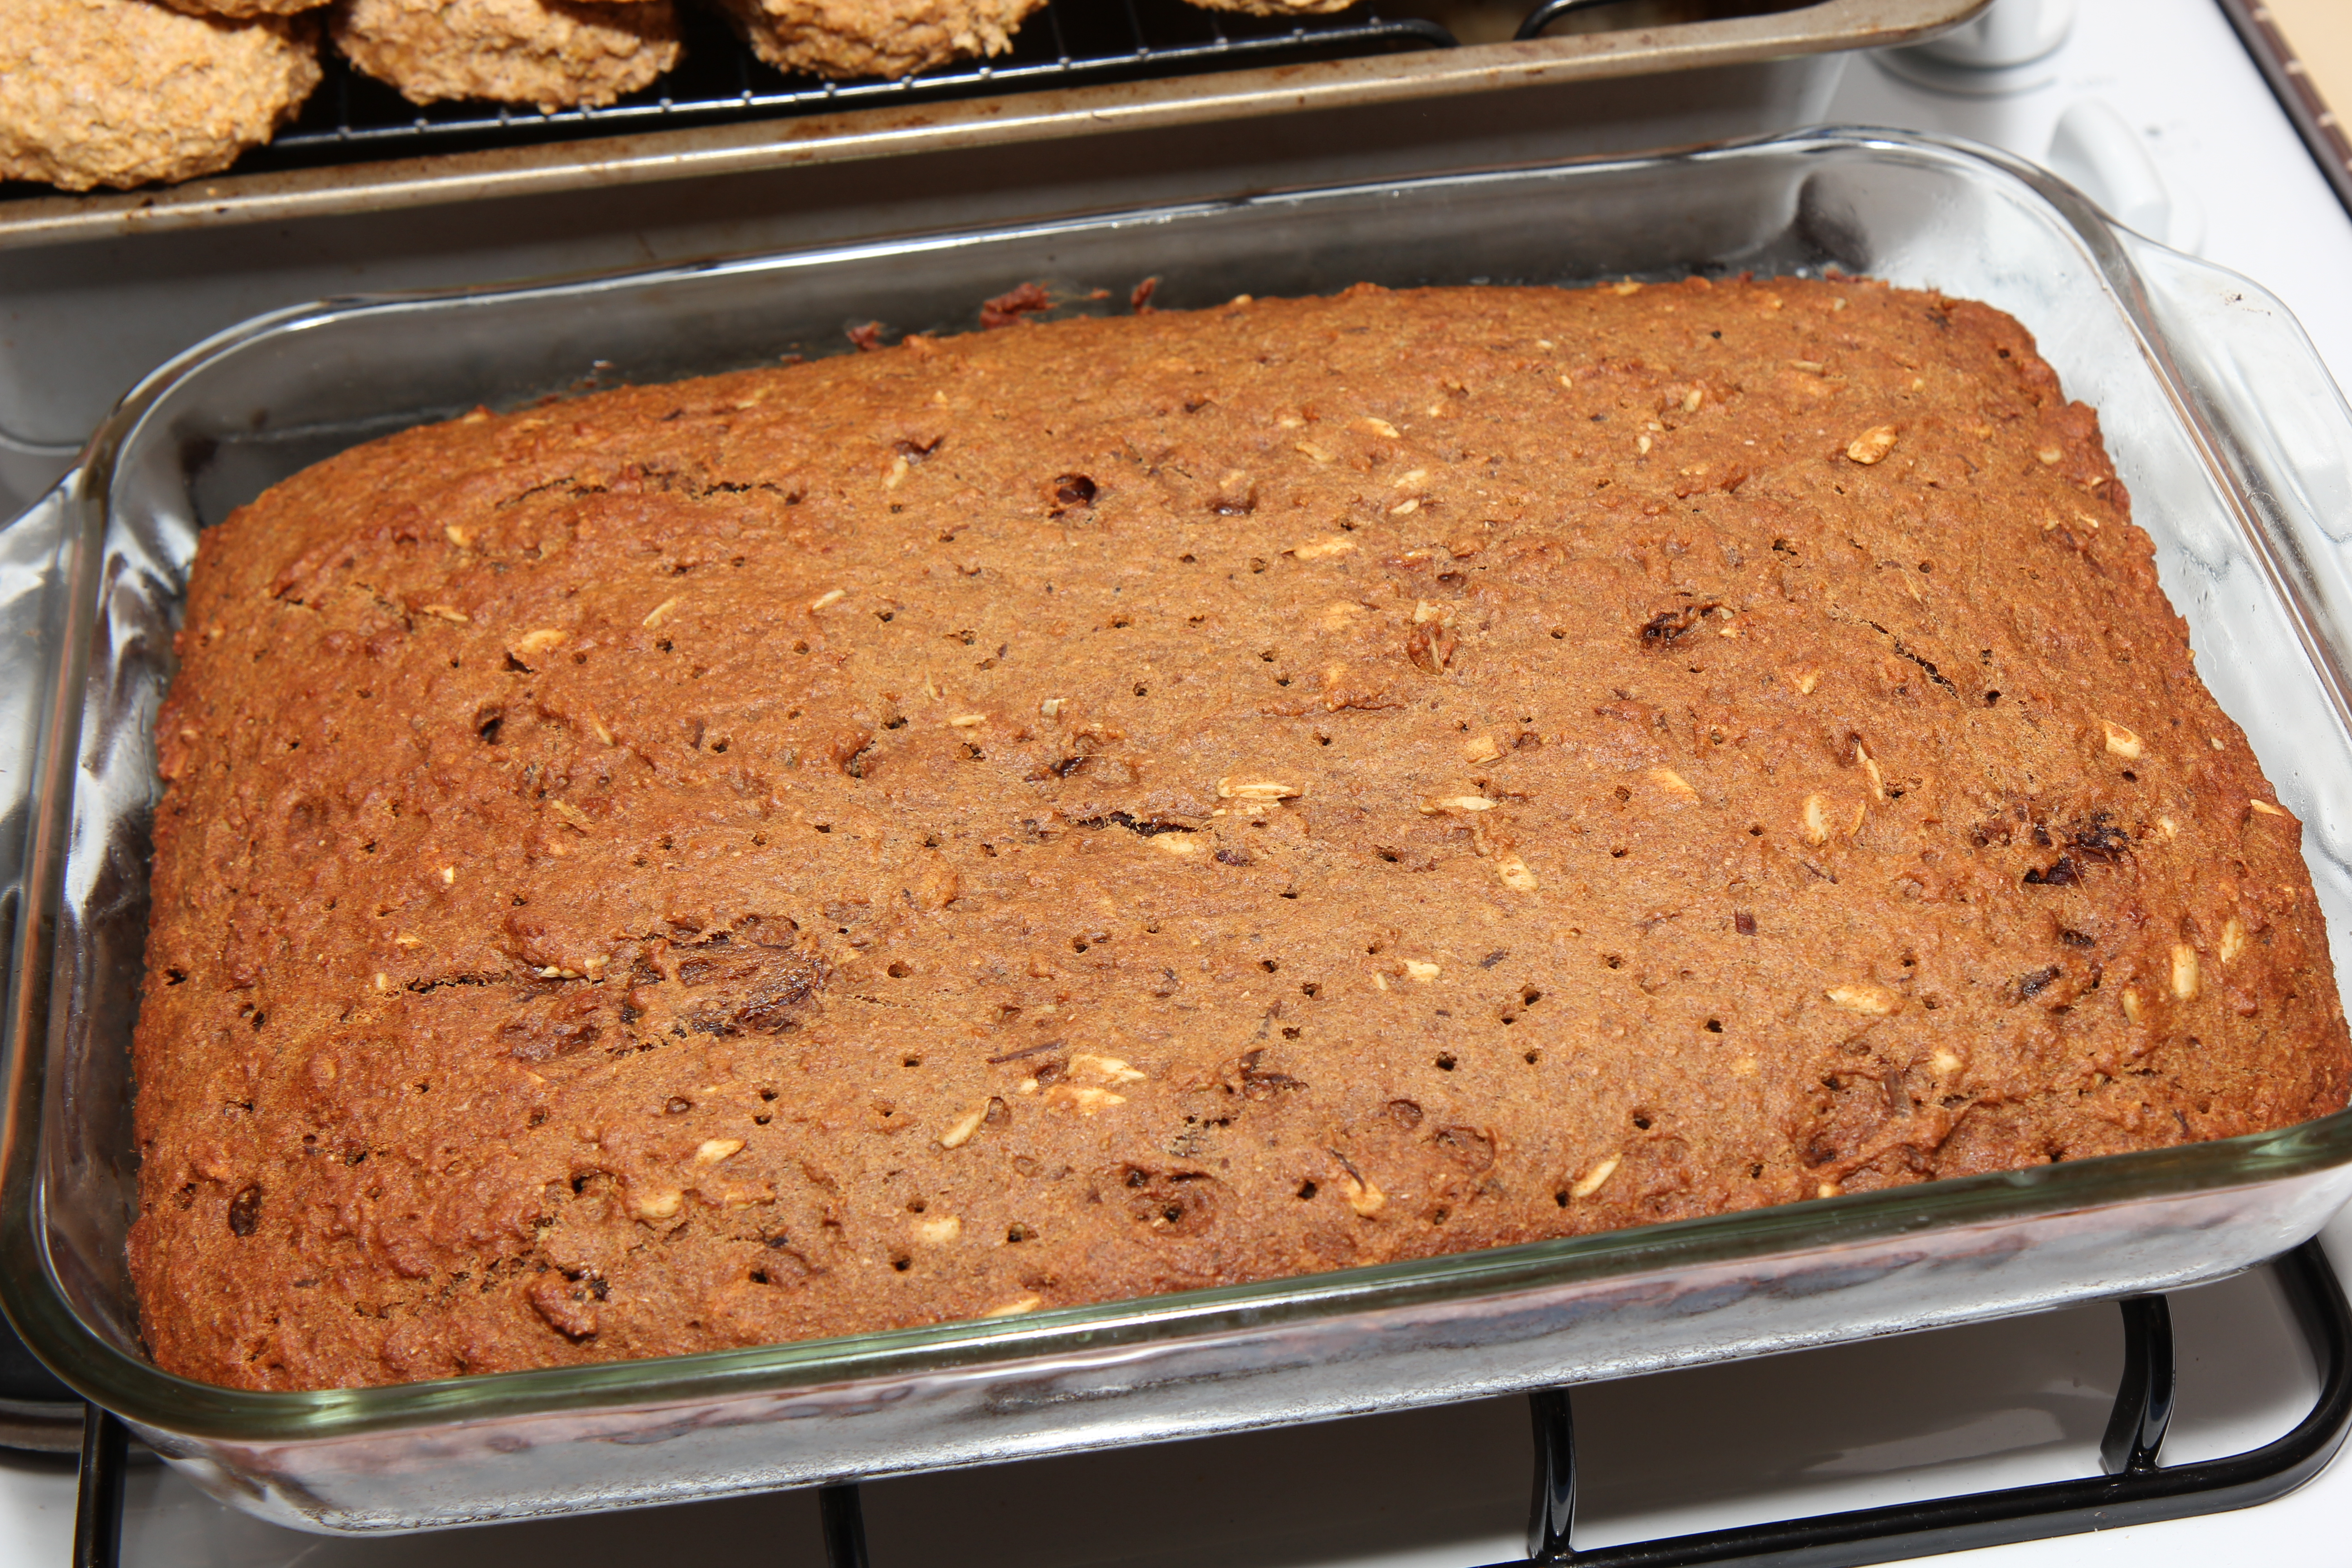
Place into lined muffin pans and bake in a preheated 180C oven for about 20 minutes.

20150707_132545

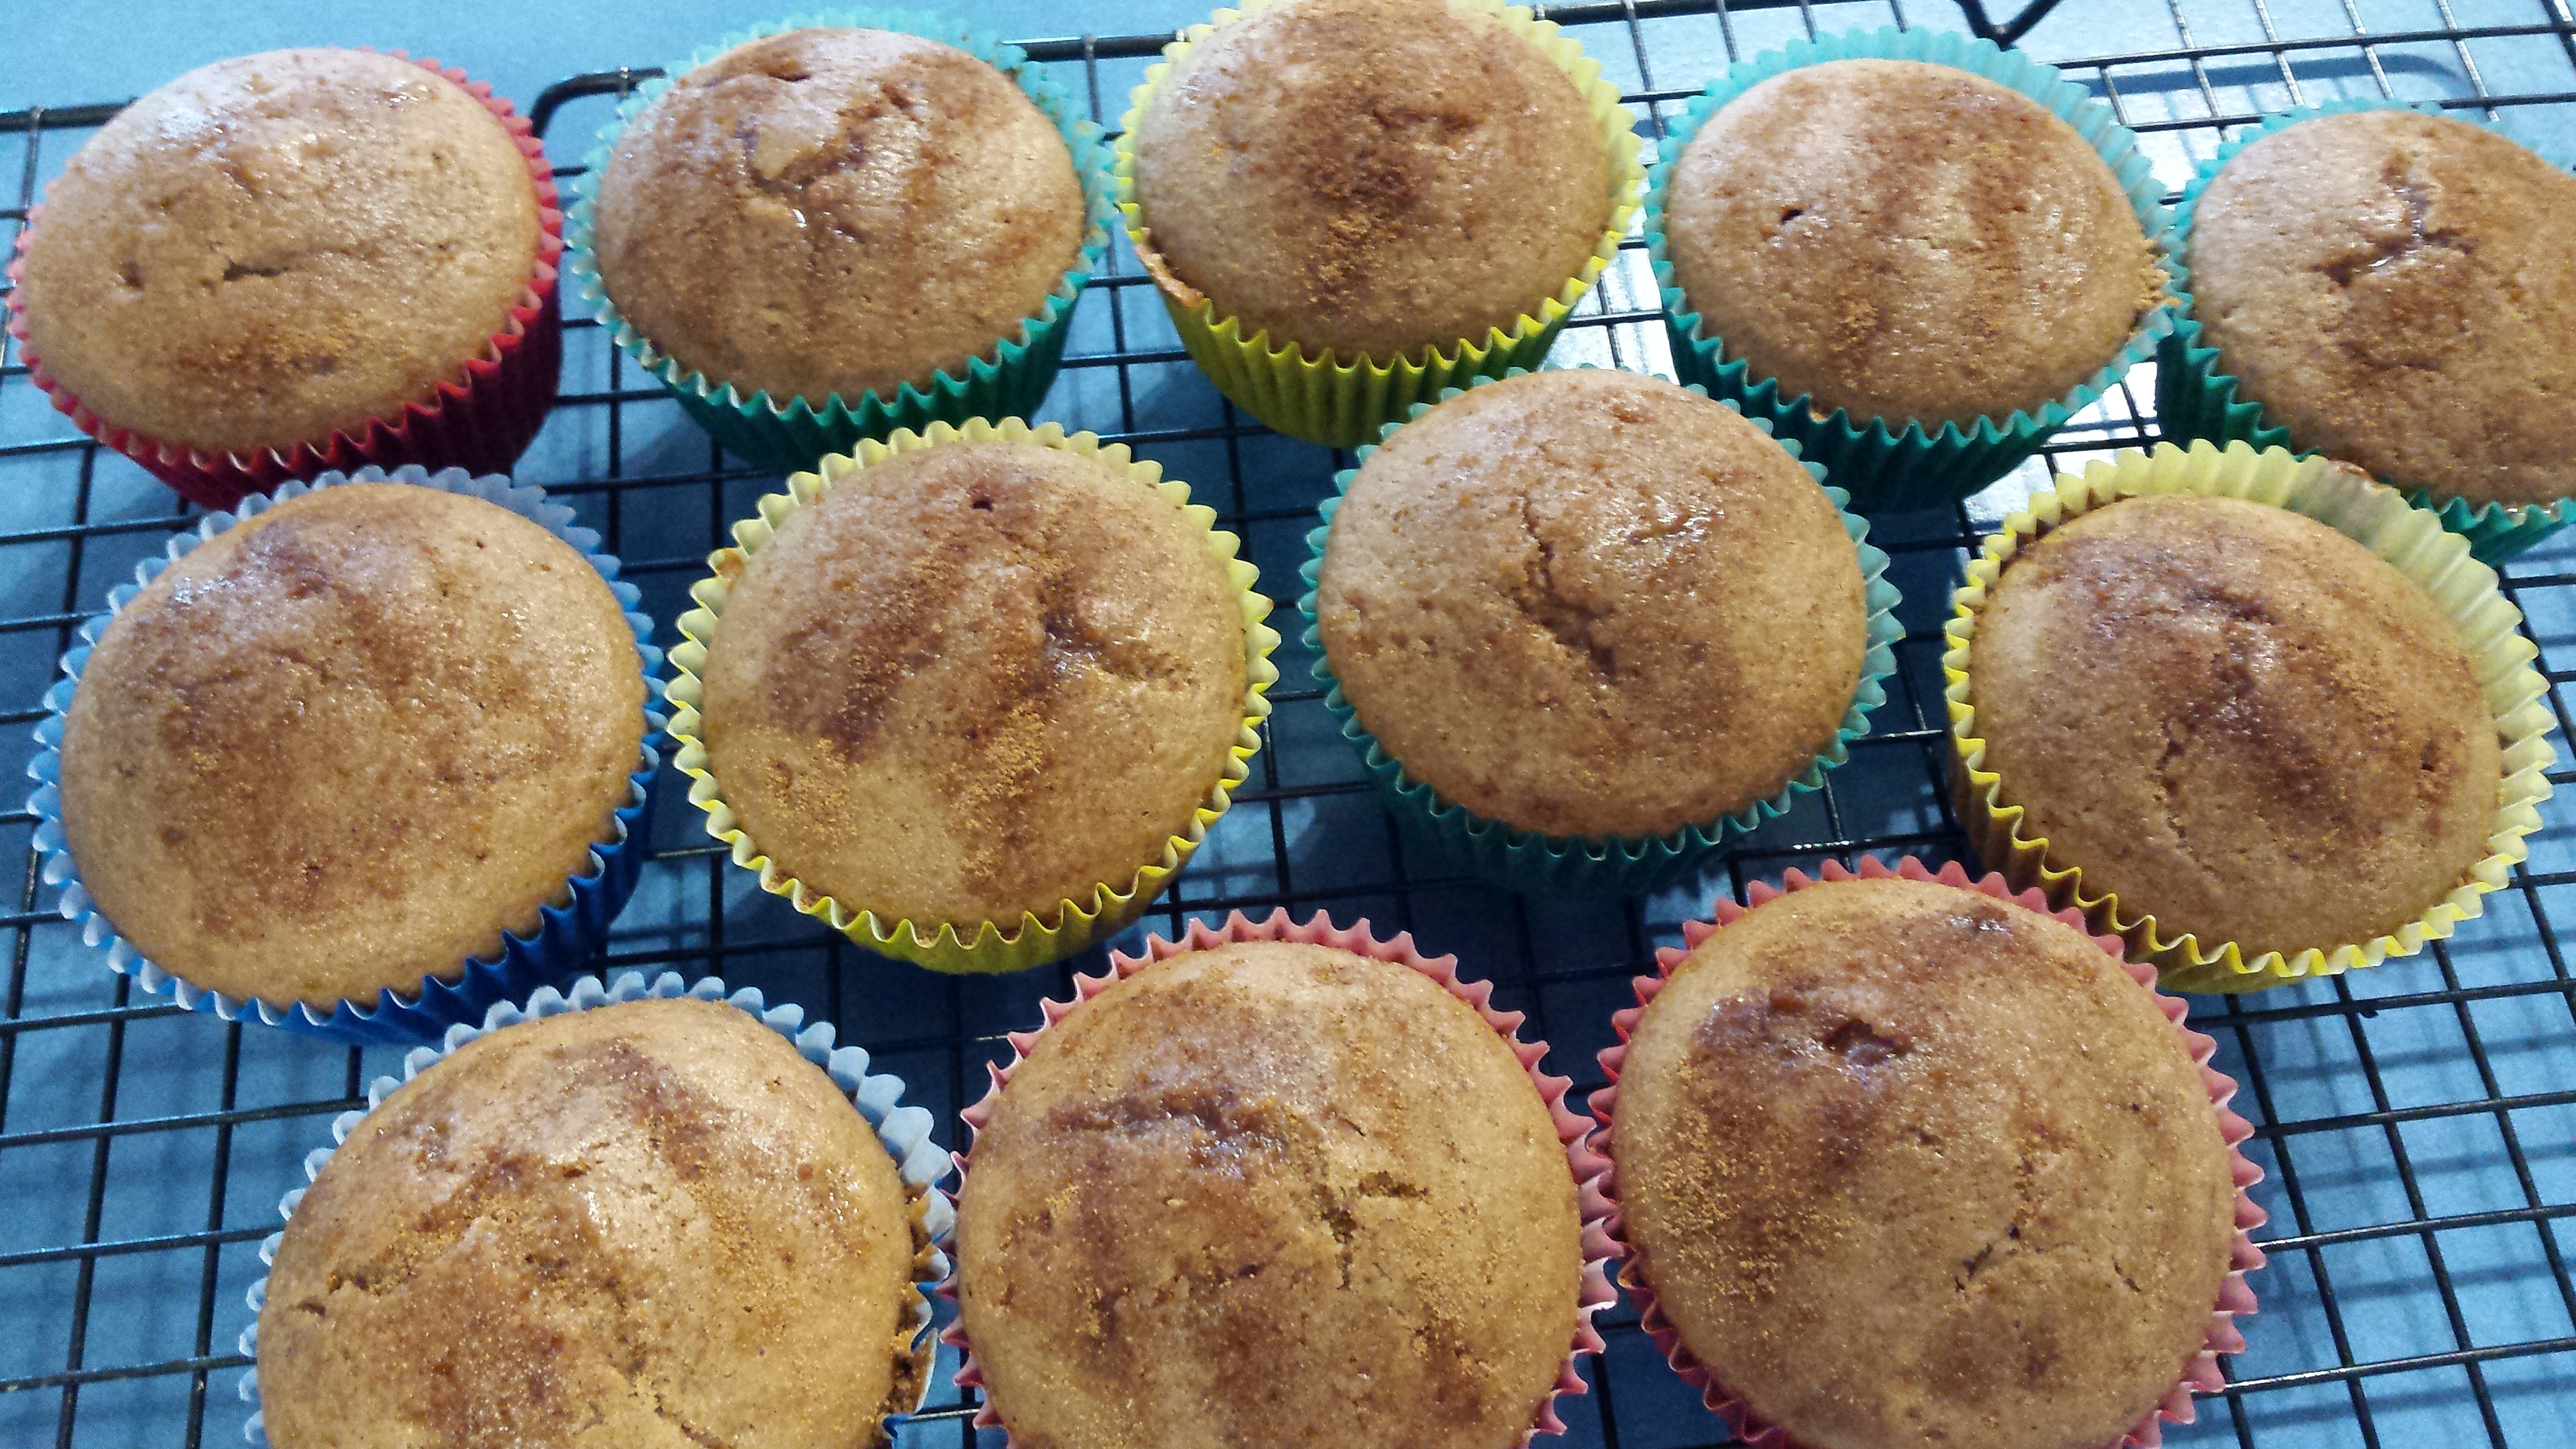
As soon as you remove the muffins from the oven, brush them with melted Nuttelex/butter and sprinkle with a mix of sugar and spice.

20150707_134853

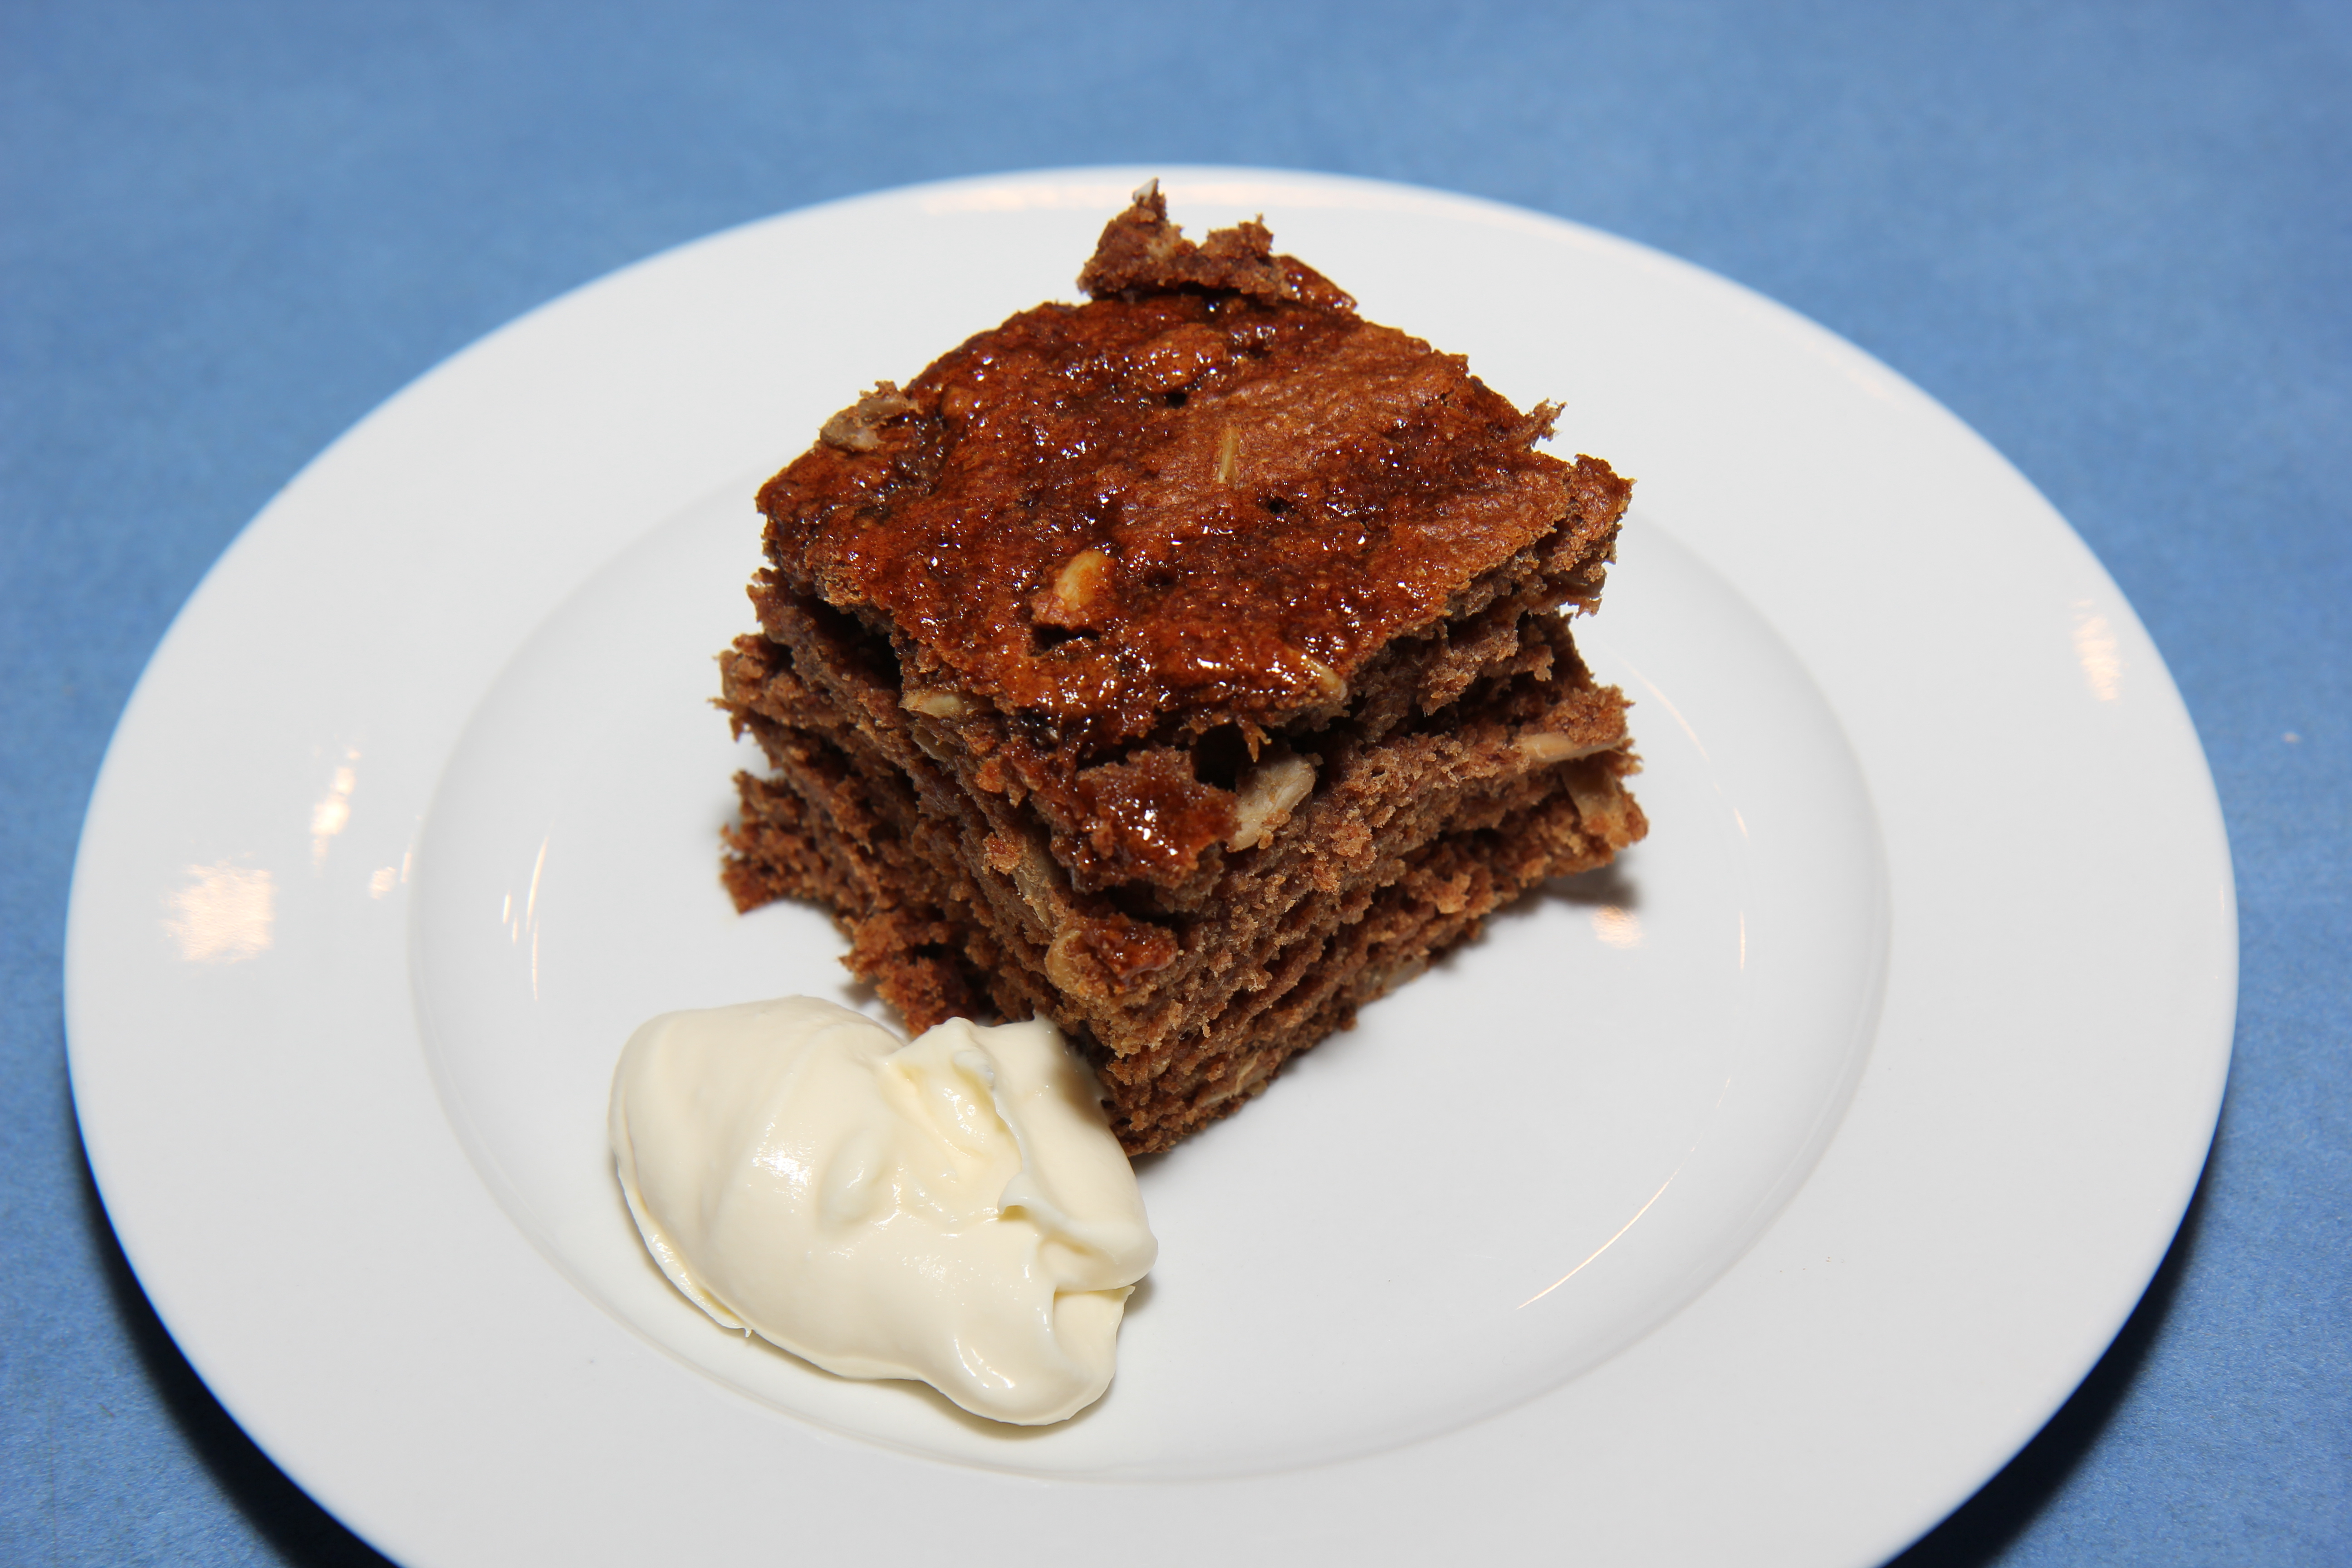
Makes 12 …. did not last long in my very busy, hungry house!! Now I just make double batches and freeze 😉

20150707_135100

Enjoy!!!!!

To make these Coeliac friendly replace the spelt flour with 1 1/4 cup of a gluten free flour mix plus 1 tsp psyllium.

For a more filling version, I replace 50g of the flour with 50g of nut/seed meal.

You can also also replace the oil with a very well mashed medium overripe banana.

Boost the protein with 1/4 cup of hemp seeds.

Add some more fibre with 1 medium grated apple (or blitz it in your machine) – if you use this option, you will need to reduce the milk to 200g.

To make these into mini doughnuts you need an appropriate tin, very well greased.

Place the mixture into a piping bag and pipe the mixture into the tin.

Cooking a moderate oven for about 8-10 minutes. Allow to cool in the tin for a few minutes before removing to a wire rack.

For a spiced doughnut, brush the tops with a melted vegan butter and sprinkle with the same sugar and spice mix as above.

20200810_081548

For an iced doughnut, melt some dark chocolate of choice, then drop the doughnuts into it and then sprinkle with your choice of decorations. We use the Hoppers 100s & 1000.

FB_IMG_1503800633815

Enjoy!

Chicken and Sweet Corn Soup

This soup in its original form was a regular feature on my Mum’s winter menu as I was growing up.

I seem to remember taking great effort to convince my younger brother that the rice vermicelli in it was dried eels brains … and for ages he believed me! Rotten sister!

It is such a comforting winter food that it is still a favourite of mine.

  • 4 large chicken thighs, very finely diced*
  • 4 tins corn kernels, drained and rinsed
  • 200g rice vermicelli
  • 12 cups hot chicken stock
  • 1 large brown onion, finely diced
  • 2 tbsp olive oil
  • 1 tsp minced garlic
  • 2 tsp freshly chopped thyme
  • pepper
  • 2 tbsp Port or coconut aminos
  • 1 large head of broccoli, chopped

In a very large saucepan heat the oil. Add the onion and garlic and fry gently until the onions are golden.

Add in the chicken* and season with pepper, thyme and port. Cook stirring until lightly browned

Add in the stock, stir well. Bring to a gentle simmer for 10 minutes.

While the soup is simmering, take 2 of the tins of corn and place them in the food processor. Process until it fairly smooth. (You can just used 2 tins of creamed corn for ease if your diet allows, but the ‘extras’ in tins of creamed corn do not agree with Ellie).

Add in the now creamed corn and the whole kernels of corn and stir well. Add in the broccoli here.

Break up the rice vermicelli and add to the soup.

Heat until noodles are soft and serve.


20190607_182353

This makes a very large quantity – love my giant 12L saucepan!! Go with a half batch if your saucepan isn’t quite so big!

Hello lunch for the next month!!

Soup freezes well and keeps in the fridge for about 4 or 5 days.

*If you have some left over roast chicken it works really well here in place if the chicken thigh, just chop it and add it in at the same time as the corn and broccoli.

Enjoy!

Sweet and Salty puffed corn

I’ve seen a few versions around for sweetened puffed corn so I decided to give it a go.

It was super simple and very well received – happy kids!

  • 1 tbsp Nuttelex/tasteless coconut oil
  • 2 tbsp maple syrup
  • 3/4 tsp pink flaked salt
  • 170g puffed corn

In a large bowl melt together the Nuttelex and syrup.

Add in the salt and mix well.

Add the corn to the bowl and use your hands to mix until the puffs are thoroughly coated.

Place in a lined baking tray and cook in a 150C preheated oven for about 15 minutes.

20150625_125318

Allow to cool and store in an air tight container for a few days.

20150625_134136

Enjoy!

Fridge Jam

I came across the idea for this easy fridge jam at thankfulexpressions.blogspot.com 

I love that it is healthier and much faster than the normal jam making process!

  • 4 small apples, peeled and cored
  • 3 cups strawberries, hulled
  • 4 tbsp coconut sugar/maple syrup (Optional)
  • 40ml water
  • 4 tbsp chia seeds

Stew the apples together with the water and sugar (if using). (100C on speed 2 for about 10 mins in the Bellini)

Add strawberries and blend until you reach your desired consistency for jam

Add the chia seeds and stir until well combined.

Pour into sterlized jars and place in the fridge. The chia will swell and help the jam to set.

This jam doesn’t have nearly as much sugar as regular jam so it will not keep as long, but that’s not so much of an issue when you can make it so quickly and in smaller quantities!

April 2015 102

This also works well with mulberries in place of the strawberries.  For the mulberry version I add in the sliced skin of a lemon or an orange to the stewing apples, then remove then skin when I put the jam into jars.

20170423_105326-1

Enjoy 🙂

Sticky Date Cake

My mum makes the most amazing Sticky Date puddings. They truly are a decadent ‘sometimes food’ but the amount of cream and butter in the sauce means that they have been out for us for the past few years. I’ve missed the sweet warm stickyness so with this dessert I aimed for something similar but a lot healthier!

See below the recipe for a Coeliac friendly option too.

  • 20 medjool dates, pitted and halved
  • 2 cups very hot water
  • 1/2 cup coconut sugar
  • 120g vegan butter or sunflower seed butter
  • 1 teaspoon bicarbonate of soda
  • 4 cups wholemeal spelt flour
  • 4 tsp GF baking powder
  • 3 teaspoons ground mixed spice
  • 2 medium, very ripe bananas
  • 1 cup sunflower seeds
  • 150ml maple syrup
  • 2 tsp tasteless coconut oil

Place dates, water, butter, sugar and bicarb in the Thermal cooker and cook at 100C on speed 2 for about 6-7 minutes, or until the mix comes to the boil. Add in the bananas and start processing on speed 3 and working your way up to speed 5 for about 20 seconds, or until the mixture is fairly smooth and consistent. (Do this in a saucepan over a medium heat with regular stirring and then transfer to a food processor or blender to do this without the thermal cooker) In a large separate bowl mix together the flour, baking powder, spices and seeds. Pour the date mix into the flour mix and fold together until all combined. Grease a large baking dish (this is a big cake!) and pour the mixture in. April 2015 089 Cook in a preheated 150C oven for about 45-50minutes. As soon as you remove it from the oven, use a skewer to poke holes all over the cake. April 2015 092Mix the syrup and coconut oil together and heat gently until it is melted. Pour it evenly over the top of the cake. Best eaten warm (and with just a little cream or ice cream if your diet allows!) April 2015 094

To make this cake Coeliac friendly replace the spelt with 3 cups of plain GF flour mix and 1 cup of almond/seed meal.

Makes about 20 serves. This cake is quite moist and so freezes well and a half mixture works well too.

If you aren’t going to eat the cake straight from the oven, poke holes in the cake but leave the syrup off, then warm the cake and the syrup and pour over just before serving.

Enjoy 🙂