My big boys love Milo. My husband loves Milo … and quite frankly, I’d quite happily eat it straight from the tin too if it wasn’t for the health concerns …. I suspect all Aussie kids would have done it at one time in their lives 😀
But it’s not an option for my little miss and I’d really rather that my boys weren’t getting the refined sugar, oils and additives from it either. So I’ve been trying to find a way to make a home made version that we could all enjoy.
This is a pretty good approximation. I have to tell you that it is not like eating the original (for obvious reasons!), so please don’t expect an exact replica, or you will be a bit disappointed! But it is sweet, chocolatey and has crunchy bits when mixed with cold milk. So if you are you missing a chocolately drink or you just want a healthier version, then this is a good place to start!
For us, it is also a simple way to make sure that our biggest boy gets the weekly Hazelnut quota that he requires after his nut challenge.
I based my mix on this one from Changing Habits.
- 3 tbsp each of sunflower, pumpkin, chia and flax seeds
- 1/2 cup roasted almonds
- 1/2 cup roasted hazelnuts (skin off)
- 1/2 cup cacao powder OR 3/4 cup cocoa
- 1 cup coconut sugar
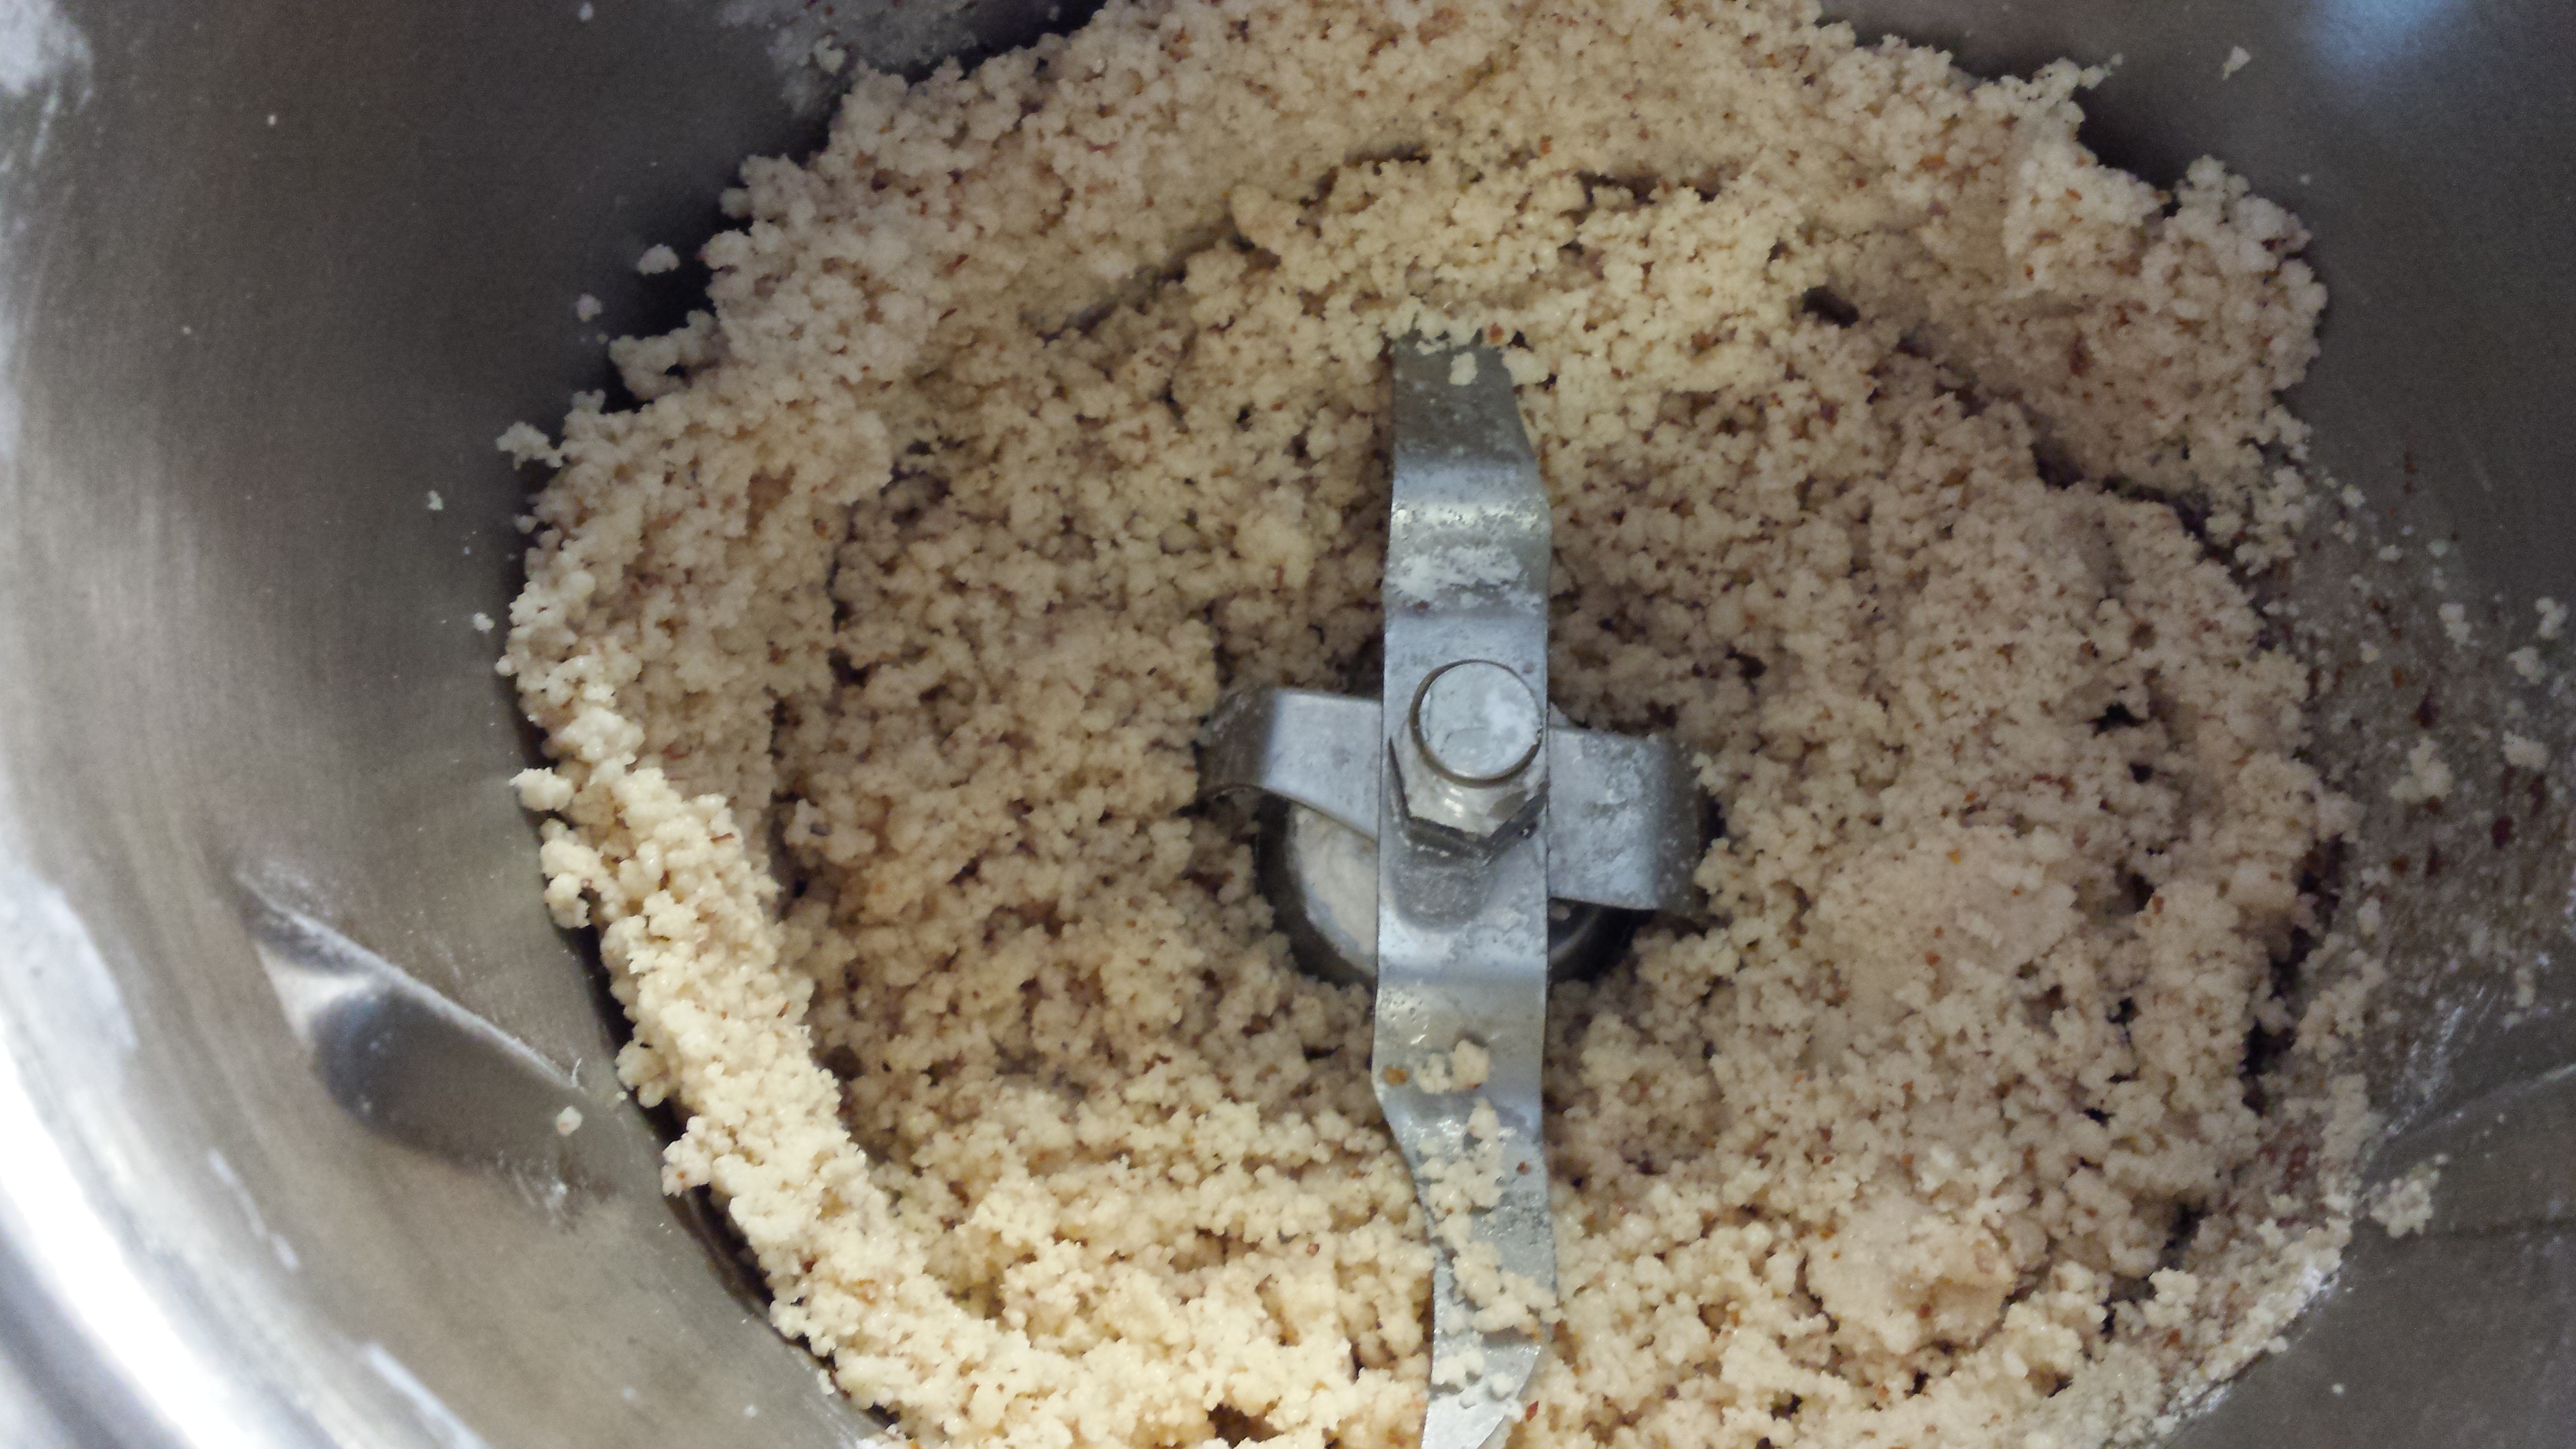
Place nuts and seeds in high power processor and process until fine – be careful not to overdo it and wind up with a butter! (Speed 8, 8 seconds).
Add in cacao and sugar and process again to combine (Speed 4, 6 seconds).
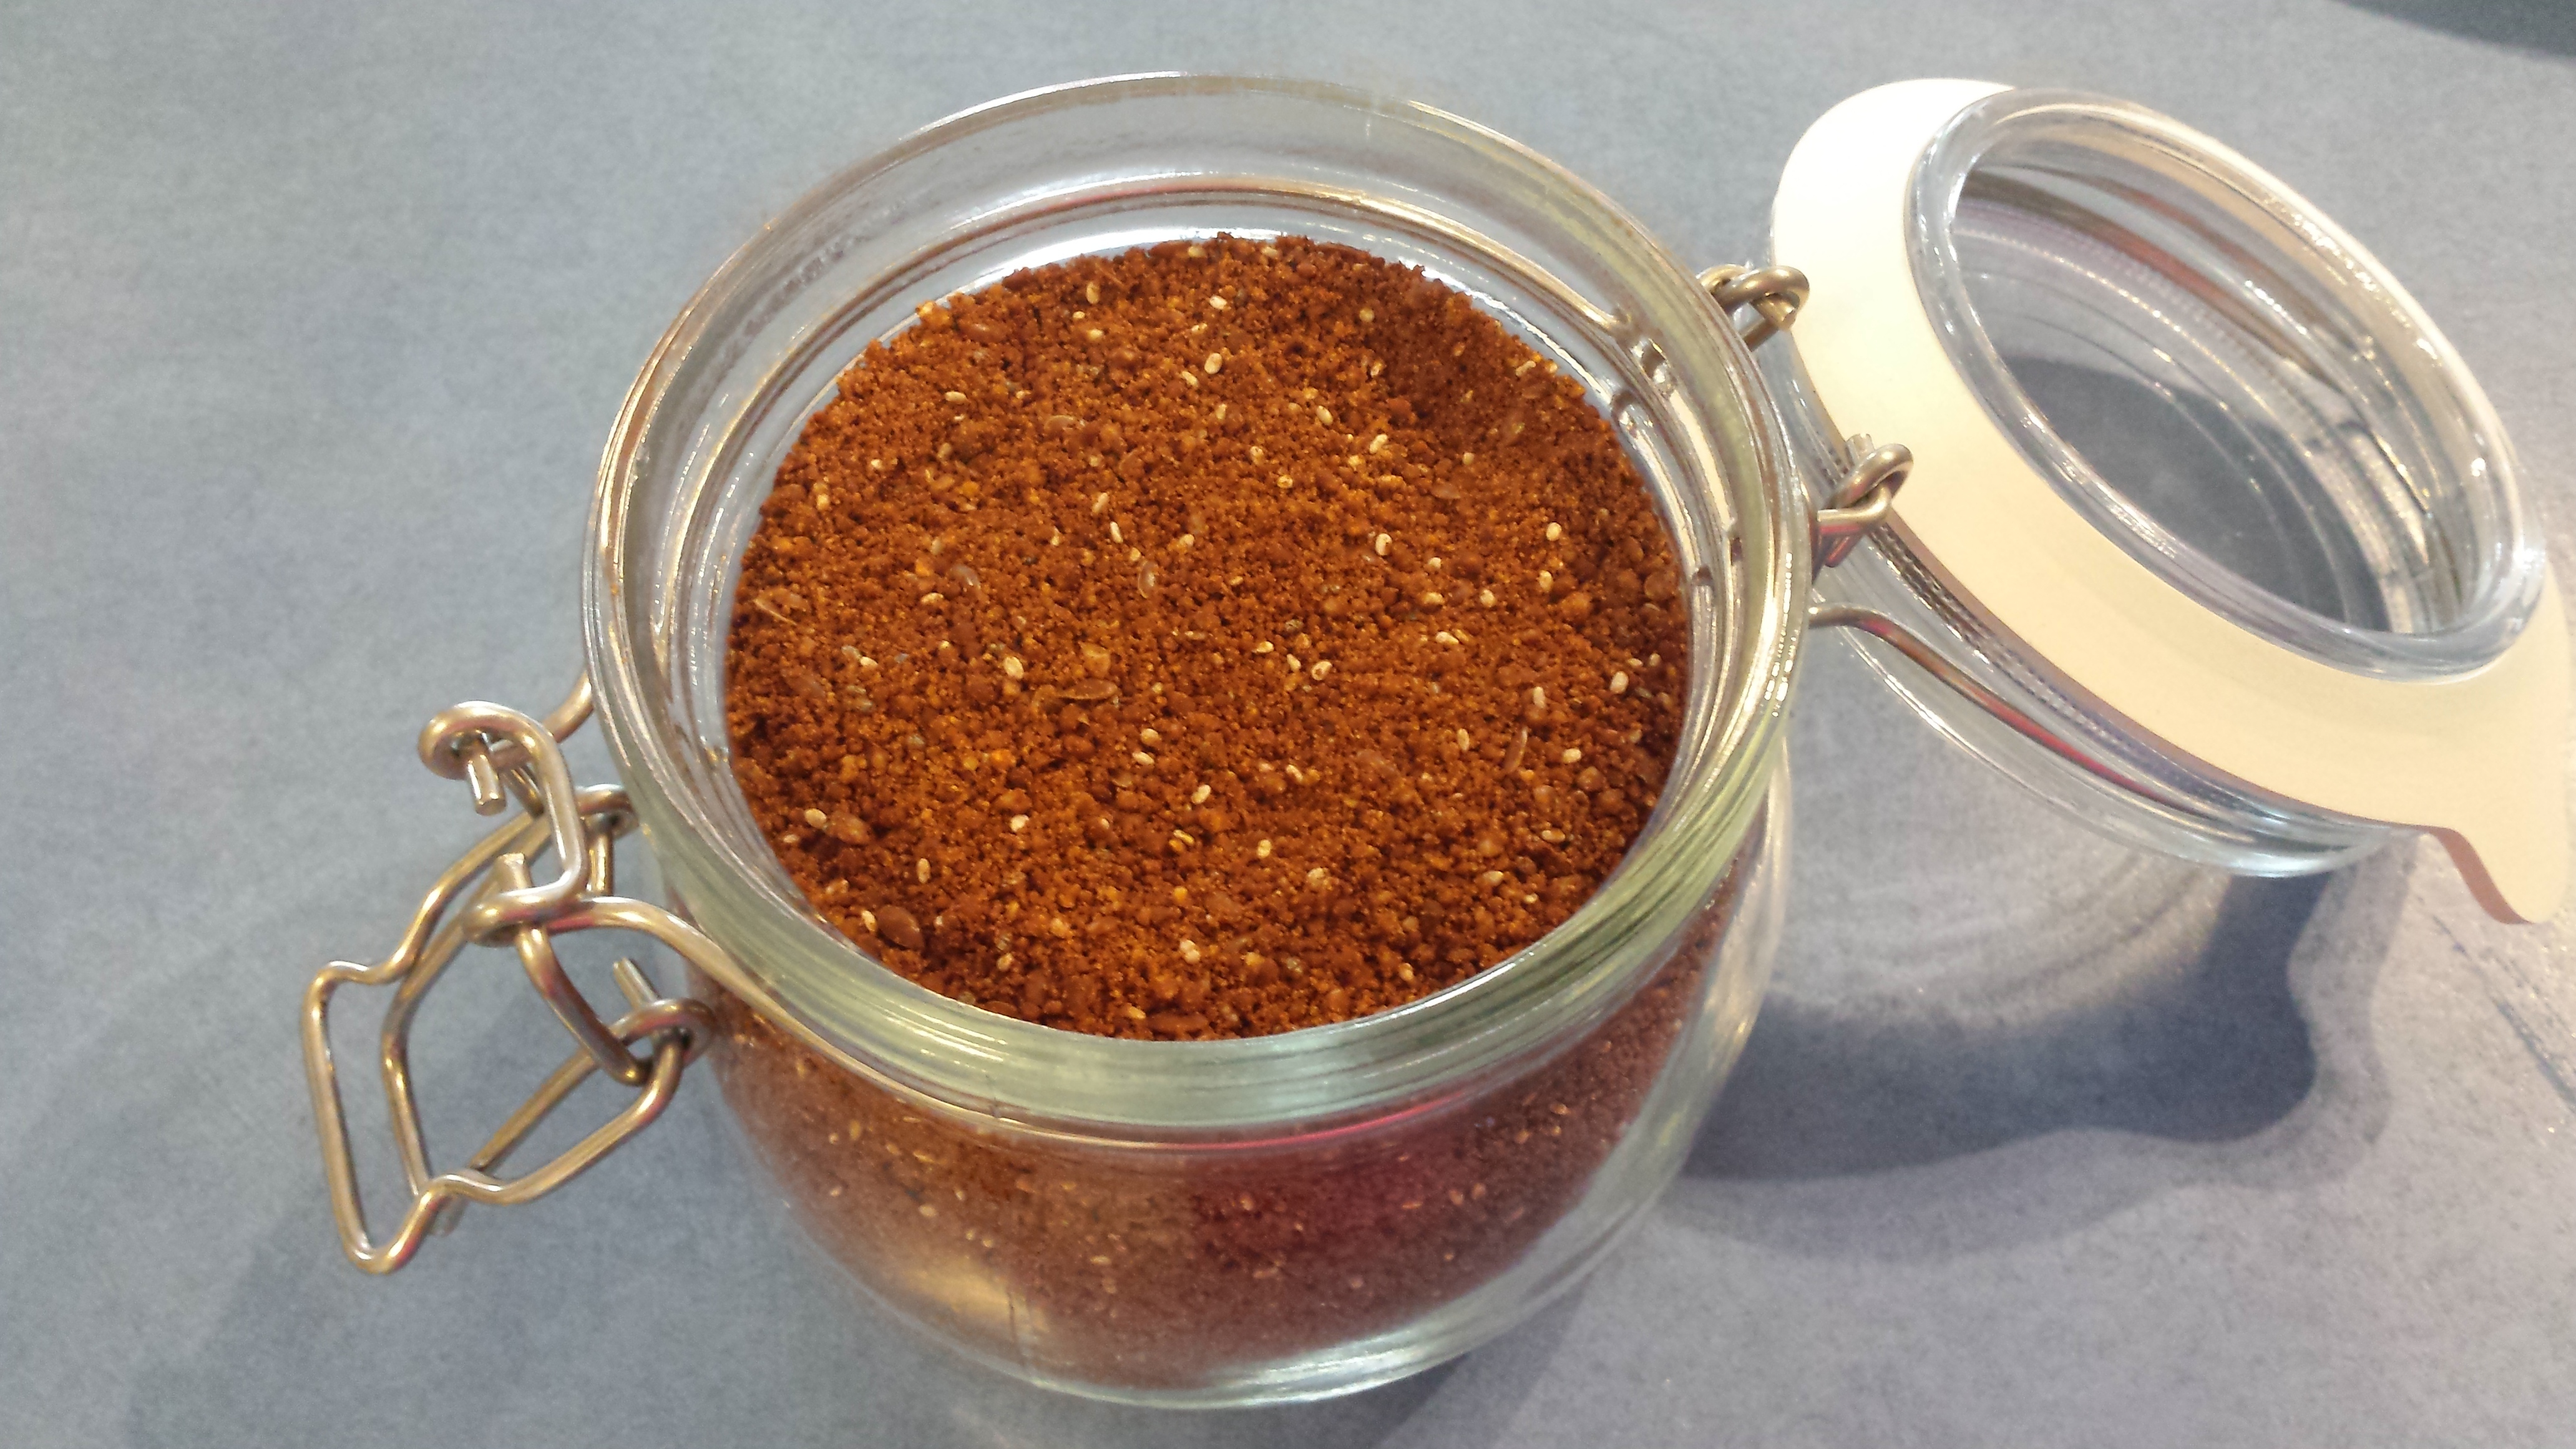
Store in airtight jars. Makes 2 large jars.
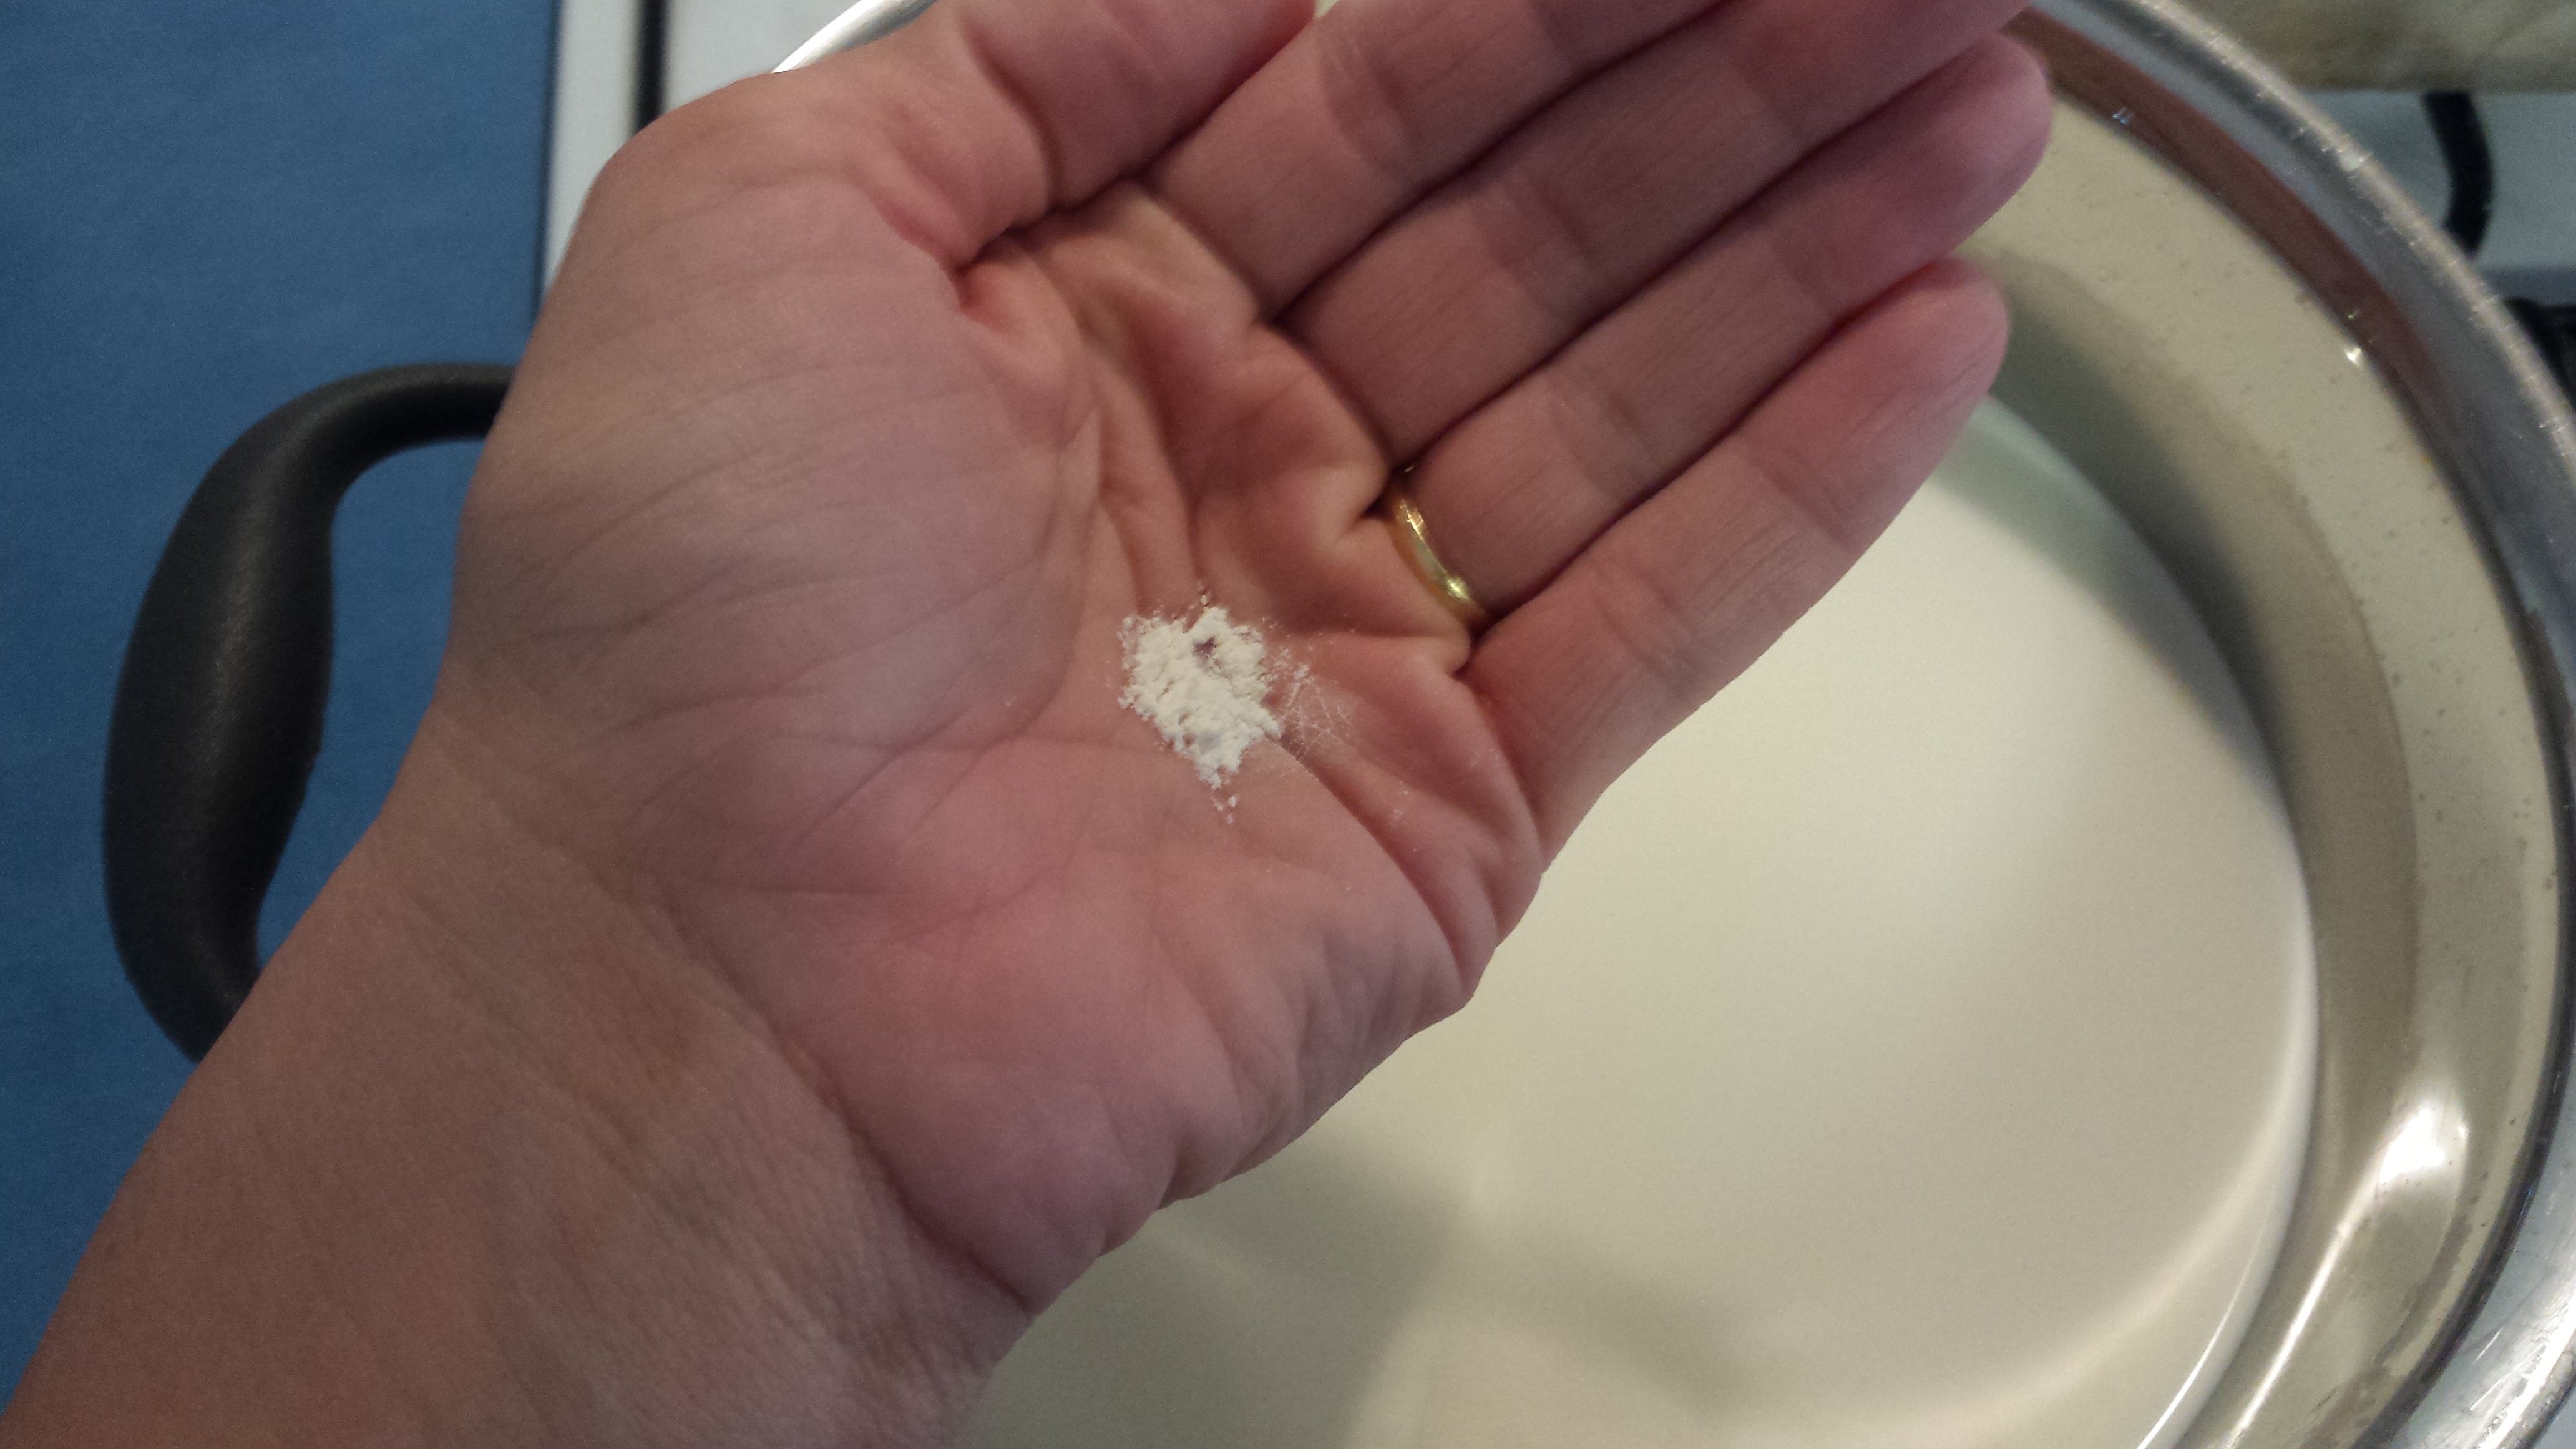
Use as you would use Milo. I doesn’t completely dissolve in cold milk because of the nuts and seeds, but the cacao and sugar do giving the milk a chocolatey appearance whilst leaving the crunchy bits, typical of Milo. Don’t use with hot milk – the chia and flax seeds give a gelatinous mix if you do!
We use it in milkshakes, on top of porridge, in pancakes or even sprinkled on to frozen banana ‘ice cream’. Yum!!
2 out of my 3 bigger kids drank it and loved it. Harry wasn’t convinced with just plain milk, but we have discovered that he loves it in a milk shake (you can find his favourite milkshake recipe at the end of the post!). My husband drank it and enjoyed it although knew that it was different to ‘the real stuff’! Ellie and George … well … they likes to eat it by the spoonful!
If you want a really fine mix, try using the milling blade in a smaller bullet type blender (like a Nutribullet).
For a nut free version:
- 3 tbsp each of chia and flax seeds
- 3/4 cup roasted sunflower seeds
- 3/4 cup roasted pumpkin seeds
- 3/4 cup cacao powder
- 1 1/4 cups coconut sugar
To dry roast the seeds, place them in a large baking tray under the grill, on the shelf furthest away in the oven. Watch them carefully … it only takes a few minutes! Flip seeds in tray a few times during cooking process to ensure even cooking coverage.
Allow seeds to cool before adding to processor with chia and flax. Follow above method for remainder of recipe.
Enjoy 🙂
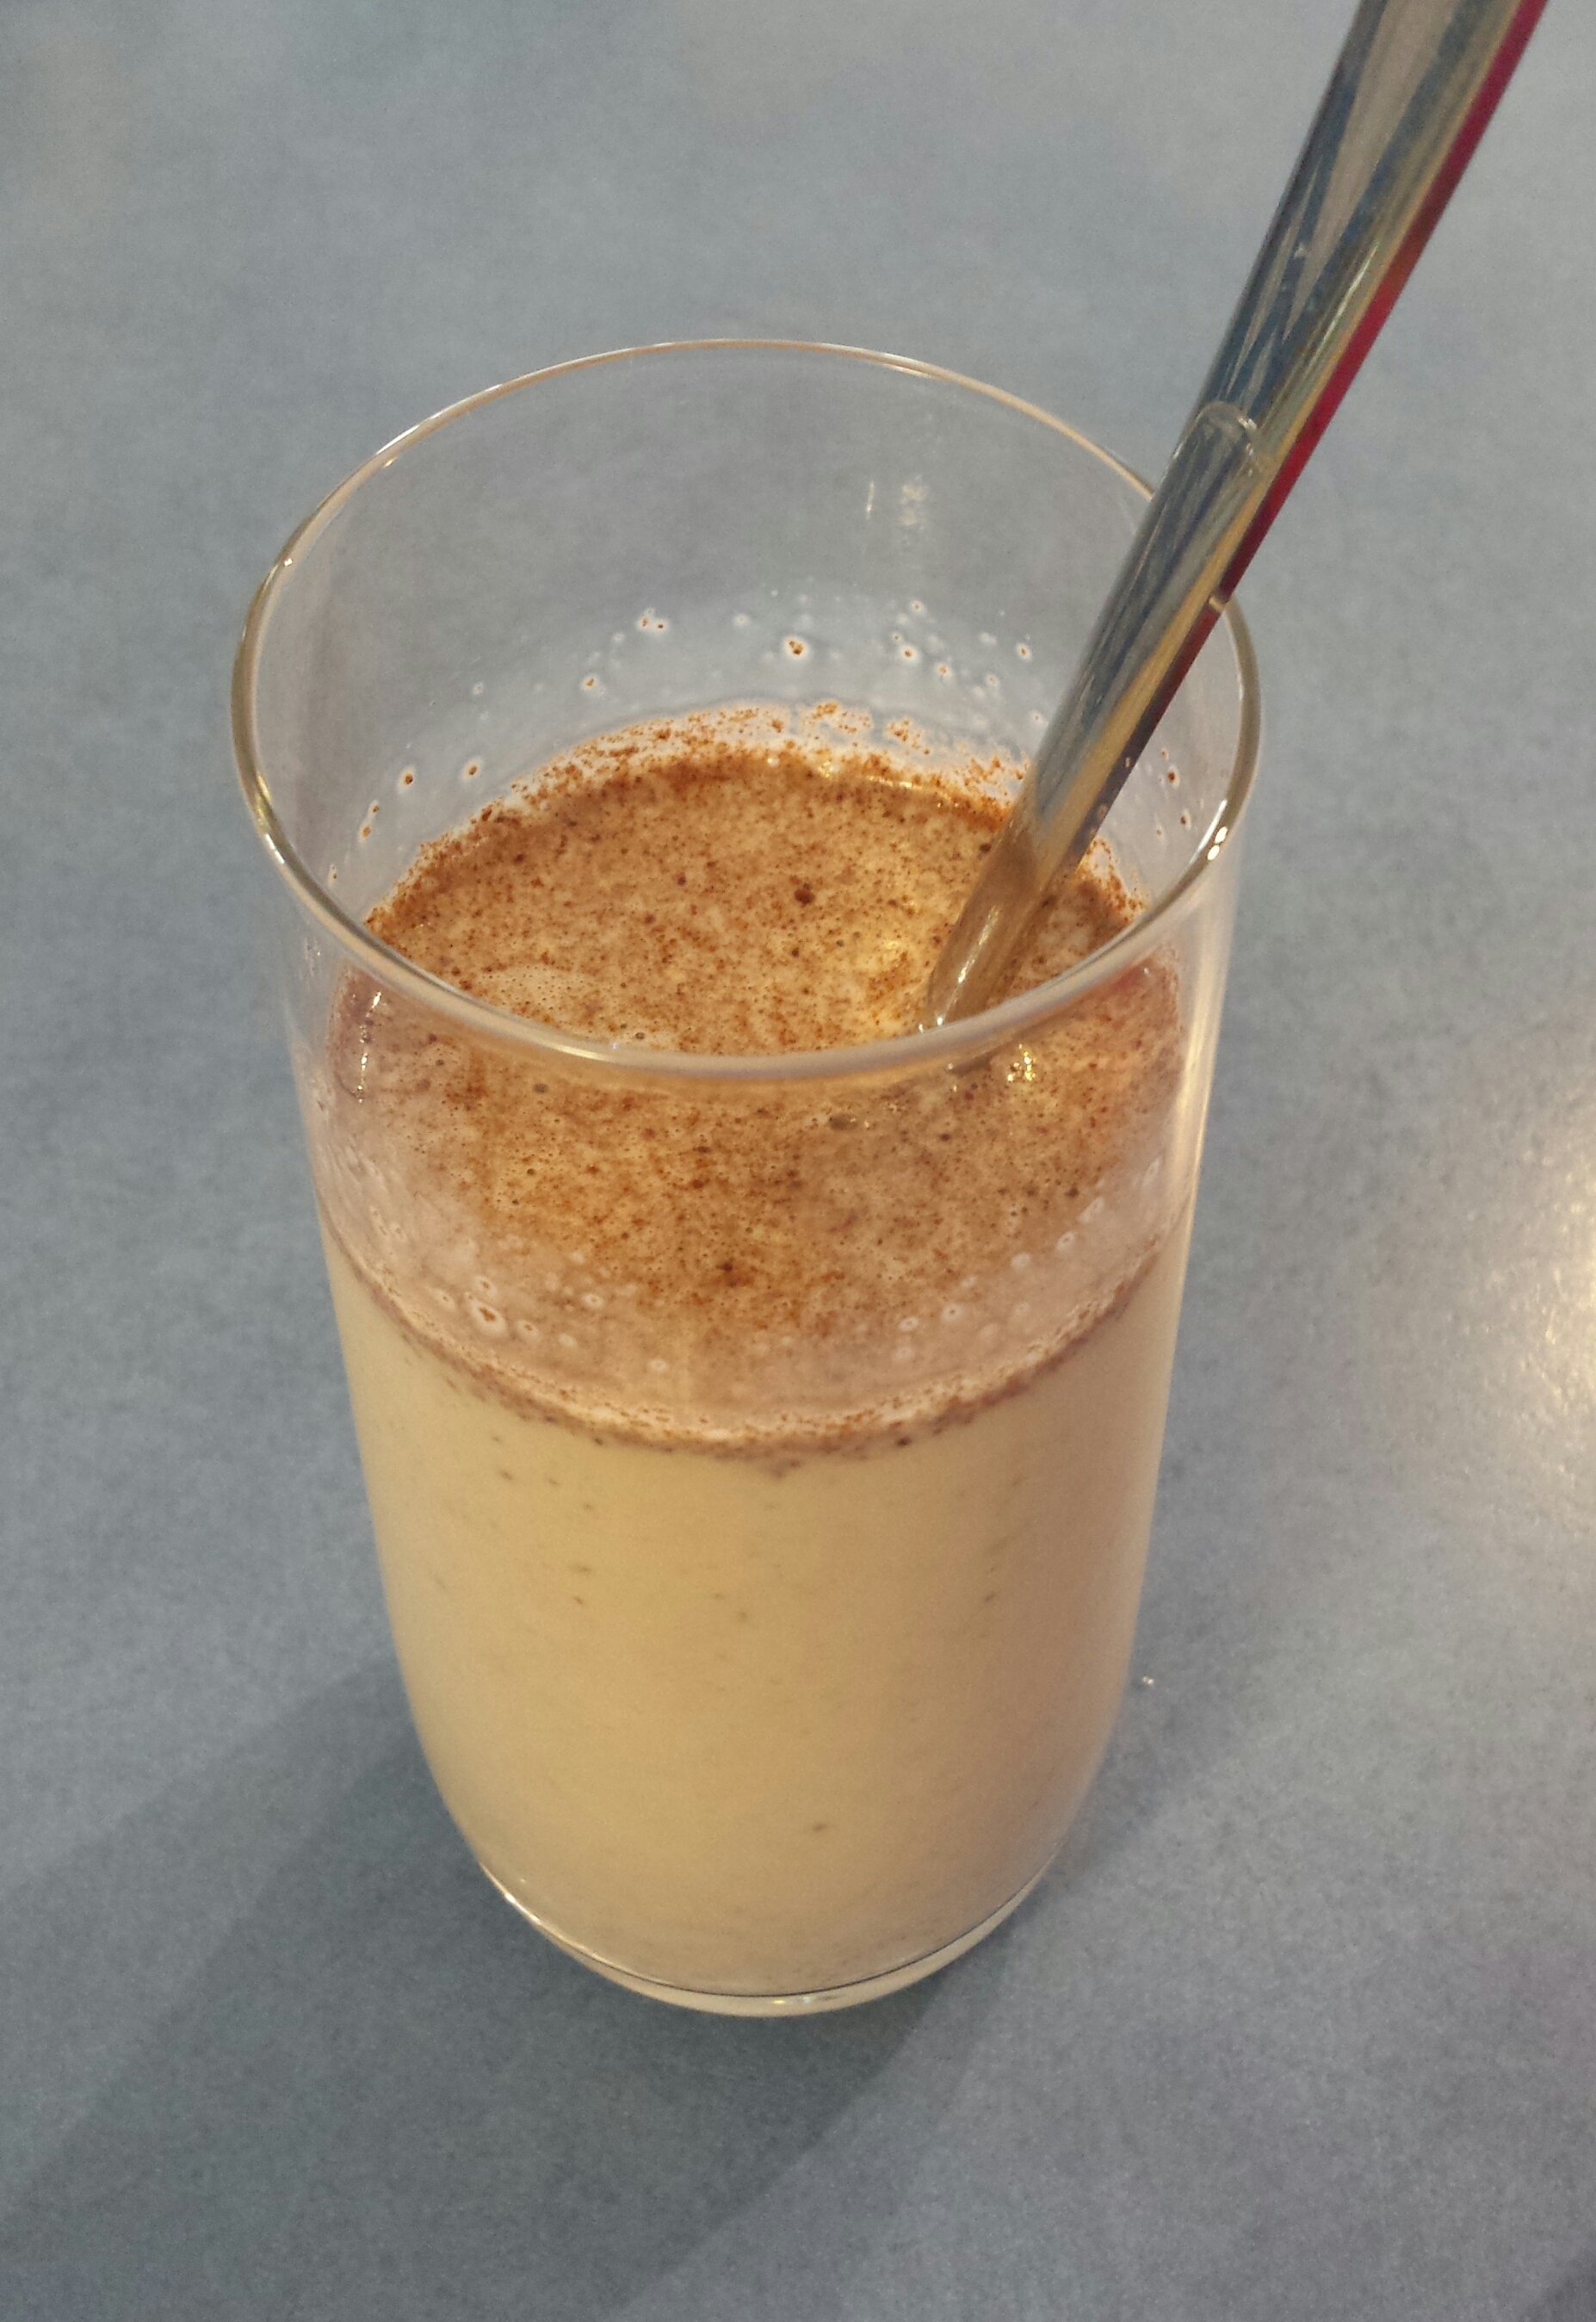
Harry’s Choc Shake:
- 1 frozen banana
- 1 tbsp drinking chocolate mix
- 1 tbsp rolled oats
- 1 tsp Sunflower seed butter
- 1 cup cold milk of choice.
Place all ingredients in a high powered blender/processor and blend until very smooth.
Drink immediately – Harry says it’s best with a blue straw 🙂