Hooray for soup weather!
This is a soup-er simple meal, really inexpensive and delicious. A pretty mild soup, so it is very kid friendly too.
- 400g Cauliflower (1 medium size), roughly chopped
- 1.2kg Butternut pumpkin roughly chopped
- 1/2 small brown onion (about 60g), diced
- 1/2 tsp ground nutmeg
- 1 tbsp garlic infused olive oil
- 2 tbsp veggie stock paste
- 10 cups boiling water
- 225g cream cheese (*dairy, soy or nut based – you can even use a light silken tofu here)
If you don’t have stock paste you can use 3 cups liquid stock and then only 7 cups water.
Heat the oil in a large saucepan then add in the onion and cook, stirring, until it is soft and golden.
Add in the cauliflower and pumpkin plus the stock paste and stir well. Cook down for about 3 minutes then add in the boiling water.
Cover and simmer for about 20 minutes or until the veggies are very soft. *If you need a quicker cooking time you can give the veggies a quick blitz in your food processor first.
Remove from the heat and add in the cream cheese. Use an immersion blender to blend until the soup is very smooth. If you are using a blender/thermo cooker/bullet machine to blend – BE VERY CAREFUL! Allow it to cool quite a bit first and then do small batches.
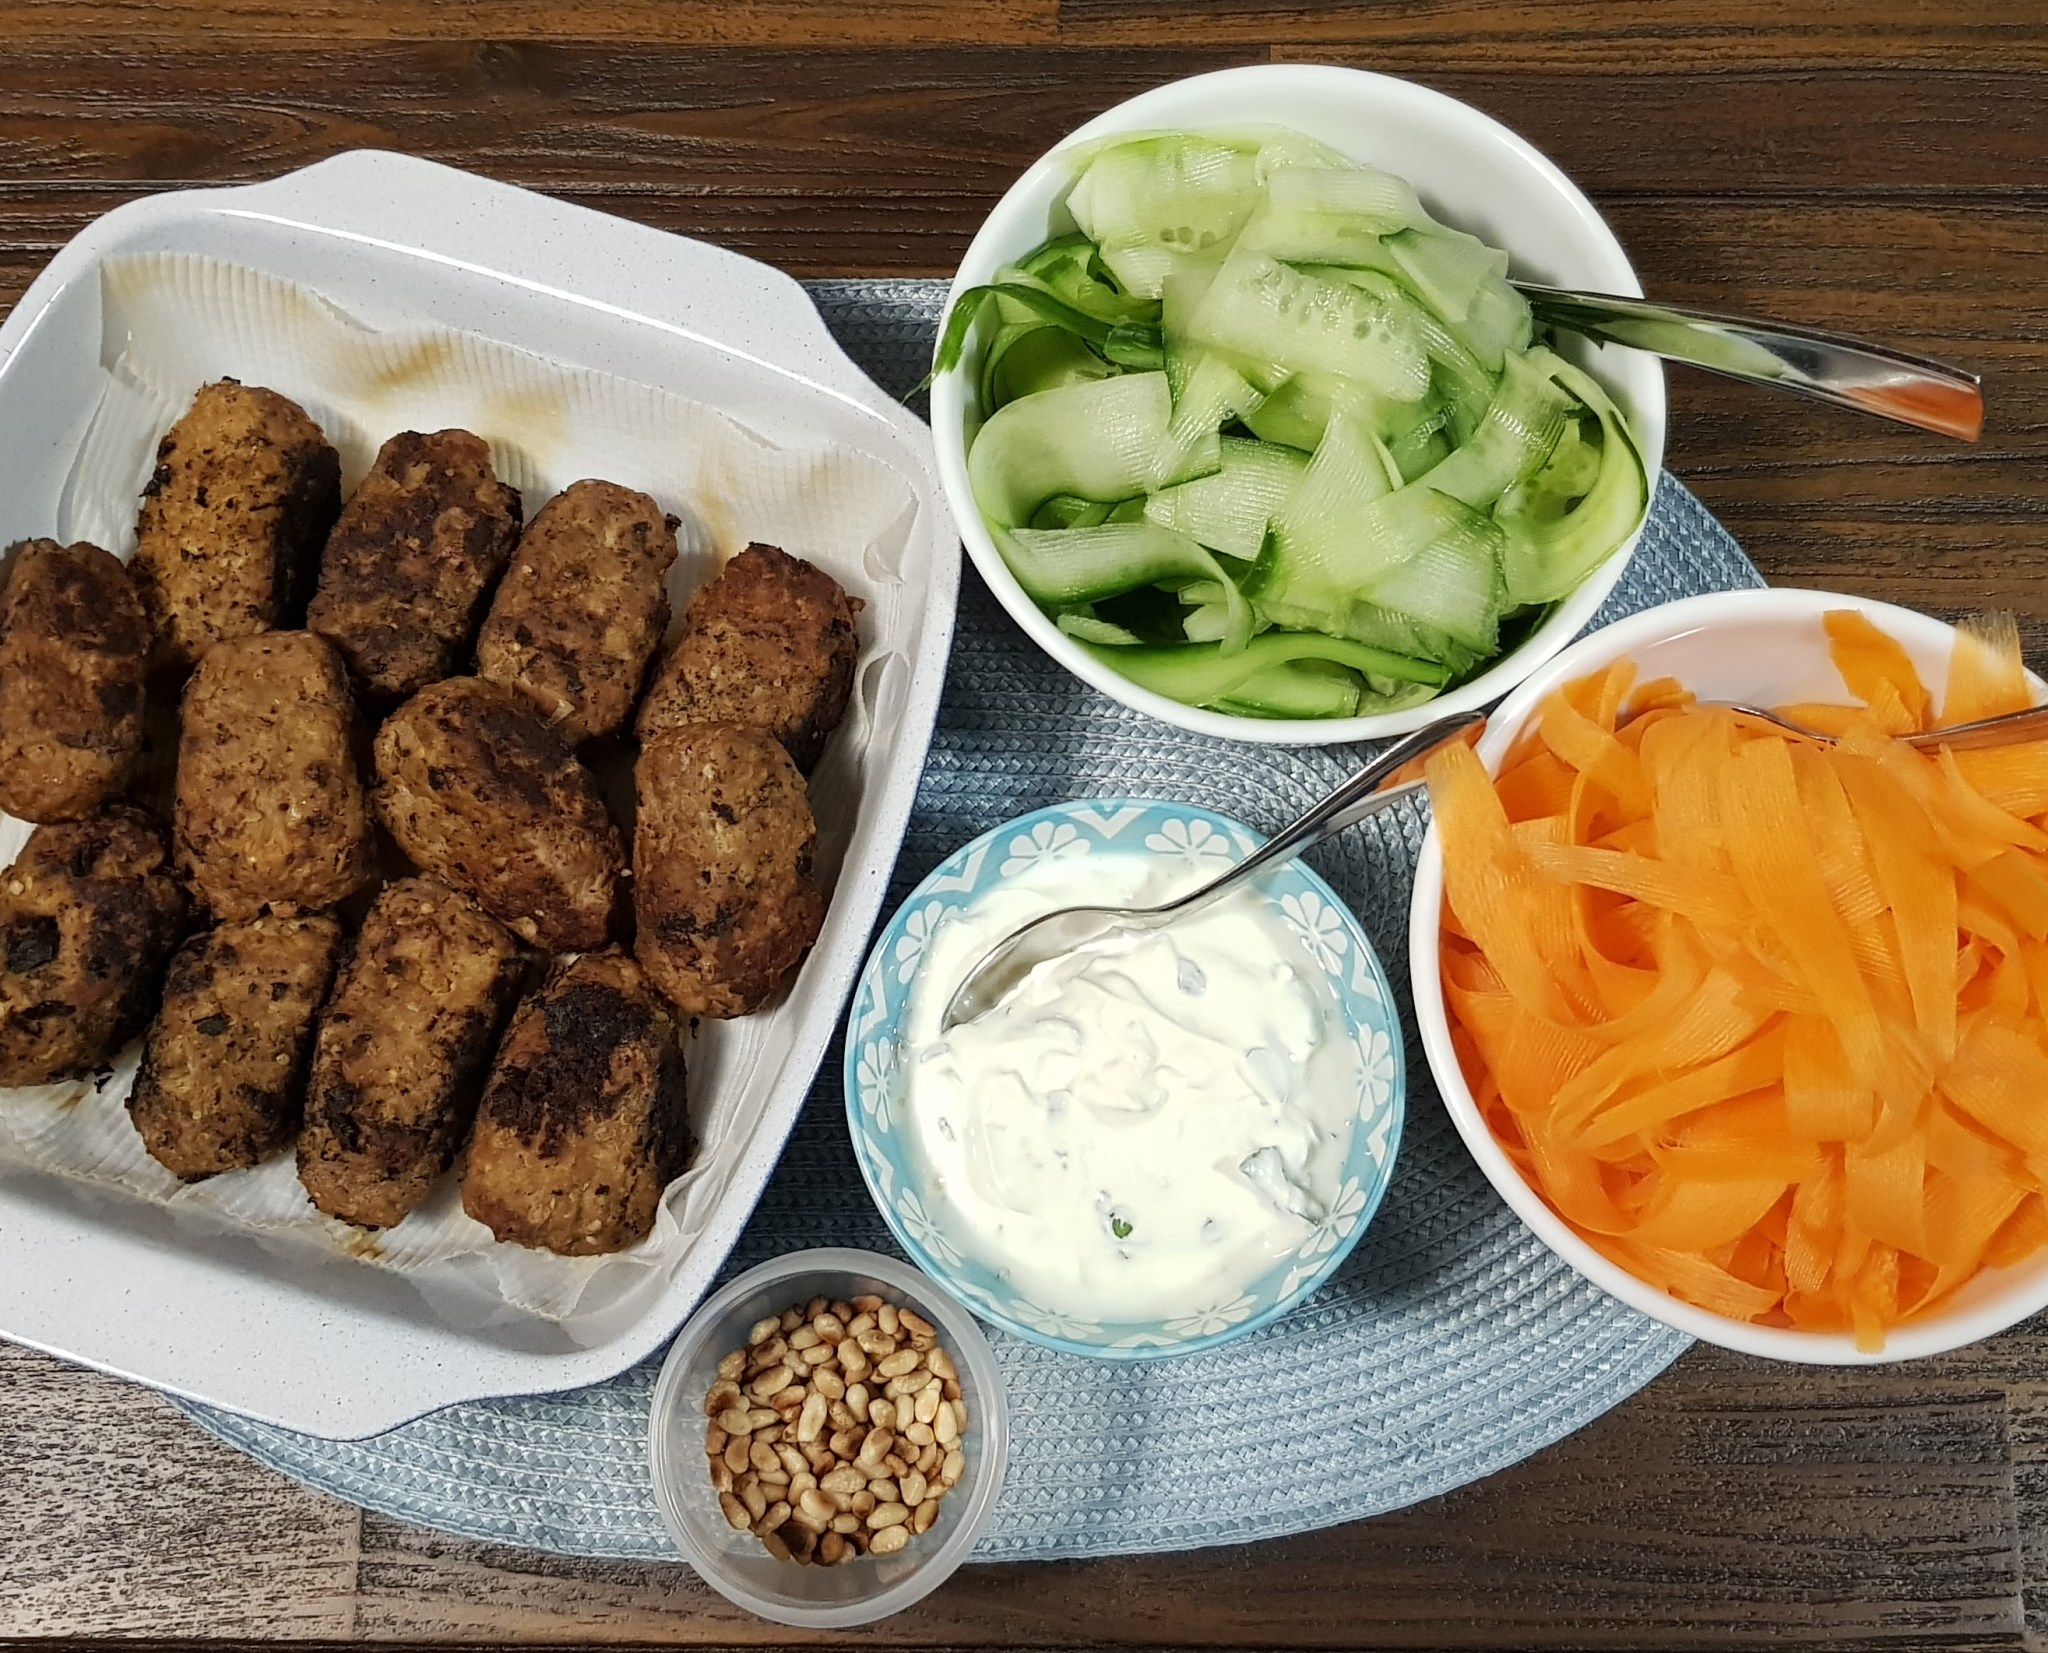
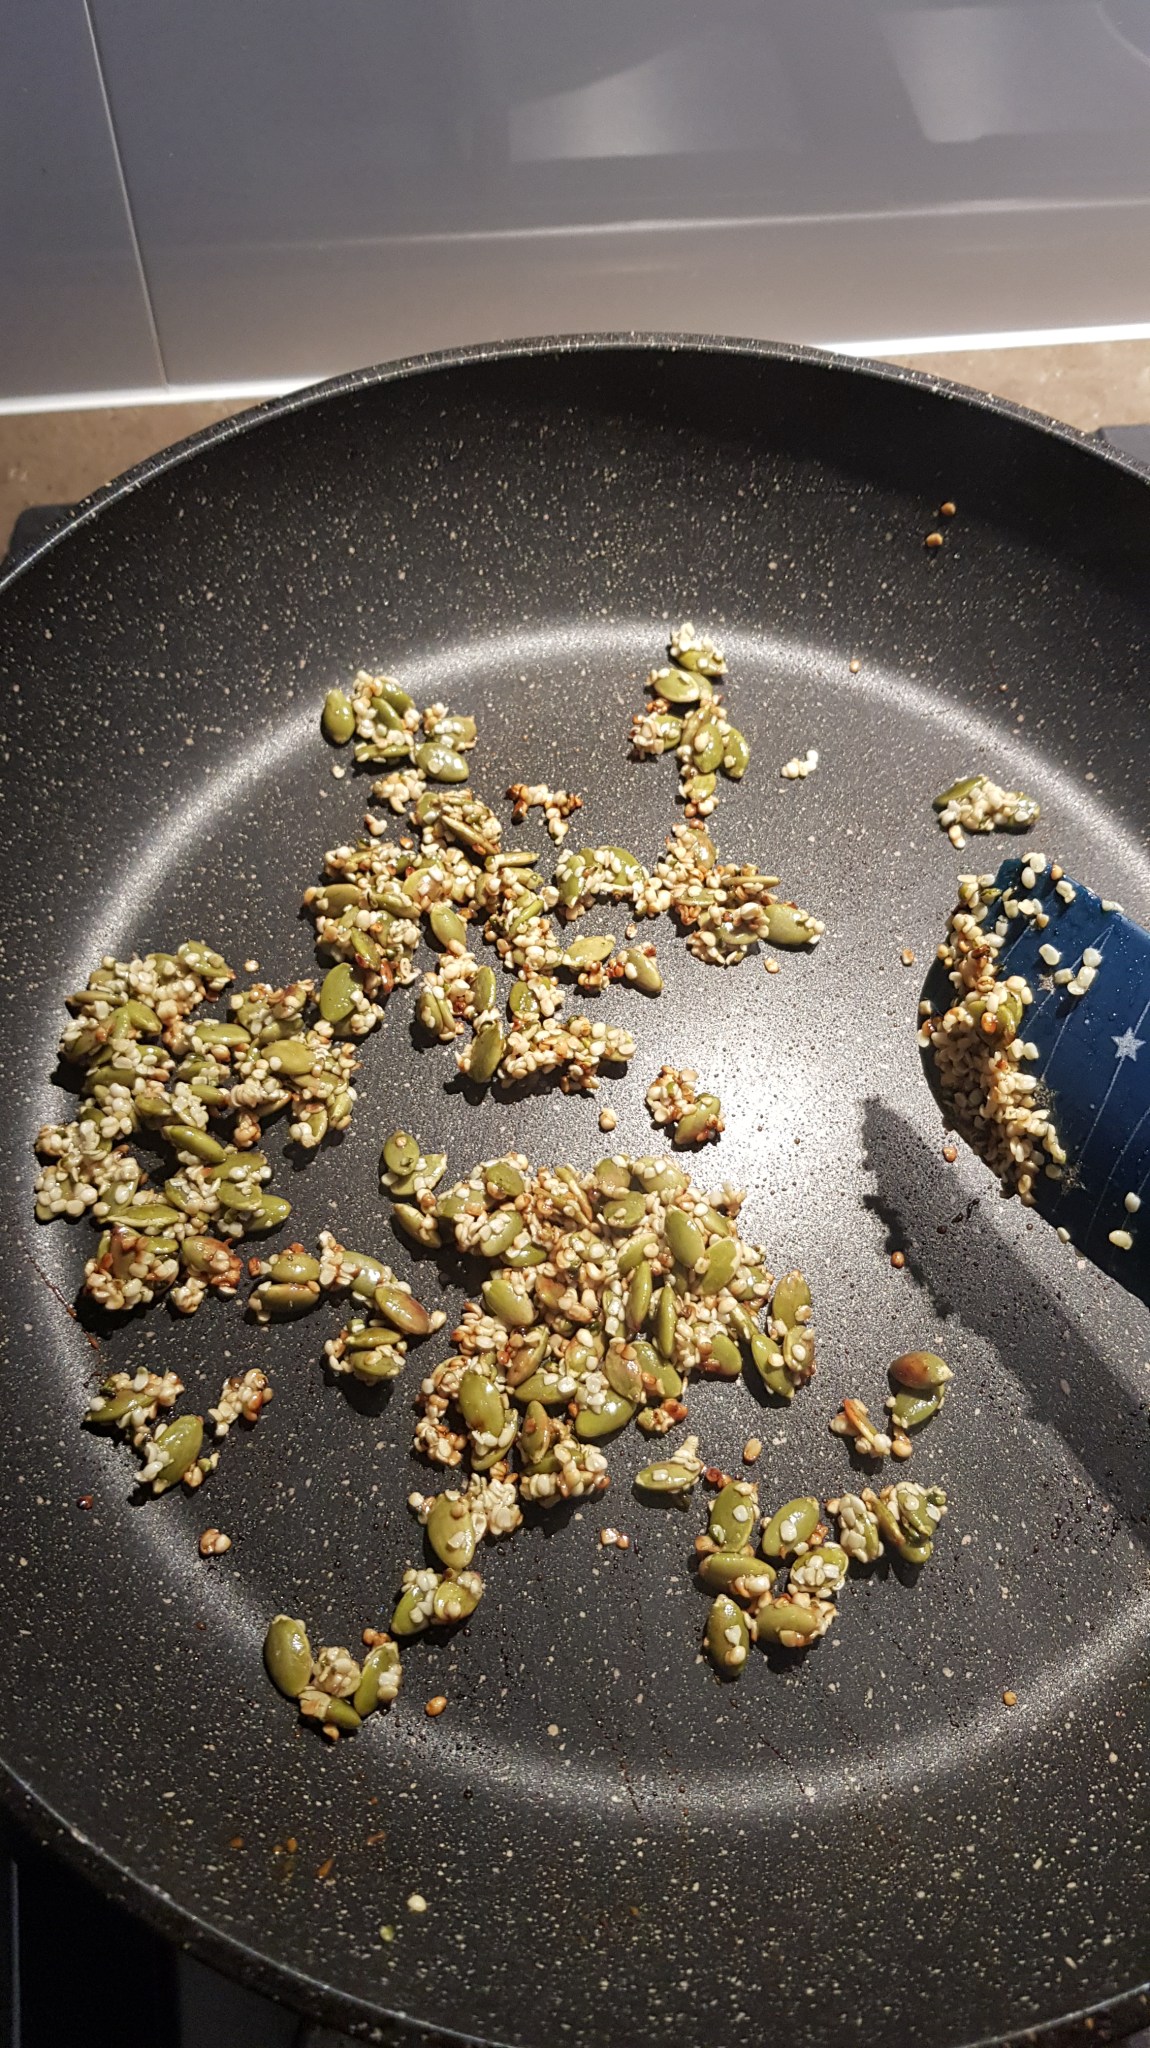
I love to serve mine topped with roasted pumpkin seeds and pine nuts (switch hemp seeds for nut free) …. Just pop the seeds in a hot, dry frying pan and cook, stirring, for a couple of minutes until they are golden brown. Sprinkle on the soup and if you want a little extra kick … sprinkle on a little pinch of chilli flakes!


Serves 12.
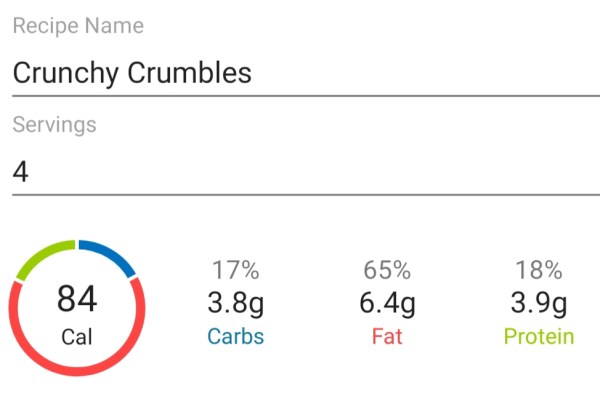
If Macros are important to you, here they are for 1 serve (roughly 2 ladles of soup) , worked out for the dairy based cream cheese – not including the seed topping.

This will last several days in the fridge, or it freezes and defrosts well.
Enjoy 🙂