

We all really enjoy chicken in our family, so I am always on the look out for new recipes that are cheap, easy and healthy.
I know that they are significantly cheaper than pieces, but I haven’t really cooked whole chickens much, partly perhaps because my Mum didn’t, but honestly, it is mostly because I didn’t want to make a mess in my oven!!! So when I heard people talking about how they cooked chickens in their slow cooker I was keen to experiment and we have now been cooking this way for years.
This is a super easy way to cook a chicken, the flavour is lovely and gentle and the meat is delightfully soft and just falls off the bone – which means my kids ate it really well. And I can make both stock and gravy from the left overs – such a win for the budget!! See below the main recipe for these recipes.
- 2 cloves minced garlic
- 1 lemon or lime
- whole chicken
- Optional – a few sprigs of thyme
Grate the zest off the fruit and set aside.
Wash the chicken inside and out and pat dry.
Cut the ends off the fruit and place inside the cavity, then place breast side up in the slow cooker.

Sprinkle the zest and garlic (and thyme) over the chicken, then place the lid on and cook on low for 6 hours.
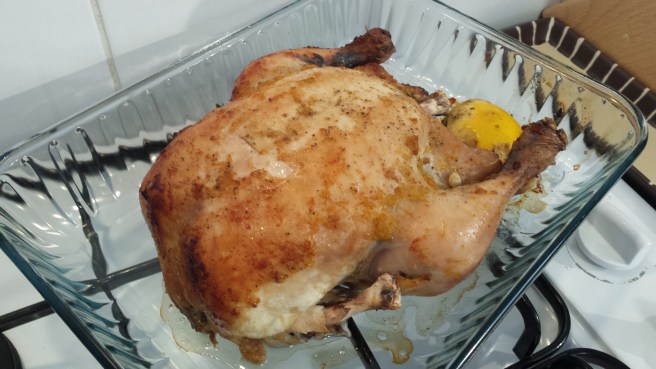
You don’t need to add a rack or any liquid as the chicken will cook in its own juices. It won’t have the browned crispy skin of oven roasted chicken but it is amazingly tender.

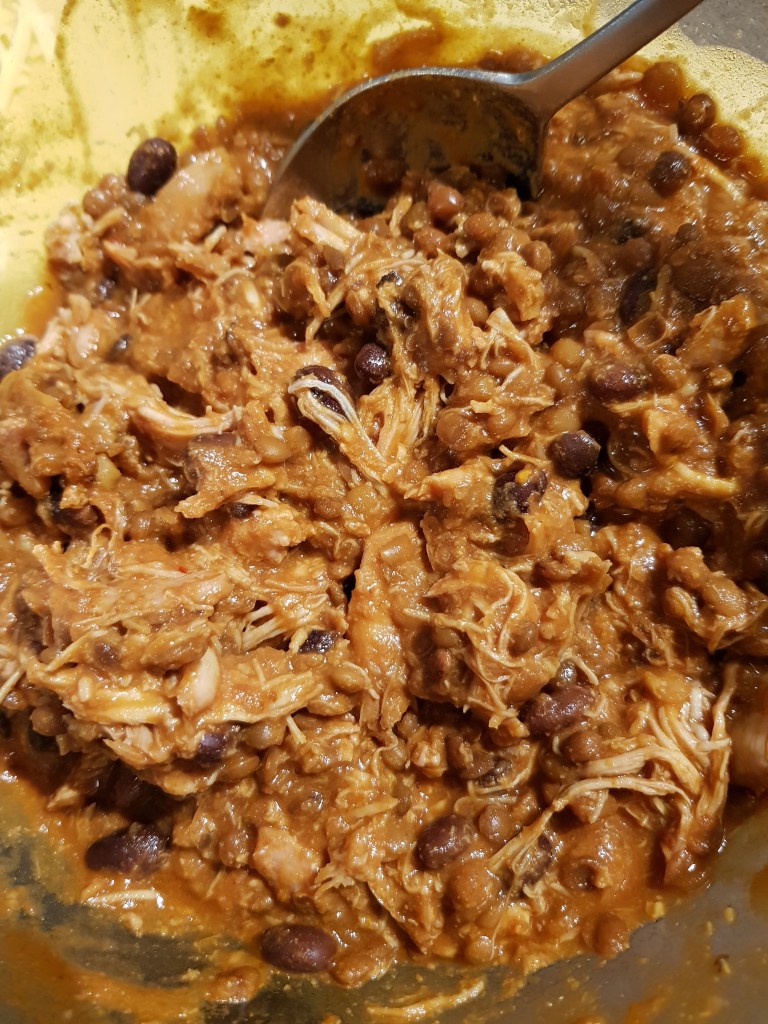
Allow to rest for half an hour before carving (or pulling apart with a fork like I did! 😉 )
To get the crispy skin of a traditional roast chook, transfer to a baking dish and place it into a preheated 240C oven for about 12-15 minutes.
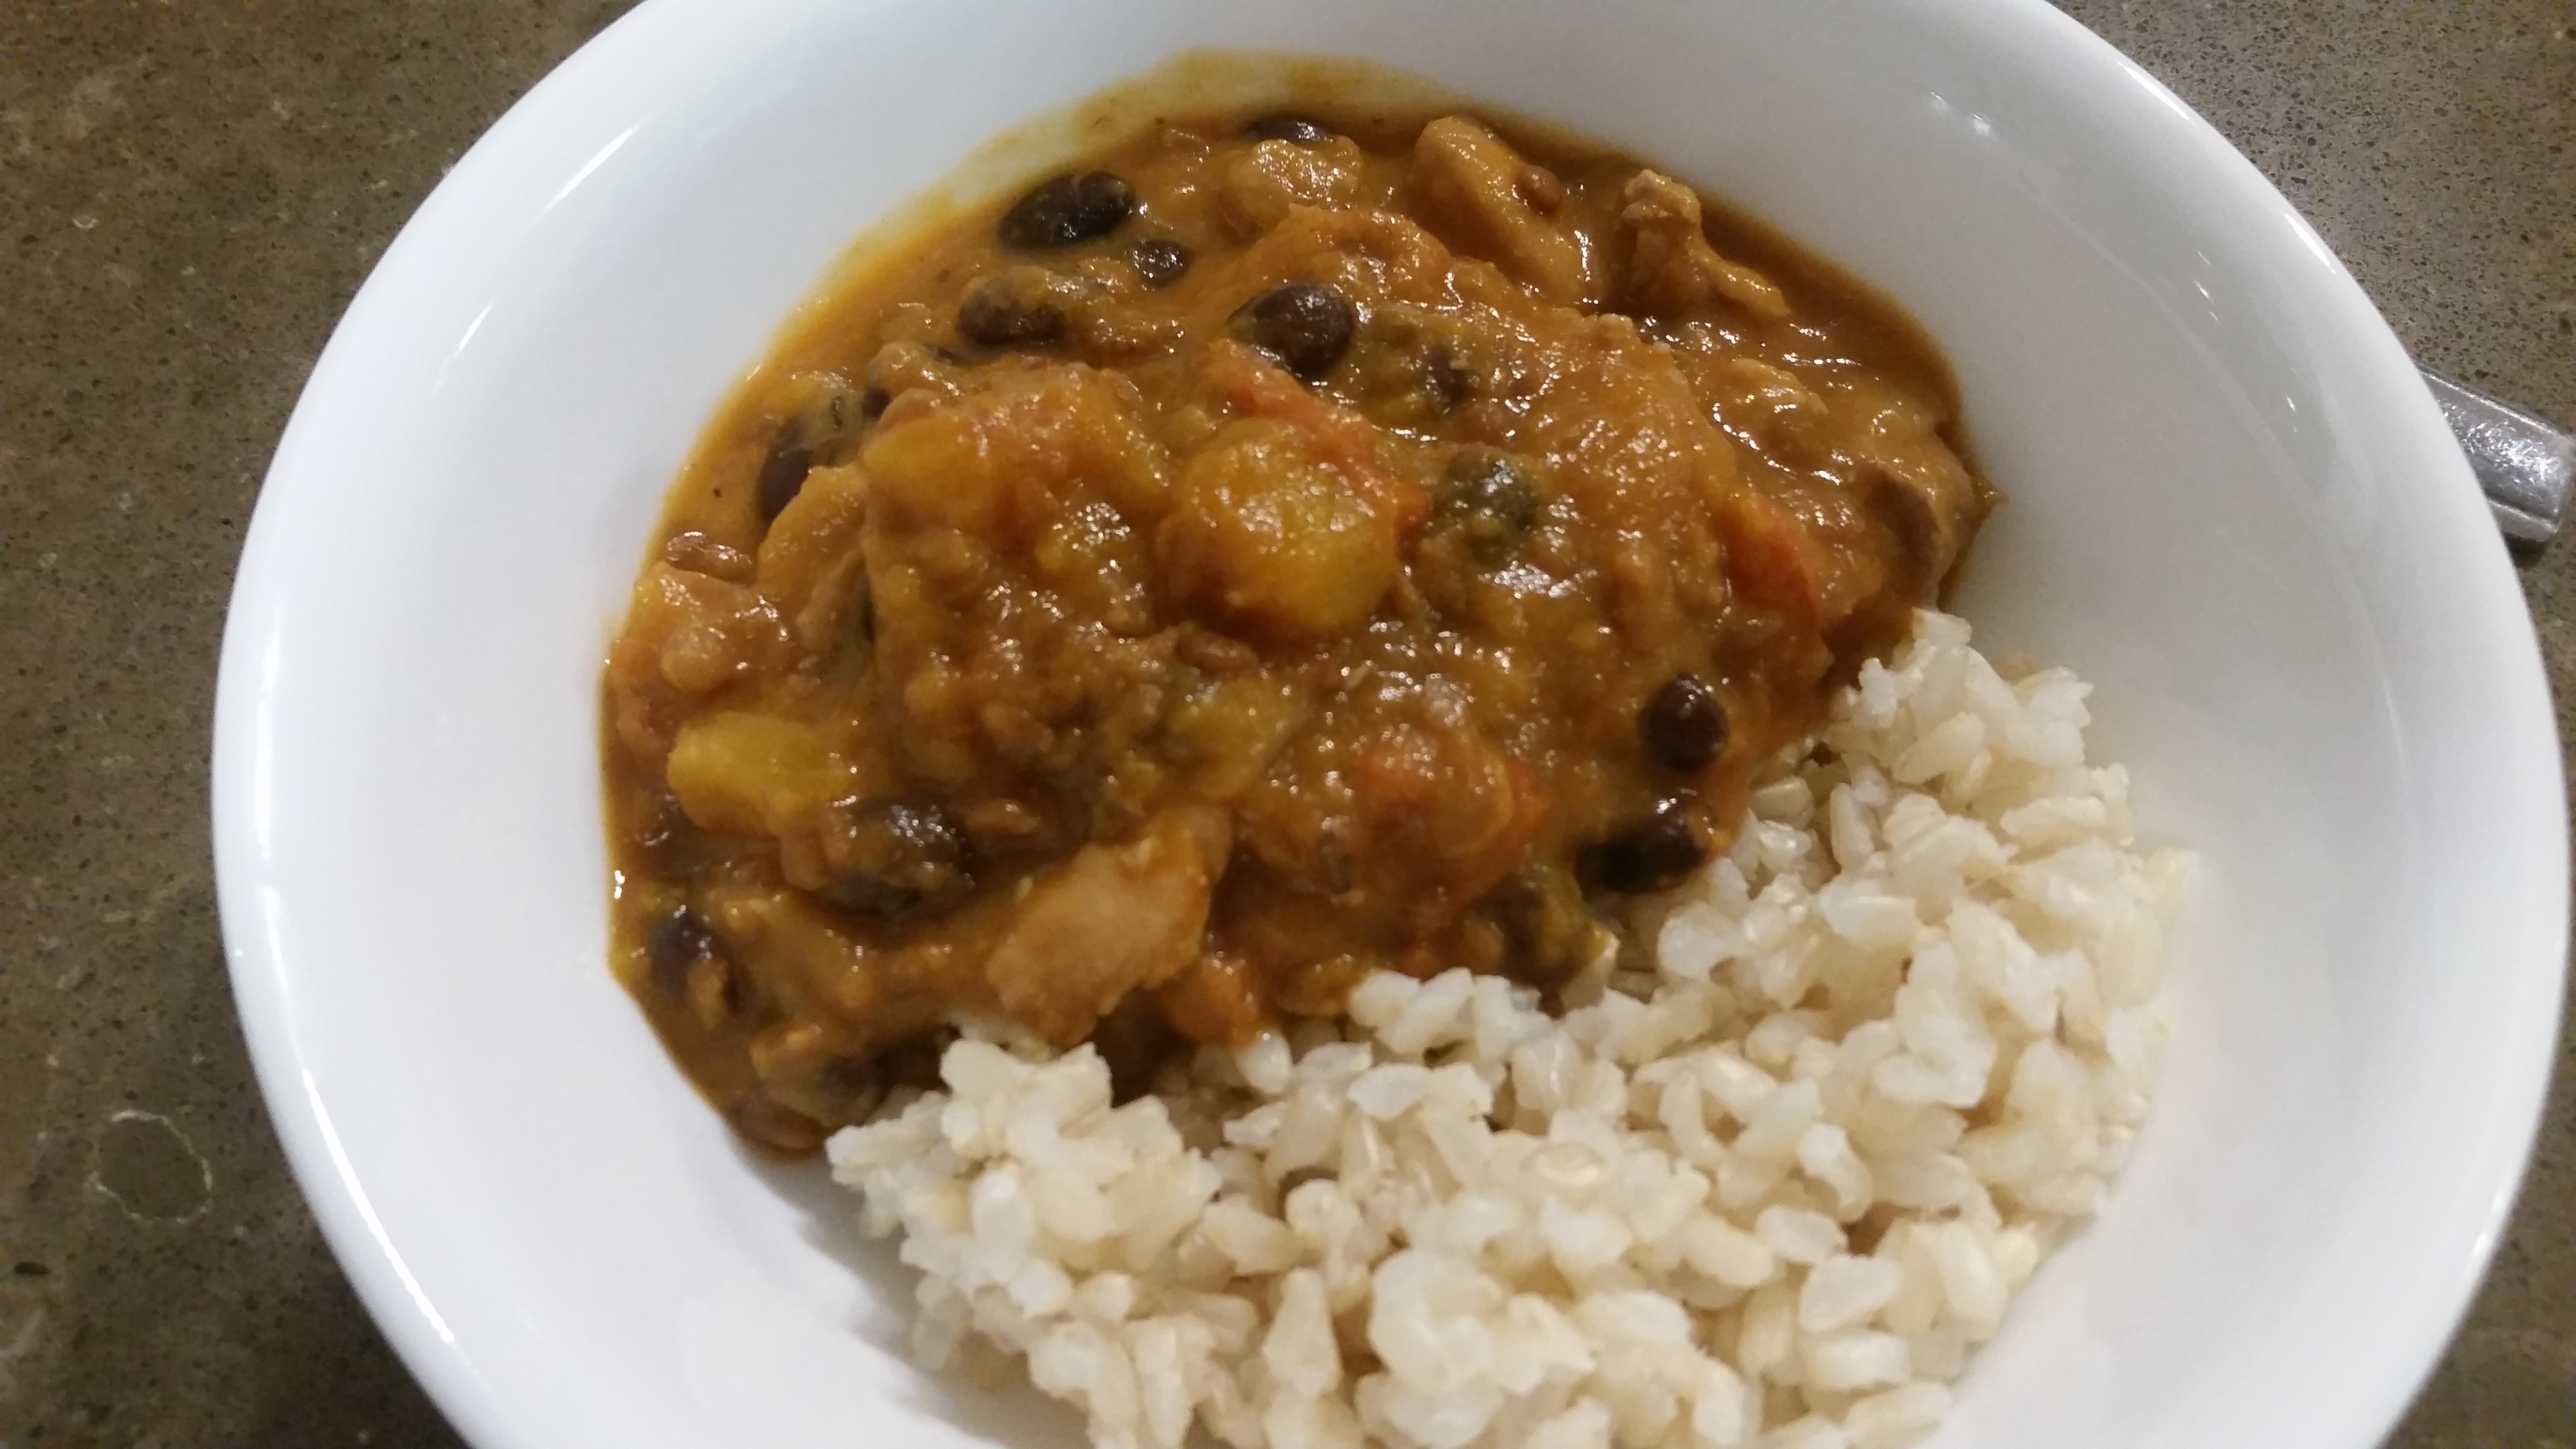
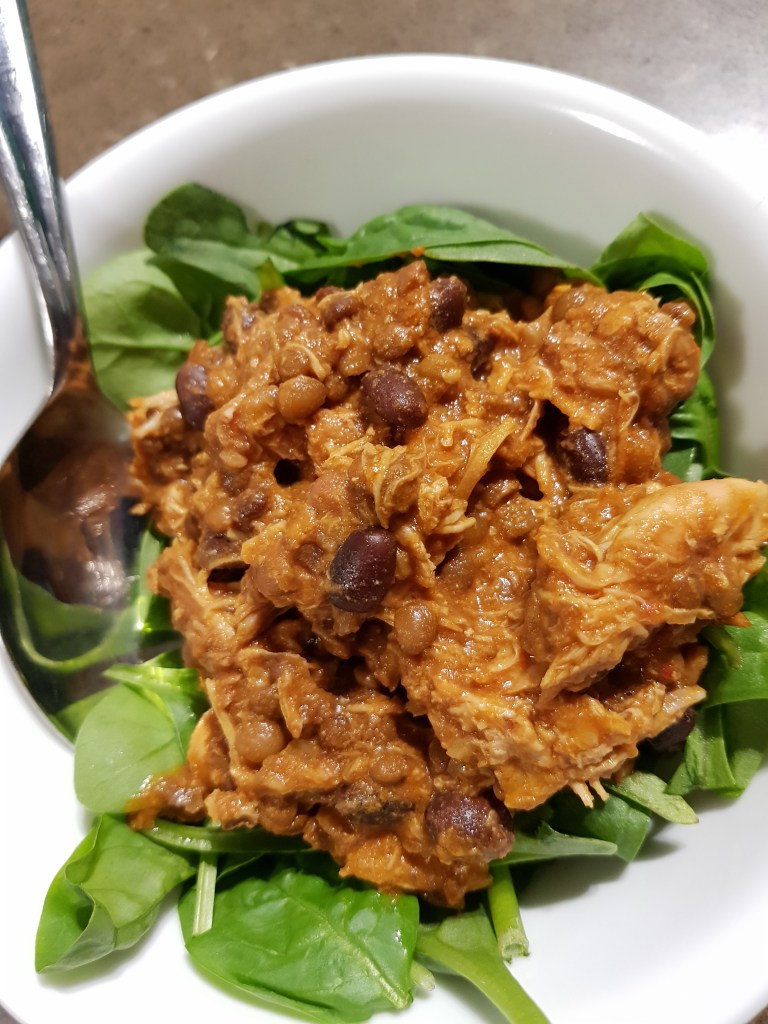
Serve with salad or veggies.
Enjoy!
If you are keen to use your chicken to the max, here’s an easy recipe for stock, using the carcass.
Remove the fruit from the cavity (or leave it in if you want to add a lemony flavour!), place the carcass in a large saucepan, add a pinch of black pepper and a couple of salt, a bundle of favourite herbs (I do rosemary and thyme from my garden), then add a roughly chopped brown onion, 2 carrots and 3 or 4 sticks of celery. Add enough water to cover the chicken (just over 2L for my saucepan), bring to the boil and then reduce the heat and simmer slowly for 1.5-2 hours. Strain the stock (just over 3 cups) and store for use in soup, risotto etc. Keeps well in the freezer for a month or two.
To make a delicious gravy for your chicken and make that dollar stretch even further….
Make a simple roux (1 tbsp of nuttelex and 1 tbsp GF flour), then gradually whisk in the juices from the bottom of the slow cooker. Yum!! The best part is that the flavours of your gravy will reflect and enhance the flavours of your chook!

Enjoy 🙂


