Sweet potato, quinoa and cranberry salad

Being that it is the school holidays, it must be time for our traditional family ladies lunch! I am so thankful for wonderful women in my family and being able to meet with them still ๐Ÿ™‚

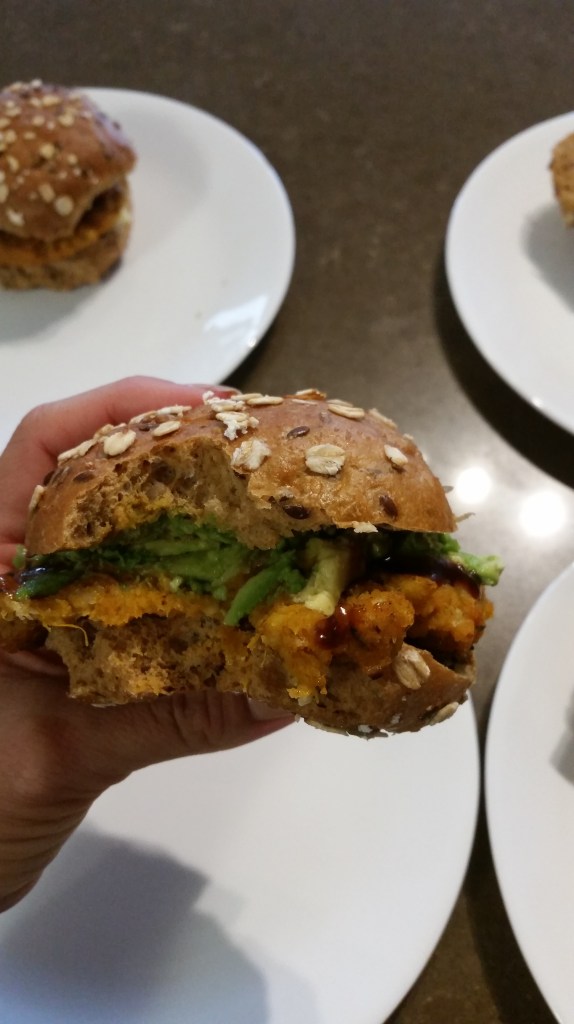
This was the delicious salad we shared …. Just quietly, I may have made extras so there would be dinner leftovers ๐Ÿ˜‰

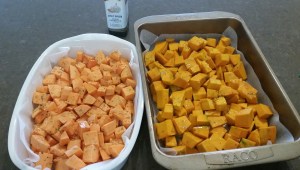
  • 1 medium gold sweet potato
  • 1/3 cup dried cranberries
  • 1/4 cup pepitas
  • 1 packed cups spinach
  • 1 cup quinoa (which ever colour you prefer)
  • 2L hot water plus 1 tsp stock powder
  • 1/2 large ripe avocado
  • 2 tbsp extra virgin olive oil
  • Pink salt flakes
  • Ground black pepper
  • 2 tbsp lime juice
  • 2 tbsp maple syrup
  • 2 tbsp aquafaba (liquid drained from a can of chick peas)*

*replace the aquafaba with water for legume free, the dressing will just not be quite as ‘fluffy’.

Soak the quinoa in a pot of water for 1 hour then drain and rinse it really well.

While the quinoa is soaking, heat the oven to 200C.

Peel the potato and dice it in to roughly 3-4cm cubes. Place them in a baking tray and drizzle with 1 tbsp of the olive oil and season with salt and pepper to taste. Place in pre heated oven and roast for about 45 minutes or until golden.

Remove the potato from the oven, add in the seeds, and toss to coat them, then return to oven for a further 10 minutes.

Cook the quinoa in the weak stock by bringing it to the boil and simmering gently for about 15 mins, the drain and set aside.

20180119_081621
All prepared in advance to take out with me

To make the avocado lime dressing, place the remaining tbsp of olive oil, the lime juice, pinch of salt, maple syrup, aquafaba (or water) into a blender/bullet/thermal cooker together the the avocado and blend until smooth and light (speed 4, 8 secs, scrape down, speed 5, 10 secs)

20180119_112304.jpg
So tart and creamy!

Chop the spinach, and fold it through the warm quinoa.

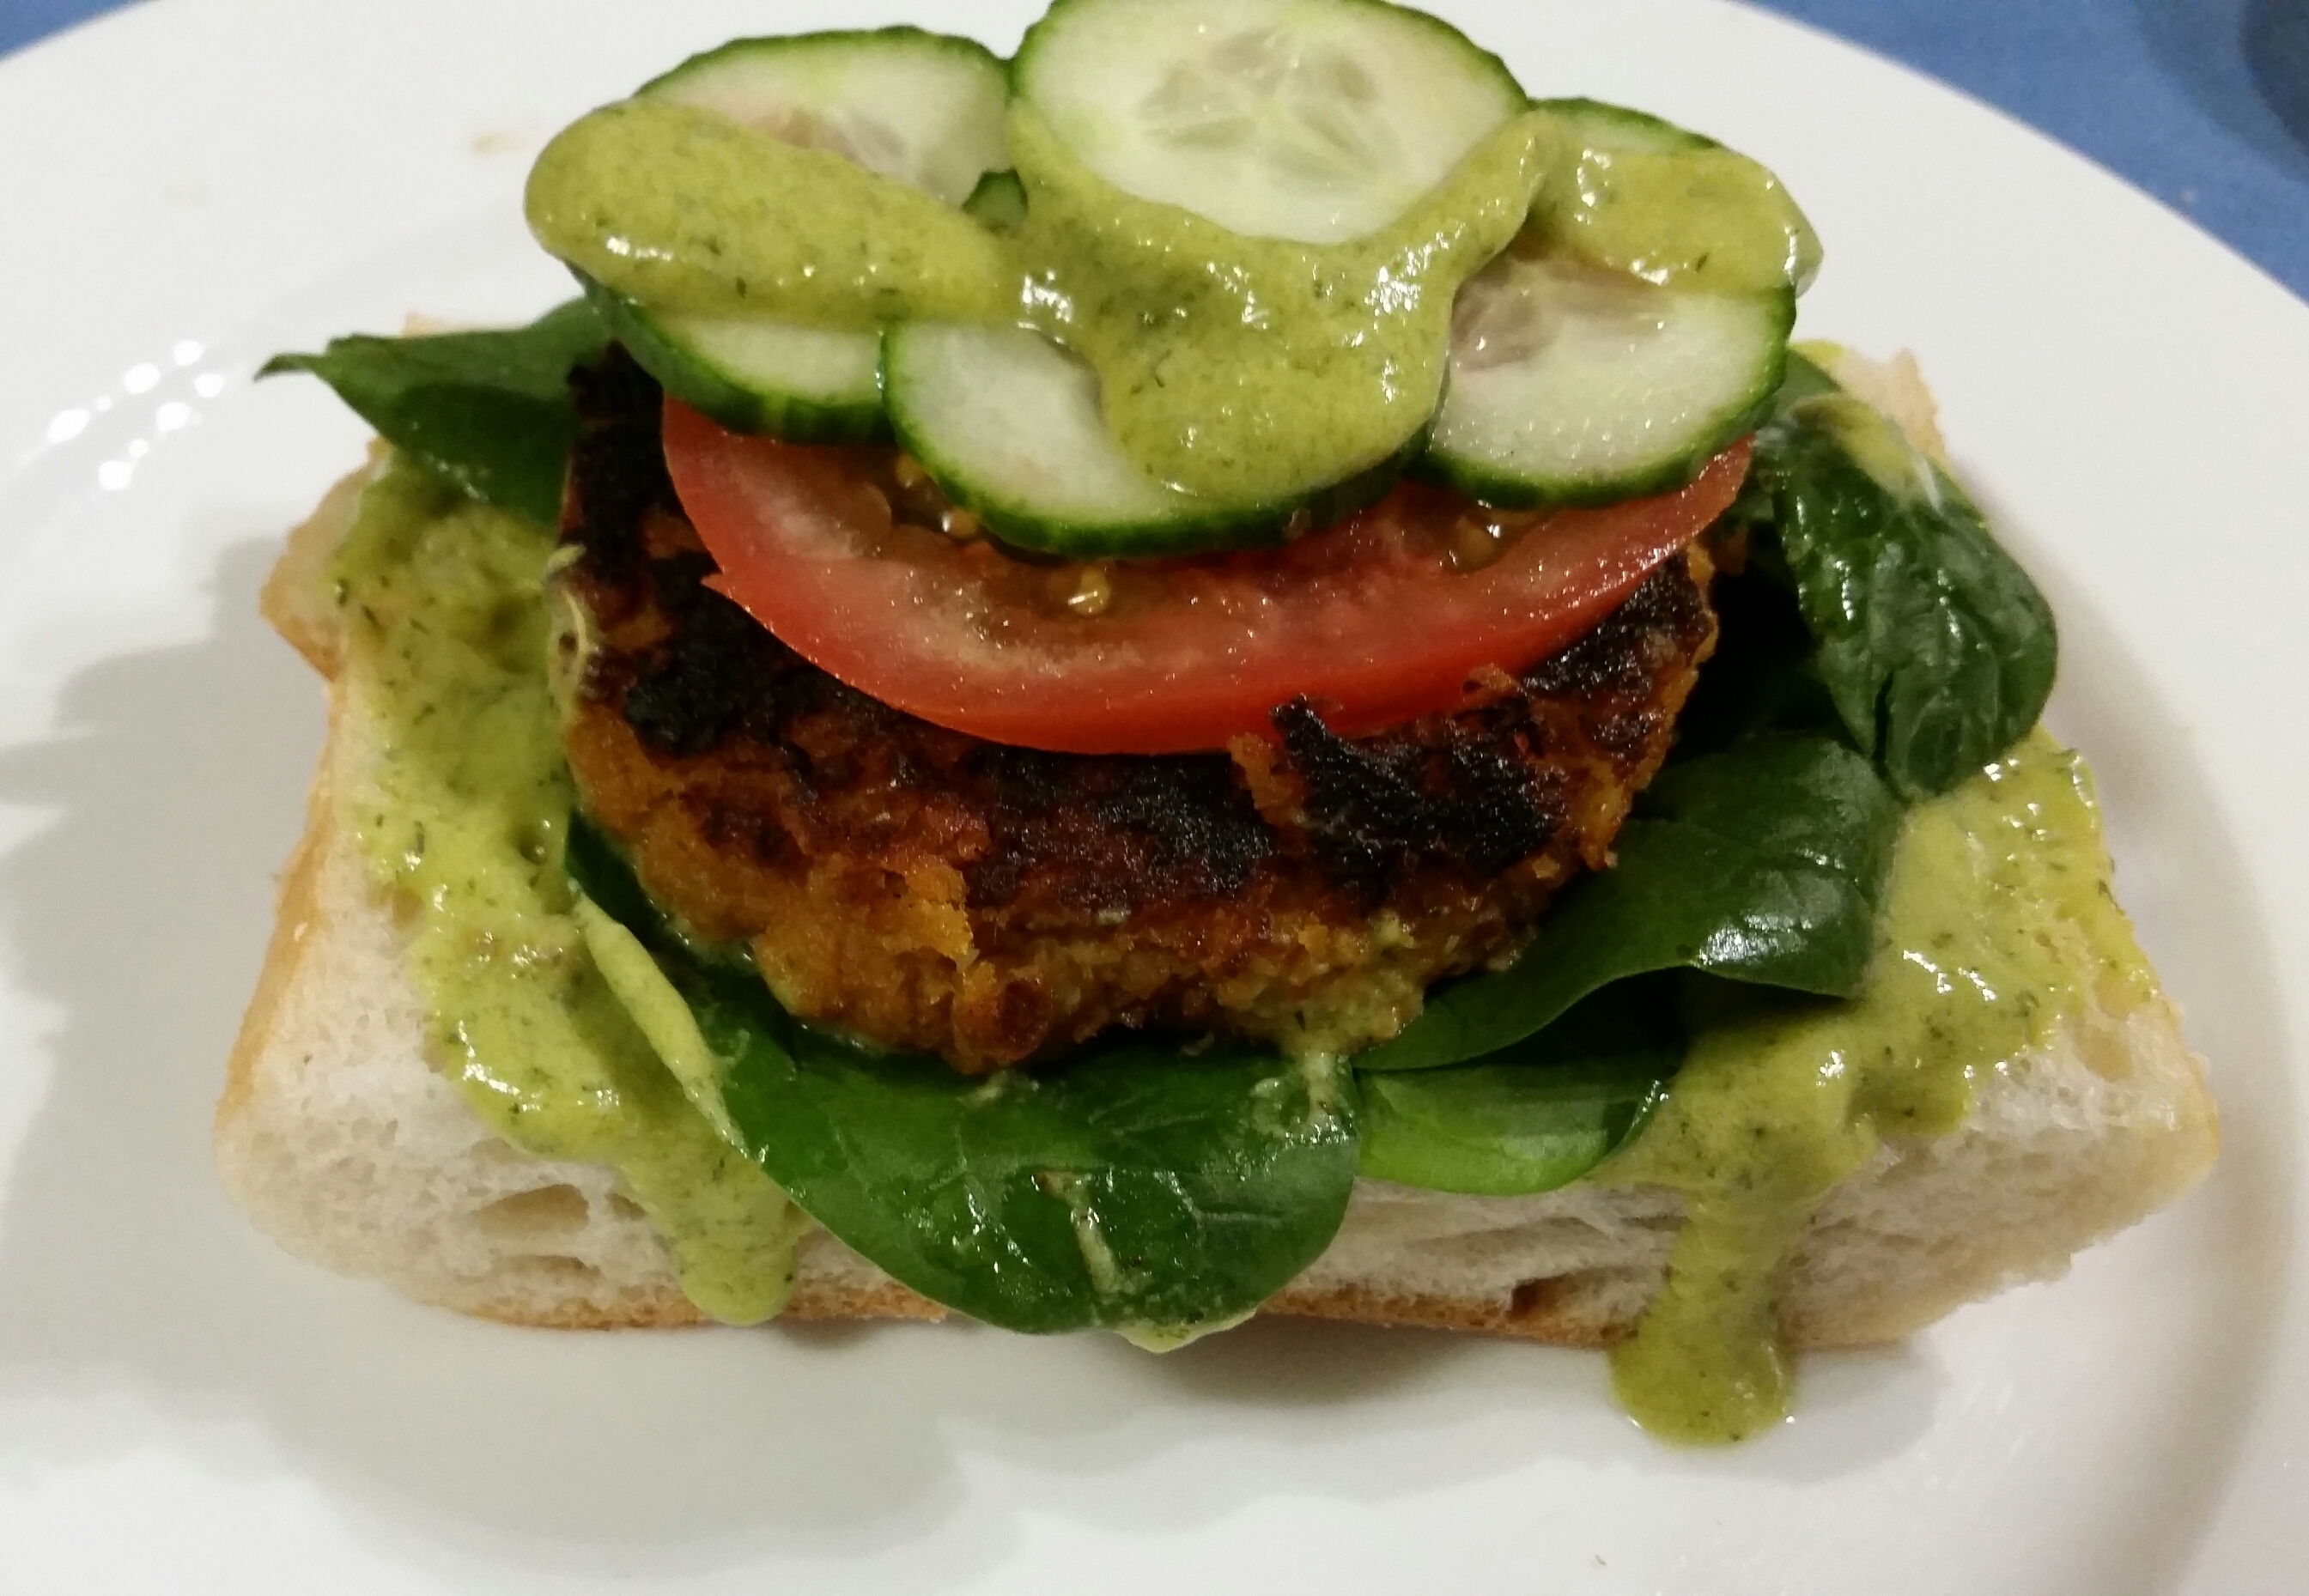
Top with the potato and seeds.

Drizzle the dressing over the salad and then sprinkle the cranberries over the top.

20180119_130424.jpg

Serve immediately and enjoy ๐Ÿ™‚

For a delicious variation on this dish we use pumpkin in place of potato, pomegranate seeds in place of cranberries and slivered almonds in place of pepitas.


Troll Scrolls

It really is all about the marketing with kids ๐Ÿ˜‰ how to get them to eat something green and with bits that are all bumpy? Call it something gross!

Continuing on with my need to use up what we’ve got in the fridge, pantry and garden because I can’t get to the shops, today’s lunch was a favourite – Troll Scrolls!!

I use the base of my yoghurt doughย then add lots of goodies to make these ones, green and bumpy (and extra nutritious).

  • 470g Spelt flour (or 420g GF flour together with 1tbsp psyllium husk)
  • 2.5 tsp GF baking powder
  • 1/2 tsp pink salt
  • 3 tbsp Nutritional Yeast
  • 3 heaped tbsp seeds (I use pumpkin, hemp and flax)
  • 300gย natural yoghurtย or soy/coconut yoghurt
  • 1 packed cup of spinach
  • Shredded Cheese of choice (we do both a dairy batch and a Bio Cheese Batch)

In your processor pulse the seeds until they are finely chopped.

Add in the other dry ingredients and process to combine (Speed 4, 8 secs). Then set the dry mix aside.

In your blender/processor/bullet/thermal cooker place the spinach and just 150g of the yoghurt. Blitz until very well combined (Speed 8, 10 seconds, scrape down and repeat) – it’ll look like a very unappealing milkshake at this point!

Add in the remaining yoghurt and process to combine (Speed 4, 6 secs)

Add the dry ingredients back to the wet and process until it forms a dough (Speed 5, 15 seconds),ย  knead together, dust with flour and roll out into a rectangle.

20180116_124727

If the dough is too sticky, add in 1 tsp of extra flour at a time and process to combine.

Top the dough rectangle with grated cheese, then roll into a cylinder.

20180116_124936

Cut into rounds and lay on a lined baking tray and place into a preheated 200C oven for 18-20 minutes until well risen and golden.

20180116_125349

20180116_130920.jpg

Freeze in an airtight container if you have any leftovers.

Enjoy ๐Ÿ™‚

Butter Bean Curry

For a number of years I have been making a version of my Vegan Sister in-laws “butter chicken” – I know …. butter chicken without the butter and without the chicken!!

Butter chicken would have to be one of my favourite curries, so I was delighted to try out her recipe.

You can check out her version hereย 

I have adapted her recipe to avoid the things we are are unable use – sometimes I also add in the meat that my husband and daughter so love (you can find that addition below the main recipe). I love being able to use lots of our garden produce in this – home grown onion, garlic, chillies and broad beans! It makes a large batch โ€“ enough for 2 meals for all 6 of us. It freezes and thaws well so we have an easy ‘take away’ meal on hand for crazy nights!

  • 1 tbsp olive oil
  • 1 tsp coconut oil
  • 1 medium brown onion, finely diced
  • 1/2 tsp cinnamon
  • 1/2 tsp tumeric
  • 1 heaped tsp paprika
  • 2 tbsp ground coriander
  • 1 tsp ground cumin
  • 1/3 tsp ground cloves
  • 2ย cloves crushed garlic
  • 3 tsp finely grated ginger
  • 1 1/2 tsp very finely diced red chilli
  • 500g tomato pasata
  • 150g sliced buttonย  mushrooms
  • 2 x 400g tins butter beans, drained and rinsed
  • 270ml coconut cream (plus the tin filled up again with hot water)
  • 150g sunflower seed butter

In a large, heavy based frying pan, heat the oil over a medium heat and add in the onion. Fry until the onion beings to turn translucent.

Add in all of the dry spices and fry for a further minute.

Add in the garlic, ginger and chilli and fry, stirring well, until all combined and fragrant.

Add in the pasatta, deglaze the pan and stir well to combine.

Add in the mushroom and beans, stir well.

Add in the coconut cream, water and seed butter and stir until the mixture is well combined and smooth.

Bring to a simmer for about 15 minutes, stirring occasionally.

Serve over rice.

If you would like a meatier version of this meal you will need:

  • 1 tbsp garlic infused oil
  • 4 skinless chicken thighs, diced
  • 1/2 tsp paprika
  • pinch of salt and pepper.

Before the above steps, heat the oil in the pan and add in the chicken. Season and fry until golden brown and cooked through. Remove from pan and set aside.

Return the chicken to the pan in the last minute or 2 of the simmering time.

Enjoy ๐Ÿ™‚

Roasted Pumpkin Cannelloni

Each month when I sit down to write out our menu I ask the kids for input.

Invariably Ellie says ‘Calamari’, George yells ‘Pizza’, Harry yells ‘Everything Mexican’ and Will suggests Fried Rice and lots of veggies.

But this time Will surprised me.

He asked for ‘those long, fat, hollow noddles that you put stuff in and have sauce on top’ ๐Ÿ™‚ So here … with the more fancy name of Cannelloni…. was my interpretation of his request!!

  • 800g butternut pumpkin
  • 400g tin chick peas, drained and rinsed
  • cannelloni tubes (we used the San Remo GF ones)
  • 2 tbsp garlic olive oil
  • 2 tsp fresh chopped rosemary
  • 1/2 tsp pink salt flakes
  • 1/3tsp ground nutmeg
  • 400ml tomato passata
  • 1/2 cup warm veggie stock
  • 2 large handfuls spinach
  • 2 tbsp nutritional yeast
  • 2 tbsp coconut cream
  • 2 tbsp pumpkin seeds

Peel and dice the pumpkin and place in a large baking pan. Drizzle with the olive oil, sprinkle with the salt, nutmeg and rosemary.

Bake in a pre-heated 200C oven for about 40 minutes.

Remove tray from oven and add in the chick peas, toss them with the pumpkin and return to the oven for a further 15 minutes.

Remove from the oven and turn oven down to 180C. Mash the pumpkin and chick peas and then place into a piping bag.

20171128_071120

Fill the cannelloni tubes with the pumpkin mix an then lay in a baking dish.

20171128_072736

In a blender/processor/bullet/thermal cooker, place the passata, spinach, nutritional yeast, stock and coconut cream and process until smooth.

Pour the tomato sauce over the top of the filled cannelloni and sprinkle with pumpkin seeds and return to the oven to bake for 30 minutes.

20171128_125543

20171128_140251.jpg

Slice and serve hot.

20171128_174244.jpg

Enjoy ๐Ÿ™‚

Date and Oat Hotcakes

Hotcakes are a regular feature on our breakfast menu – especially on the weekend when we have a little more time together.

I have made lots of different versions over time, Vanilla Almond hotcakes have been our standard, but these one are free of any oil or butter and the mild sweetness comes only from fruit. A great source of fibre and they’ll fill you up and keep you fuelled for ages!

The kids love them and they freeze really well, so they are great to pop into lunchboxes.

This recipe makes a large batch …. I have given up on making batches that are any smaller since they are so quickly demolished here and I never wind up with any left overs to freeze. This makes 45-50 hotcakes. But go ahead and halve the recipe if you don’t have quite as large a hungry hoard to feed!!

  • 3 cups, wholemeal spelt flour OR 2 1/2 cups plain GF flour mix
  • 1/2 cup seeds or nuts of choice
  • 1/2 cup rolled oats OR quinoa
  • 4 tsp GF baking powder
  • 8 medjool dates, pitted
  • 1 overripe medium banana
  • 1 tbsp sunflower seed butter
  • 2 3/4 – 3 cups milk of choice (we like unsweetened vanilla almond)
  • 1/2 cup boiling water
  • 1 tsp vanilla bean paste
  • butter of choice to serve

Place the dates in a small container, cover with the boiling water and add the vanilla. Set aside.

In your processor/blender/bullet/thermal cooker, place the seeds and oats and blitz until fine (Speed 9, 10 seconds).

Add in the baking powder and flour and mix again until well combined (Speed 5, 12 seconds).

Pour out dry mixture into a large bowl and set aside.

In your processor/blender/bullet/thermal cooker, place the dates and water, banana, seed butter, milk and blend, blend, blend until very smooth (Speed 7, 10 seconds, scrape down and repeat). Start by using the smaller amount of milk.

Pour the wet mix into the dry mix and whisk together until smooth*, if the mixture is too thick, add in the remaining amount of milk and whisk in.

*This whole mixture is too much for the bowl of a thermal cooker. But if you are making a half batch, at this point just add the dry mixture back into the wet mixture that is still in the bowl and mix on speed 4, scraping down every 10 seconds until it is well mixed and smooth.

Pour the batter into a hot, lightly greased frying pan, wait until bubbles appear on the surface, then flip and cook until both sides are golden brown.

20170930_082119

20170930_084702-1

Top with butter of choice and serve.

20170930_084814-1
That’s a biiig stack!!

Enjoy ๐Ÿ™‚


Foil baked Thai Salmon

We love salmon here so we’re always looking for different ways to enjoy it … And this simple, low mess way was a huge success!

Hope you like it as much as we did!

  • 2 fillets de-boned salmon (ours were roughly 140g ea)
  • 2 tbsp coconut aminos
  • 1 tsp garlic olive oil
  • 1 tsp red Thai paste
  • 1 small lime
  • 1/2 tsp sunflower seed butter (or peanut butter)
  • 2 tsp coconut cream

Preheat oven to 180C.

Lay salmon, skin side down on foil sheet.

Mix together the aminos, oil, thai paste and the finely grate zest and juice from the lime.

Spoon over the salmon and then close up the foil making sealed packets around the salmon.

20170906_174141

Place in the oven and cook for 15-20mins or until just cooked through (thickness of the fillets will impact the cooking time).

Remove from oven and pour juices from foil packets into a small bowl, add to the hot juices the seed butter and coconut cream.ย Stir well, until smooth and well combined.

20170906_181508

Serve the salmon with steamed veg of choice, drizzled with the creamy sauce.

20170906_182229.jpg

Serves 2.

Enjoy ๐Ÿ™‚


Veggie Burgers

I have mentioned before that I am really not a fan of minced meat. I have managed to teach myself to eat it in some family meals but, eating a beef patty in a burger is something I’d prefer to skip if I can!!

So, especially as we seek to eat less meat and increase our plant based options wherever we can, these delicious patties have become our go-to option!ย 

  • 1 medium, peeled and diced Sweet potato, about 500g
  • 1/2 a medium butternut pumpkin, peeled and diced, about 500g
  • 400g tin Chick peas, drained – Butter beans also work well.
  • 1 tbsp Garlic olive oil
  • 1/2 tsp salt
  • 2 tsp finely diced fresh herbs (think Italian Style herbs – I mostly use rosemary and thyme)
  • 1/2 cup Nutritional yeast
  • 1/3 cup hemp seeds
  • 3 tbsp flax meal

Place the sweet potato and pumpkin in a lined baking dish and drizzle with garlic olive oil.

20171014_071712-1

ย 

Bake in a preheated 200C oven for about 60 minutes.

Place the chick peas or beans in a bowl and cover them with boiling water to soften for about 10 minutes.

Remove veggies from oven and transfer to a bowl appropriate for mashing.

Drain the chick peas and add to the veggies before mashing all together.

Once mashed, sprinkle over the flax meal, nutritional yeast and hemp seeds and stir in well and allow to sit for 10 minutes.

20171014_085418

Form into balls (roughly the size of a tennis ball), then squash into patties and place into the fridge for at an hour (but overnight is fine too).

20171014_085350

Heat some olive oil in a heavy based pan, or on the BBQ and place patties in the oil.

Cook over a medium heat (so that the outside doesn’t burn before the inside is cooked!) about 4 minutes on each side or until golden brown.

We like to have them in burgers together with salad and my Creamy Avocado Dressing. Or even just with lots of avocado.

20171014_172729

The kids like their to have a slice of cheese melted onto the top of them under the grill before going into their burgers …. and Peter prefers his with a little bacon!

20170612_173718-1

20170612_174048-1

Makes 6 large patties.

These patties work well cold the next day too – in another another bun or with a plate of salad or steamed green veg.

Enjoy ๐Ÿ™‚

Warm pumpkin salad

I love my salads … but as the cooler weather comes, they don’t quite hit the spot like they do in Summer.

This is a great way to be able to enjoy salads all year ’round!

  • 1 kg butternut pumpkin
  • 400g can chick peas
  • 2 tbsp garlic olive oil
  • 2 sprigs fresh rosemary
  • 1 tsp pink salt flakes
  • 4 large handfuls of baby spinach
  • 1 tbsp balsamic vinegar
  • avocado to serve

Dice the pumpkin and toss it in the olive oil. Place it in a lined baking tray and sprinkle with the rosemary and salt.

20170322_061005

Place in a preheated 200C oven for about 45 minutes.

Add the chick peas to the pumpkin and mix in well to coat in oil. Return to oven for further 15 minutes.

Remove from the oven and drizzle with the vinegar.

Then add in the spinach and mix well so that the leaves are coated.

20170502_152041

Serve into bowls and top with avocado.

20170502_152242

Enjoy ๐Ÿ™‚

If you are going to eat this one over a couple of days, store in an airtight container in the fridge ย leave the avocado off so that you can warm the salad before adding fresh avocado each day.

Crunchy granola

I love granola!

It always seems like such a cafe style, luxurious breakfast item to me. I am not really keen on the store bought variety though because as well as being expensive, they also tend to be loaded with oils and sweeteners (and coconut … why?!).

Well – here’s a way to enjoy your granola that’s kinder to your pocket and to your body!

  • 2 1/2 cups rolled oats (use puffed rice or quinoa flakes for the GF option)
  • 1 cup chopped nut or seeds of choice (today I did almond, hazelnut and pepita)
  • 1 tbsp Date Paste OR maple syrup
  • 1 tbsp extra virgin olive oil
  • 1/4ย  tsp salt flakes
  • 1/2 tsp mixed spice
  • 2 tsp sunflower seed butterย (or other nut butter that suits)
  • 1 tsp vanilla bean paste

In a small saucepan mix together the date paste/syrup, oil, seed butter, salt, spices and vanilla.

Stir over low heat until just melted and well combined (Speed 2, 90C, approx 2 mins).

In a large bowl mix together the oats and nut/seeds until evenly combined (Speed 4, 8 seconds).

20170501_061754

Add the wet mix into the dry and mix until evenly coated (Speed 3, 20 seconds).

20170501_061915

Pour onto a lined baking tray and spread out into a thin, even layer.

20170501_062213

Place into a preheated low oven (approx 140C) and bake for 30 mins.

Allow to cool. If you prefer not to have clumps in your granola, stir it around as it cools to avoid any sticking together.

20170501_065334

Store in air tight container and use as you would any cereal … add milk to it, or as a topping for your yoghurt. Or, I use this as the filling in my baked pears/apples.

20170501_070351-1

Why not add in some toasted coconut, if that’s your thing, or a handful of dried fruits if you’d like a sweeter version?

Enjoy ๐Ÿ™‚

Mighty pasta sauce (aka Cheesey ‘mato pasta)

I feel like I’m giving away family secrets here …. Sorry Mum!

When my brother and I were little, if Mum and Dad were going out and we were having a babysitter come over (which wasn’t often I should add!) we’d always have an ‘easy meal’ … read; Fish fingers or Cheesey tomato pasta.

Cheesey Tomato pasta was my favourite …. a bowl of spaghetti with a tin of condensed tomato soup stirred through it and a handful of cheese sprinkled over the top so that it would melt as you stirred it …. kid heaven!

Well, these days, our family diet doesn’t look much like that but there are (many!) still times when an ‘easy meal’ is required …. “cheesey ‘mato pasta” as it has become known in our house, is a hands down winner. Inhaled every time. Full tummies and a happy, easy dinner time – there’s a lot to be said for that!!

Check out the end of the recipe for a modification to also use this as a great pizza sauce!

  • 1 small butternut pumpkin (roughly 800g before peeling and seeding)
  • 1 400g tin kidney beans or butter beans, drained
  • 100ml coconut cream (we use the Aayam brand)
  • 1 cup tomato passata
  • 2 tbsp tomato paste
  • 4ย  heaped tbsp nutritional yeast
  • 1/2 tsp salt
  • Optional: 1 small zucchini
  • Pasta of choice

*You could swap out the coconut cream for creamed cheese or even regular dairy cream if your diet allows

Set a big pot of lightly salted water to boil for your pasta of choice (we use a GF variety). A legume based or a high protein pasta is a great addition here if you’re serving this as a meal on its own.

Peel and dice the pumpkin, then steam until soft – usually a few minutes in the microwave when this kind of dinner is required. If you have extra time (or some left over!), roasting the pumpkin adds a delicious depth of flavour too.

If you are adding a zucchini, dice and steam the it in the last couple of minutes with the pumpkin (you can peel it first if your little people are detectives for any green ‘bits’!)

Place the steamed veg and beans, with the tomato passata, into your blender/processor/bullet/thermal cooker together and blend until quite smooth (Start on speed 4 and work up to speed 6, for 10 seconds, then scrape down and repeat). Be very careful to follow safety instructions for blending hot ingredients. Add in the tomato paste, coconut cream, salt and nutritional yeast and blend again (speed 6, 10-15 seconds and repeat if necessary).

**If you are new to adding veg into your sauces, you could start out using less pumpkin and use more of your regular pasata or pasta sauce.

20170425_180247

Cook and drain your pasta, then return to the saucepan and pour over the sauce.

20170425_180904

Top with a little addition cheese of choice if you like.

Sneaky Pasta
Topped with Bio Cheese

Top with some crispy bacon if you wish – or fried mushrooms to keep it vegan.

20170425_181340

This makes enough sauce for about 3 dinners, just freeze the leftovers.

20171224_090043

You can use this for the sauce in pasta bakes or even double it for shared suppers (and Sunday School dinners in our case!). Add in extra veggies if you like, or throw in some left over bbq chook or sausages.

Enjoy ๐Ÿ™‚

P.S. For a terrific and nutritious pizza sauce simply omit the coconut cream and passata (and don’t add the zucchini).