1 whole egg OR 3 tbsp aquafaba (liquid drained from can of chick peas) OR 1 medium, overripe banana, well mashed
Optional- 1 tbsp sugar or maple syrup*
Optional – 1/4 cup hemp seeds
toppings of choice to serve
1/2 cup frozen blueberries (optional)
*We don’t add any sweetener when we use a ripe banana in the mix, but taste test and adjust according to your preference.
In a large bowl whisk together all of your dry ingredients (Speed 4, 10 seconds). Then set aside.
Mix together the oil/butter, milk and vanilla and whisk until well combined. If you are using the maple syrup, aquafaba, banana or an egg, add in at this step. (Blend all together on speed 5 for 8 secs)
Pour the wet mix into the dry mix and whisk well to combine. (Speed 4, 10 seconds, scrape down and repeat).
Fold through the blueberries (Use speed 3 for 15 seconds), if using. Vanilla, almonds and blueberries go so well together!
Pour the batter into a preheated (medium heat) lightly greased frying pan, wait until bubbles appear on the surface, then flip and cook until both sides are golden brown.
Add your topping of choice and serve warm.
These ones also freeze and defrost really well. I tend to make a double batch and then freeze 2 together, sandwich style, with vegan butter or sunflower seed butter in the middle for an easy, low mess snack -perfect for lunchboxes or rushed school morning breakfast!
Enjoy … We sure do!
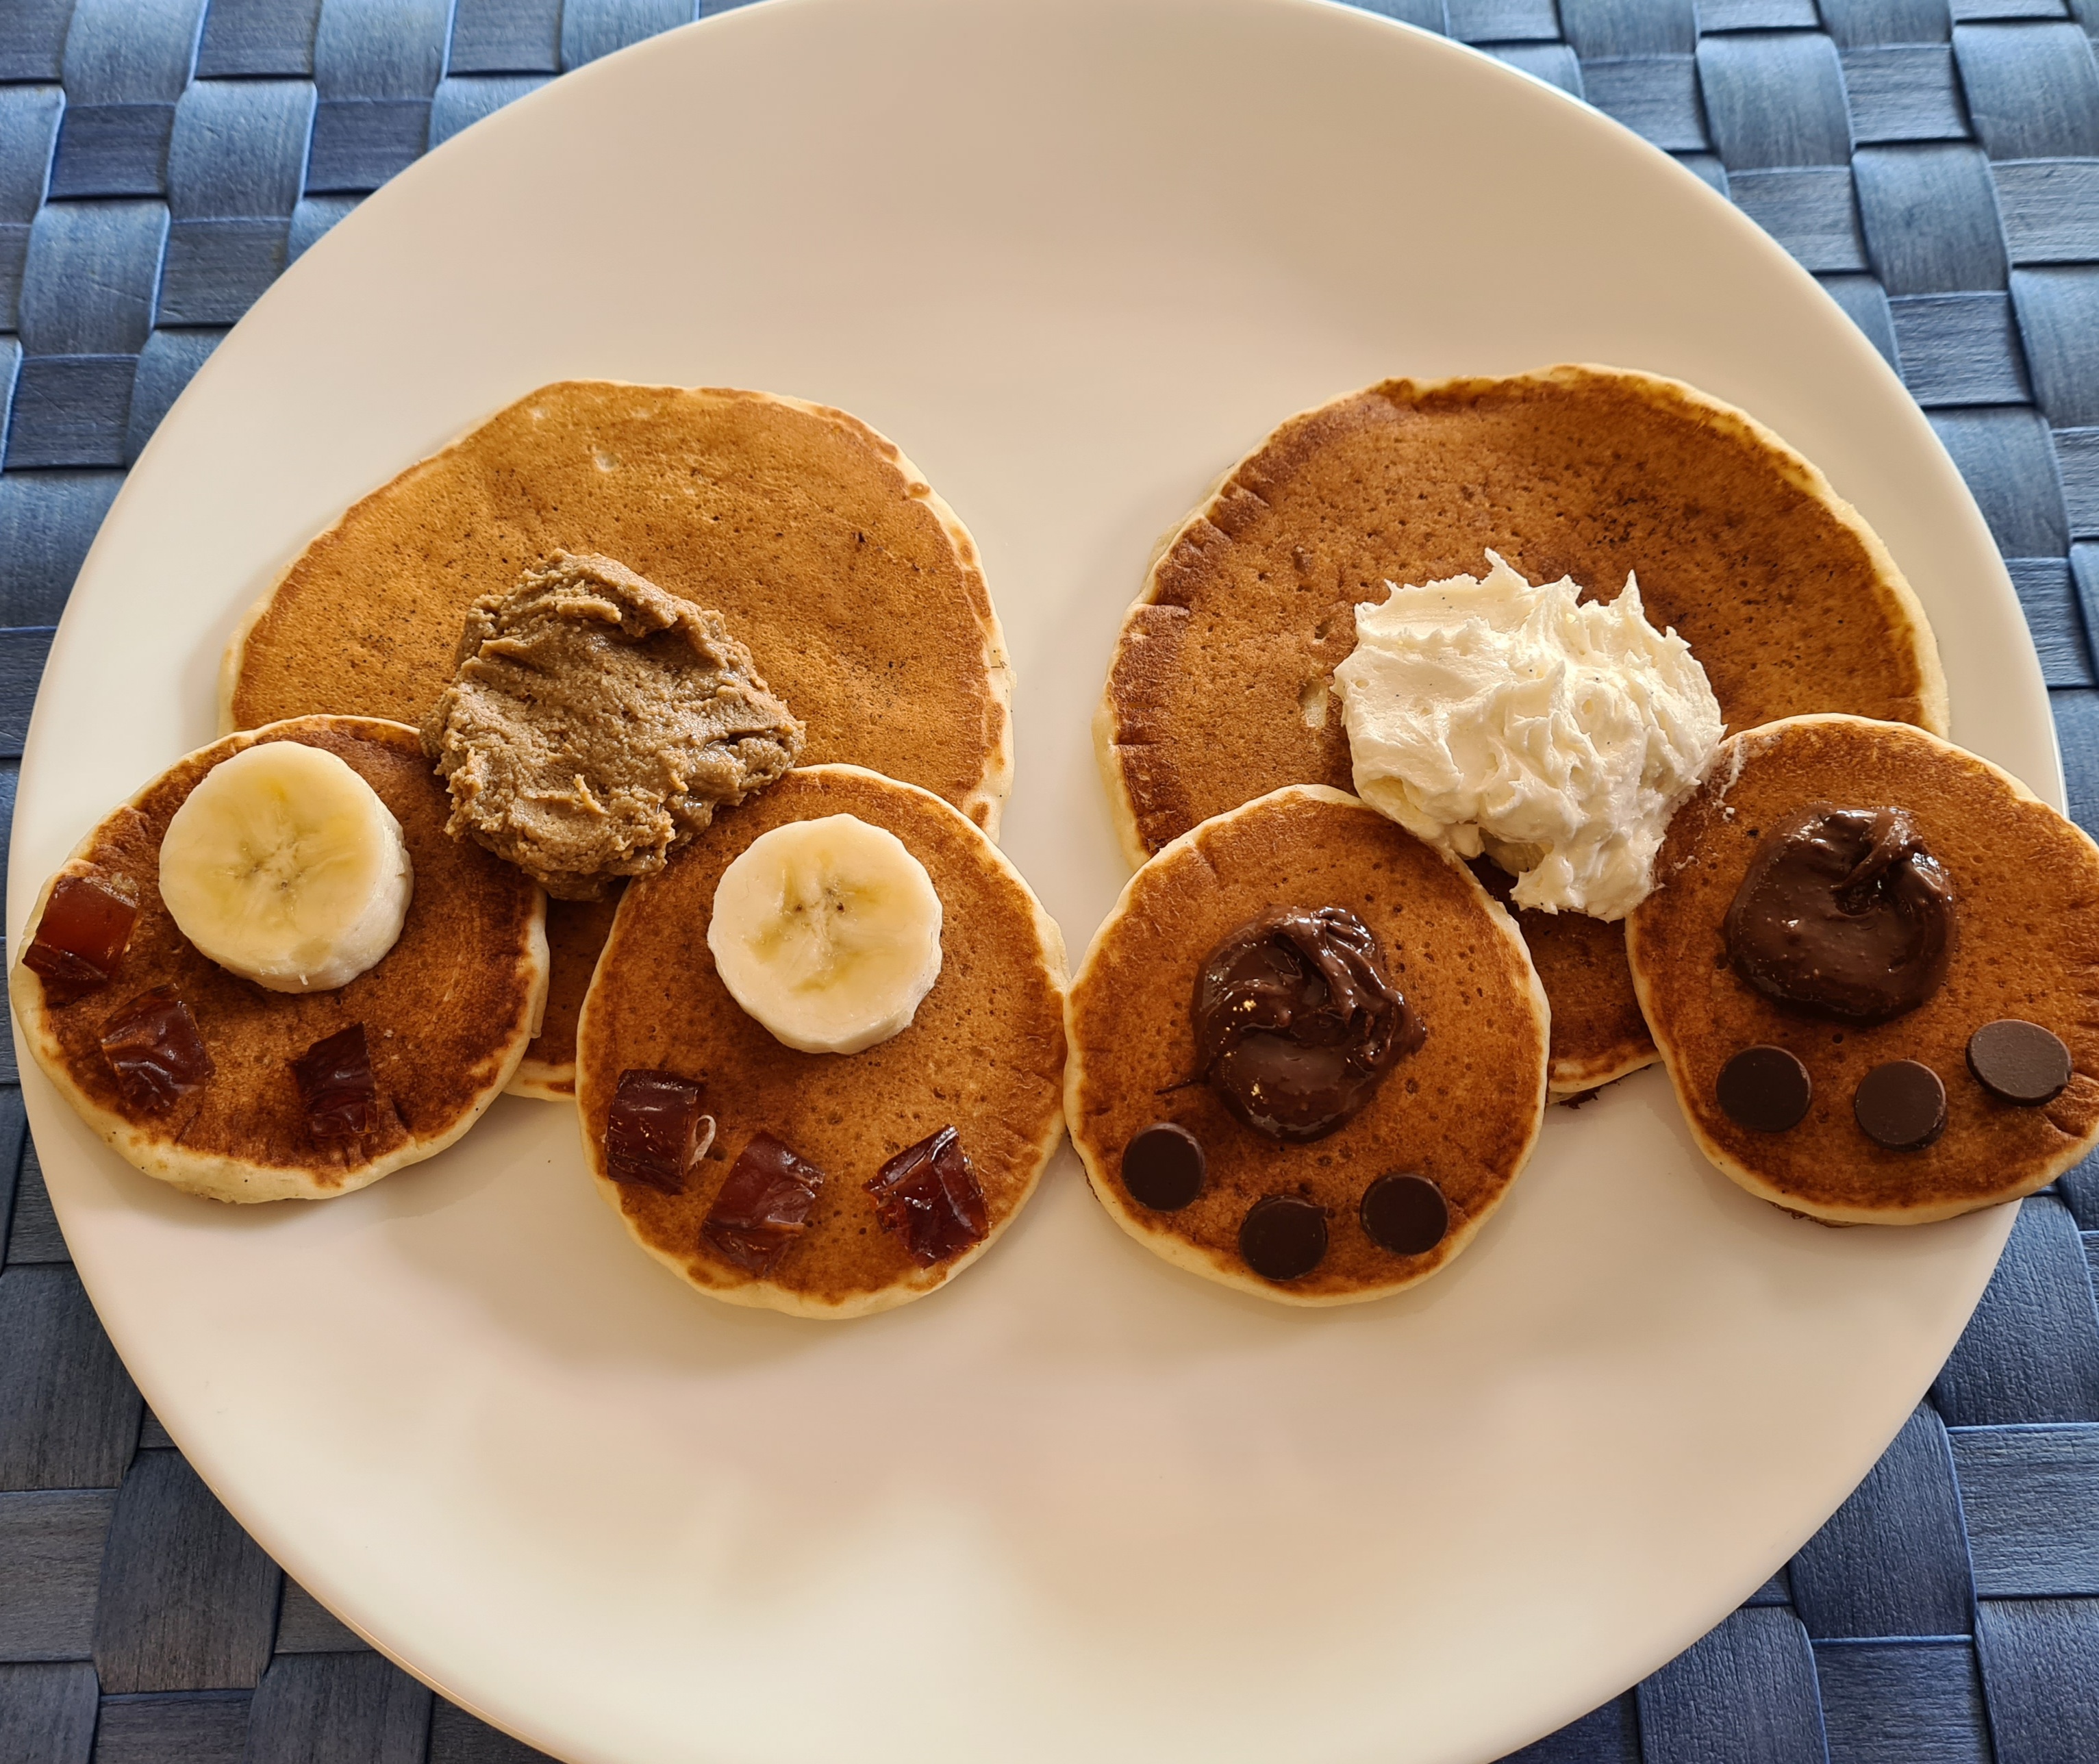
For Easter we have tuned our pikelets in to bunny butts! So cute as they run away!
A bigger one for the body and 2 smaller ones for the feet – decorate with your imagination.
We like Bananas, dates and seed butter as a great combo, or if you’re a serious sweet tooth, whipped cream and dark chocolate!
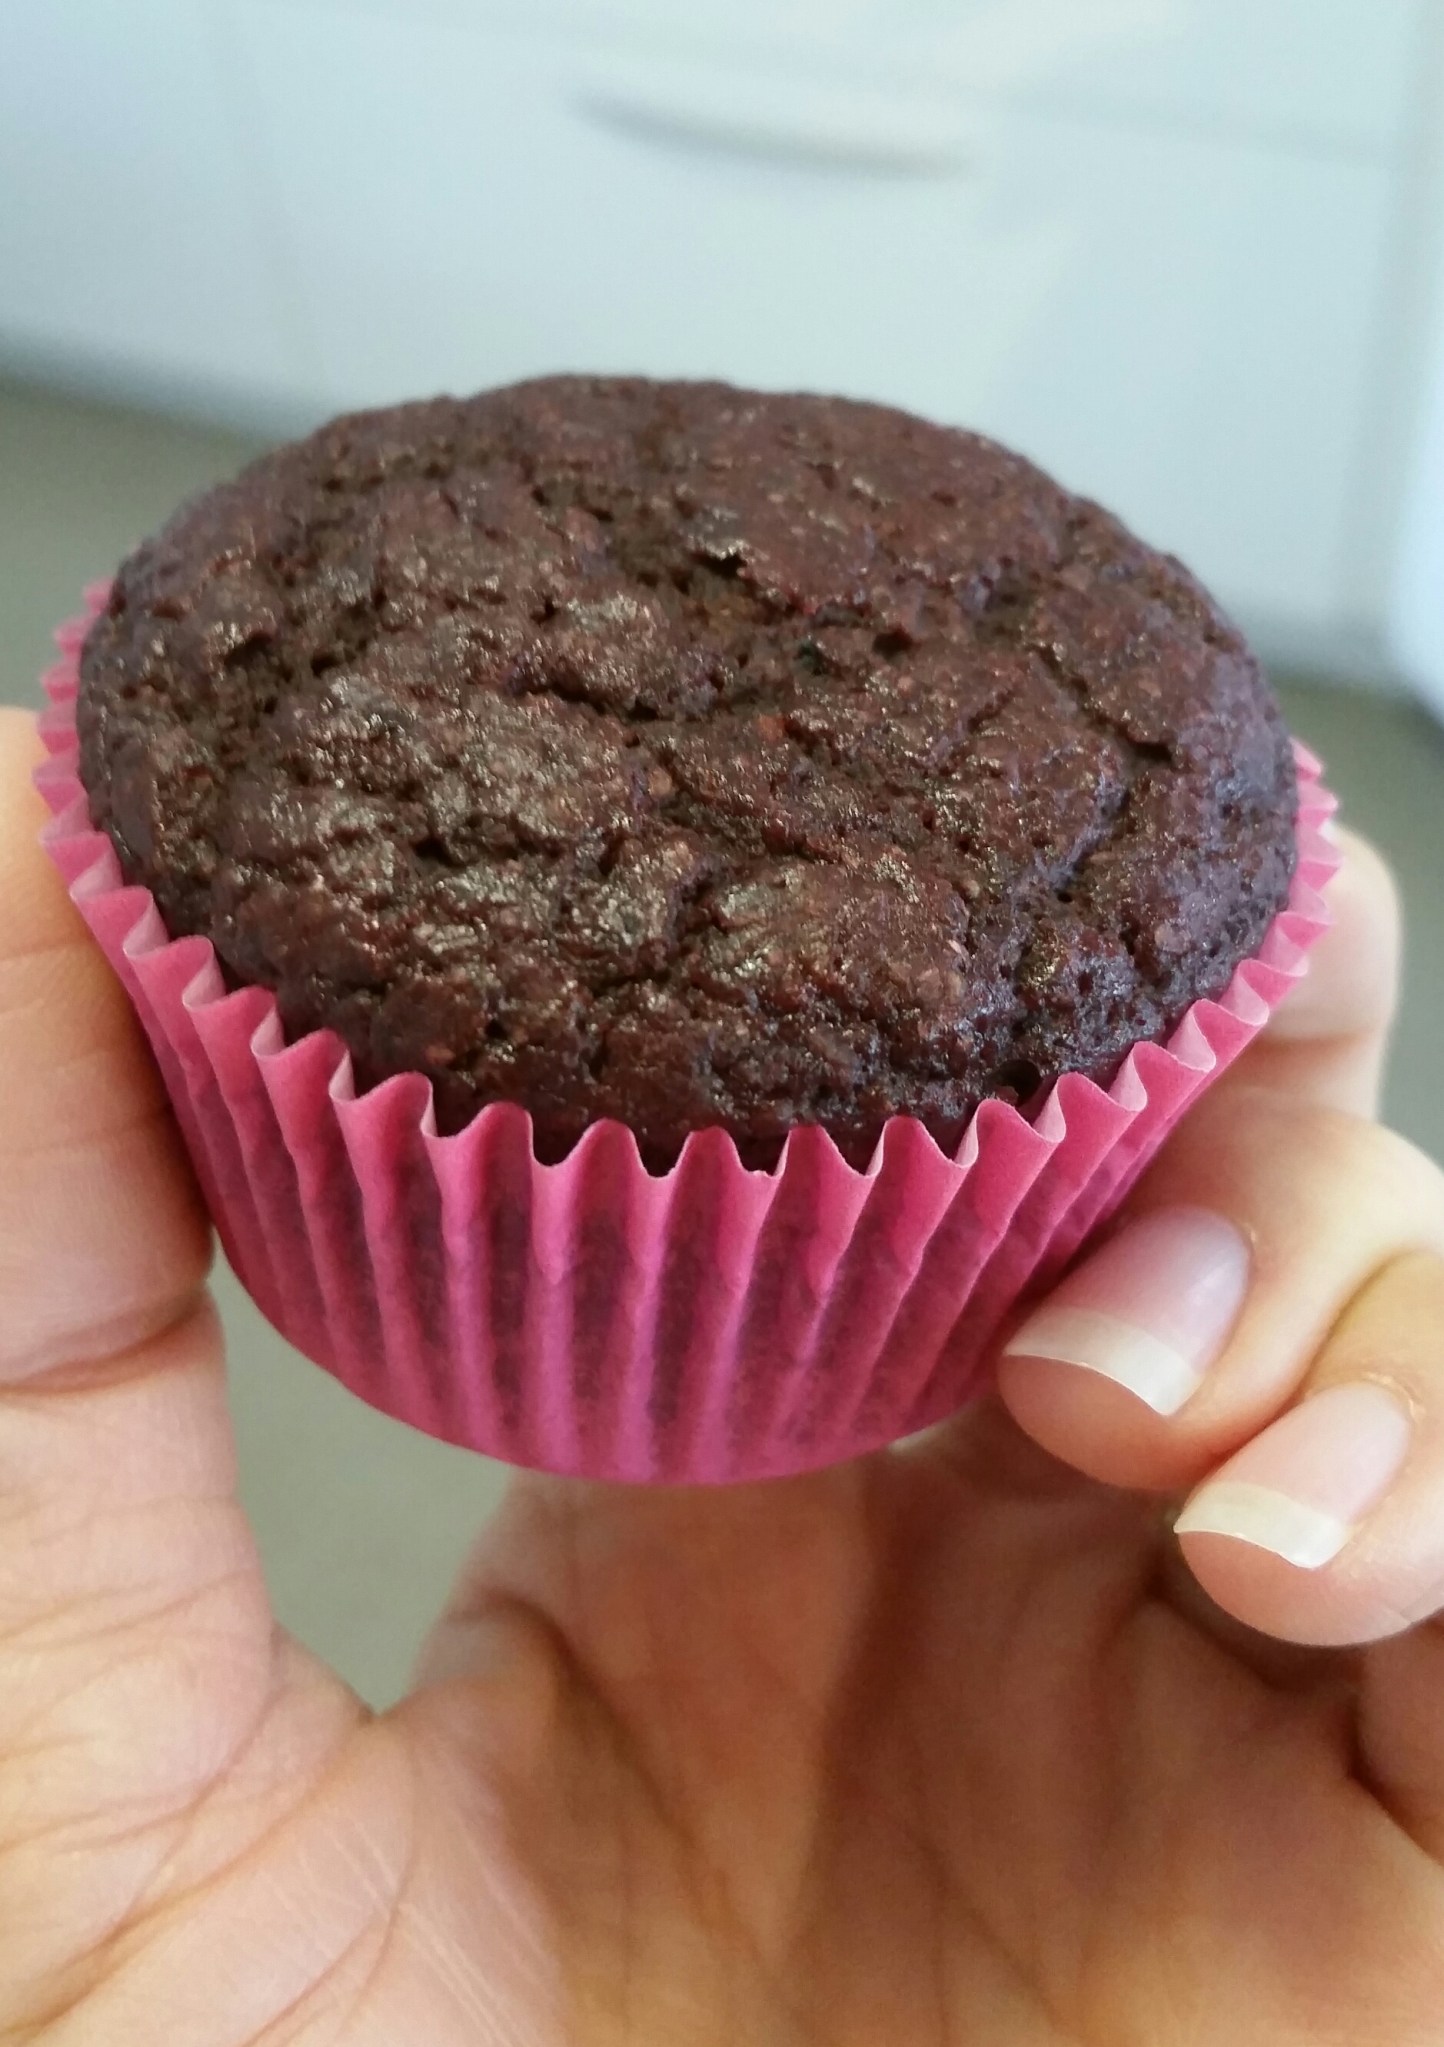
I meant to make my Pear Surprise muffins the other day …. but it turns out that I didn’t have the stewed pears left in the fridge that I thought I did. Oops.
I did have extra overripe bananas frozen and a little miss begging me for chocolate muffins …. so this was the result. These are lovely, light and moist.
75g butter/plant based butter, melted OR light tasting oil
180g milk of choice (we use almond or soy)
1.5 medium overripe bananas
4 tbsp sugar (honey or rice malt syrup work well too)
1 tsp vanilla bean paste
2 cups flour (half wholemeal)*
2.5 tsp GF baking powder
pinch salt flakes
2 rounded tbsp cocoa
1/2 tsp ground cinnamon
1 egg**
*To make this one coeliac friendly: replace the spelt flour with 1 1/2 cups GF flour mix plus 1/4 cup almond/seed meal
*To make this one egg free: replace the egg with an additional 1/2 banana
*To boost the nutrients: replace the 1/3 of the flour with equal quantities of almond or seed meal.
Into your blender/processor/nutribullet/thermo cooker place the bananas, butter, vanilla, milk and sugar/syrup. Blitz until smooth (Speed 7, 10 seconds)
In a separate bowl, whisk together the flour baking powder, cocoa, salt and cinnamon (plus almond/seed meal if using).
Add the dry mix to the wet and mix to combine (Speed 4, 10 seconds, scrape down and repeat). Don’t over beat. I often just tip the wet mix into the bowl with the flour mix and combine by hand.
Line a standard muffin tin and spoon fill.
Place in a preheated moderate oven and bake for about 25 minutes or until well risen and they spring back when gently touched.
You can eat these as is, dust with pure icing sugar or ice them like cupcakes. And if you like a sweeter treat you could add a handful of choc chips to the mix.
You have probably read about my Mum being a fabulous cook many times on this blog. I’m always hopeful that I can come close to approximating her meals with our dietary limitations.
However, as a kid, I only remember gravy being made in instant form from powder in a packet (Sorry Mum!)… most probably because it was much quick and less fatty. So as an adult learning how to make gravy has been a bit of a challenge for me…. and it seems I’m not alone! It was always a little hit and miss until I recently saw a very old episode of ‘Good Eats’, hosted by Alton Brown. His method for making gravy was to thicken with a roux (fat and flour), so that the flour has already cooked out before it combines with the meat juices. And now we get great gravy every time.
I tend to cook in bulk, and gravy is no exception. This recipe makes about 3 cups of gravy. I pour into reusable squeezey containers and freeze. It means when I cook a leg of lamb that does us for 3 meals – I have the gravy ready to go for each of the following meals too.
3 cups Meat juices (I get about this from a large leg of lamb that I have slow cooked)
2 tbsp fat (either from the meat or Nuttelex)
2 tbsp flour (I use either spelt or a GF flour mix)
A general ratio of 1 tbsp fat, 1 tbsp flour to each 1.5 cups of liquid.
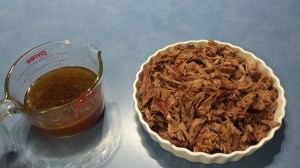
After I have removed the meat, I strain the meat juices and reserve the liquid.
Sit the liquid in the fridge for a couple of hours so that the fat separates and solidifies on the top. Then I scoop off the fat.
In a medium saucepan warm the juices back up – they will be quite jelly-like after cooling.
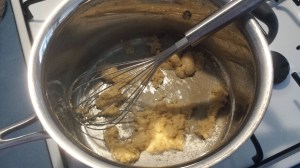
In a large saucepan, over a medium heat, melt your fat of choice, either the fat scooped off the top of the top of the cooled meat juice or use Nuttelex.
Then add in your flour. Whisk it to combine well. This is your roux and it needs to cook for about 4-5 minutes, whisking regularly, to allow the raw taste of the flour to cook out.
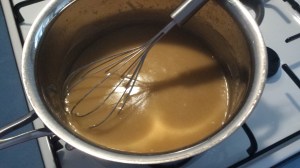
Then add 1/2 a cup of the warmed meat juices at a time into the roux, whisking whilst you add, and waiting till all combined before you add the next 1/2 cup.
Cooking, whisking regularly over a very gentle heat until you see the mixture come to a very slight simmer. Remove from the heat and serve with your meal.
Silky smooth!
Mixtures thickened with flour will continue to thicken on cooling, so try to serve as soon as possible. You can add a little boiling water if you wish to have runnier gravy.
Of course, you can use this method for all meats and add extra flavours to intensify those already in the juices.
I don’t like waste … in any form! Time, money, food and energy are all precious to me so I try to use them all to the best of my capability. This pie kind of exemplifies that! It uses scraps of left over meat, pantry staples and veggies that might be looking a little sad in the fridge, and it makes 2 meals at once. Love it.
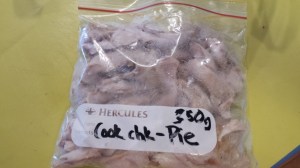
A couple of weeks back I bought 2 bbq chickens to take to a picnic. After I’d pulled all of the firm, white meat off, there was a heap left that was brown meat, or a bit soft and fiddly to eat at a picnic, so I pulled every last shred off and froze it to use later – I got 350g off 2 chickens – easily an extra meal!
*If you’re not eating any meat, check below the recipe for a simple tweak to make this a vegan pie.
Then I make a simple chicken style gravy (not actually any chicken in it!). You need:
2 cups very hot chicken stock (I used Massel brand)
1 tbsp Nuttelex/vegan butter
1 tbsp spelt or pure corn flour
1/3 cup white wine
1 tsp fresh chopped thyme
ground black pepper to taste
Melt the Nuttelex in a saucepan then add in the flour, whisking immediately to avoid lumps (Speed 2, 100C for 2 mins or until melted, then add flour and continue speed 2, 90C for 4 mins). Cook, over medium heat, for about 4-5 minutes, stirring regularly. Then add in 1/3 of a cup of chicken stock at a time, whist whisking (Speed 2, 90C, and add stock through hold in lid). Once all the stock is combined, add in the wine, thyme and pepper and allow to simmer very gently for 2-3 minutes (Speed 2, 80C for 3 minutes). Set aside.
To make the filling of the pie you will need:
2 tbsp garlic oil
1 brown onion, finely chopped
10-12 large button mushrooms, sliced
2 cups roughly chopped green beans
400g tin chic peas, drained and rinsed (save the brine when you drain it to use as an egg replacer!)
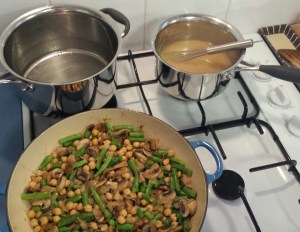
Heat the oil in a large pan (fabulous if this pan/dish can go from stove top to oven!), add the onions and good until translucent. Add in the mushrooms and cook, stirring until softening, about 4-5 minutes. Add in green beans and chic peas.
Pour gravy over the top of the veggie mix, then add the chopped cooked chicken, mix well and then bring to a gentle simmer for a few minutes.
To make the topping of the pie (which is a type of savoury scone dough!)you will need:
45g vegan butter
1.5 -1.75 cups spelt flour (or 1.25-1.5 cups GF flour plus 1 tsp psyllium)
2 tsp GF baking powder
1 heaped tbsp Nutritional yeast
1 tsp Himilayan salt
5-6 grinds back pepper
1 tsp fresh chopped thyme.
1/2 cup milk of choice – or water works well too.
In your food processor pulse together the Nuttelex with 1.5 cups of flour and baking powder.
Once it resembles bread crumbs stop the processor and add nutritional yeast, salt, black pepper, thyme. Process to combine (Speed 4, 5 seconds)
Then whilst the mixer working (used speed 3), gradually add in 1/2 cup milk or water.
Process to bring together (adding 1 tsp of flour extra at a time if your dough is too wet) then tip on to a floured surface and knead gently.
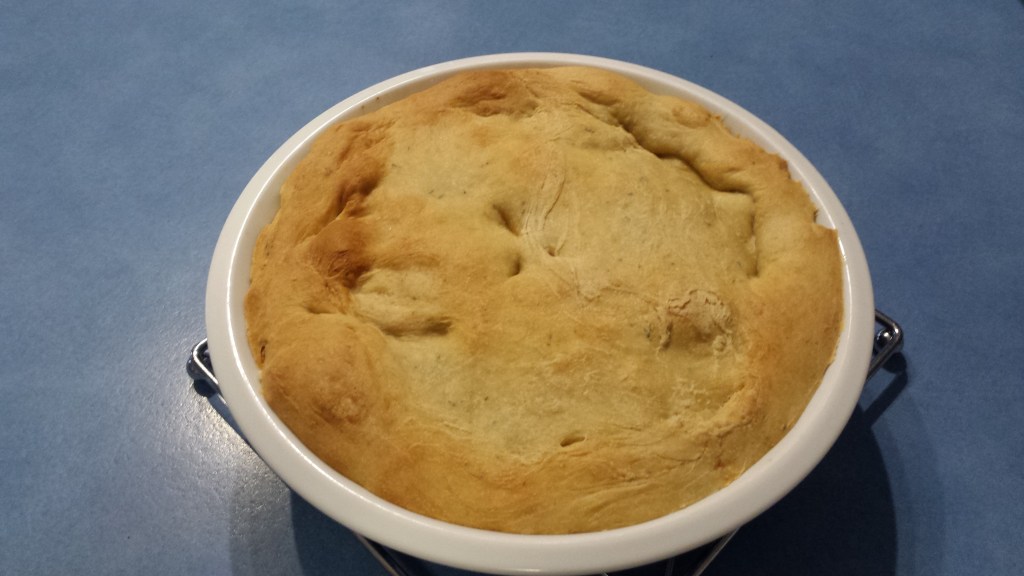
Roll to shape of you pie dish and top. Cut little vent holes.
Place in preheated 200C oven and bake for about 20-25 mins or until risen and golden brown minutes. It’s like having dumplings with a thick chicken casserole!
This quantity of filling is actually too much for one meal for our family, so I froze half for an easy meal down the track!
It is super simple to make a vegan version of this pie – simply leave out the chicken and double the quantity of chic peas and mushrooms.
1.5 cup spelt flour, about 1/2 wholemeal (OR 1.25 cups GF flour mix plus 1/4 cup seed/almond meal mix)
1 tsp apple cider vinegar
Optional extras:
1/3 cup mixed milled seeds (remove 1/3 cup of flour if you use this option)
4 squares dark chocolate
Place all dry items, except the chocolate, together in your food processor (or just a bowl with a whisk) and process until well combined. (Speed 4, 8 seconds).
If using, grate or finely chop the chocolate into the mix and process again until combined (Speed 4, 5 seconds).
Set aside the dry mix.
In your processor/blender/nutribullet/thermal cooker, place the melted butter/oil, aquafaba, honey, vinegar and banana and process until well combined and smooth (Speed 5, 10 seconds).
Pour wet mix into the dry mix and fold through until combined (Use speed 4, 8 seconds, scrape down and repeat)
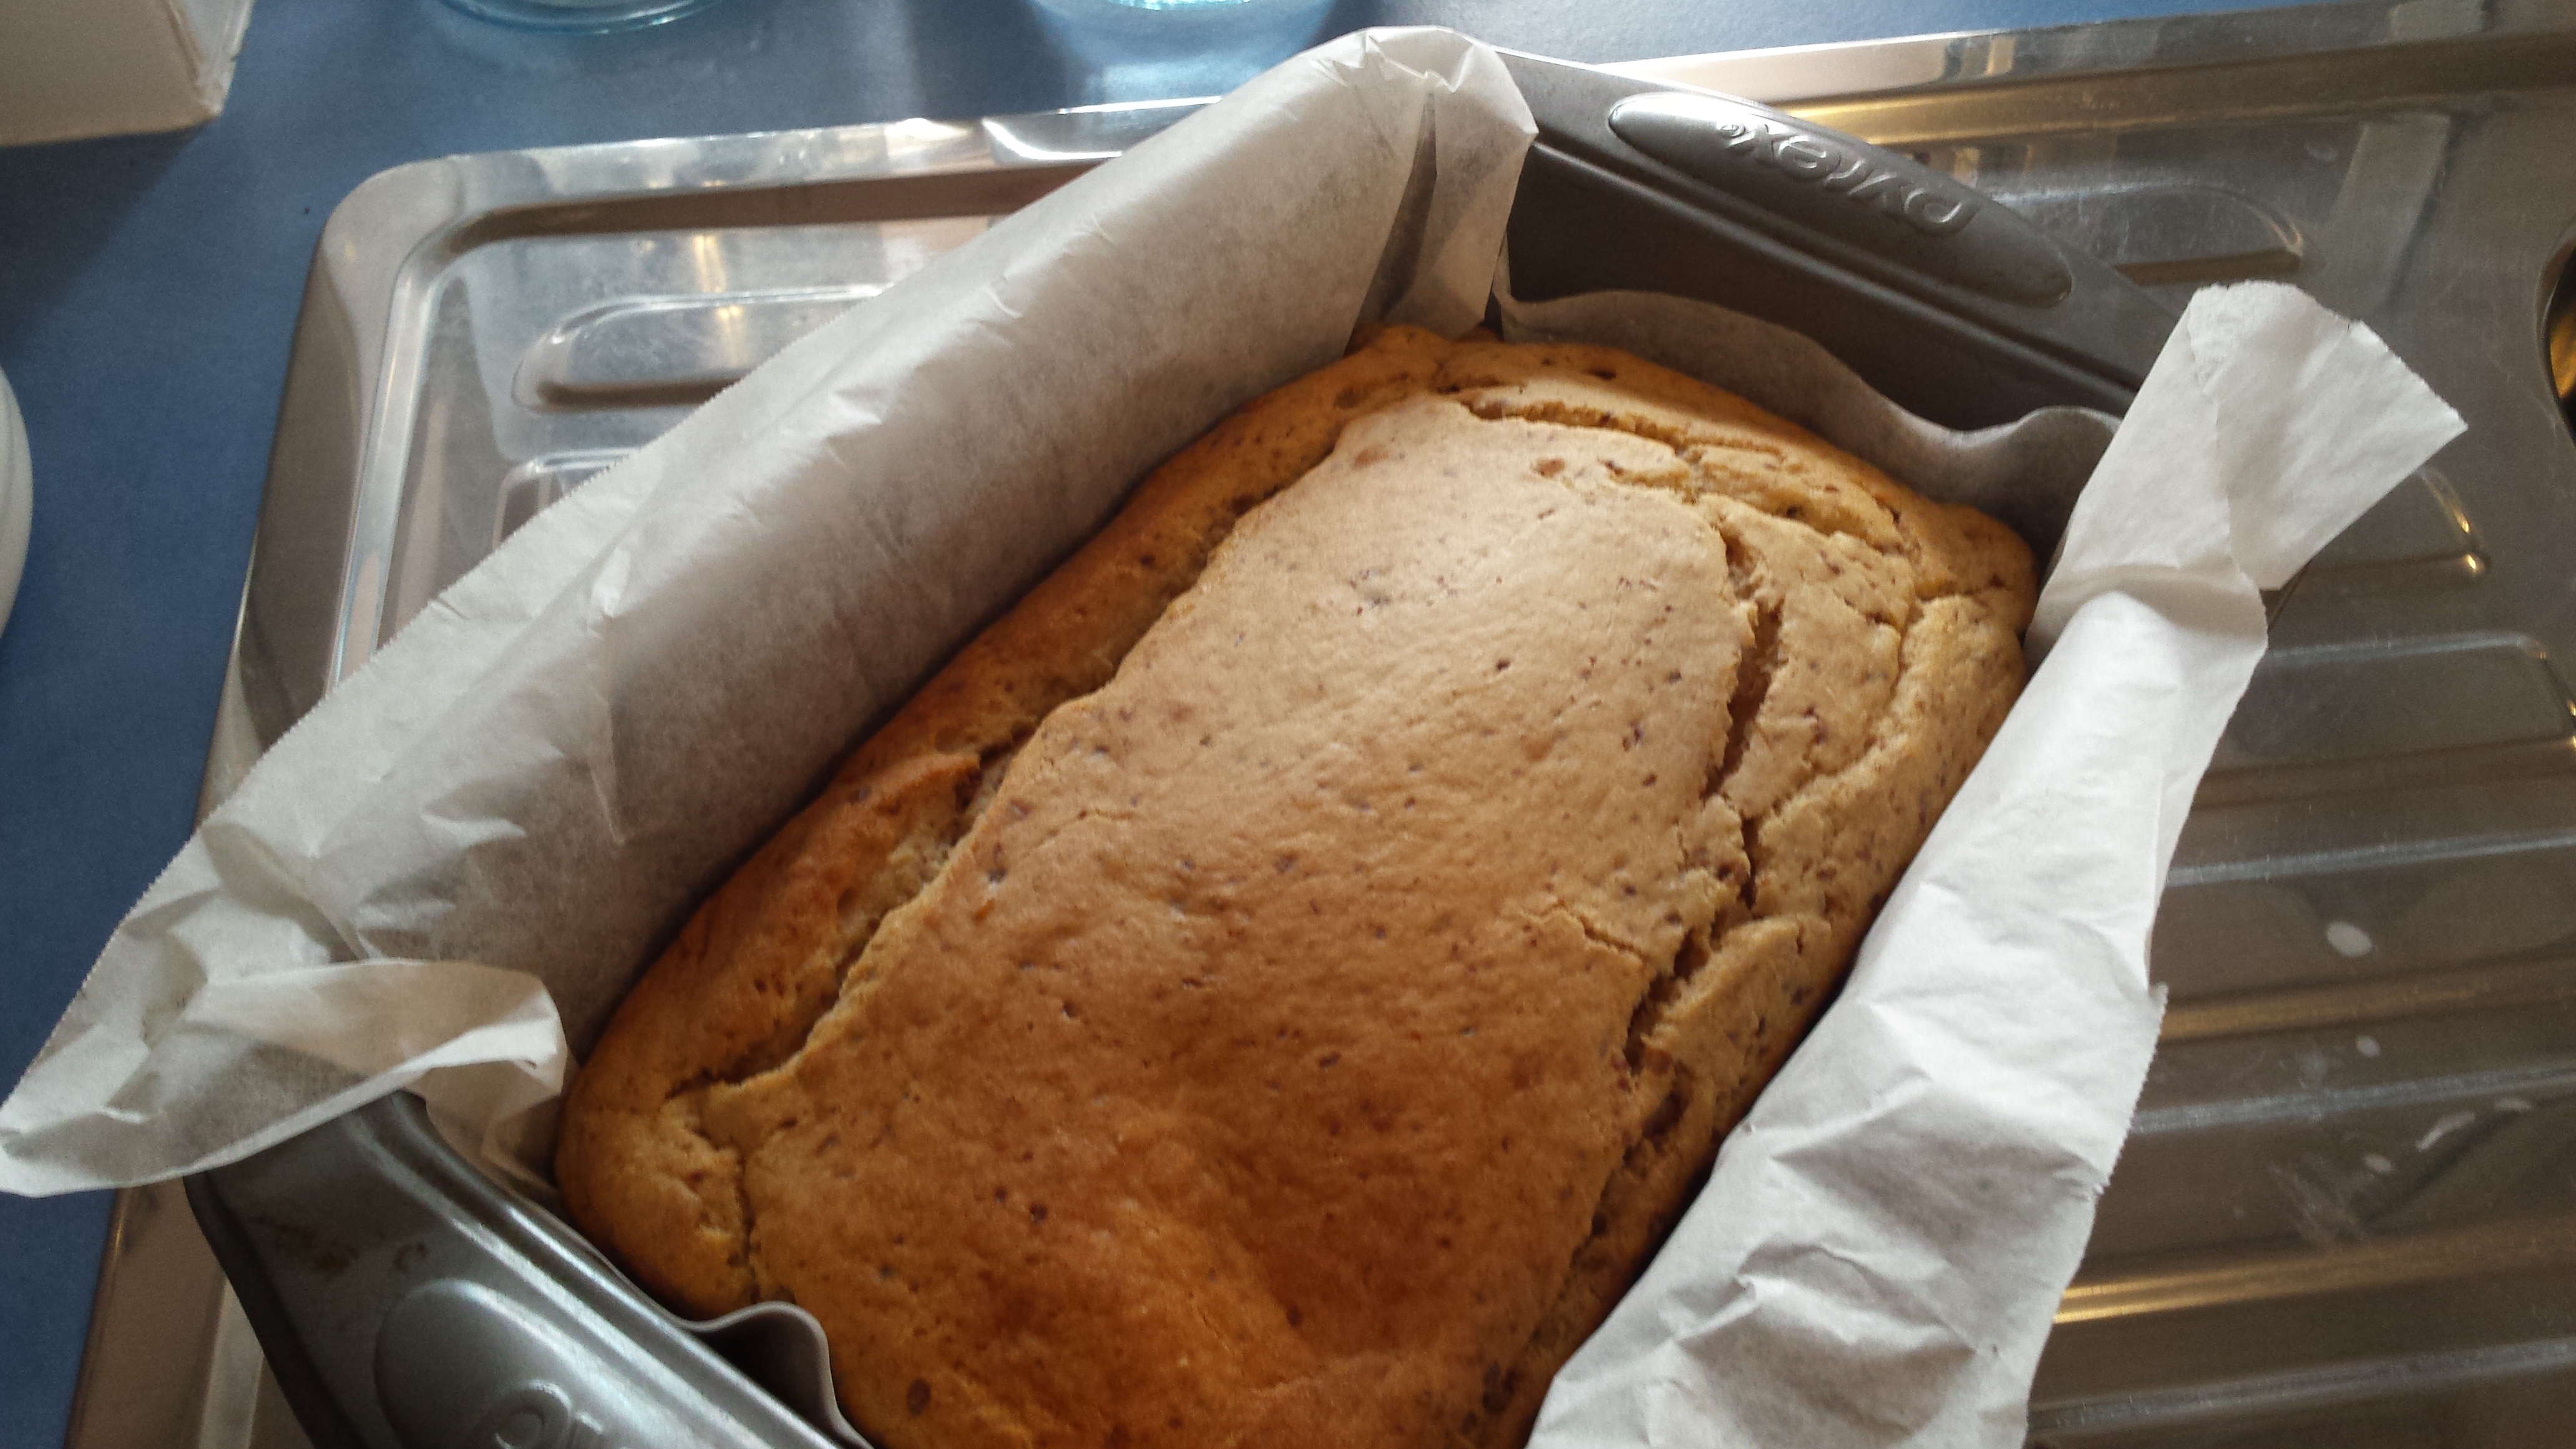
Pour into lined loaf tin and bake in a preheated moderate oven for about 40 minutes or until golden brown and an inserted skewer comes out clean.
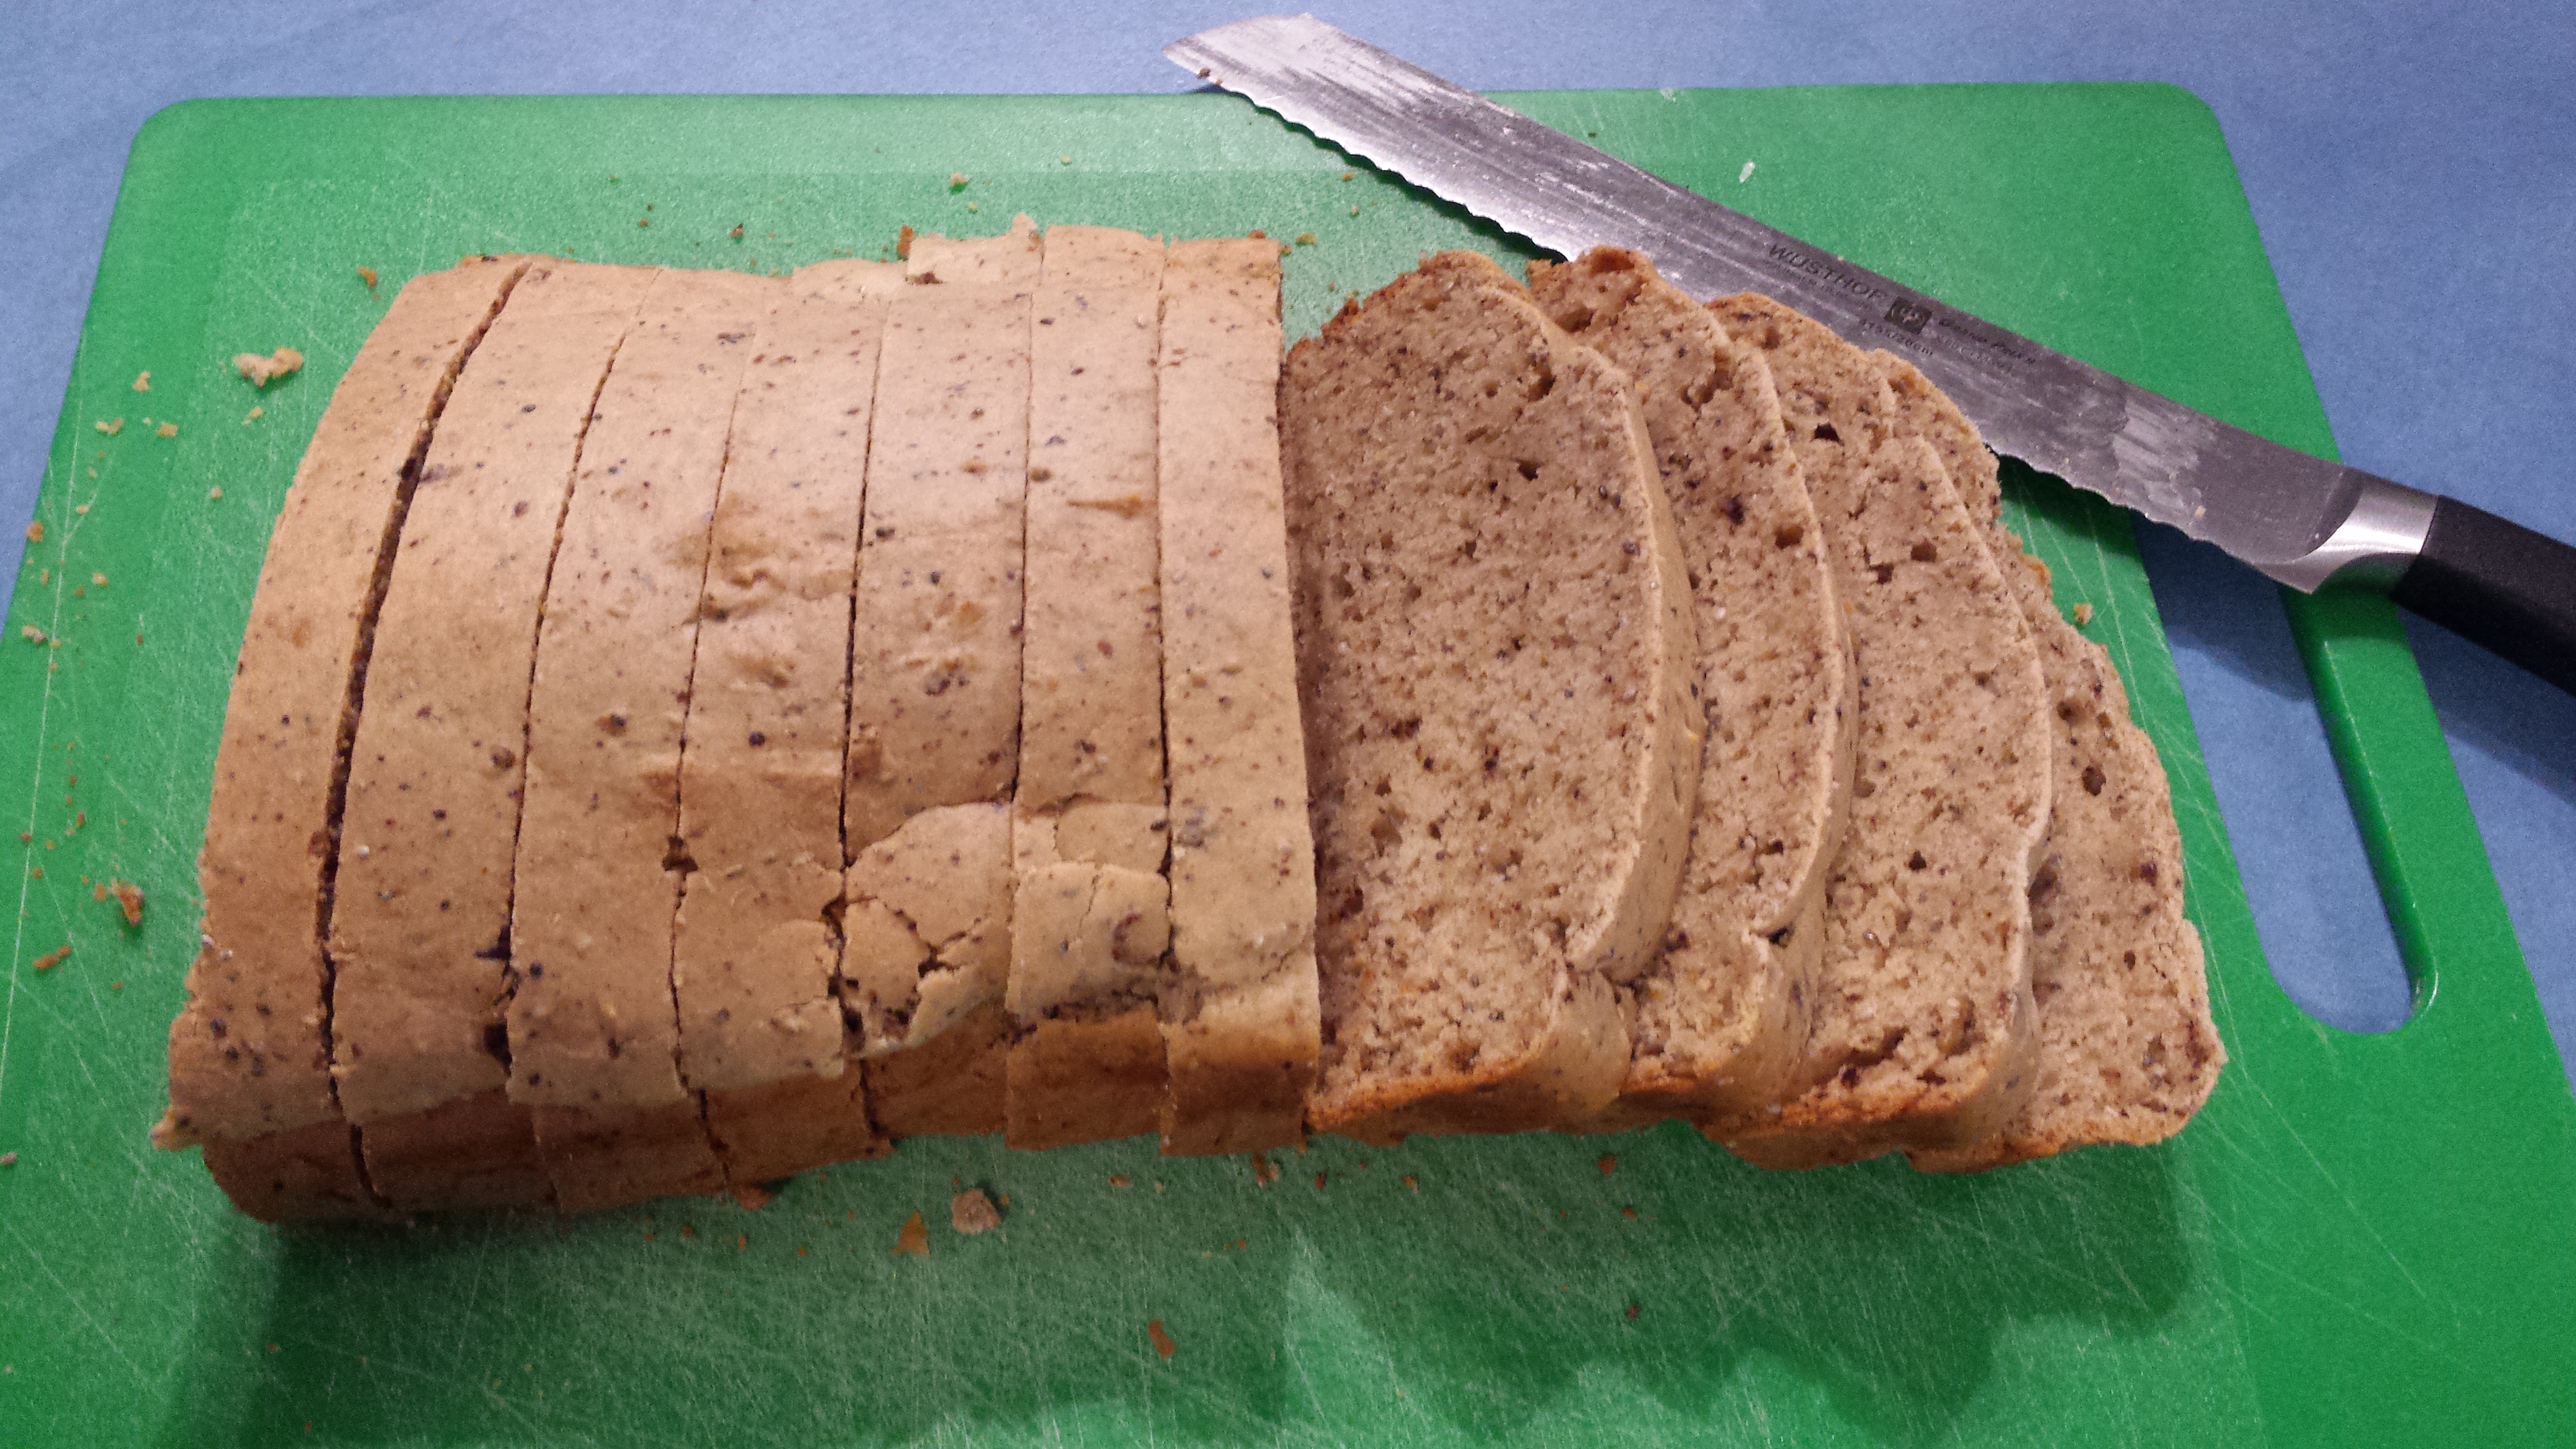
Leave to cool in tin for 10 minutes, before transferring to a wire rack. Allow to cool completely before slicing.
This delicious Moroccan inspired curry is actually adapted from one that Libby gave me at a recipe swap night about 8 years ago – thanks Lib!
8 chicken thighs, diced
800g tin crushed tomatoes
2 x 420g tin chick peas, drained and rinsed
12 medjool dates, diced
about 4 tbsp oil of choice
1 brown onion, finely diced
2 tsp minced garlic
2 tbsp plain GF flour
3 tsp ground cumin
3 tsp ground coriander
2 tsp ground cinnamon
3 tsp ground ginger
2 tsp tumeric
2 tsp chilli powder
2 cups hot chicken stock (I used Massel)
1/2 cup roasted sunflower seeds or blanched almonds
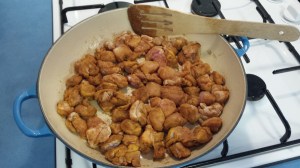
Into a large plastic zip lock bag, place flour and all dry spices, shake to combine then add in the diced chicken and shake well until coated.
Heat oil and brown chicken in a couple of batches, then set aside.
Heat some more oil, add onion and cook for a few minutes translucent.
Add garlic, and cook stirring for another 2 minutes.
Return the coated chicken along with any spices remaining from the bag to the frying pan.
Stir well and cook over medium heat for about 5 minutes.
Add the tomatoes and stock to the pan. Simmer gently for 20 minutes, stirring occasionally.
Add the chick peas and dates and cook, stirring for another 5 minutes.
Add in the sunflower seeds or almonds and serve with brown rice, corn cous cous or cauliflower rice.
Makes about 10 serves and freezes and defrosts well.
A few Budget/Bulk Cooking tips:
For less expensive dates you can use dried ones. Just add them to the pot about 5 minutes earlier so they have longer to soften and plump up.
When I need to make this meal stretch further, I add an additional 400g tin of tomatoes and an additional tin of drained chick peas. Works beautifully to feed our family 4 times over!
Lots to freeze – even the rice can be done in bulk.
I love crunchy bikkies …. dunking them in a hot cuppa was always a favourite!
These delicious bikkies definitely meet my sweet and crunchy requirements.
My kids (and husband!) all love them. They are simple to make, the kids love choosing their own shapes and they are really easy to adapt to meet most allergy requirements.
100g rolled quinoa (or you can mill the whole grain)
**You can use half seed butter and half butter here, or even all butter – all combinations work well!
In a saucepan, over a medium heat, stirring, melt together the seed butter, syrup and vanilla (100C, speed 2 for 2 11/2 mins or until completely melted). Remove from stove
Mix together all of the dry ingredients (speed 5 for 10 seconds). Then add in the wet mix and mix gently until combined (speed 4, 10 seconds. Scrape down and repeat if required)
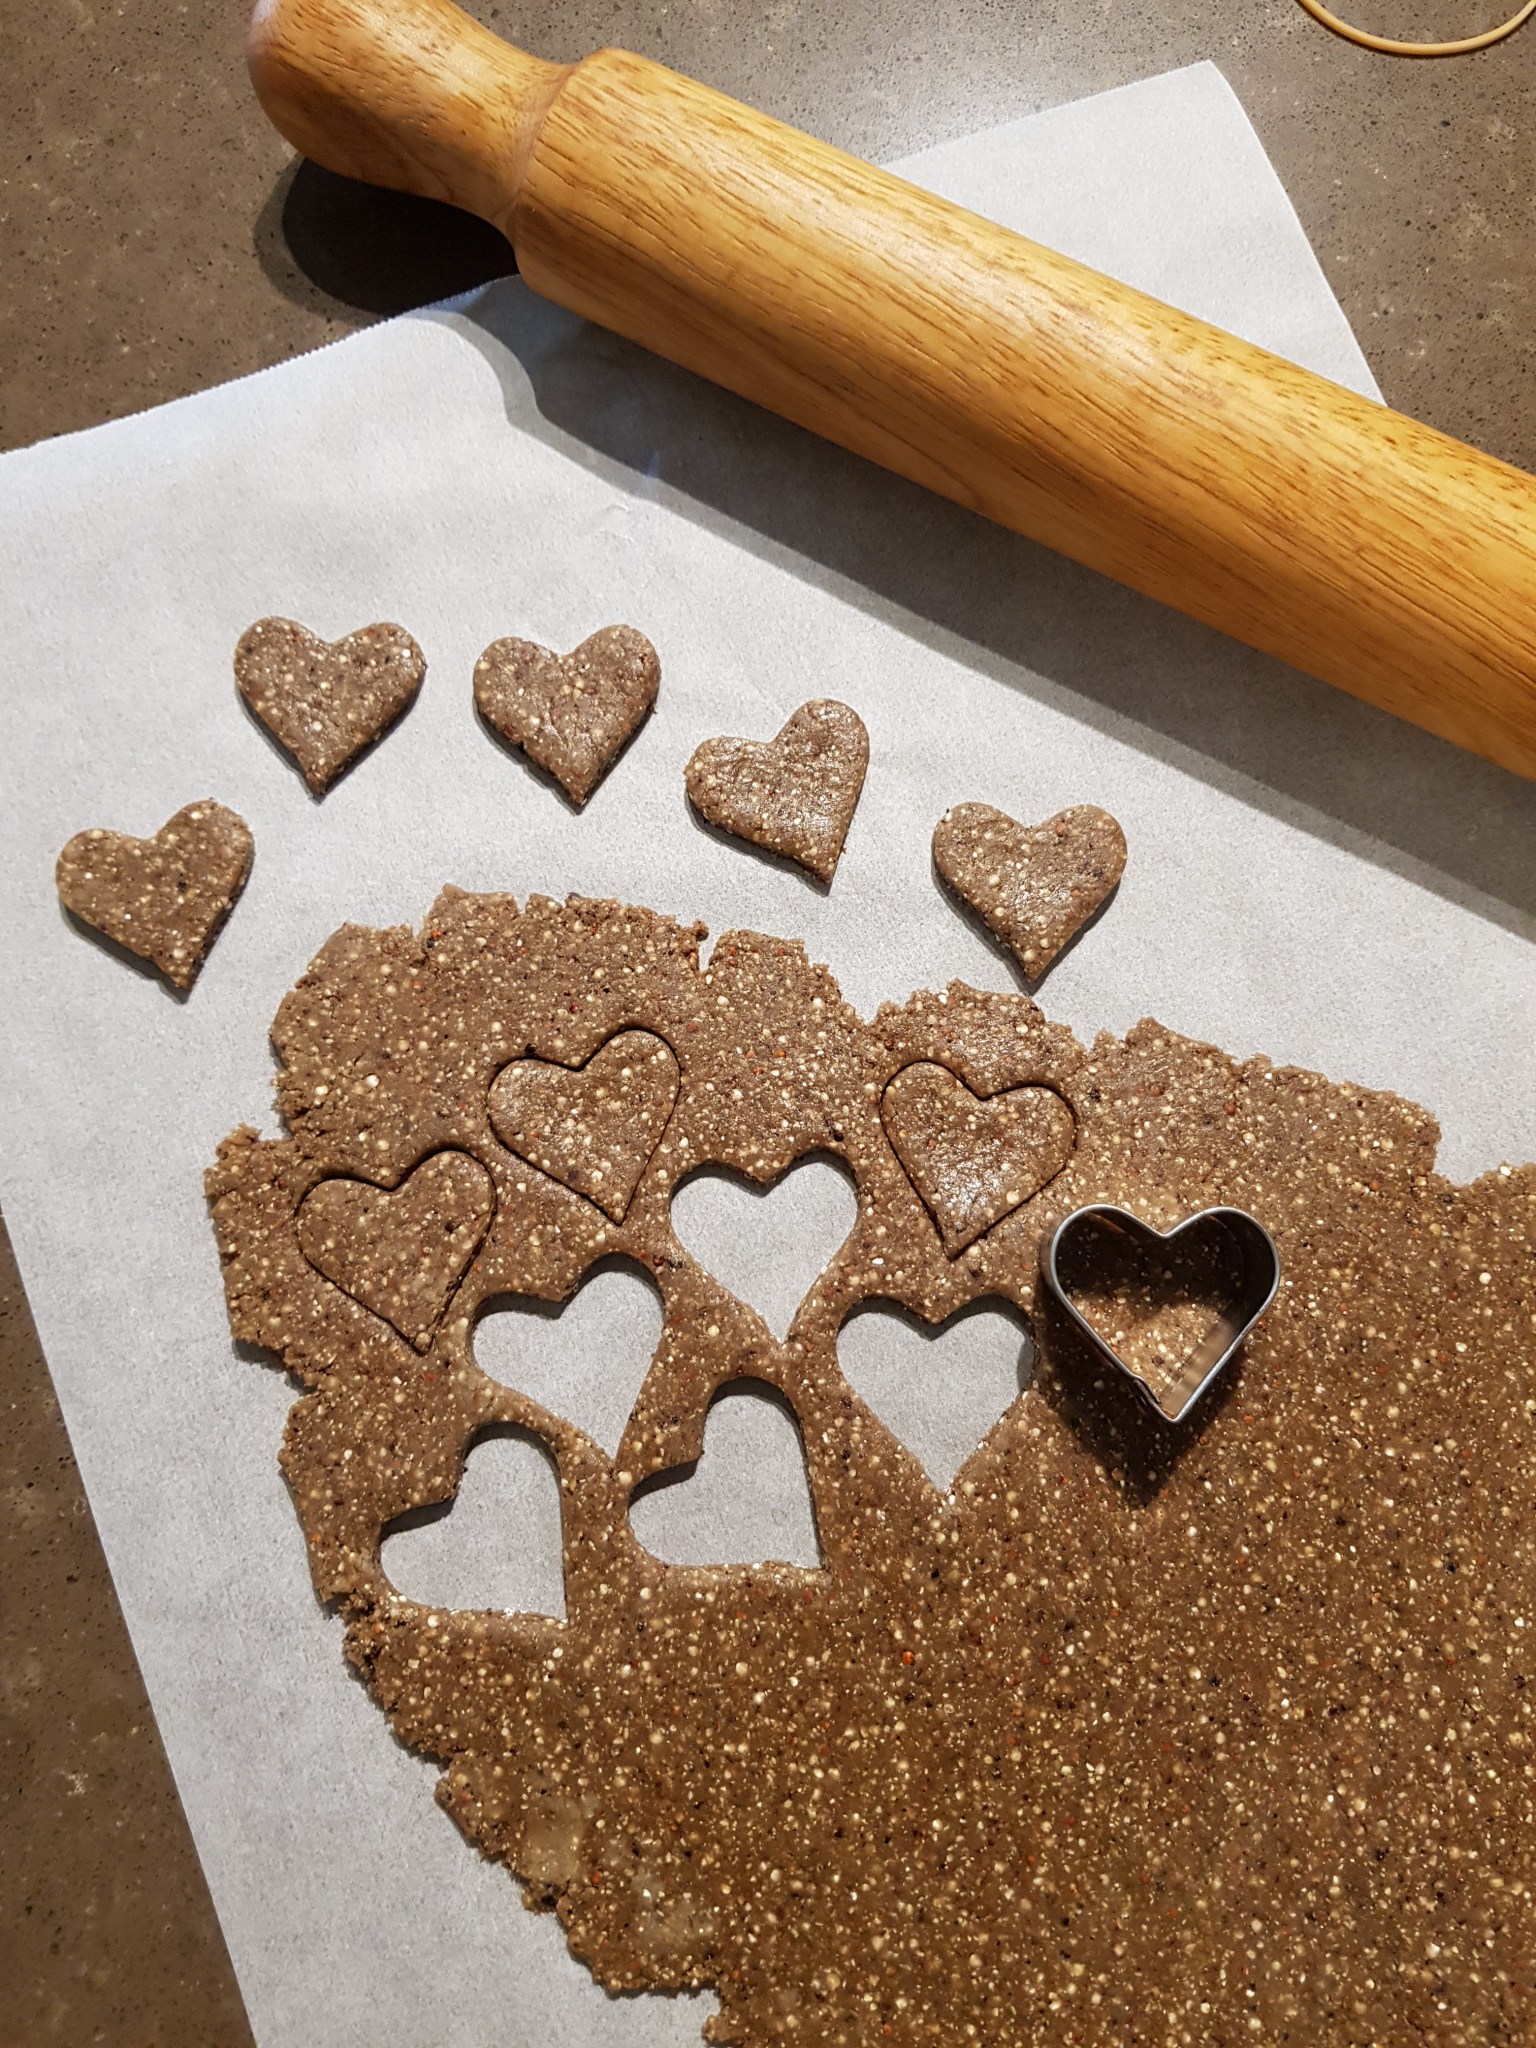
Wrap dough and place in fridge for about 20 minutes.
Roll out, to about 3mm thick and cut into shapes. The thinner you roll them the quicker they cook and the crunchier they are.
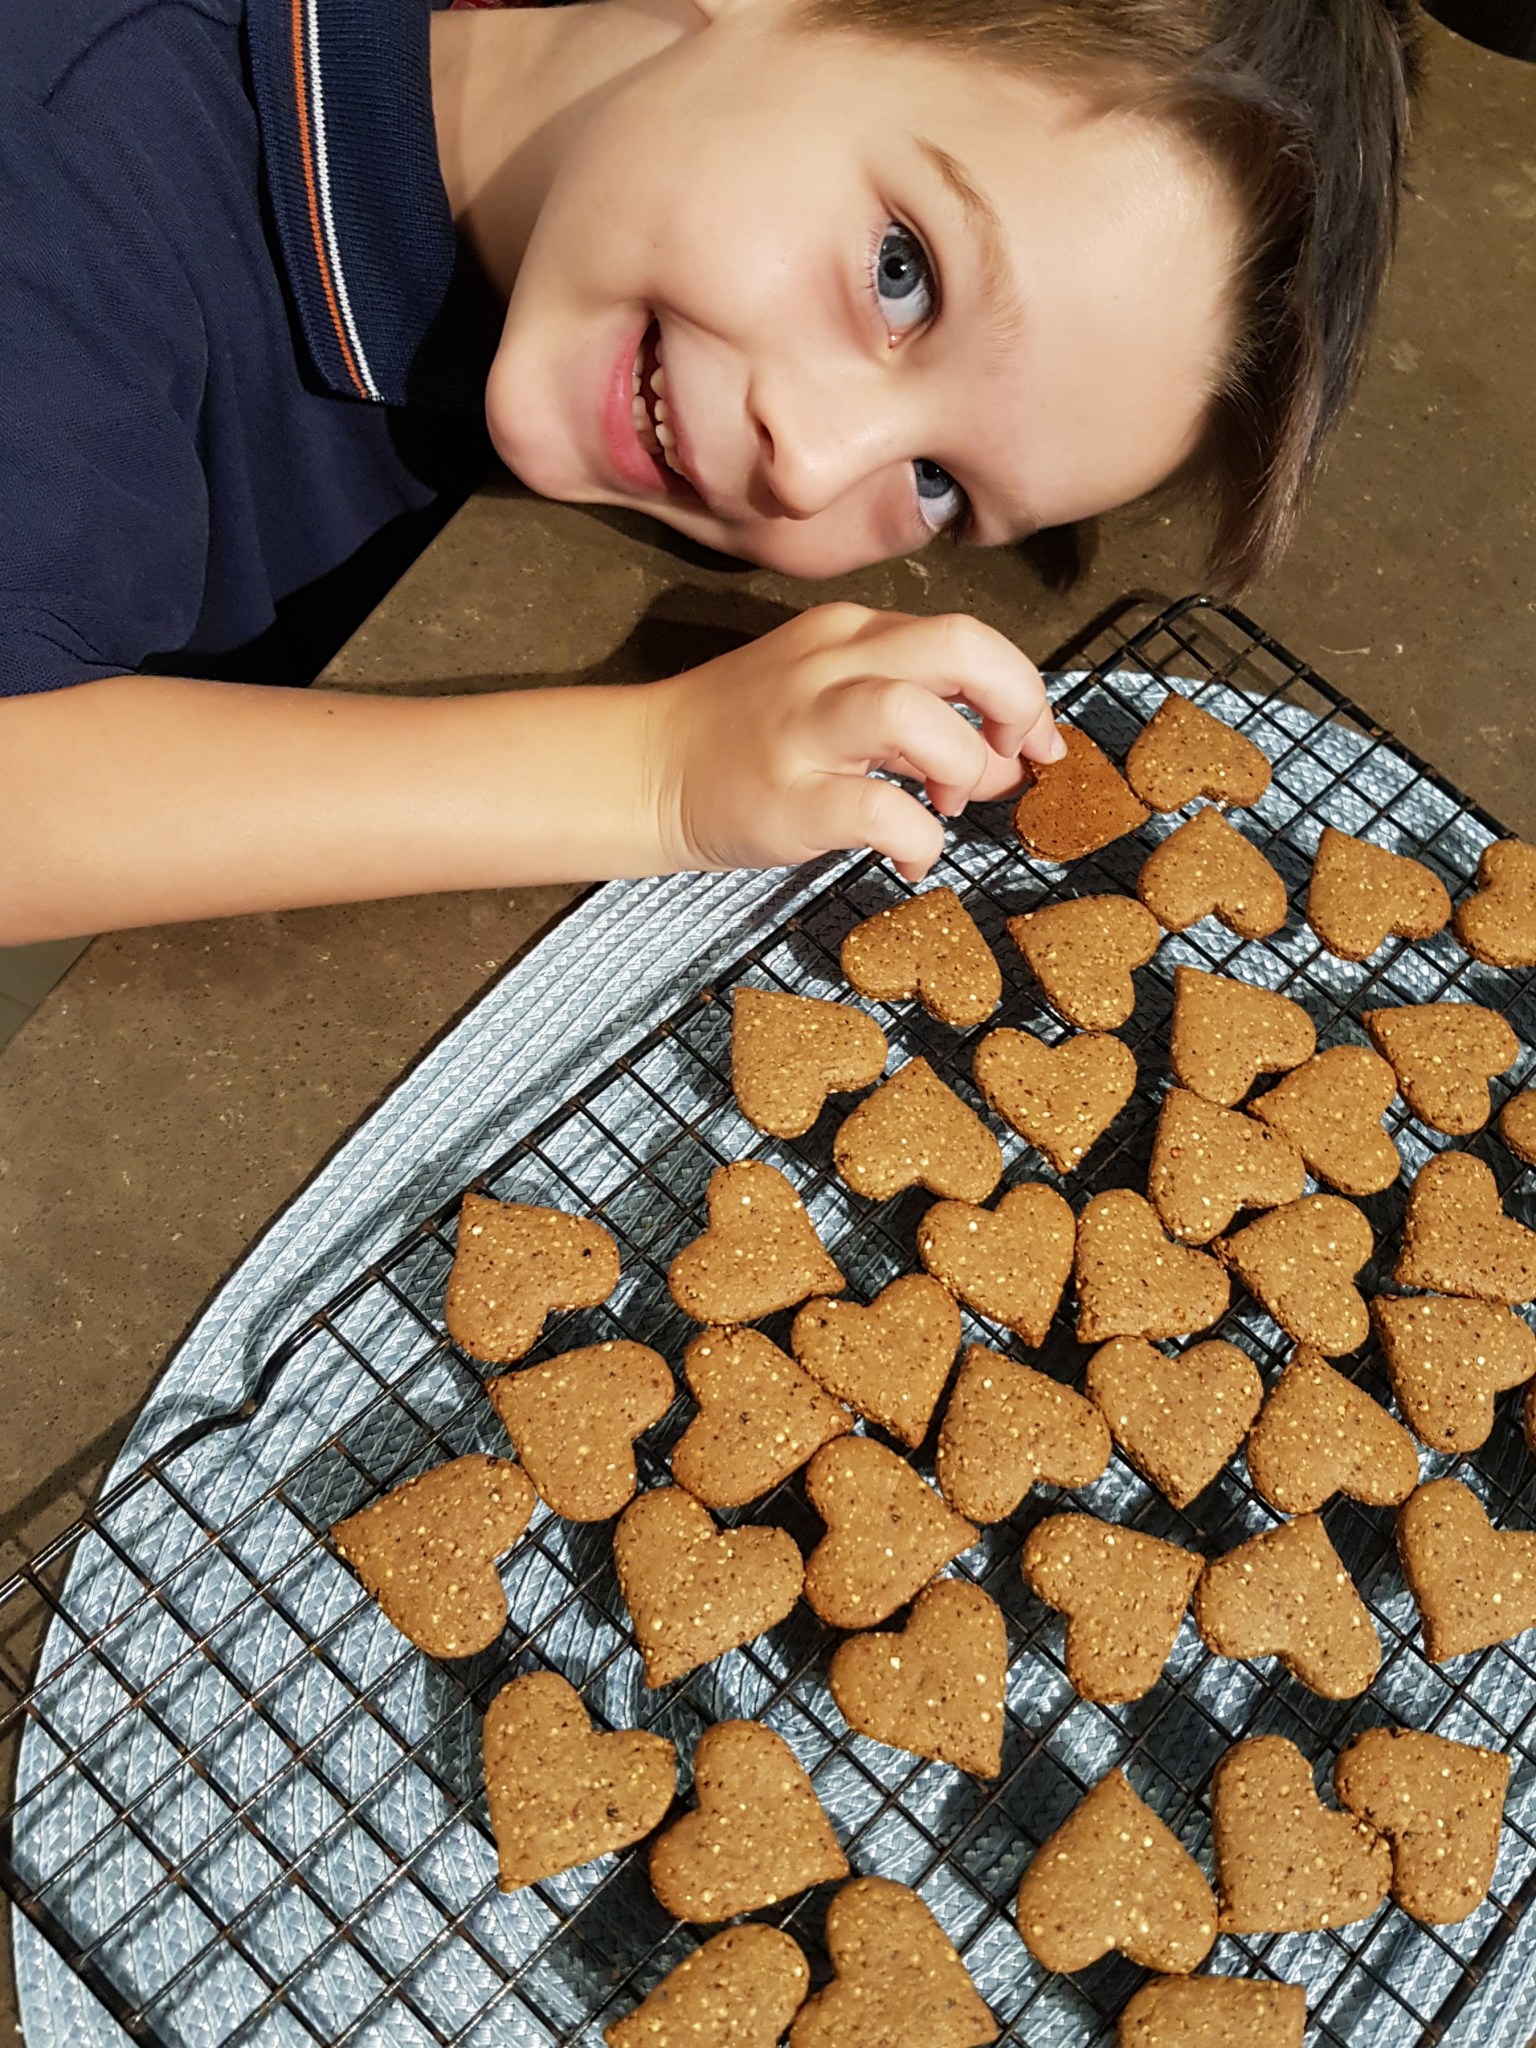
Place on lined baking trays and bake for about 9-10 minutes, or until golden brown, in a preheated 180C oven.
The tri coloured grains milled for this batch
They will be soft when removed from the oven and will crisp up on cooling.
Makes about 60 small cookies – depending on the size of your cutters.
When completely cooled, store in an airtight container for up to a week.
I know … beetroot and spinach (or pumpkin and chick peas!) are not ingredients you would normally associate with a chocolate muffin – but trust me, it works!
My tribe wolf them down and have no idea of the goodies hiding inside – yay! They are a standard lunchbox favourite – I even use this recipe to make the base of our birthday cakes now and everyone digs in!
See below the recipe for the coeliac friendly option and some different veggie variations
1 large cooked beetroot (approx 225g)*
2 handfuls of baby spinach
40g cocoa/30g cacao powder
70ml tasteless oil (rice bran oil, melted vegan butter & coconut oil work well) OR 70g sunflower seed butter
150ml oat/rice/soy/almond milk
2 tsp apple cider vinegar
90g maple syrup OR coconut sugar
280g spelt flour (half wholemeal)
2.5 tsp GF baking powder
6 tbsp aquafaba OR 2 whole eggs
1 tsp vanilla bean paste
pinch Himilayan salt
*If you don’t have access to fresh beetroot, use an equal weight of tinned beetroot and omit 1 of the teaspoons of vinegar), or when my garden gives us an abundance, I puree and freeze in batches to add in instead.
In your processor/blender/bullet/thermal cooker place the milk, beetroot, vinegar vanilla, oil, spinach and aquafaba and blitz until the mix is smooth with no obvious ‘green bits’ 😉 (Speed 5, 10 seconds, scrape down, then speed 8 for 10 seconds, scrape and repeat if required). Then set the wet mix aside.
Mix together the flour, cocoa, salt, sugar and baking powder until evenly combined (speed 4, 8 seconds).
Whilst mixing the dry mix (use speed 4), gradually pour in the wet mix until well combined. Don’t over mix.
Scoop batter into lined muffin tins and bake in a preheated 180C oven for about 20 minutes or until top springs back when gently pressed.
Makes about 14, they freeze and defrost well and are especially delicious when slightly warmed.
To make these coeliac friendly: use rice, almond or soy milk and replace the spelt flour with 1 1/2 cup plain GF flour and 1/4 cup almond/seed meal.
To make a little variation on these, I switch out the spinach for a large handful of steamed sweet potato or 1/3 of a tin of chick peas. Just add them into the wet mix and blend at the same time as the beetroot. Yum!!
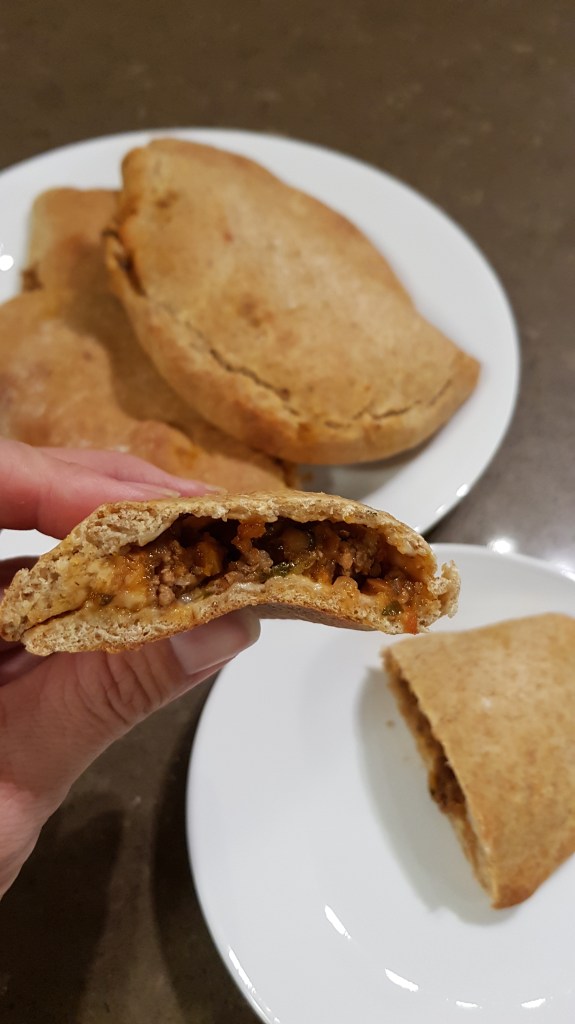
It’s so very lovely when we sit down to dinner as a family and all 6 people at the table smile at the plate placed in front of them … and that’s what happens each time with this meal in our house!
I’m certain that they aren’t a traditional version of an empanada, but these are filling and tasty, easy for little fingers to hold, they hide a lot of veggies (in fact, it is super easy to make them a vegan dinner) and are even transportable for picnics and lunchboxes.
I adapt the recipe that I use to make bread to make the dough.
To make the dough:
500g flour**
25g olive oil
320ml luke warm water
1 tsp sugar
1.5 tsp yeast
2 tbsp nutritional yeast (optional)
1 tsp pink salt
** I like to use a mix of half wholemeal spelt and half white spelt OR half Khorasan flour.
Place water, yeast and sugar in your processor and allow to stand for 5 minutes.
Add the oil, flour and salt then process to bring together to a dough (Speed 6 for about 10 seconds).
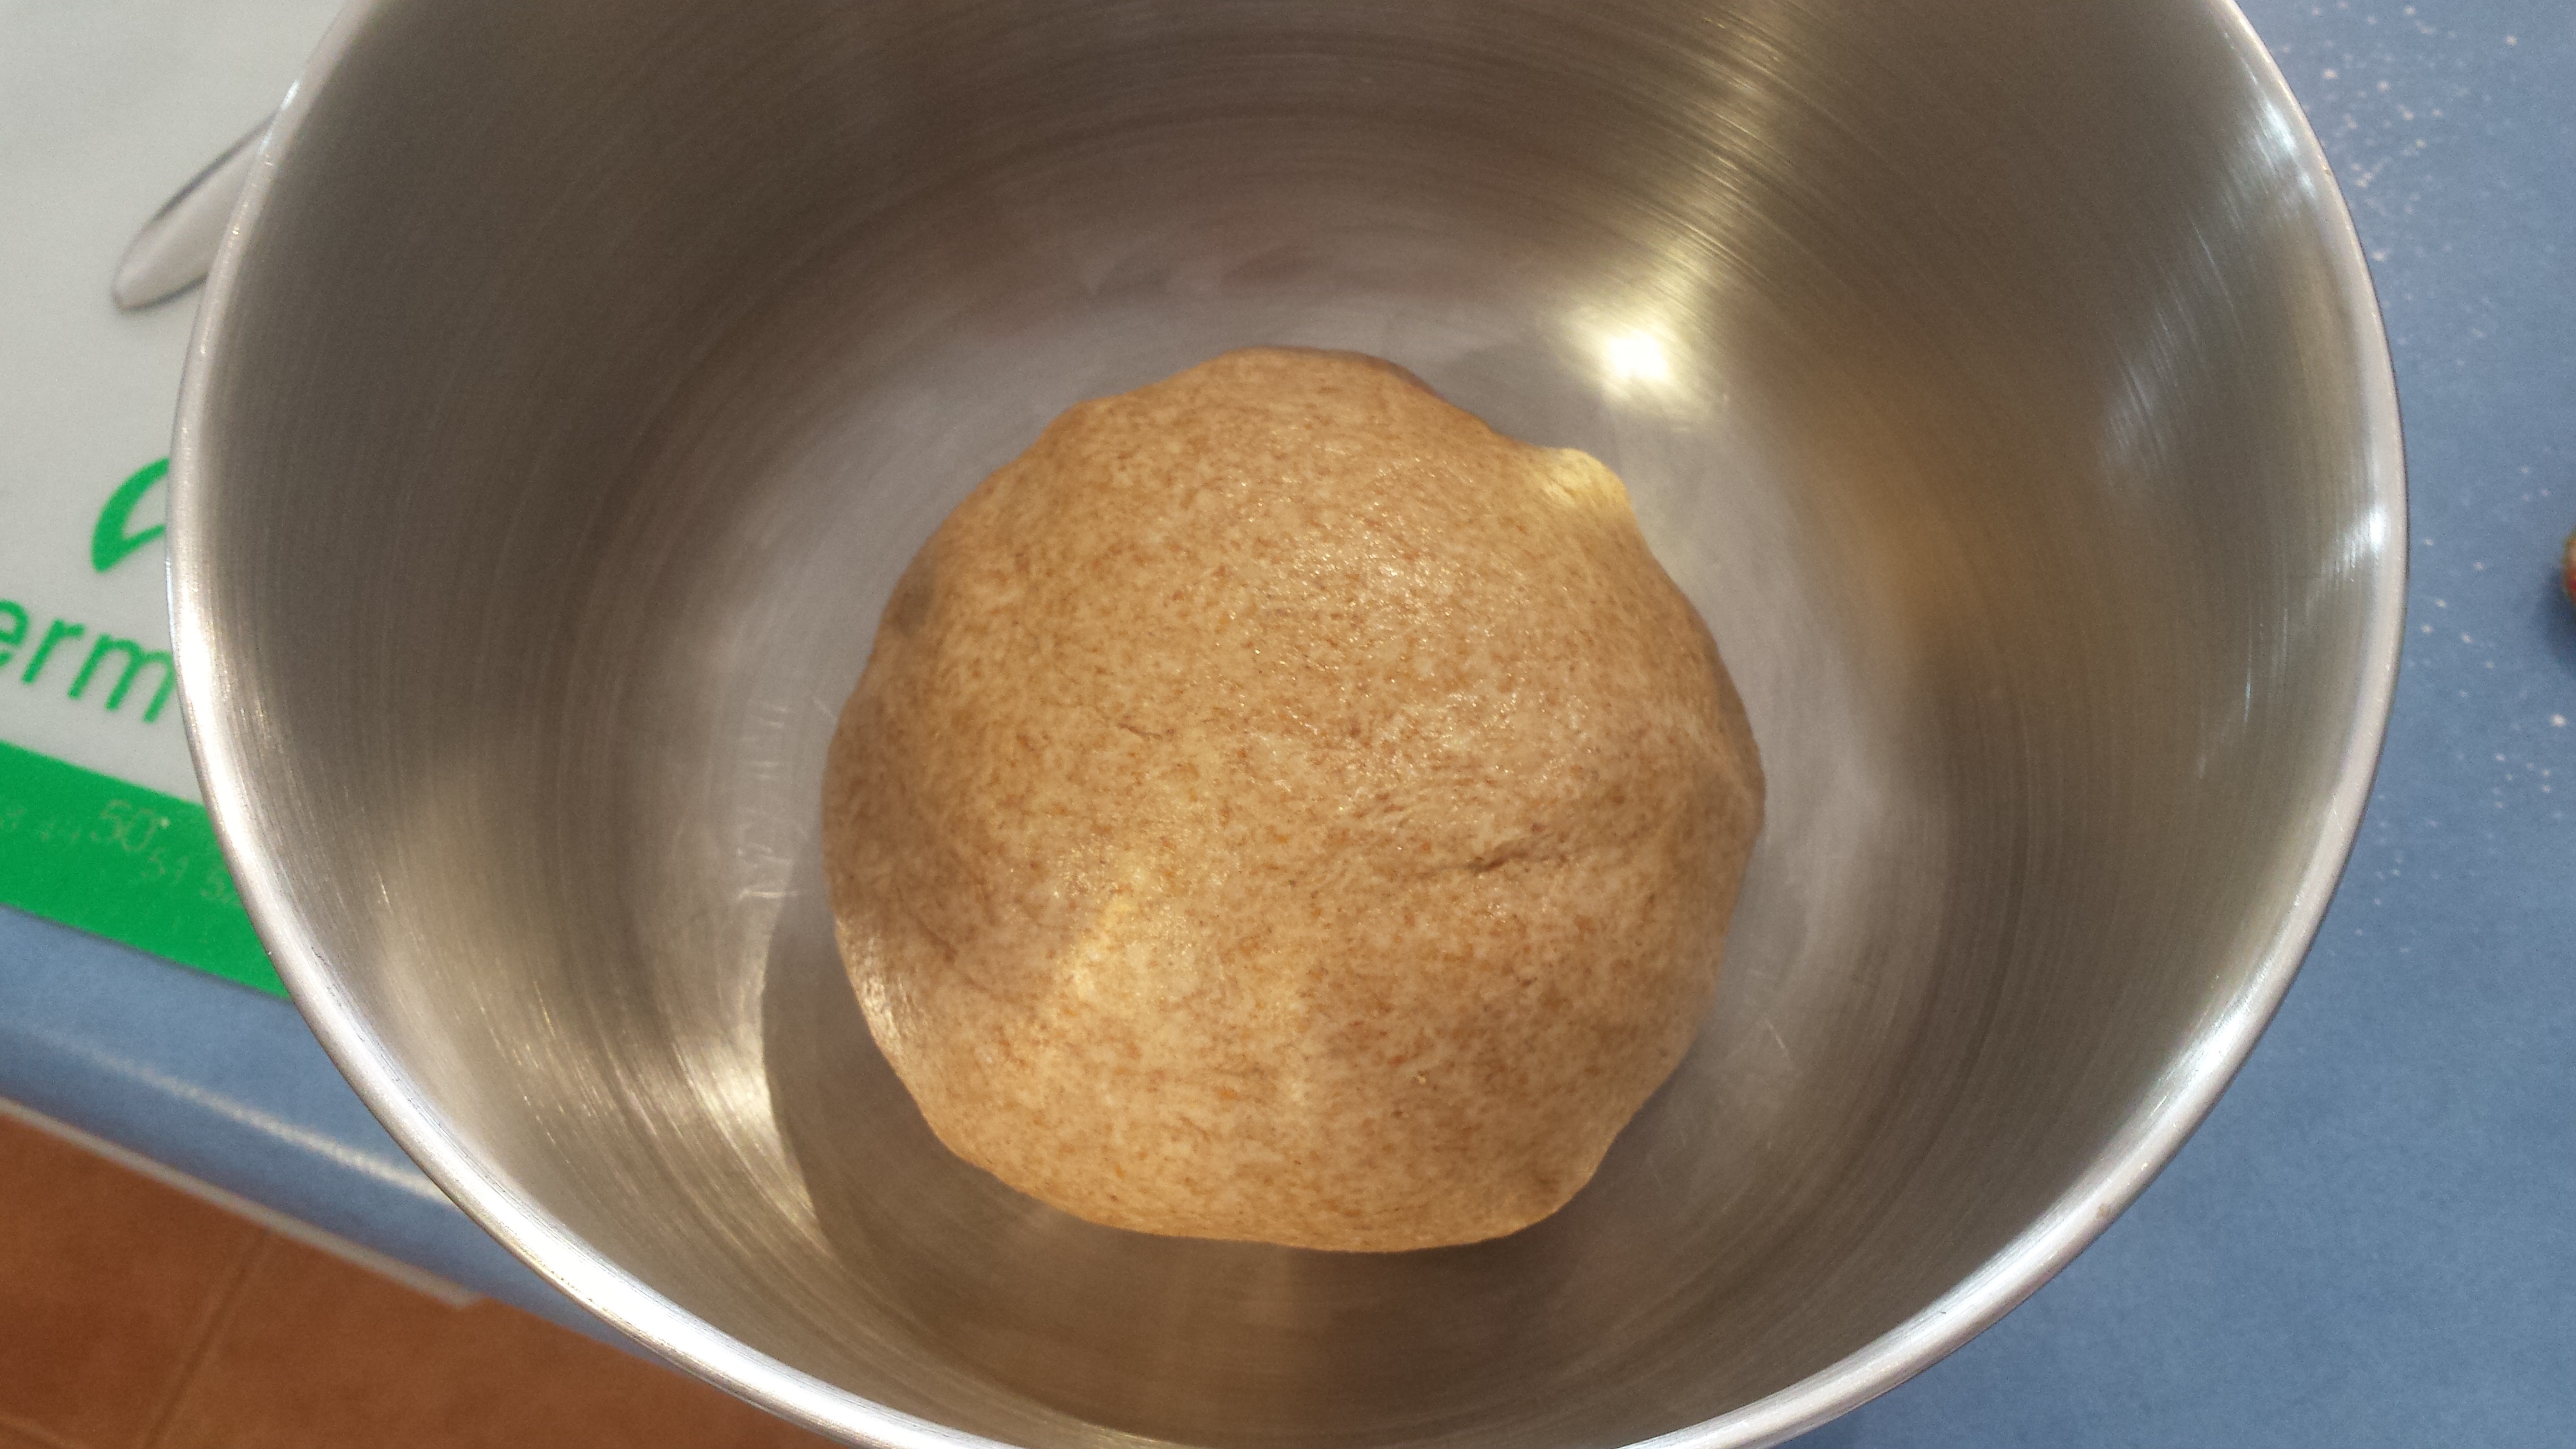
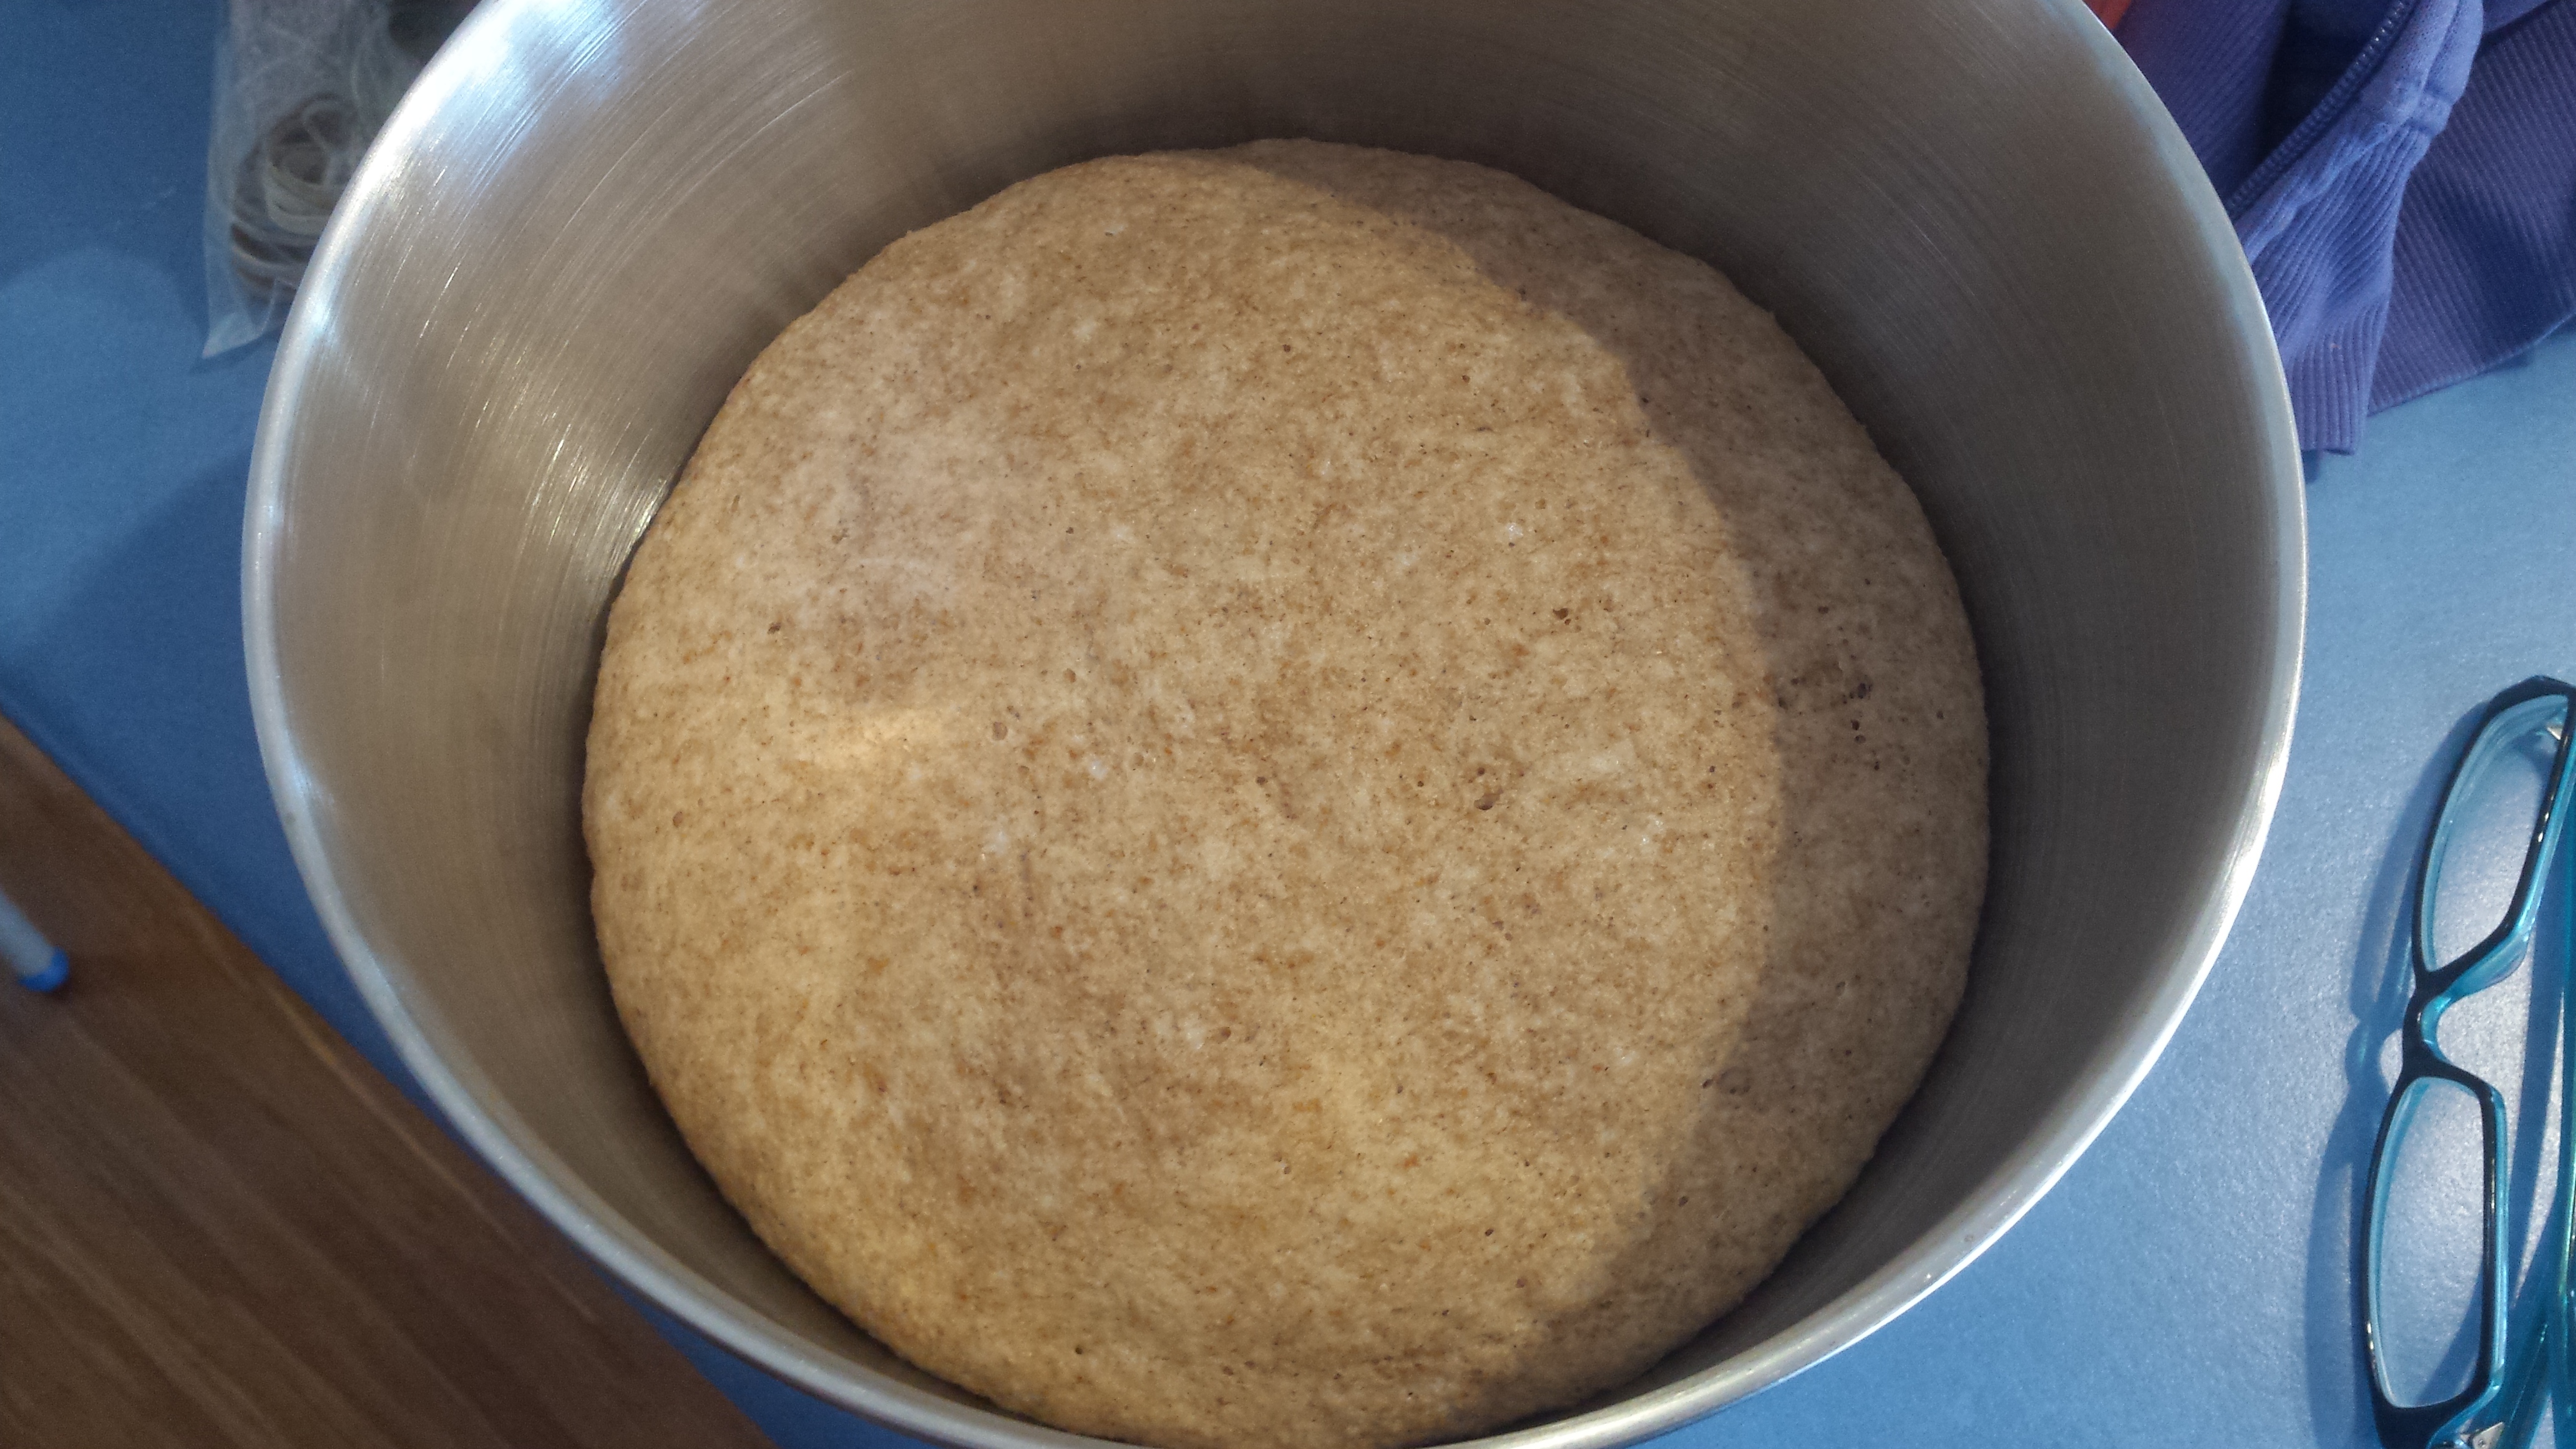
Tip the dough out and knead gently until smooth *or of course you can use the kneading function on your machine* Using your hands, smooth the surface with some olive oil and place in a clean bowl, covered with a tea towel in a warm place for about 45 minutes to an hour to double in size.
Heat the oil in a large frying pan, then add the onion and stir until soft.
Add the mince and break it into small pieces as it browns, add the tomatoes, paste, red wine and stock. Mix well and turn down to low heat. Add in the lentils.
Meanwhile, in the food processor blitz or grate the vegetables, spinach, beans and mushrooms. Process more or less depending on how smooth you want your sauce.
Add the veggie mix to the meat mix in the pan and stir well. Bring to a very gentle simmer for about half an hour, stirring regularly.
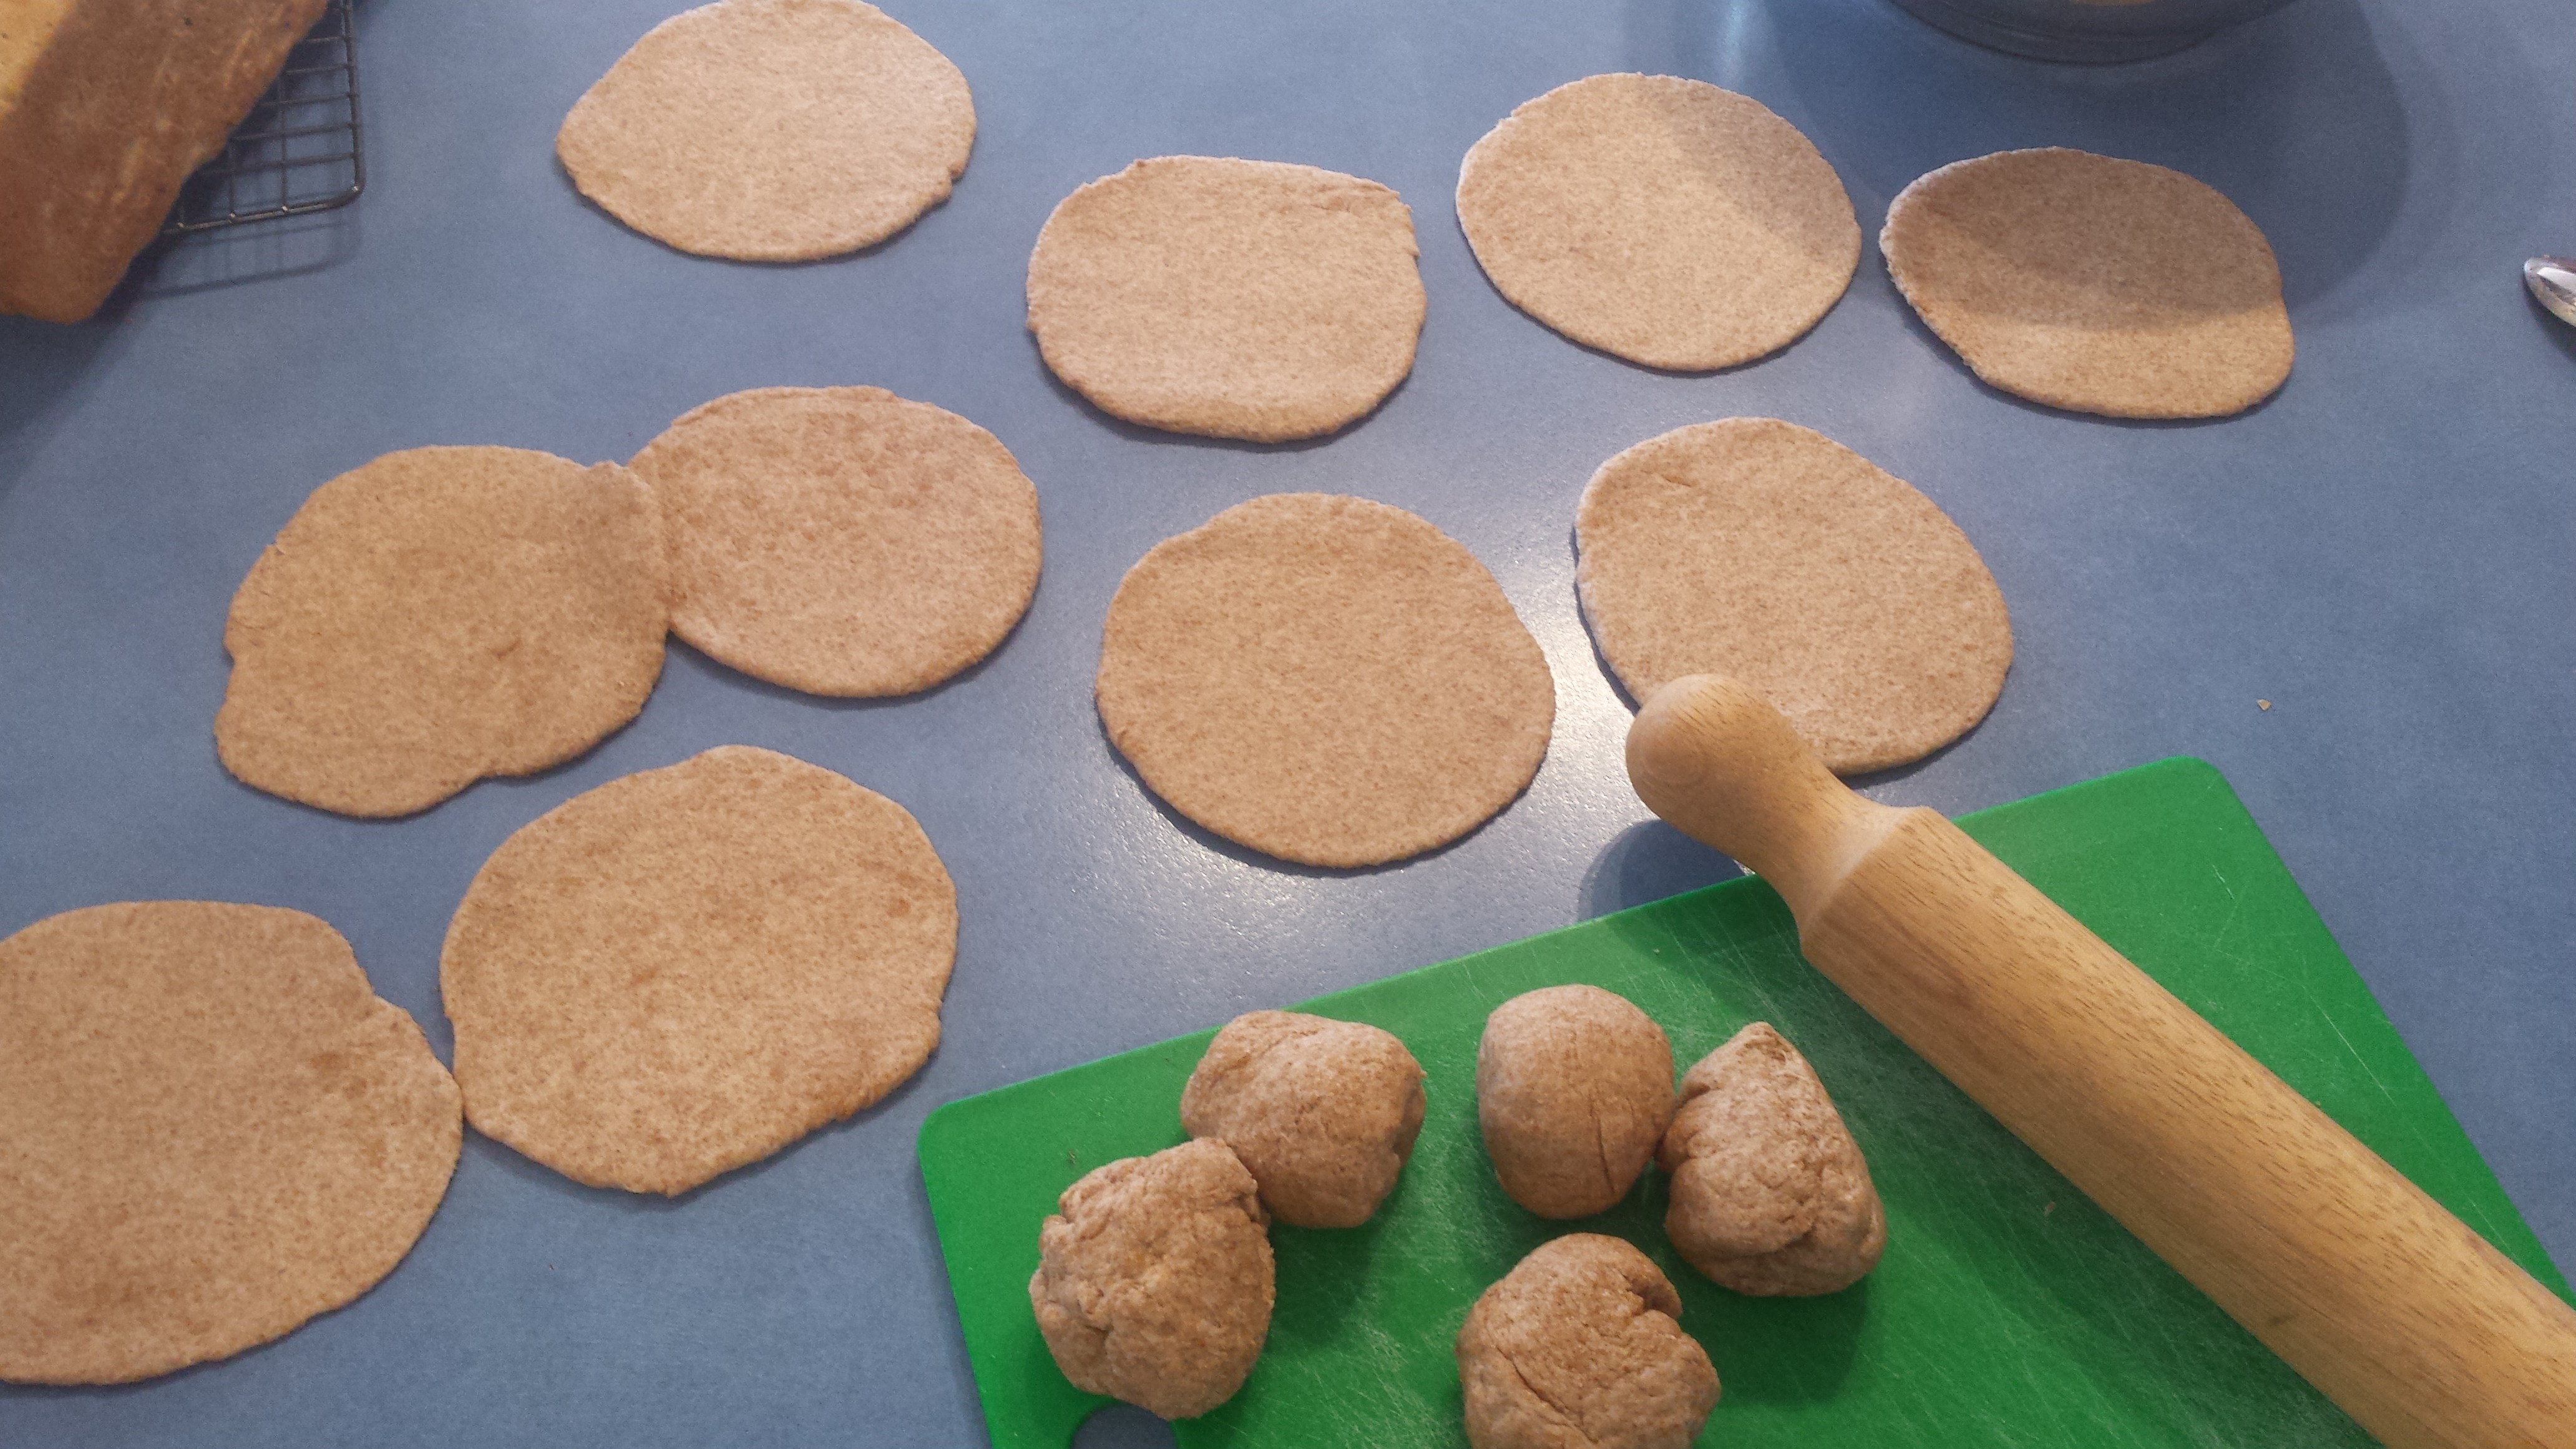
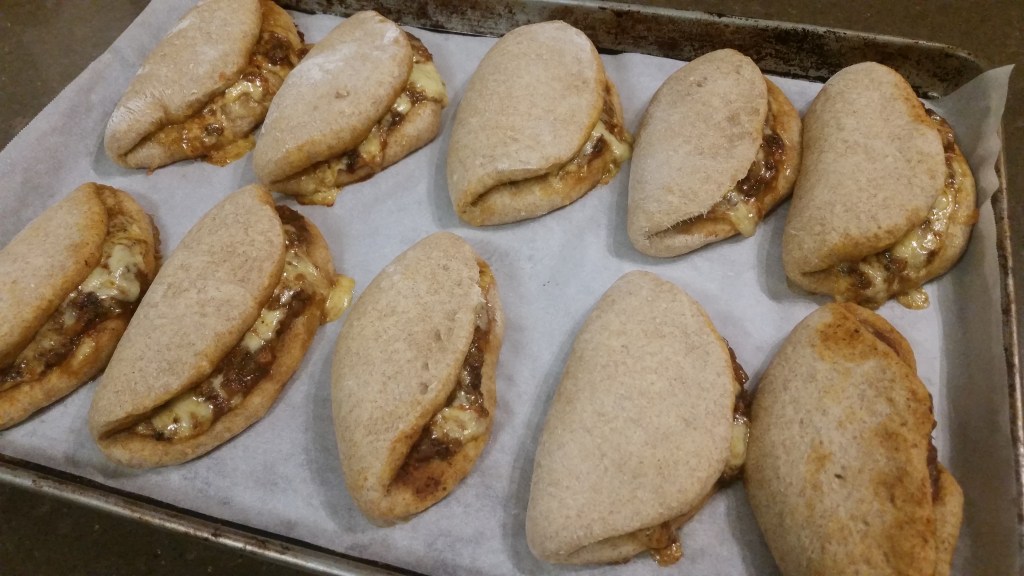
Remove the dough from the bowl and break into gold ball size pieces. Roll out to about a 3-4mm thickness (baking paper or some extra dusting flour is helpful here).
Place a spoonfull of the filling on one side of the dough, then fold over and crip edges closed with a fork.
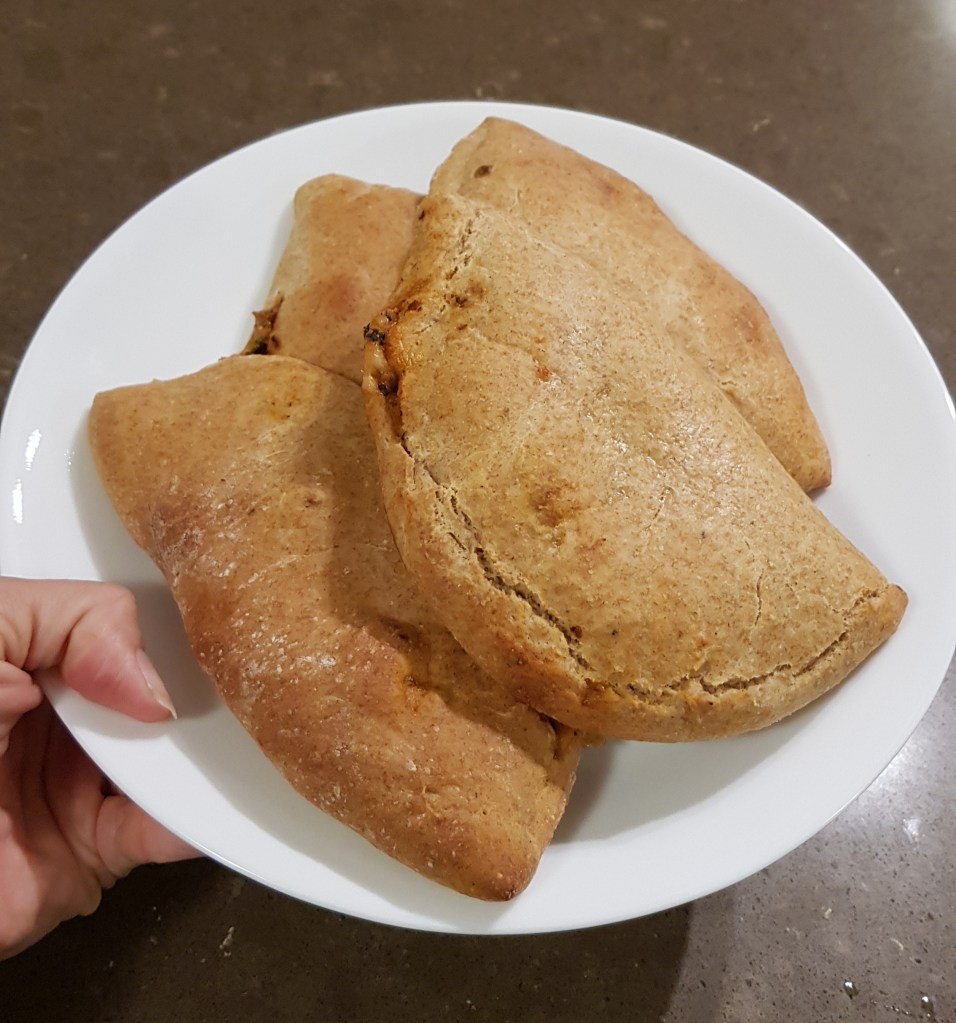
Place on a lined baking tray and into a preheated 200C oven for about 12-15 minutes or until golden.
The dough makes enough for 12-14 pieces. This is enough for our family for dinner and occasionally a lunch leftover – though that is changing as the boys grow!! However, the filling makes twice this amount, so I freeze half of the mix for a quicker meal next time.
P.S sometimes when we need ‘footy food’ we make these into hot pockets and we add in a little grated cheese to each one before folding and cooking.
We go through quite a lot of yoghurt in this house.
All 6 of us enjoy it, so it is a standard dessert with berries, we use it to make pizza dough and scrolls, plus cakes, smoothies and fruit icy poles and the kids all like to take it to school.
To cut down on costs we used to buy in large tubs and spoon into our reusable squeezey pouches. But it is still not cheap, and unless you are buying plain natural yoghurt, then it is full of sugar and flavourings, which I don’t love!
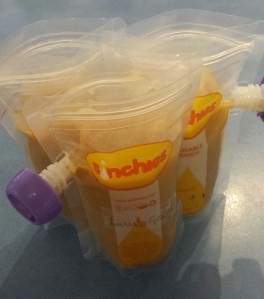
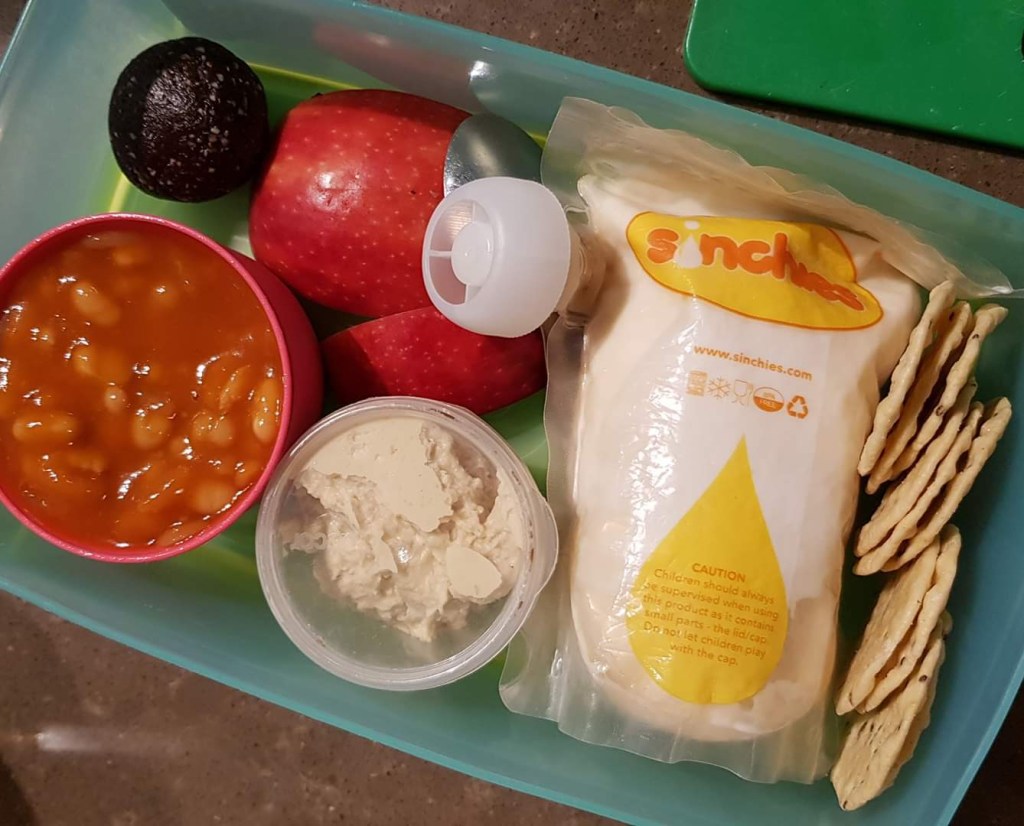
Soy yoghurt in Ellie’s Lunchbox – We’ve been using these Sinchies containers for over 5 years!
The push for me to make my own was when I realised that 350g of the soy yoghurt that Ellie eats was costing almost $4 but I could buy 1L of Soy milk for just over $2 – Yikes!
I did a bit of research and found that I could buy a non-dairy culture as a starter online. This is the one I use, from Green Living Australia. It was about $22 to buy, but contains enough starter to make 100L – not too bad!!
You can use the non dairy starter to make dairy yoghurt too – but their Dairy Starter does a better job as they work at slightly different temperatures.
The starters do need to be kept in the freezer.
I adapted the instructions from Green Living Australia to make a couple of recipes that suit our family.
If you don’t have access to the starter, you can use simply use 1 heaped tablespoon of your last yoghurt into the milk at the same point the started would go in then whisk it to combine it evenly and continue on with the rest of the steps as per the recipe.
The simplest way to go is to use UHT milk because it has already been heat treated. If you want to use fresh milk then you will need to heat the milk to 90C for 8-10 minutes and then allow to cool to between 37-42C before adding the culture. This allows only the bacteria that you want to culture to be left over.
You will need an accurate cooking thermometer for this recipe. A digital candy thermometer is ideal (they cost under $15 in most big Supermarkets)
Dairy Yoghurt:
1L full cream UHT milk
1/3 cup milk powder (optional, but gives a thicker yoghurt)
1 tbsp sugar (optional, we don’t use it for the dairy milk)
1 dose starter culture
In a large saucepan place the milk, sugar (if using) and powder and whisk to ensure even distribution.
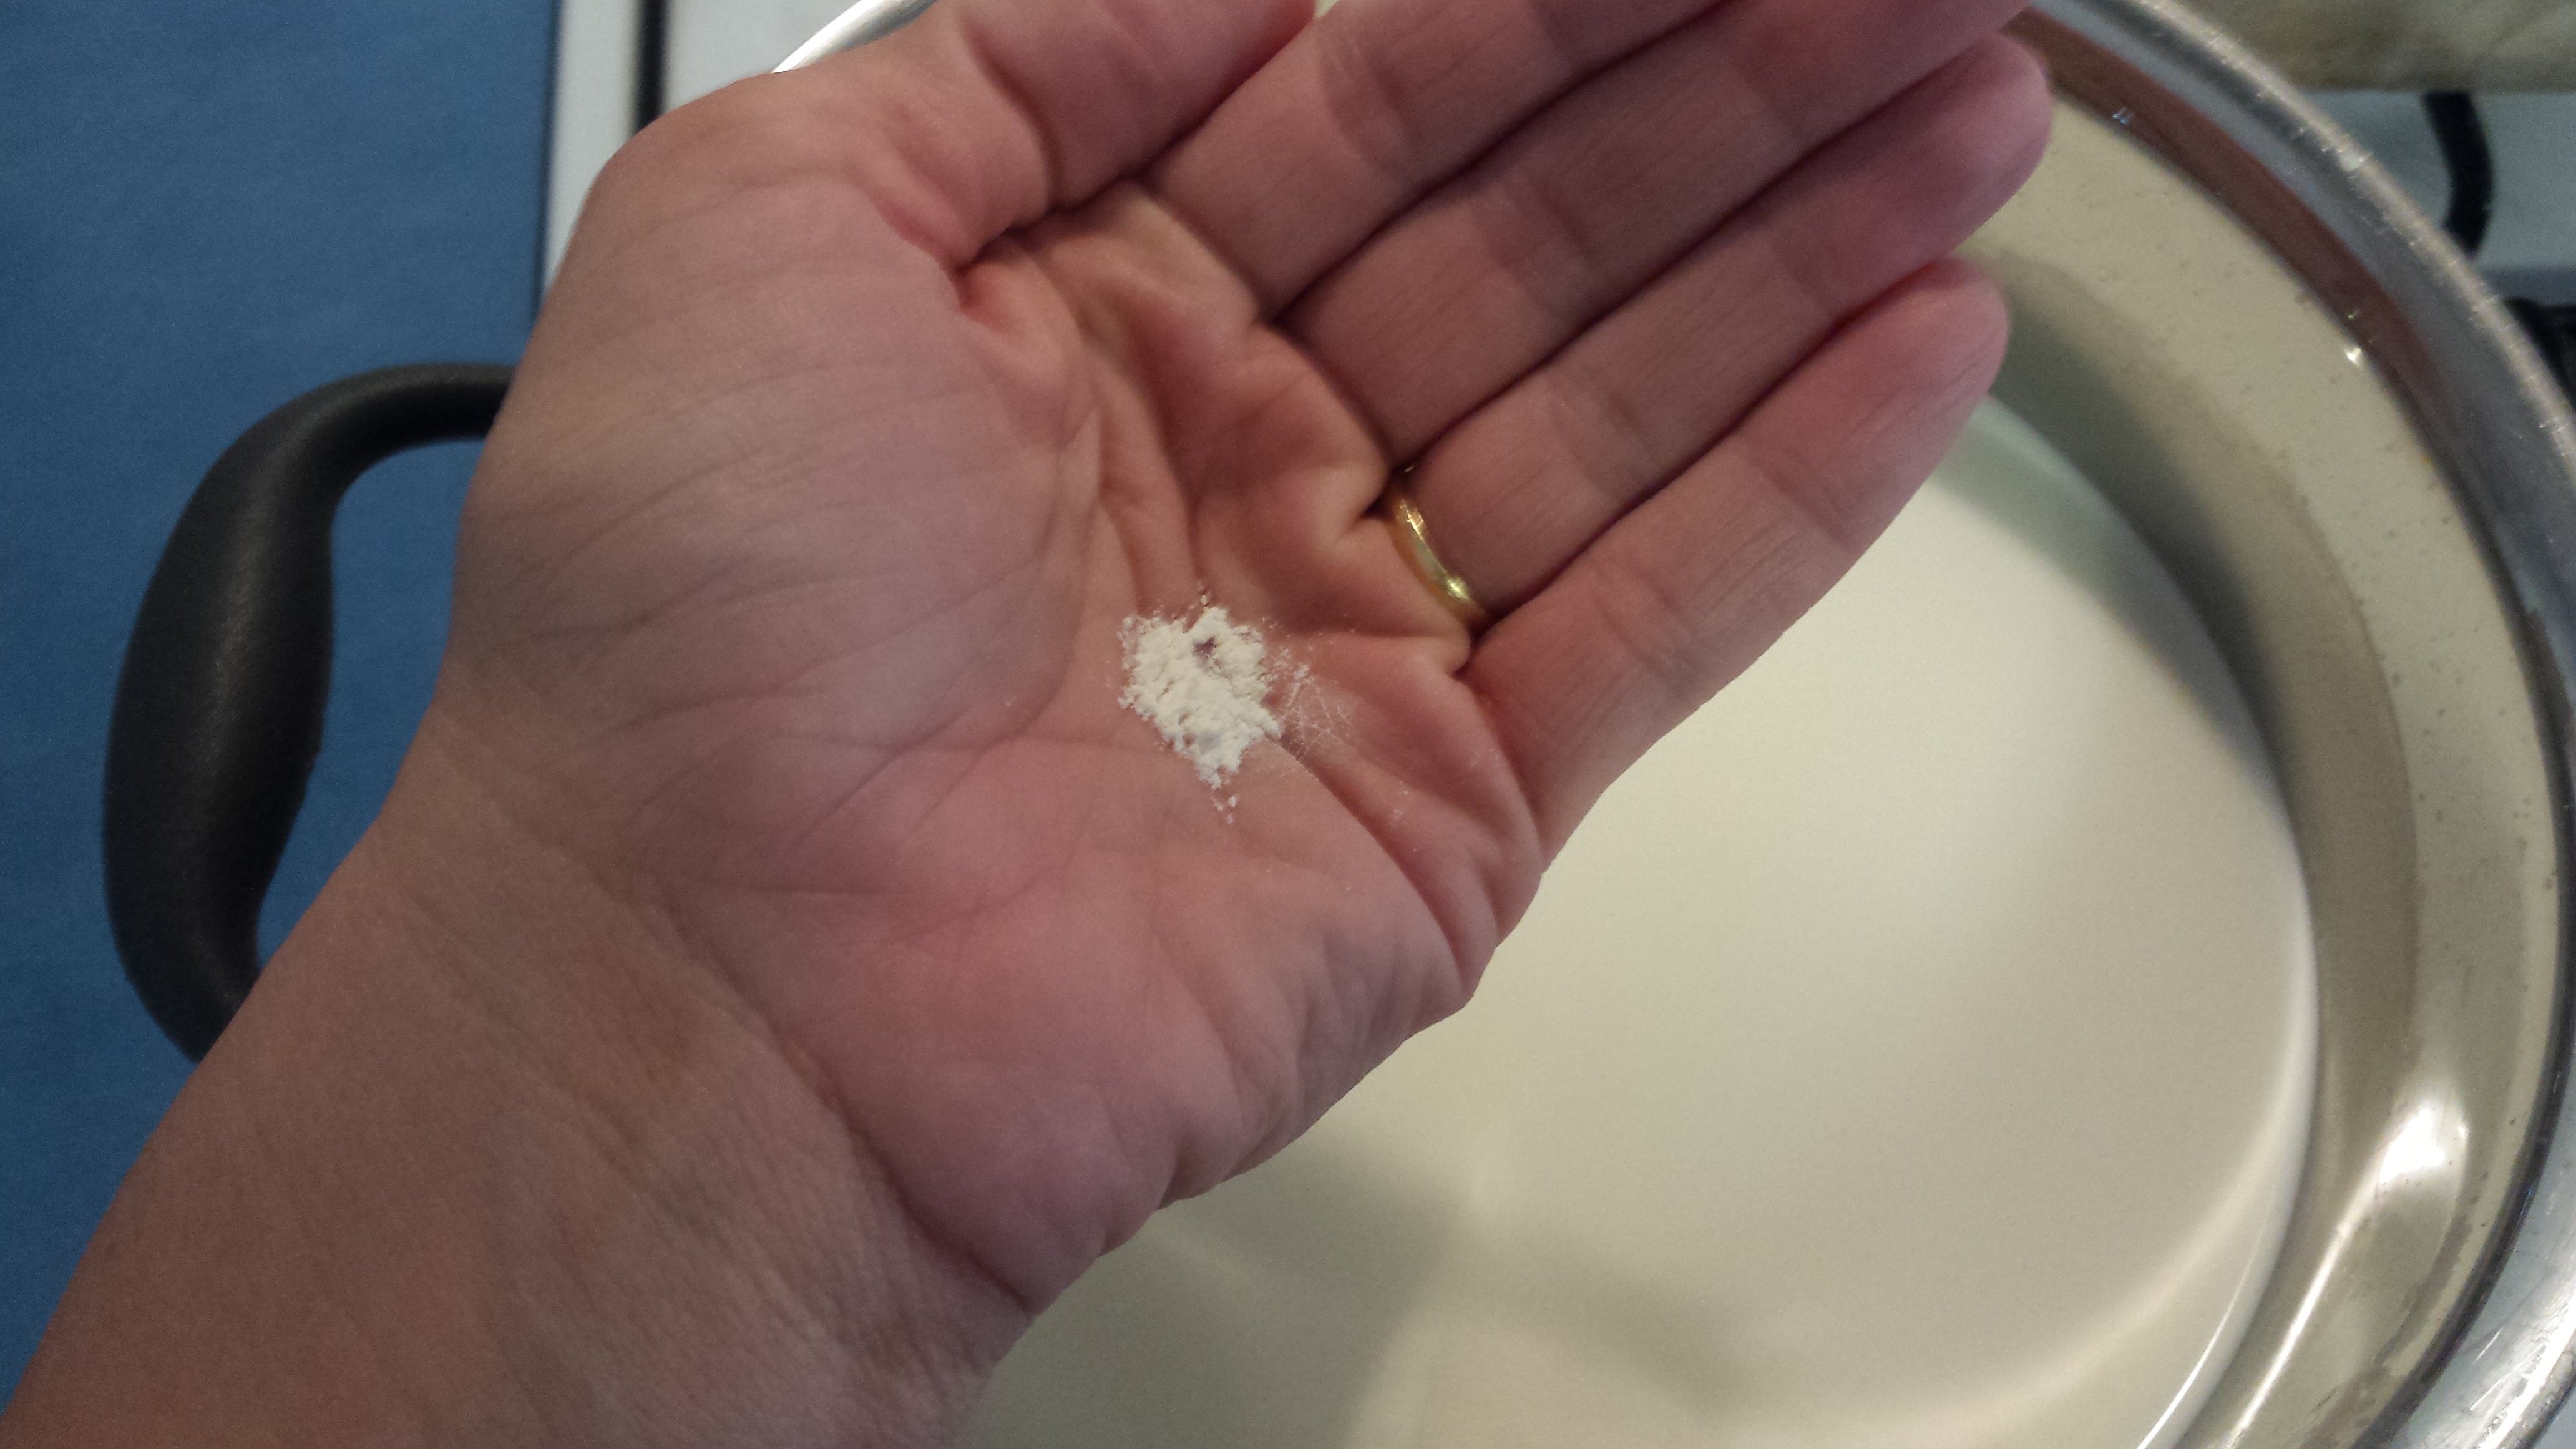
Heat on a gentle heat until it reaches between 41-43C. Remove from heat and tip in culture. The amount required is very small!
this quantity of powder is enough starter for 1.5L!
Whisk again to ensure even distribution.
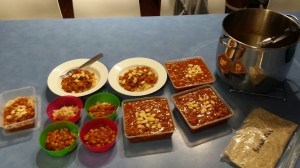
The idea now is to keep the milk mix at this temperature for the next 18-24 hours. I use both the Easiyo container and my regular thermos (warmed with boiling water before tipping the yoghurt in) – both work equally well. An Electric yoghurt maker is a fancier option but essentially does the same job of keeping the mix at a stable warm temperature.
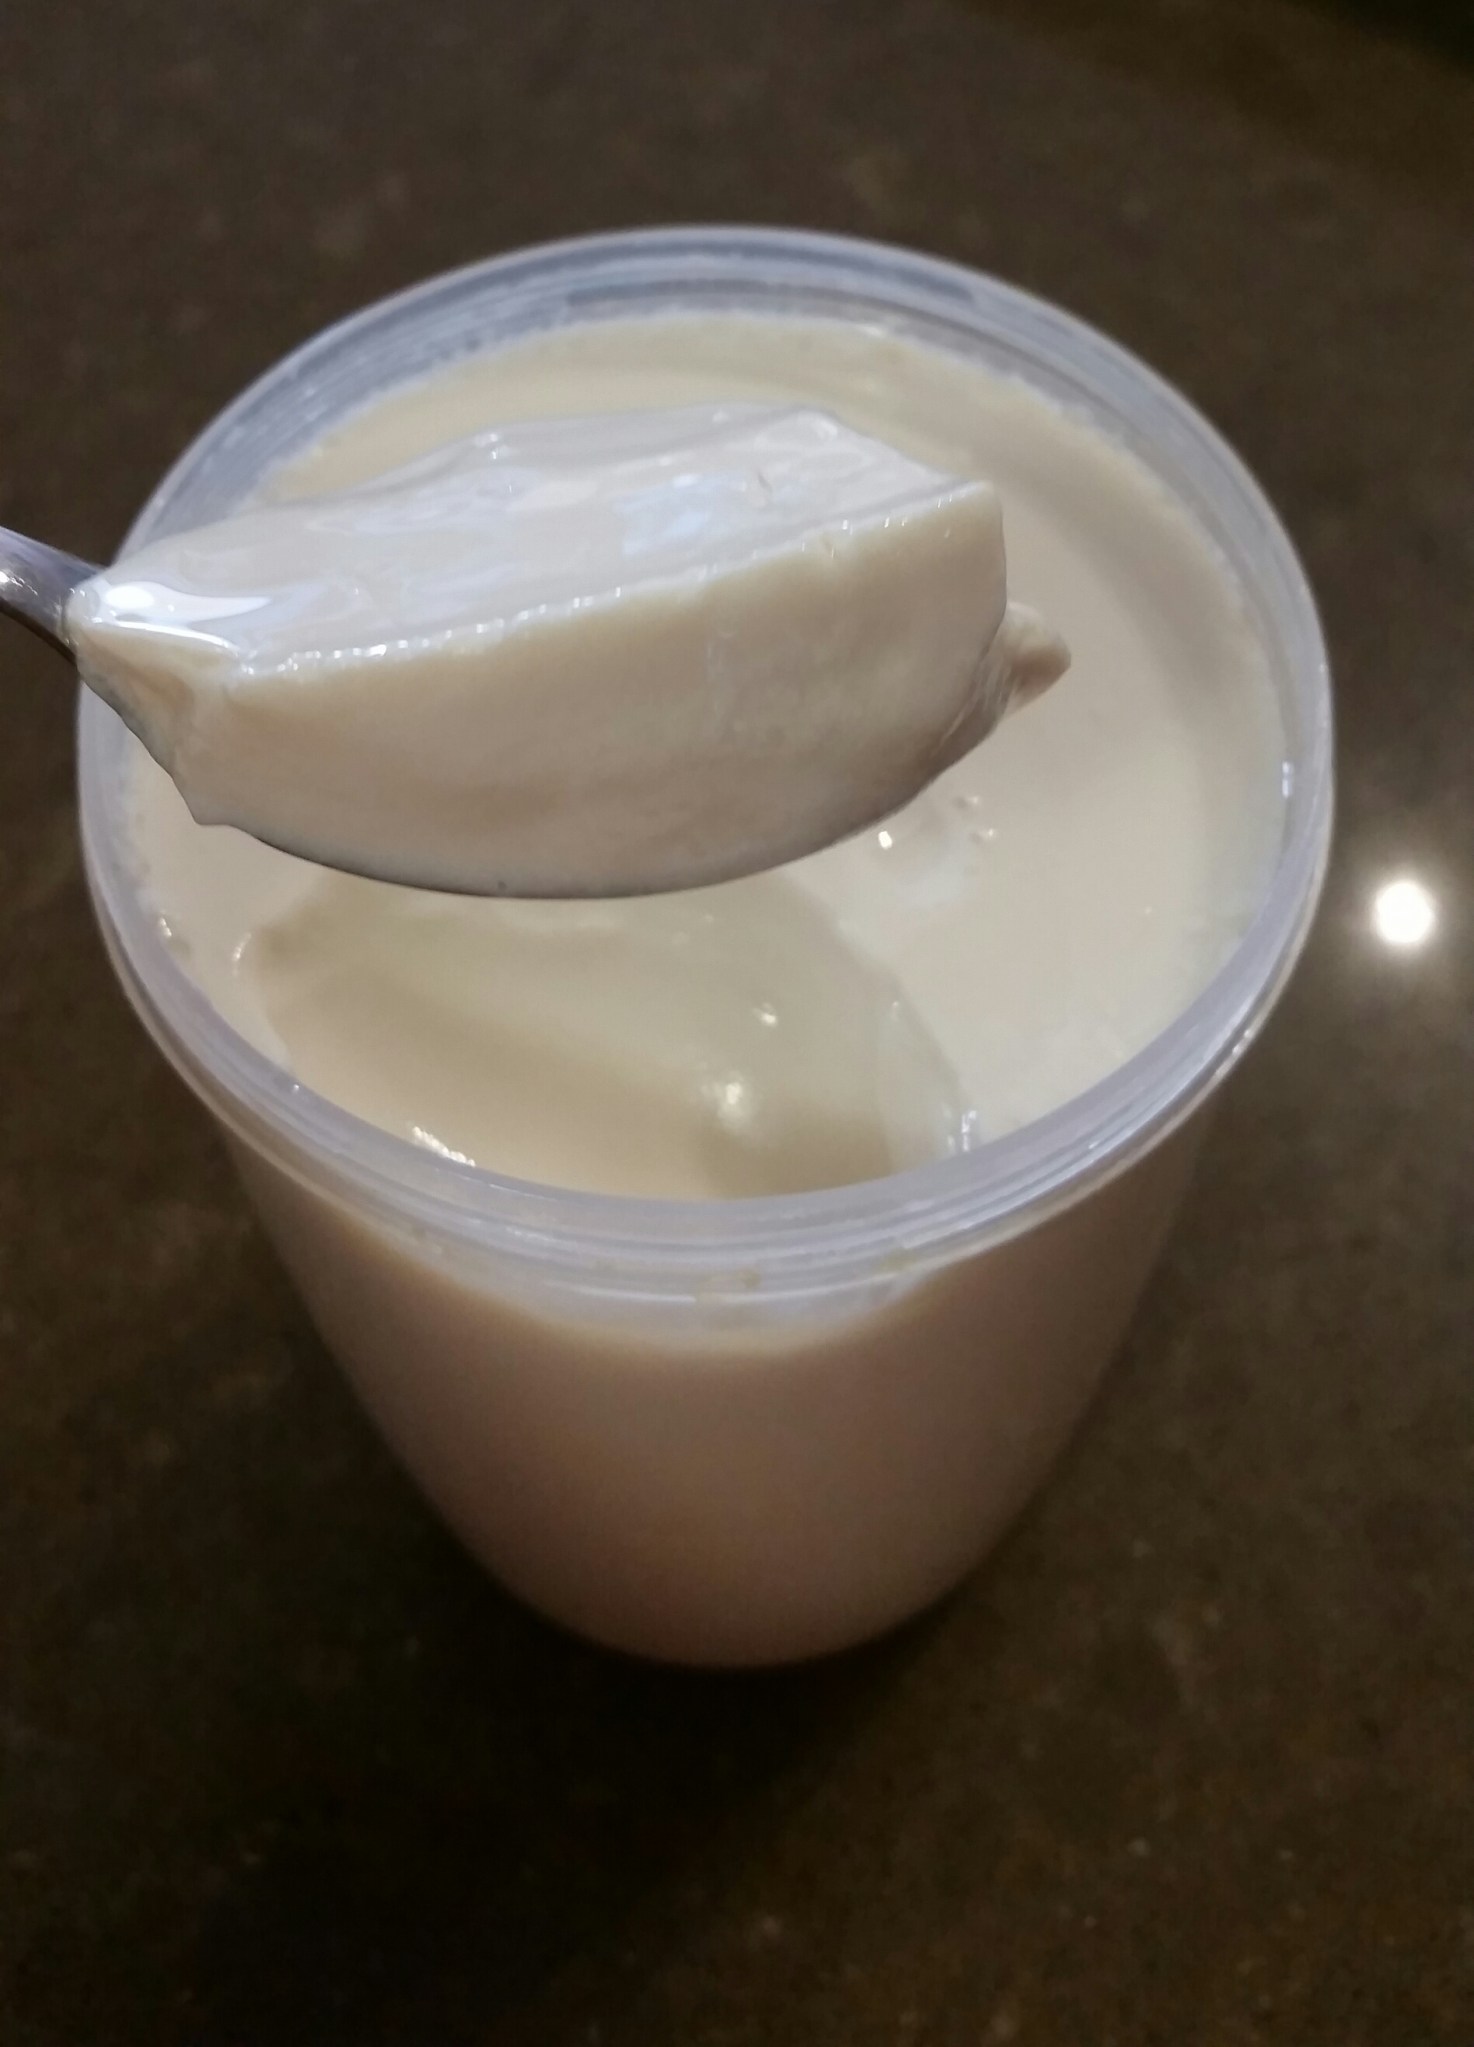
After about 18-24 hours, check to see that the yoghurt is set, flavour it as you wish and then store in a clean container in the fridge for up to 10 days. We tend to leave the yoghurt plain in the fridge and then flavour it as we choose when we’re serving to allow for more variety – and for no flavour when we’re using it in dough.
If you have tummy difficulties with lactose, then leave the yoghurt fermenting for the full 24 hours and the bacteria will have eaten almost all of the milk sugars (lactose) and you will essentially have a lactose free yoghurt.
The sugar is optional in dairy milks since there is already lactose available to feed the culture, however, adding a simple sugar increases the carbohydrate available for the culture to eat and improves the end result. Green Living Australia say that the sugar is used up by the bacteria and won’t be there in the end.
Soy yoghurt:
1L soy UHT milk** (opt for the no added sugar, organic version if you can so you can control the quantity of sugar)
1 tbsp sugar
1 dose starter culture
**I buy a ‘protein rich’ Soy milk which has the bean content upped to 21% and it makes for a really amazing thick yoghurt – much closer to the store bought variety!
In a large saucepan place the milk and sugar and whisk to ensure even distribution.
Heat on a gentle heat until it reaches between 37-41C. Remove from heat and tip in culture. The amount required is very small!
Whisk again to ensure even distribution.
Place in Thermos/Easiyo container and follow same storage and flavouring guidelines as for Dairy yoghurt.
The sugar isn’t optional when you are making soy yoghurt as the soy bean doesn’t have the same natural sugars to feed the cultures.
The enrich the calcium content you can add a few drops of calcium carbonate before tipping in to the thermos, which also helps with giving a thicker yoghurt.
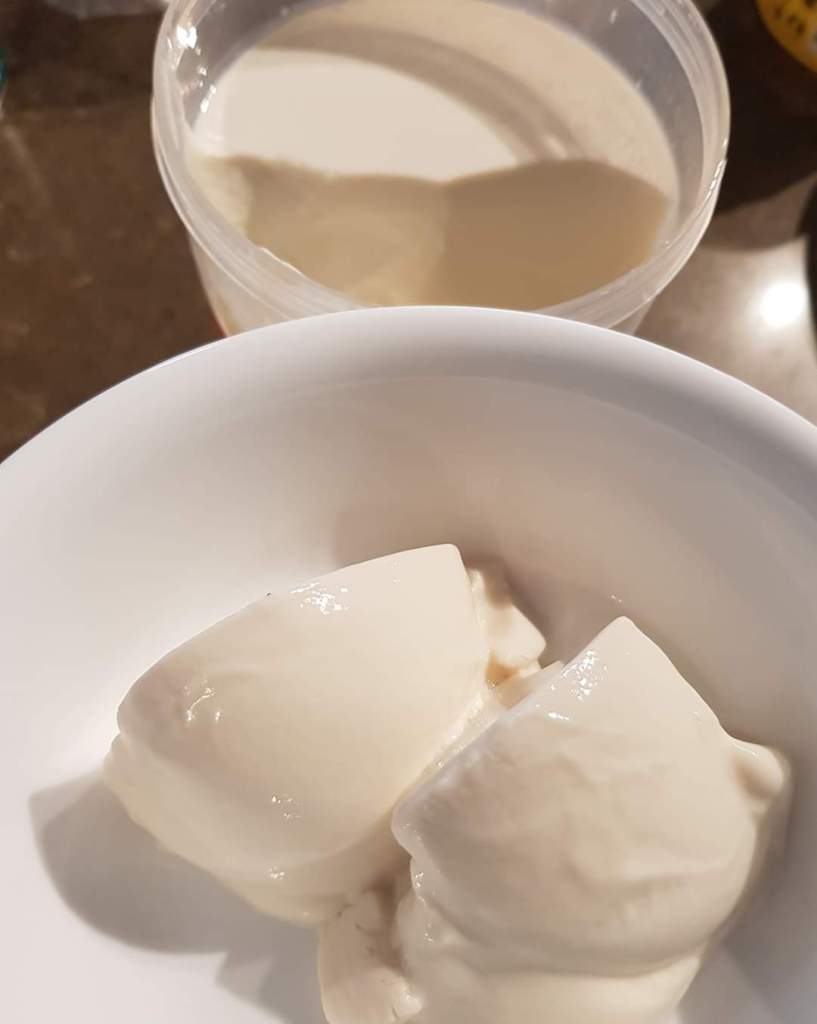
To get a Greek style yoghurt you need to strain the end yoghurt through a nut milk bag.