Chocolate mousse cake

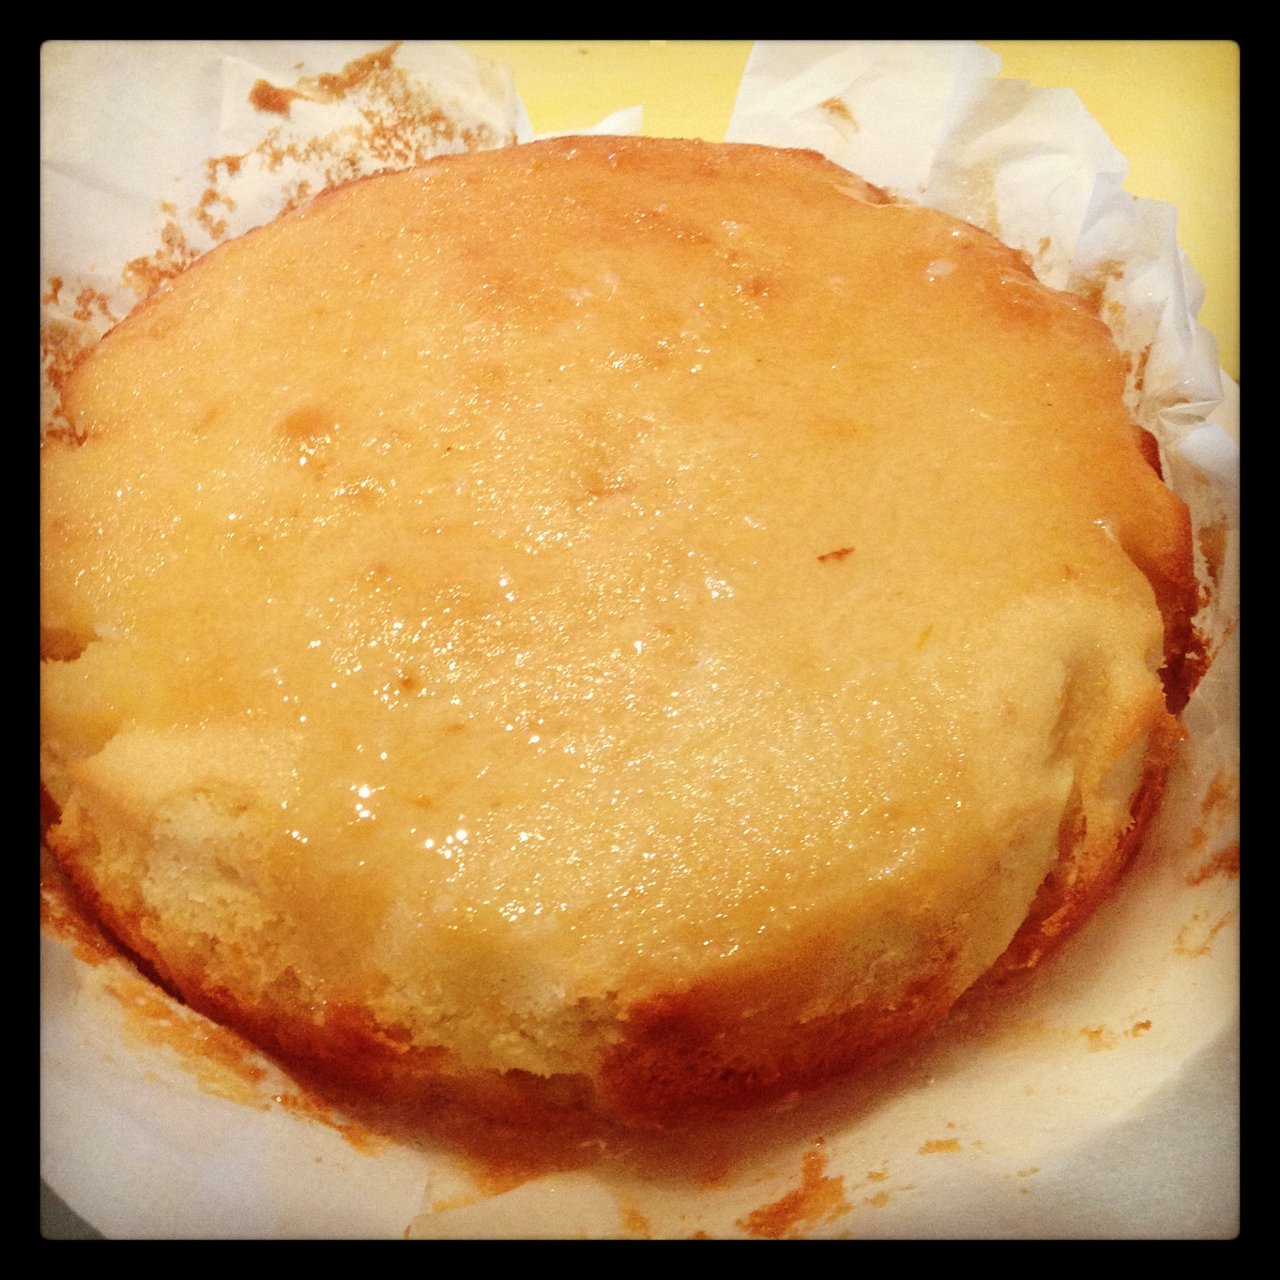
Last night we had a get together with a group of friends that had been months in the planning. A few sets of friends were visiting from all over the world … what better reason to get together and share a whole lot of yummy deserts?! I was asked to bring along an allergy friendly desert … and this cake what I came up with – it is almost a replacement for cheesecake.

Just before he tasted it, I was having a conversation with a friend who was telling me how it is really awful when people try to pass off ‘that avocado stuff as chocolate mousse’ … and then he ate it and loved it … so I’m counting that as a win 😀

To make the base you’ll need1-October 2013 379

  • 2 packets of Macro gingernuts
  • 3tbsp Nuttelex

Place in a food processor and process until the crumbs resemble damp sand.

Press the crumb down firmly with a fork into a greased springform pan.

Then make the mousse.

I used a double quantity of this recipe for the chocolate mousse

Tip the mousse on to the top of the crumb base and spread out evenly.

Place in the freezer until solid. This is a cold dessert so it is best left in the freezer until almost ready to serve.

2-November 2013 002

Makes quite a large cake – serves probably 12-16.

I really enjoy the ginger flavour, but I think next time I make this I might have a go at using  Rowies Anzac Biscuits so that the chocolate flavour is the more dominant one.

Hope you enjoy!3-Blog 067


Update: I have recently been making this cake with a different base and have enjoyed it even more than the original.

  • 2 packets of Leda’s Arrowroot biscuitsOctober 2014 1398
  • 1 tbsp flaked quinoa
  • 1 tbsp almond meal
  • 8 fresh dates, pitted
  • 1 1/2 tbsp tasteless coconut oil.


Aussie Meat Pies

With the AFL Grand Final this weekend, it feels almost compulsory to add a recipe for meat pies. Doesn’t every Aussie watch the footy eating a pie?!

The problem for me is that with my mince aversion, there is just no way I could possibly eat a shop bought meat pie that is full of miscellaneous animal parts and gristly bits – ick!

So here is my recipe for slightly healthier Aussie meat pies. We have a friend that insists that tomato sauce is all the salad you need to go with pies, and with the veggies snuck into this one, I have no problem with that 😀

  • 600-800g casserole beef, diced fairly small (about 1cm cubes)
  • 2 small carrots (mine was massive so I just used 1)
  • 1 small sweet potato
  • 1 cup peas
  • 1 tbsp each of bbq sauce, tomato sauce and cocnut aminos1-Blog 034
  • 3/4 tbsp Vegemite
  • 1.5 cups very hot water
  • 1 tsp minced garlic
  • 1 tbsp Orgran gravy powder.
  • Short crust pastry of choice.
  • Milk of choice

Place the meat into the slow cooker and place on low to heat up while you prepare the veg and sauce.

Finely grate the carrots, peel and grate the sweet potato and mix with the peas. Set aside.

In a large mixing jug, mix together the sauces, garlic, gravy mix and Vegemite. Then add the hot water and mix well until it is all dissolved and well combined.3-Blog 040

Pour the sauce over the meat and then add the veggies. Mix until well combined. It won’t look very saucy at this stage, but it will get more so as the veggies cook down.

Return the lid to the slow cooker and set to high for 4 hours. About 3/4 of an hour before cooking time is up, remove the lid and allow the meat to keep cooking whilst some of the liquid evaporates. If you forget this step, you can always add another bit of gravy powder to thicken the juices a bit.

Line either a pie dish or muffin trays with pastry, then fill with meat mix and place a lid of pastry on the top.

Use a fork to press down the edges and join the top to the base, brush with milk of choice and cut small vent holes.

For those who are Gluten Free,  I used this pastry. I used a puff pastry because I knew from past experience that it didn’t puff hugely and I didn’t want them to be too stodgy.1-20130806_133713

You could also use a puff pastry top if you wanted a lighter finish for your pies.

Cook in a preheated oven at about 200C for 35-40 mins or until the pastry is golden brown and crunchy.

The meal can be frozen once the pastry is on, but before you cook in the oven. Defrost well before cooking and cook as normal for the final step.

This made a quite a large amount, enough for dinner for 6 adults.

1-Blog 044

Enjoy your pies and cheering for your team (or in my case – a substitute Western Australian Team because my beloved team didn’t make the finals … this year!!)

A very happy first time pie eater!

Super Salmon patties

Simple salmon patties were another standard in my house while we were growing up. Sadly, when we got married, Peter wasn’t such a fan – he thought they were too bland.

But they are such a great way to get some good fish oils into kids, and they are also  great because they are the perfect finger food for little hands, super transportable for picnics and lunchboxes and they’re a very inexpensive meal option!

So I have worked at adapting them, making them allergy friendly and increasing their nutritional value and now they are a resounding success with everyone in our family. Yay!

Hope you and your little people (or just the big ones!) enjoy them too 🙂

  • 1 400g tin pink salmon (drained and skin and large bones removed)
  • 1 medium sweet potato (4-5 cups when chopped)
  • 400g tin chick peas/butter beans, drained and rinsed
  • 1 tsp fresh finely chopped dill
  • 3/4 cup nutritional yeast
  • 4 tbsp hemp seeds
  • Salt and pepper to taste
  • oil for cooking
  • Optional: a 1/2 cup corn kernels and 1/2 a grated zucchini

Peel and dice the potatoes. Place into a saucepan of boiling water and cook until soft.

Drain and rinse the chic peas, the soak them in boiling water for about 10 minutes minutes, before draining again and mashing well.

If using zucchini – grate then squeeze out all the liquid between paper towels (might take a few lots of towels). Set aside.

Drain the salmon and remove any large bones before mashing

Roughly mash the potato, then mix through the mashed chick peas, followed by the salmon (plus corn and zucchini if using).

Add in the dill, salt and pepper then mix.

Add in the nutritional yeast and hemp and mix well until evenly combined.

If the mixture is still too wet, then add in more of the nutritional yeast and seeds until you get a consistency that allows you to form balls, then squash down into patties – i do mine about palm sized.

Place mixture in the fridge for an hour .

Remove from fridge (roll in some breadcrumbs or almond meal if you like more of a crispy coating), then place in a hot frying pan with some oil.

20190625_170314


Cook until golden and then turn. About 3 minutes on each side. (You can also spray them with a little oil and bake in a preheated moderate oven for about 20 minutes per side).

Drain on some kitchen paper; allow to cool a little and then serve, on their own, in a burger or with some extra salad or veggies.

20150930_152201-1

Makes about 24

20180522_173602

These don’t freeze well, but they last a few days in the fridge and are great for easy, healthy lunches.

I think they are particularly great for lunch with some slices of avocado on top and drizzled with sweet chilli sauce 🙂

20180522_174141

**To make these into veggie patties which as great vegan option we simply leave out the salmon. The work brilliantly on their own or in a burger.

Lemon Drizzle Cake

Lemon Drizzle
Retro Mummy inspired me to go the rustic look with the baking paper and I love it!

I enjoy reading Retro Mummy’s blog and we have been loving her recent cake recipes. I adapt them to be dairy and egg (and nut when required) free and usually they turn out really well. The best so far has been the Lemon Drizzle Cake. You can see Corrie’s recipe here. I made my cake in my KitchenAid and loved using fresh lemons from our tree, saving them from ending up as balls for my kids to play with in the garden! I have a feeling that this cake would even cope with being gluten free as well – the flavours are so good.

Ingredients
  • 1 cup caster sugar
  • grated lemon rind from 2 lemons
  • 125g Nuttelex
  • 1tsp vanilla essence/extract
  • 2 eggs equivalent of No Egg, made up with water and mixed well.
  • 3/4-1 cup soy milk (or whatever milk you can have – coconut milk might work really well) I had a juicy lemon so didn’t need as much milk.
  • juice of 1 lemon
  • ½ cup or 55g desiccated coconut (I used shredded and it was good!)
  • 1½ cups/250g SR flour

Drizzle icing

  • juice of 3 lemons (2 would be enough if they were as big/juicy as the ones off my tree)
  • 1½ cups icing sugar
Method
  1. Cream the butter, lemon rind and sugar until thick and creamy.
  2. Add in vanilla and combine.
  3. Add in No Egg mixture, milk and juice of 1 lemon and mix until creamy.
  4. Add in flour and coconut and mix until well combined and creamy and fluffy. I’m not sure why mine went super fluffy but I did leave it for a little bit to attend to children so I think the No Egg really got working like eggs. Worth being distracted for!
  5. Pour into a lined cake tin and bake for about 40 minutes in a 170C/340F oven.
  6. While cake is cooking combine the icing sugar and juice of two lemons in a bowl. Leaving it for a while ensures any icing sugar lumps are dealt with by the juice.
  7. When cake is cooked, remove from tin and leave to cool
  8. Drizzle icing over the cake. I drizzled the icing over while the cake was still warm, like Corrie suggested. I think it absorbs it better too.
  9. Enjoy while still warm – mmm mmm!

Results

5 thumbs up and lots of ‘more’ signing from Miss Emmalyn!

Rich mud cake

This is the cake mix that I keep at the back of the pantry for emergencies! I find it in the alternative section at Woollies.

It is very simple to make and delicious – even for those without allergies … my Dad polished off 3 for arvo tea while we were working on the house 😉

The instructions on the back tell you to add 1/2 a cup of water, 1/2 cup oil and 2 eggs. I have found this to be too oily.

So instead I add1-July 2013 037-001

  • 1/3 cup rice bran oil
  • 1/2 a cup, plus a splash more water, and
  • 2 tsp no egg powder.

I divide in to 12 muffin pans and cook for about 20-25mins in a 160C fan forced oven.

They freeze and defrost perfectly and are wonderful to take to parties for Ellie so that she (or I ;)) don’t miss out.

Enjoy 🙂

Banana Custard

We have recently been offered and accepted a job back in Perth, so we are in the midst of packing to leave Roxby Downs. It is a time of very mixed emotions – we are very sad to be leaving behind our lovely friends and small town lifestyle here but also very excited to be moving closer to family and friends …. and not to mention the excitement of being able to have loads more choice for our foods!!

One of the things I like least about moving is the process of running down the pantry and fridge/freezer. I discovered heaps frozen overripe bananas in the back of my freezer the other day (that I had totally forgotten about!) so I have been experimenting with ways to use them up. Custard was the best of the bunch 😉

Banana Custard

  • 3 defrosted overripe bananas1-May 2013 086
  • 500ml oat milk
  • 2 heaped tsp of No Egg powder
  • 50g coconut sugar
  • 30g pure Cornflour
  • good pinch of cinnamon

Place the Bananas, sugar and cornflour in the food processor and process until smooth. (Speed 6 for 10 seconds for a thermal cooker, then scrape down).

Add in the No egg, milk and cinnamon and process again until well mixed and very smooth. (Start low and gradually build up to speed 6 for 20 seconds in a thermal cooker).

Transfer mix to a saucepan and place over medium heat, stirring for about 12 minutes until the mixture thickens. (for a thermal cooker, mix on speed 1, 100C for about 20 mins).

Serve warm or cold, topped with extra sliced banana or sprinkled with cinnamon sugar.

Makes about 6 serves.

I kept the left overs for a couple of days in the fridge in reusable squeezy containers.

If you want to make a chocolate variety, just add 1 tbsp of cocoa when you are adding the cinnamon.

If you don’t have frozen bananas just use fresh overripe ones.

🙂

Hope you enjoy your baking – I’ll be back in a few weeks from Perth!

Chicken Nuggets

If we go out for dinner or lunch and my kids ask for chicken nuggets, it makes my toes curl. I really don’t like them eating the super processed ones, but they do seem to really love them. For me, fast food nuggets belong firmly in the category of ‘wouldn’t eat them if you paid me!’.

But my revulsion aside, the kids love them …. So I was determined to make some home-made ones for them that snuck in a bit of extra goodness on the side.

These ones are packed with veggies but my kids don’t notice in the slightest – Mummy win!!

  • 4 Chicken thighs, skinless and boneless
  • 1 tbsp coconut aminos (or soy sauce)
  • 2 tbsp nutritional yeast
  • 1 tsp mixed Italian herbs
  • 1 large carrot
  • 1 piece (first sized) pumpkin
  • 1 400g tin chic peas, drained and rinsed
  • 1/3 cup GF bread crumbs
  • 1/3 cup GF flour
  • 1/2 tsp pink salt flakes

Place the carrot and pumpkin in the food processor and blitz well until quite fine. (Speed 6 whilst you drop through the top chute them up to speed 8 for 10 secs)

Add in chick peas and blitz and until all combined (speed 7, 12 seconds)

Add in aminos, 1 tbsp of nutritional yeast and herbs and mix to combine (speed 4, 6 secs)

Add in chicken thighs, one at a time through the top chute on to spinning blades then process until chicken is totally minced and mix is quite smooth (speed 5 whilst adding the chicken, then up to speed 6 for 10 secs at a time, scrape down in between).

Mix together the crumbs, flour, salt and other tbsp of nutritional yeast.

Take a heaped tsp of the chicken mix, roll it in the dry mix and press down into a lined baking tray. Spray lightly with olive oil.

Place into a pre heated 200C oven for 20 mins.

Turn the nuggets and return to that oven for a further 7-8 minutes or until golden and cooked through.

20171110_134815

2-April 2013 015
You can try these if you’d prefer

20171110_142121.jpg

Serve with more salad or veg if you like … we often take ours out to share at a parties or picnics … with just tomato sauce and there are no complaints 😉

Nuggets and sauce for dinner at home?! My children were thrilled!

I cook in bulk as often as I can, in order to have meals to freeze, so I often make a double batch. I sometimes make them bigger than the store bought ones too by using a dessert-spoonful of the mix – and tell the kids that they are ‘Monster Nuggets’. If I don’t have time to cook them all, I freeze half of the meat mix to defrost and crumb next time there is a nugget demand! The left overs also re-heated well for lunch the next day.

She snuck back to get into the left overs while the boys weren't watching!
She snuck back to get into the left overs while the boys weren’t watching!

Enjoy 🙂


Chewy muesli bars (Superhero Slice)

Most kids love muesli bars – but the ones from the shops are often filled with additives, preservatives and refined sugars. So home-made is a great option. ‘Hugh’s muesli bars’  that I have previously posted about don’t hold together so well when they are out of the fridge for long periods of time, so they aren’t the best for lunchboxes. After a bit of tinkering, I think I’m on to a delicious and chewy winner 🙂 We call this one ‘Superhero slice’ because of all the great stuff in it to give you great energy!

  • 100g dried apple
  • 100g dried apricot
  • 6 medjool dates, pitted
  • 4 tbsp each of chia seeds, flax seeds, pumpkin seeds and rolled quinoa
  • 2 tbsp psyllium
  • 250g Sunflower seed butter (half vegan butter and half seed butter works well too)
  • zest 1 lemon, finely grated
  • Juice of half a lemon
  • 70g oats or puffed rice

Mill the seeds, quinoa and pysllium together until you reach a consistency that resembles almond meal …. don’t go too far or you’ll get a paste! Set aside.

In a food processor blitz together the apple and apricots (speed 8 for about 15 seconds in a thermal cooker), then add the dates one at a time through the chute at the top (speed 4 while you are adding then up to 7 for 15 seconds).

20150731_204647

Add the milled seed mix to the fruit and process until well combined (speed 4 for 20 seconds).

Add the sunflower seed butter, zest and juice and process again until well combined (speed 4 for about 30 seconds).

Add the oats or puffed rice and process until evenly distributed (Speed 4 15 seconds).

Press down very firmly (I used my hands and then back of a fork) into a lined tin and place in a 160C preheated oven for about 30 minutes or until the top is golden.

20150731_213022

Allow to cool and cut into squares or bars and keep in an air tight container. Ours lasts 2 weeks in the fridge. Makes about 24 squares.

20150731_221253

Enjoy 🙂

Hummus

I loooove chickpeas – they’re low GI and high in fibre and protein and they are cheap 🙂 I love their nutty flavour and the crunch they have when they are roasted. I add them to casseroles and stews and eat them several times a week in my morning tea, so there’s no way I can look past hummus as my favourite dip! My little miss happily eats half her body weight in it for morning tea!

FB_IMG_1580304964032

See below the recipe for a few variations on the original too.

  • 400g tin drained and rinsed chick peas 1-February 2013 2428
  • 1 tbsp tahini*
  • 1/4 cup extra virgin olive oil
  • 1 good pinch flaked pink salt, and
  • juice from a medium lemon (use 1/2 first and taste test before adding the rest)

*If you need to be sesame free then replace tahini with equal quantities of seed butter.

Add all ingredients, except the olive oil, to the food processor and blitz until well combined. The while the processor is running, drizzle the olive oil through the top chute until well combined and creamy (In a Thermal cooker – Speed 4 for 10 seconds, the scrape down sides and use speed 5 for 15 second intervals, scraping down sides in between until you reach desired consistency).

If it is too thick for your liking, add in a few teaspoons of water.

The citric acid in the lemon will help to preserve the mix so it will store in an air tight container in the fridge for several days – but my best tip is to make a double batch and pop one in the freezer – it defrosts perfectly!!

This makes about 8 serves (a heaped dessert spoon full).

We have it with crunchy raw veggies or wholegrain rice crackers.

Enjoy!


My yummy morning tea!

For a variation on plain hummus:

  • Add in about 100g of cooked (steamed or roasted) beetroot – even the tinned variety works, plus a tsp of fresh chopped rosemary and 1/2 tsp of mince garlic. Blend to desired consistency.
  • Add in about 100g of roasted pumpkin and a handful of pumpkin seeds. Blend to desired consistency.
FB_IMG_1580304933023
The beetroot version – hooray for pink hummus!!

Chocolate Freezer fudge

ok – this is hands down the best dessert I have made to date!  If you are after a very simple but decadent, chocolatey dessert that is allergy friendly and quite healthy – then this one is for you!

  • 1/2 Cup Sunflower seed Butter1-February 2013 692
  • 1/2 Cup tasteless Coconut Oil (Room Temperature)
  • 1/2 Cup Cocoa
  • 1/2 Cup Pumpkin Puree
  • 1/3 Cup honey/maple syrup

Place all ingredients into your processor (helps if the pumpkin is still warm) and process until the mix is smooth, stopping to scrape down the sides. In a Thermal Cooker, start on Speed 5 for 20 seconds, scrape down the sides and then process again, working up to speed 7 until mixture is very smooth).

Pour in a greased 8×8 tin, cover in glad wrap and freeze for about 4 hours.

Cuts into about 16-20 pieces and needs to be stored in the freezer.

This was  a MASSIVE hit in my house and I have to confess that it didn’t last very long! They are already requesting another batch

3-February 2013 699

Hope you enjoy it as much as we did 🙂