Yoghurt dough – for pizzas and scrolls

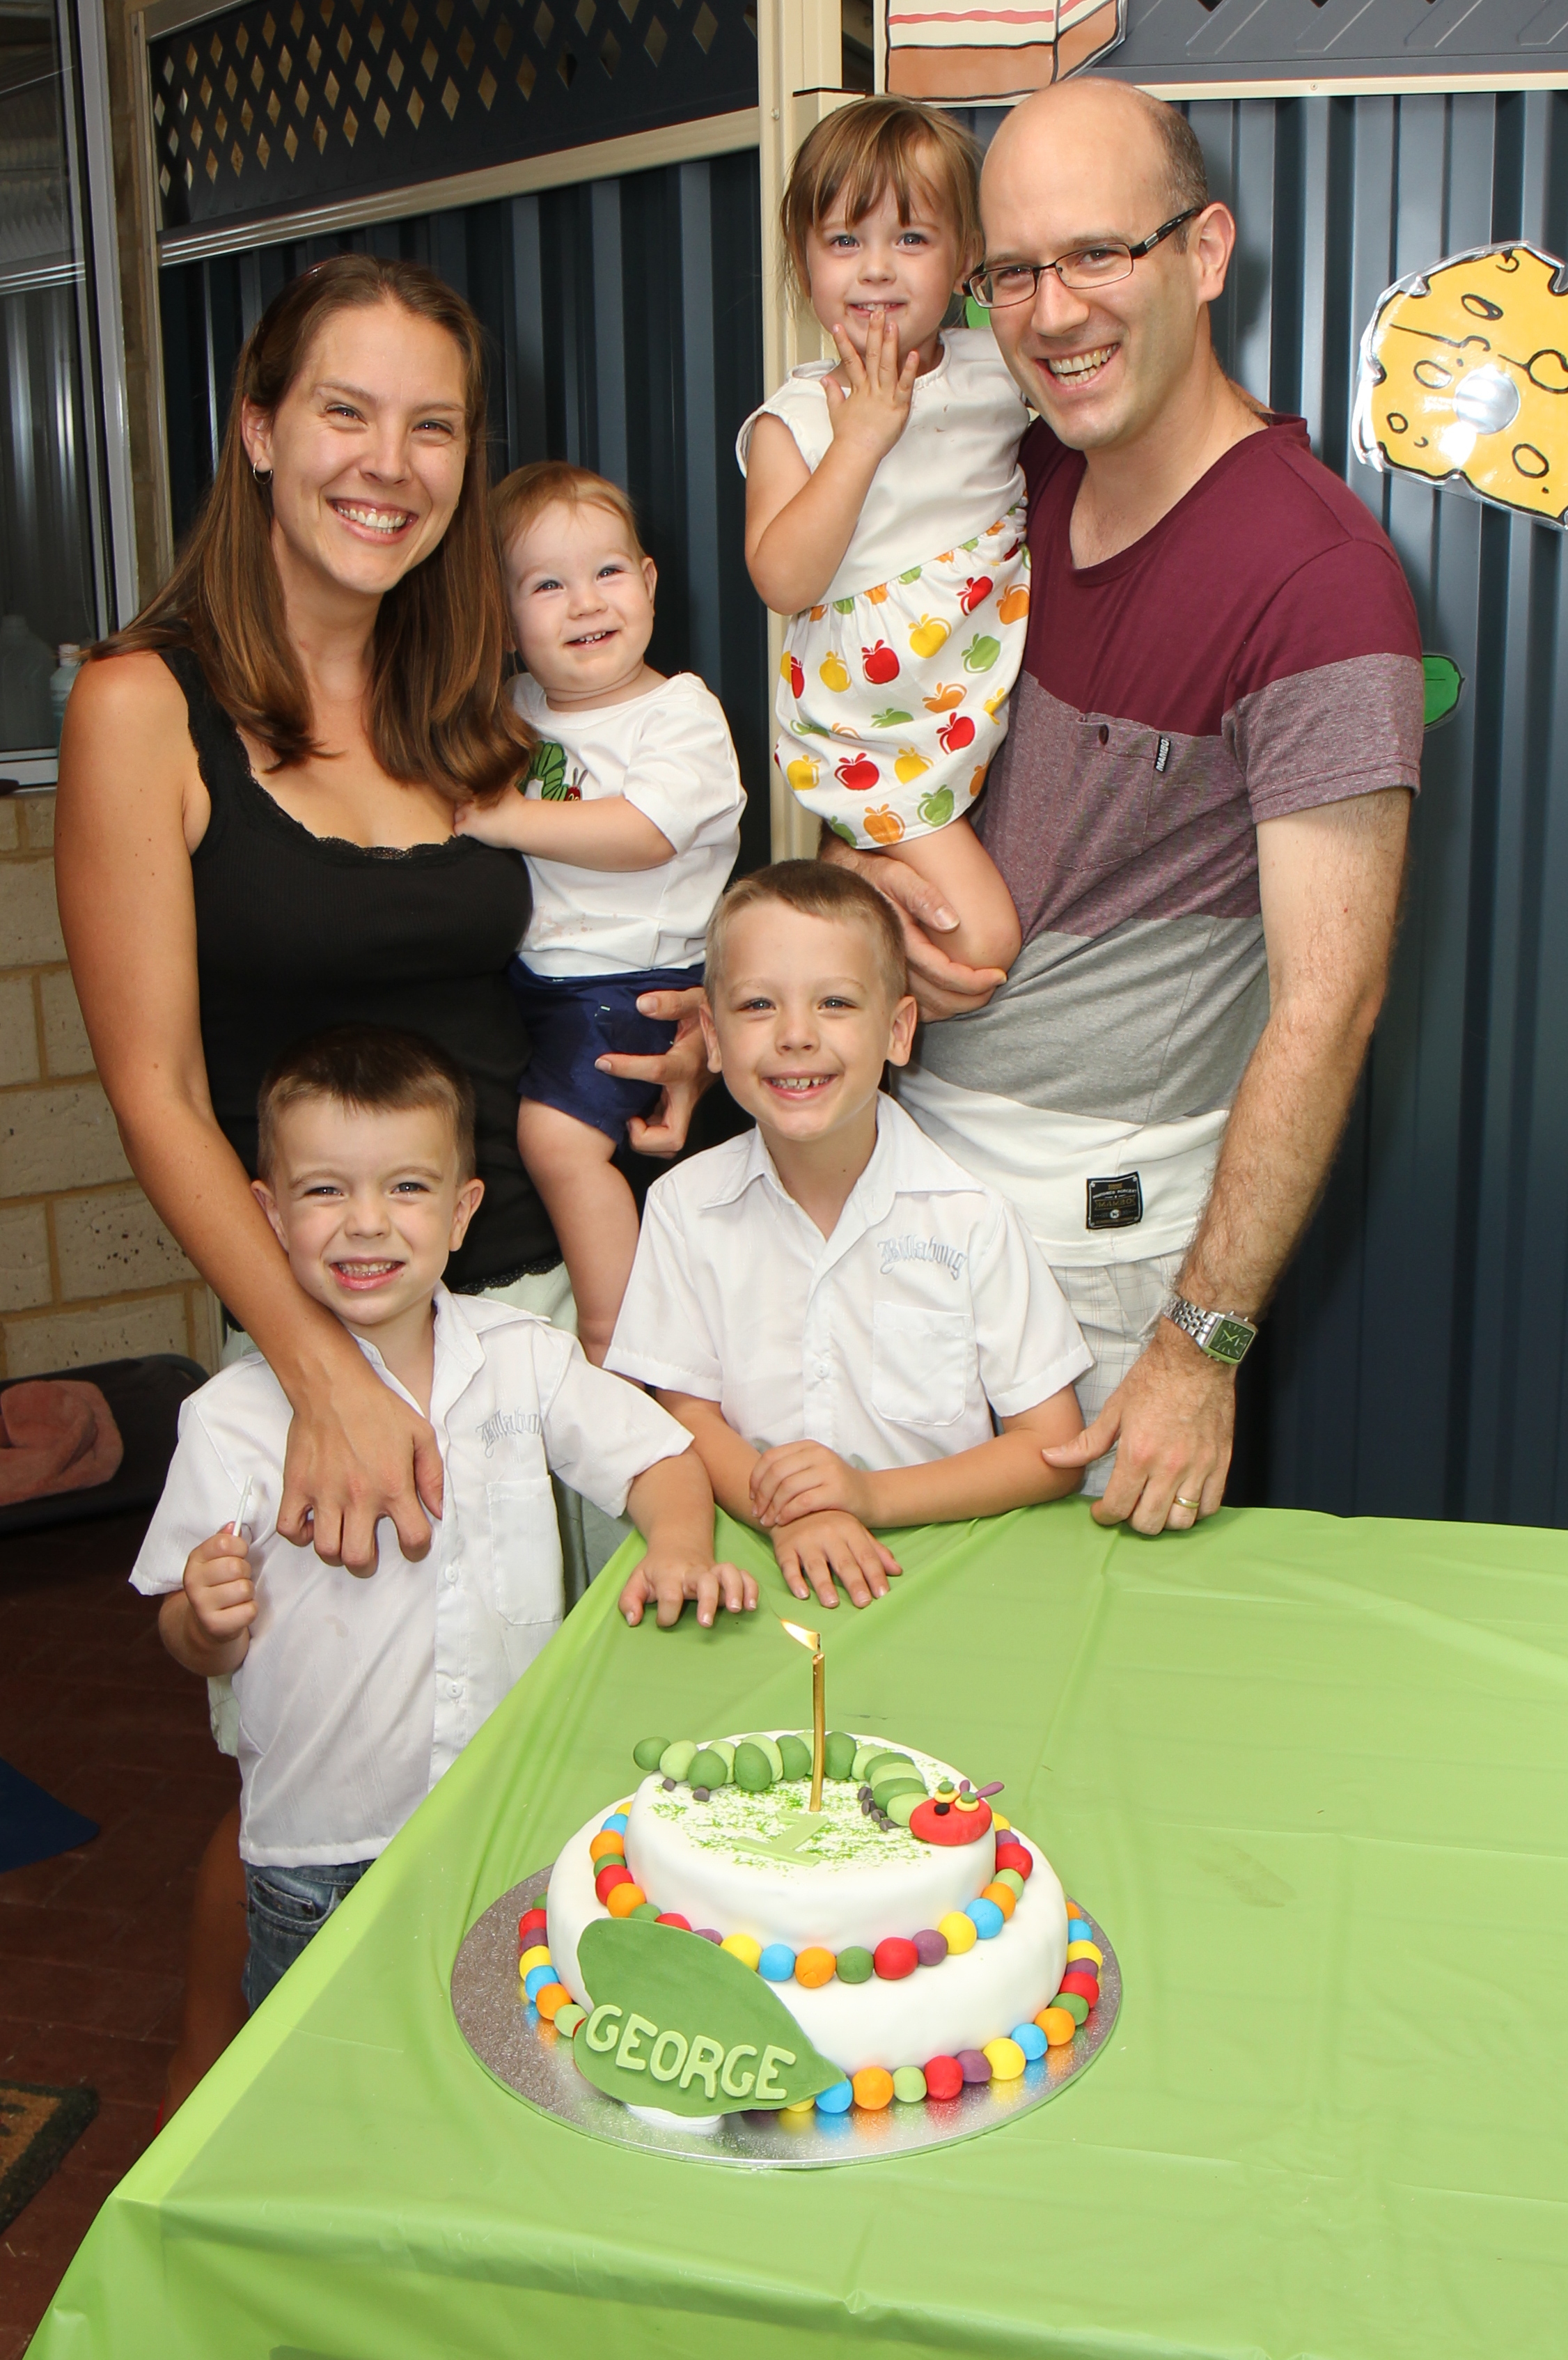
Once a fortnight on a Sunday morning my husband plays with all the kids and I have a massive baking session to prepare for the lunchboxes in the weeks to come.

One of the things that the kids love to eat is Cheese and vegemite scrolls … and then I stumbled across this yoghurt dough from Kidspot.

It is delicious and SO fast to make. I’ve found the best way to get it to the right consistency is the measure the weights, rather than cups, and to make it in the food processor or thermocook machine.

My take on the orignal, calls for

  • 470g SR flour (or 420g GF flour together with 1tbsp psyllium husk). We often use spelt flour or do half wholemeal
  • 1/2 tsp flaked salt
  • 360g high protein greek yoghurt or soy/coconut yoghurt. Here’s our dairy/soy yoghurt recipe.

*BOOST IT? Add 1/4 cup hemp seeds and 4 tbsp nutritional yeast to the flour. You’ll also need to add another tbsp or 2 of yoghurt.

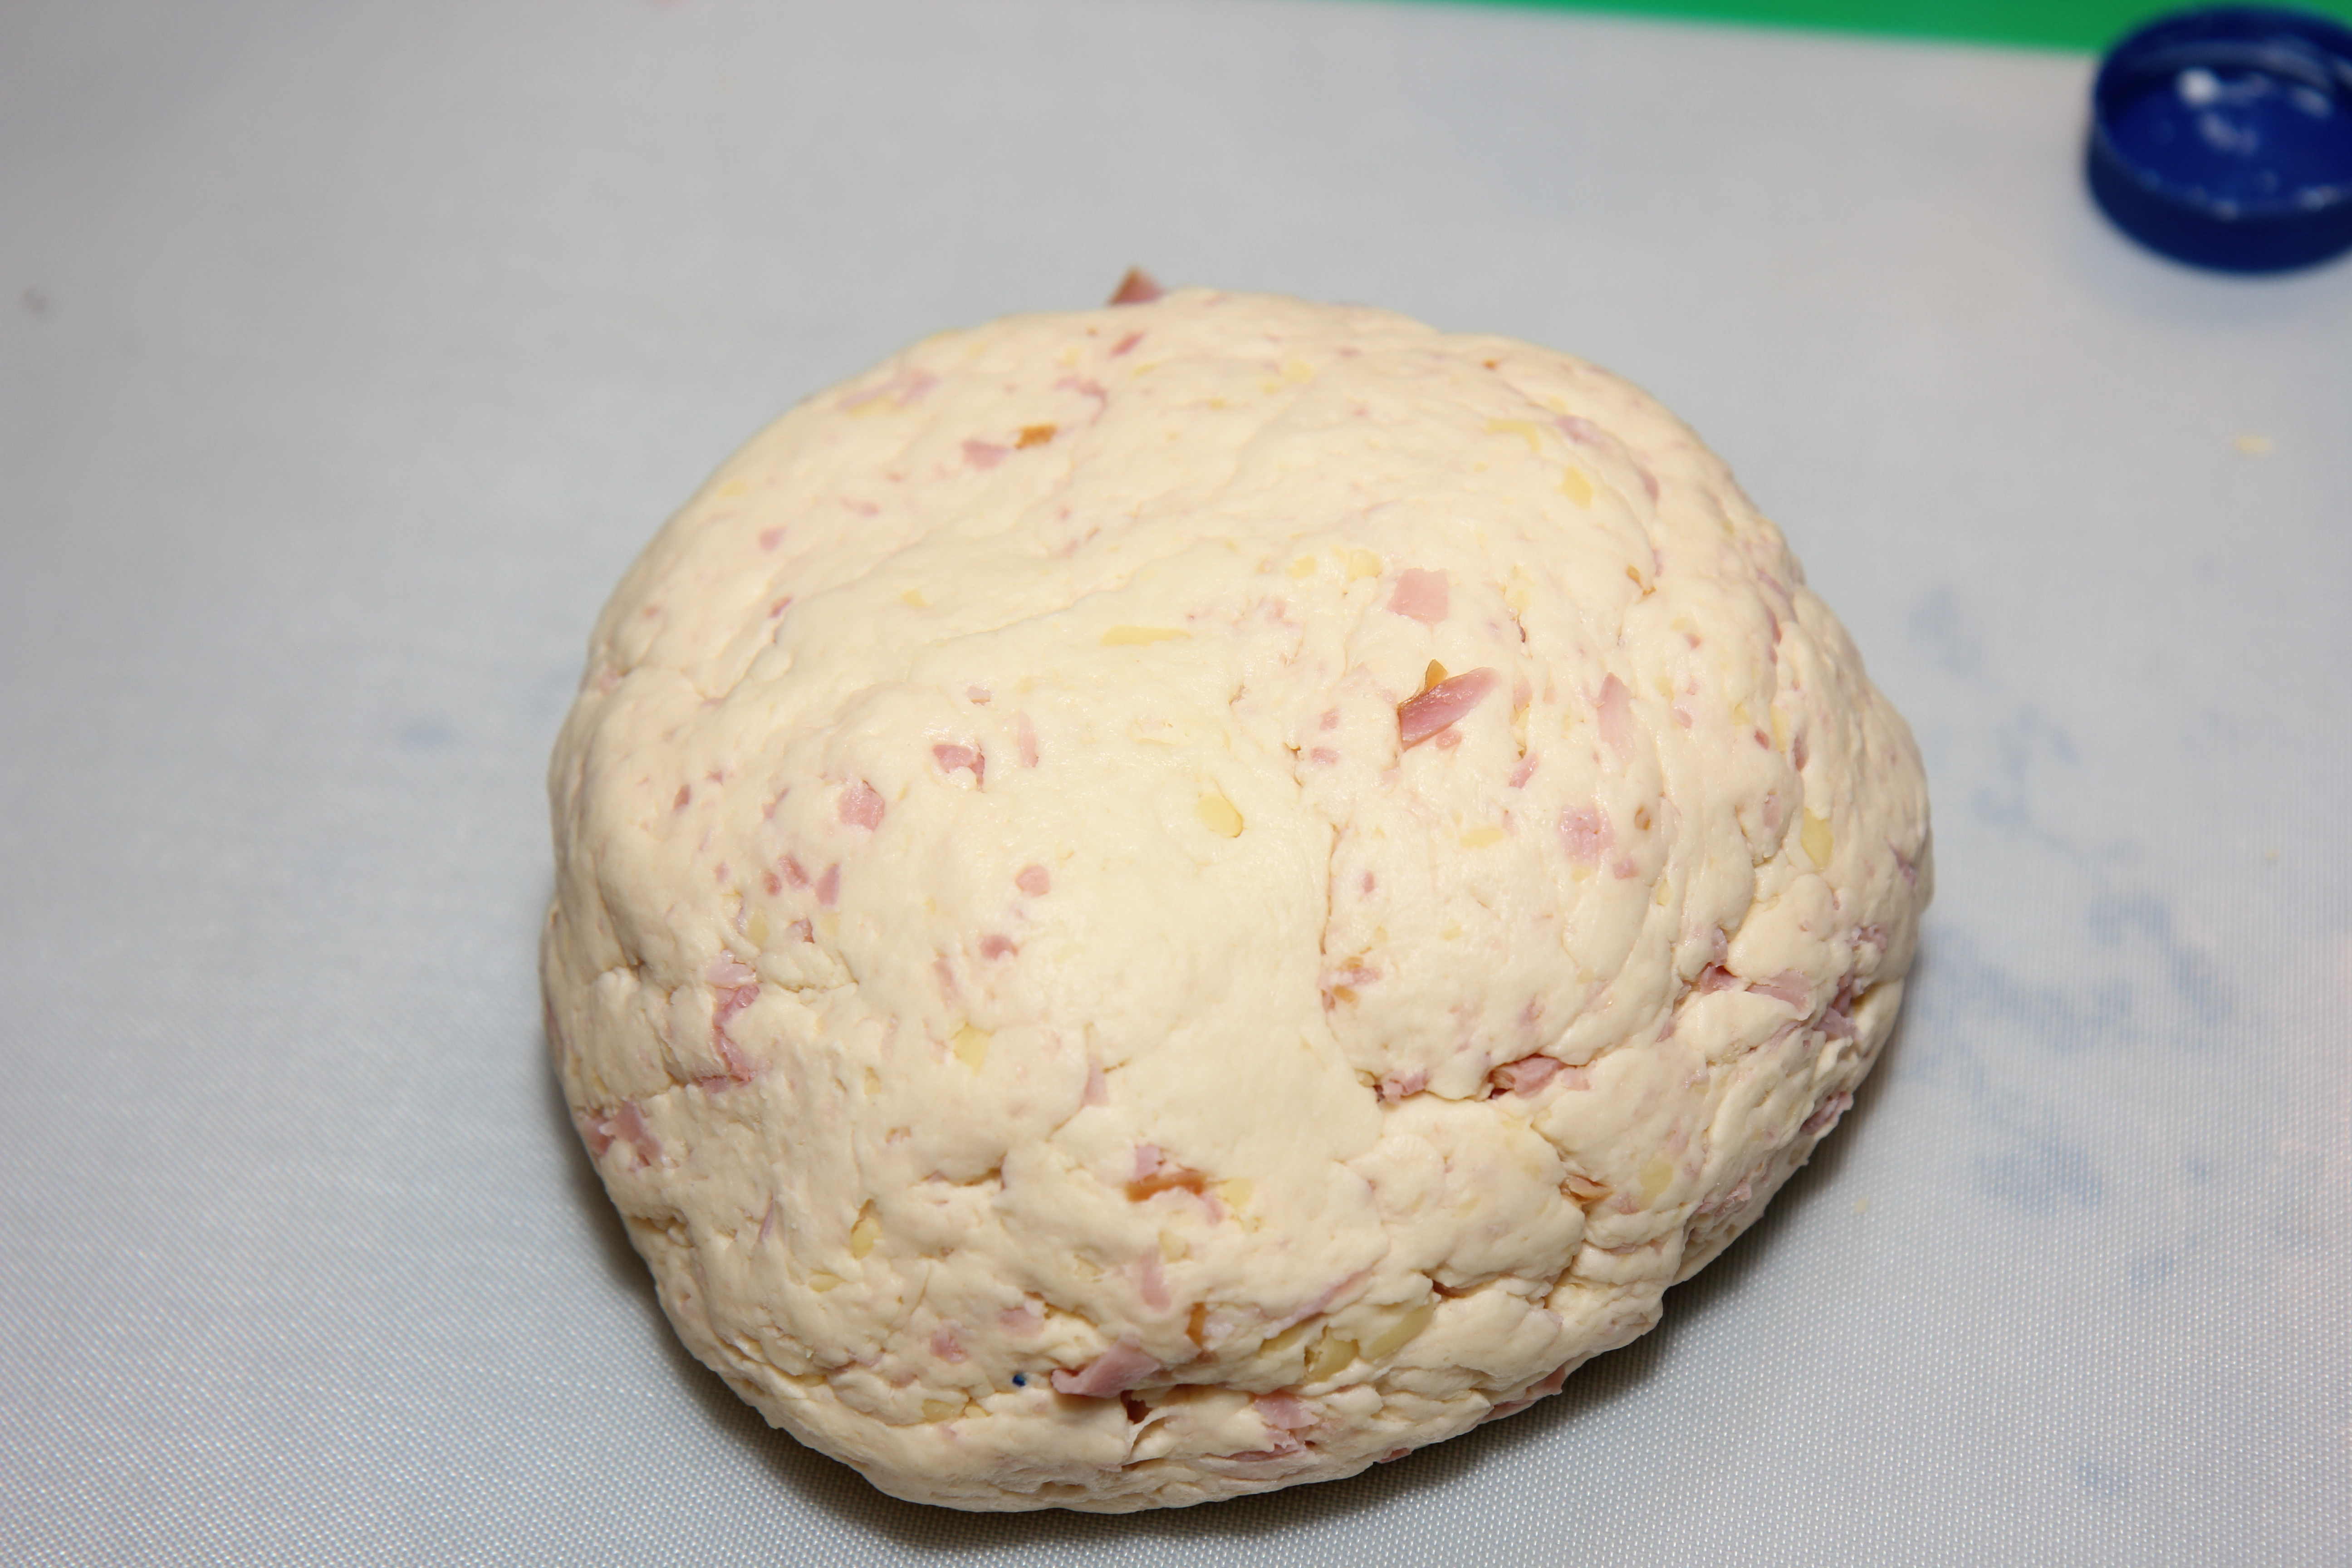
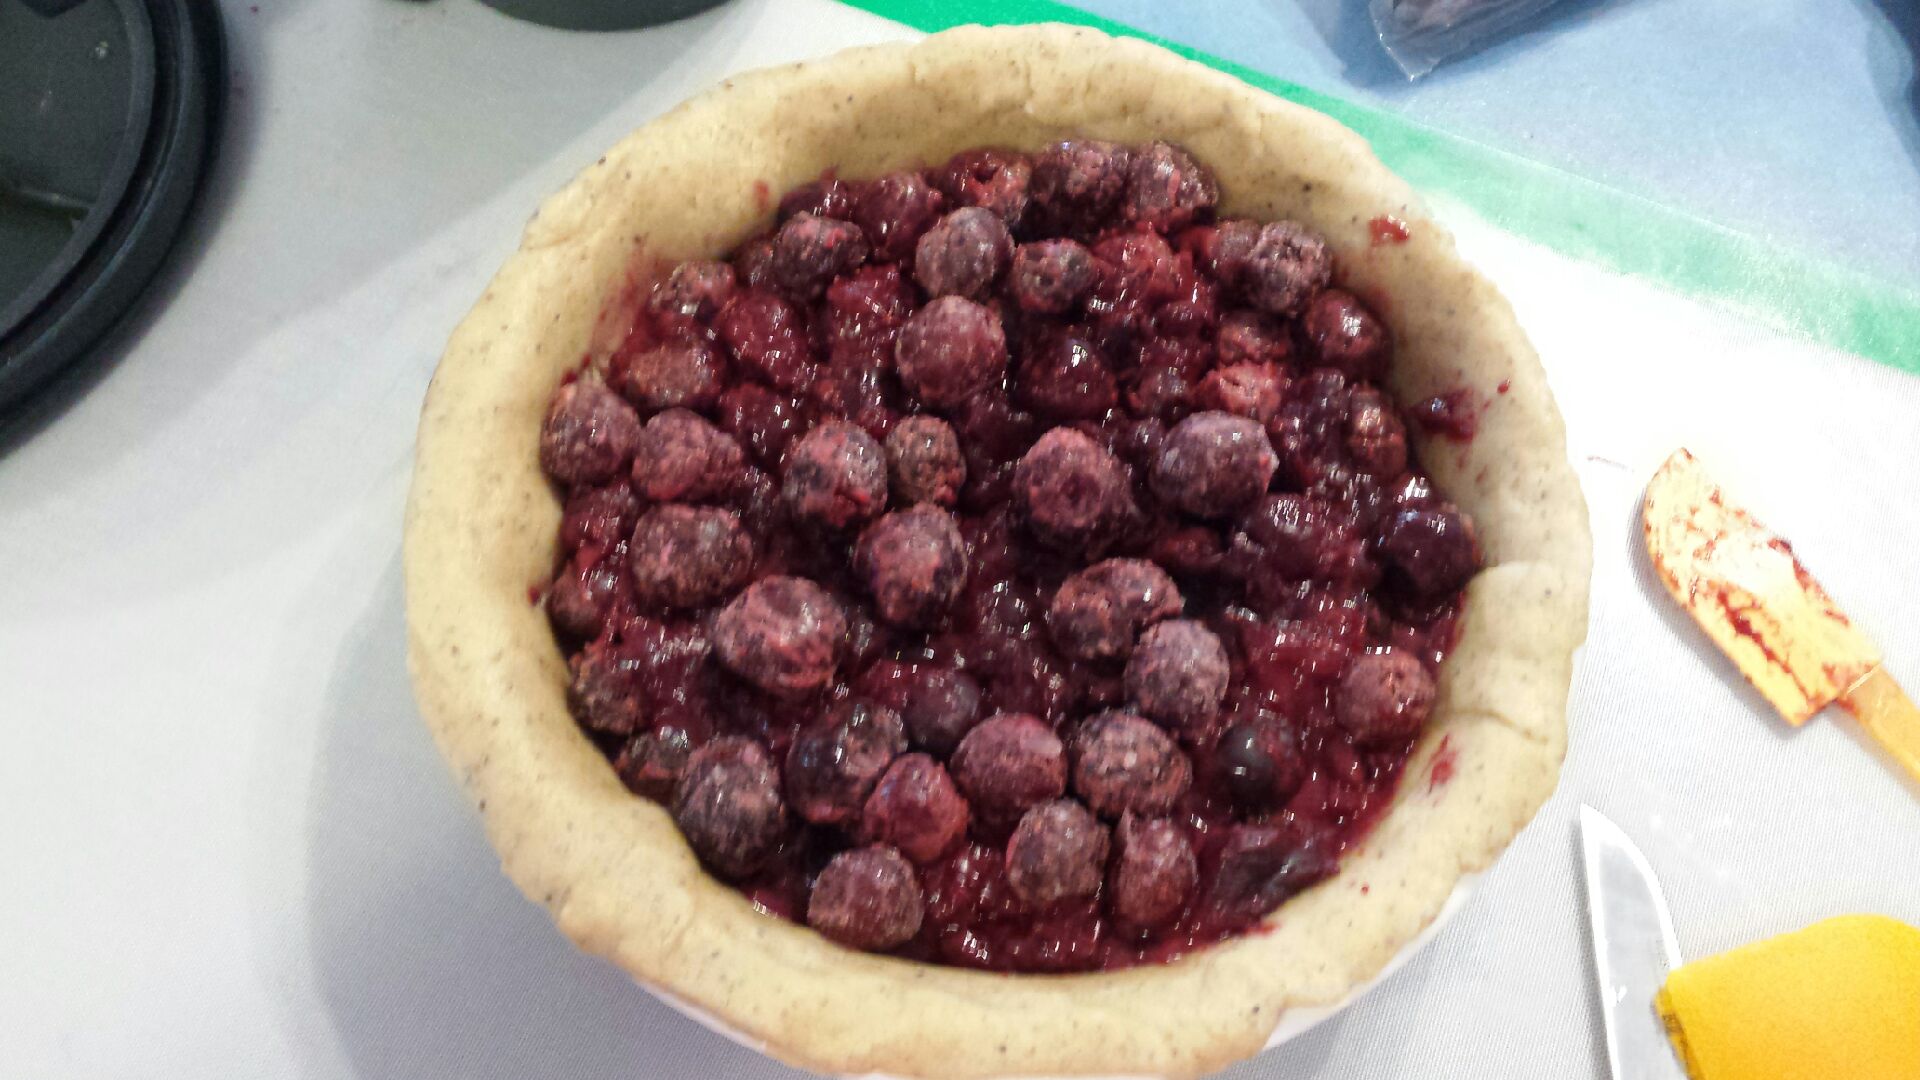
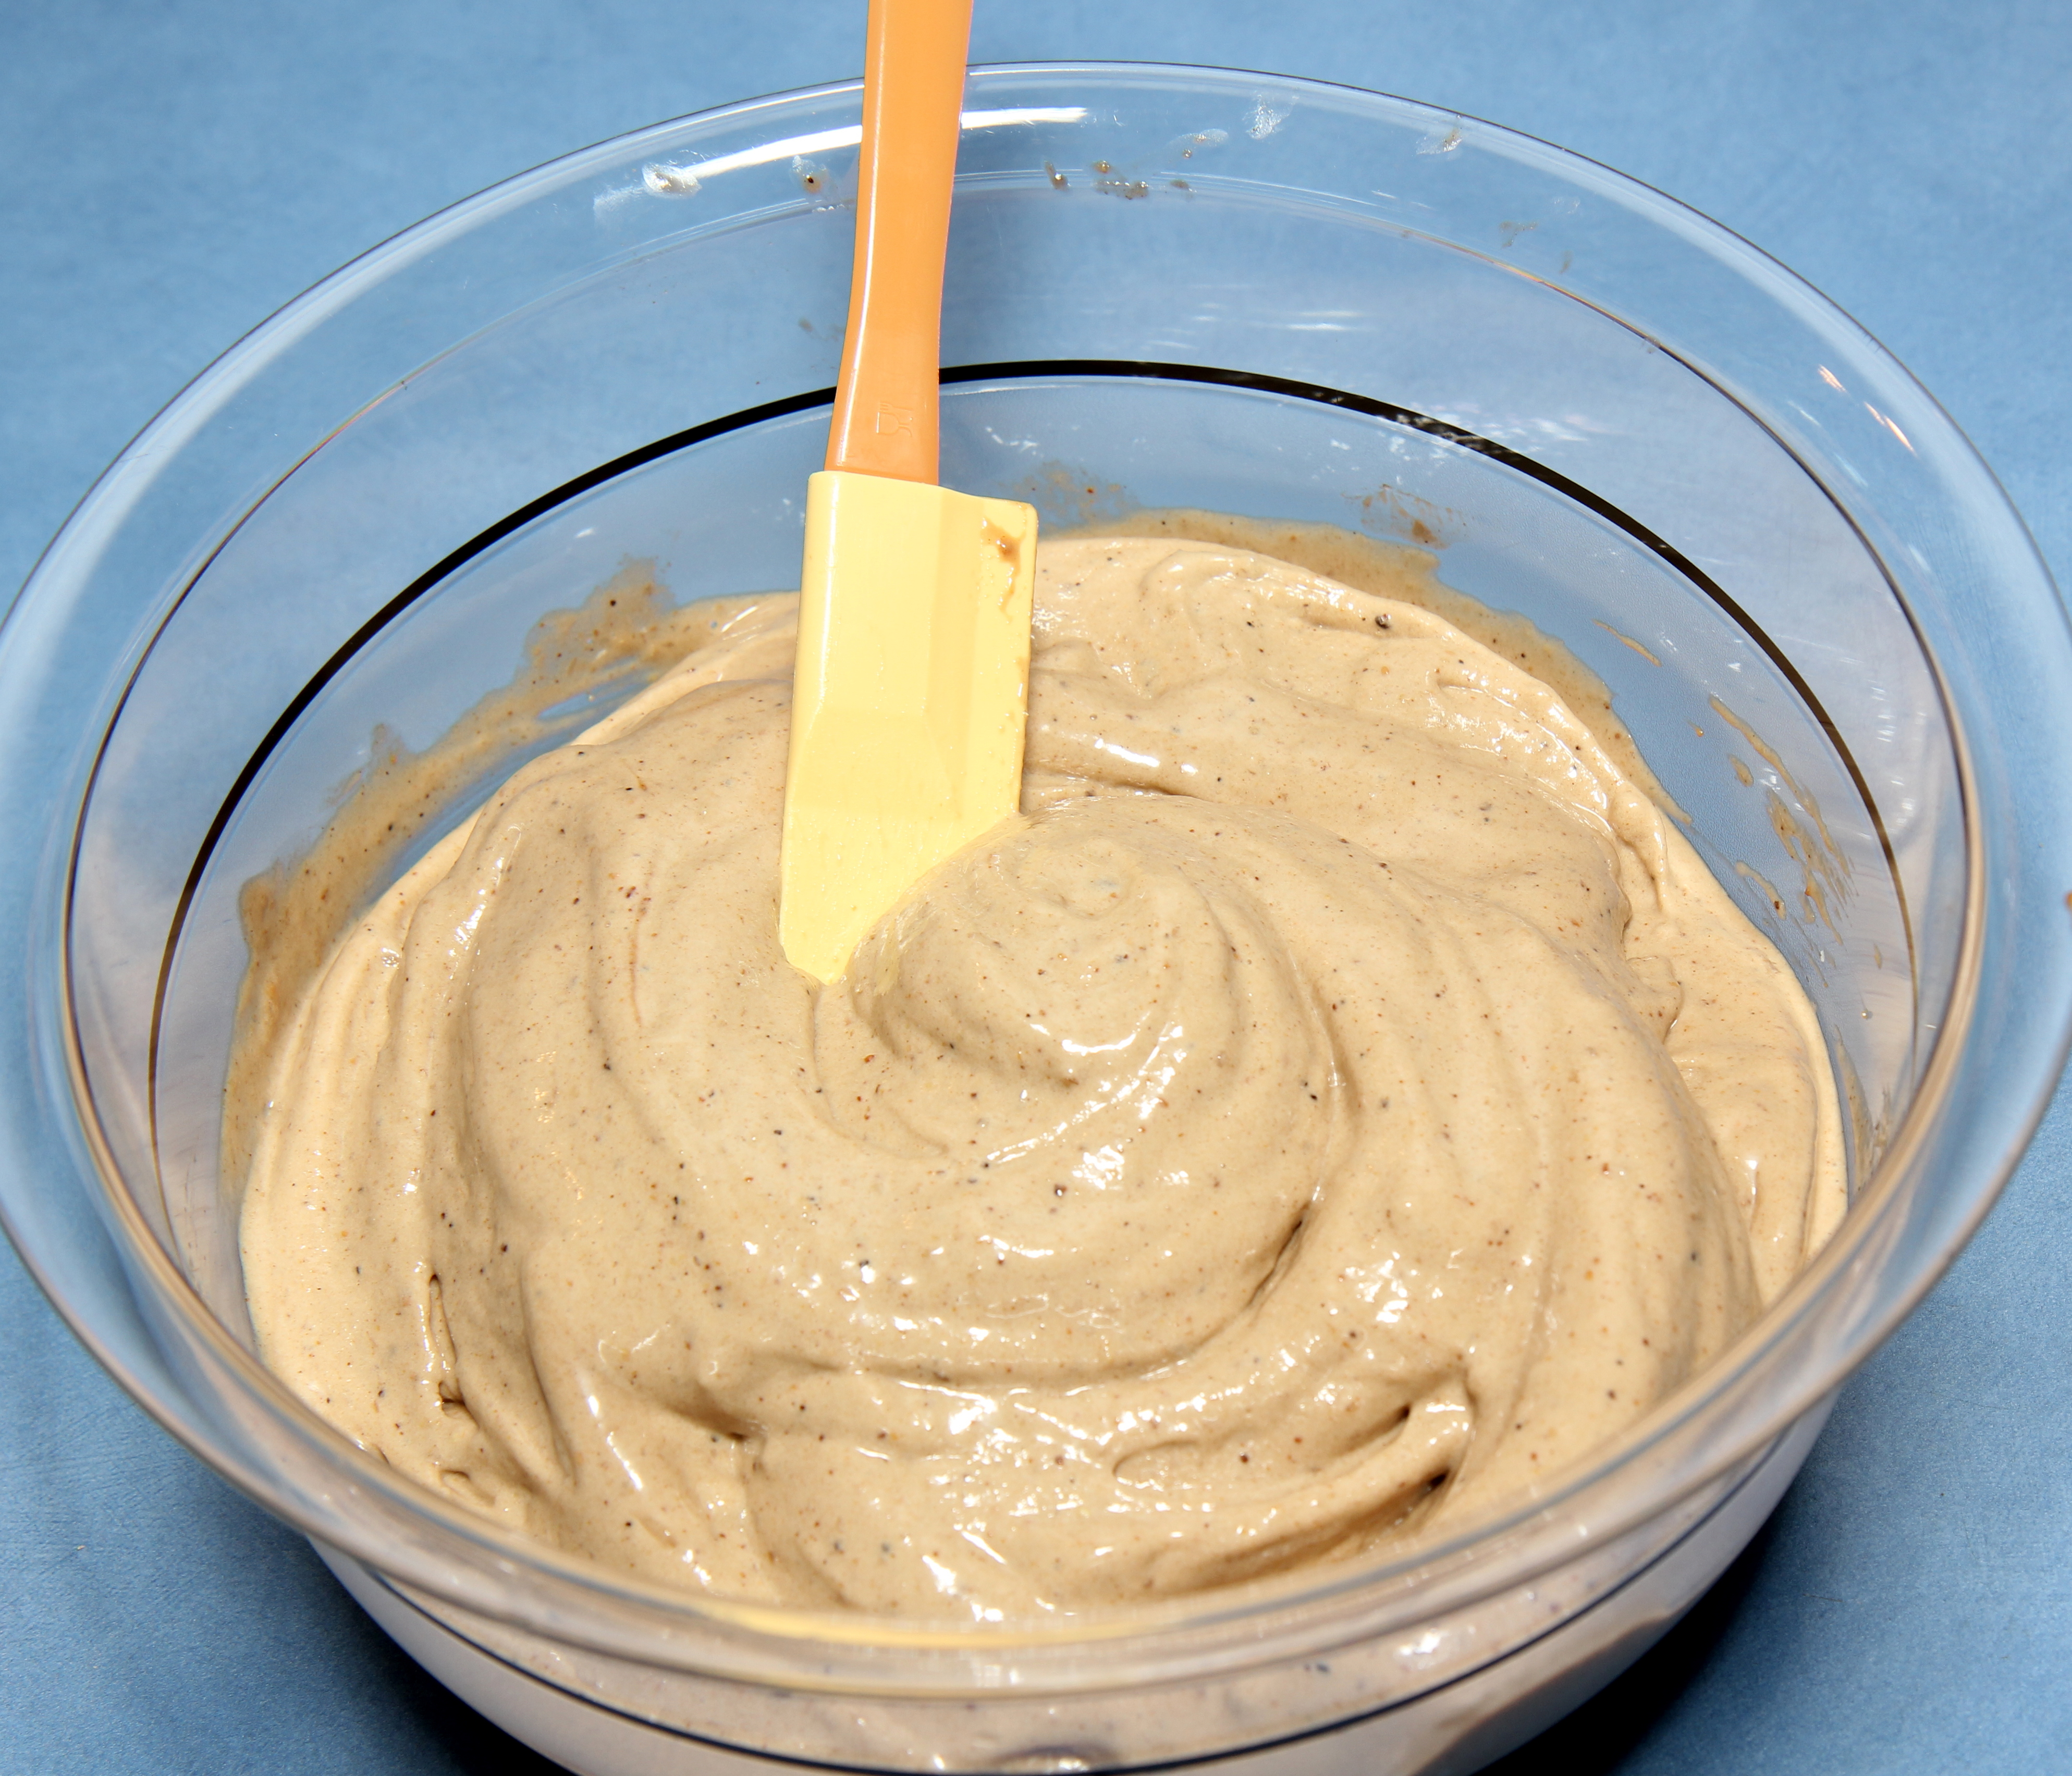
Process all ingredients until it forms a dough, knead together and roll out into a large rectangle, no more than 1cm thick, on floured surface. (Speed 5, 15 seconds).

NOTE: If the dough is too sticky, add in 1 tsp of extra flour at a time and process to combine …. I have found that I often need to add more flour when I work with homemade soy yoghurt.
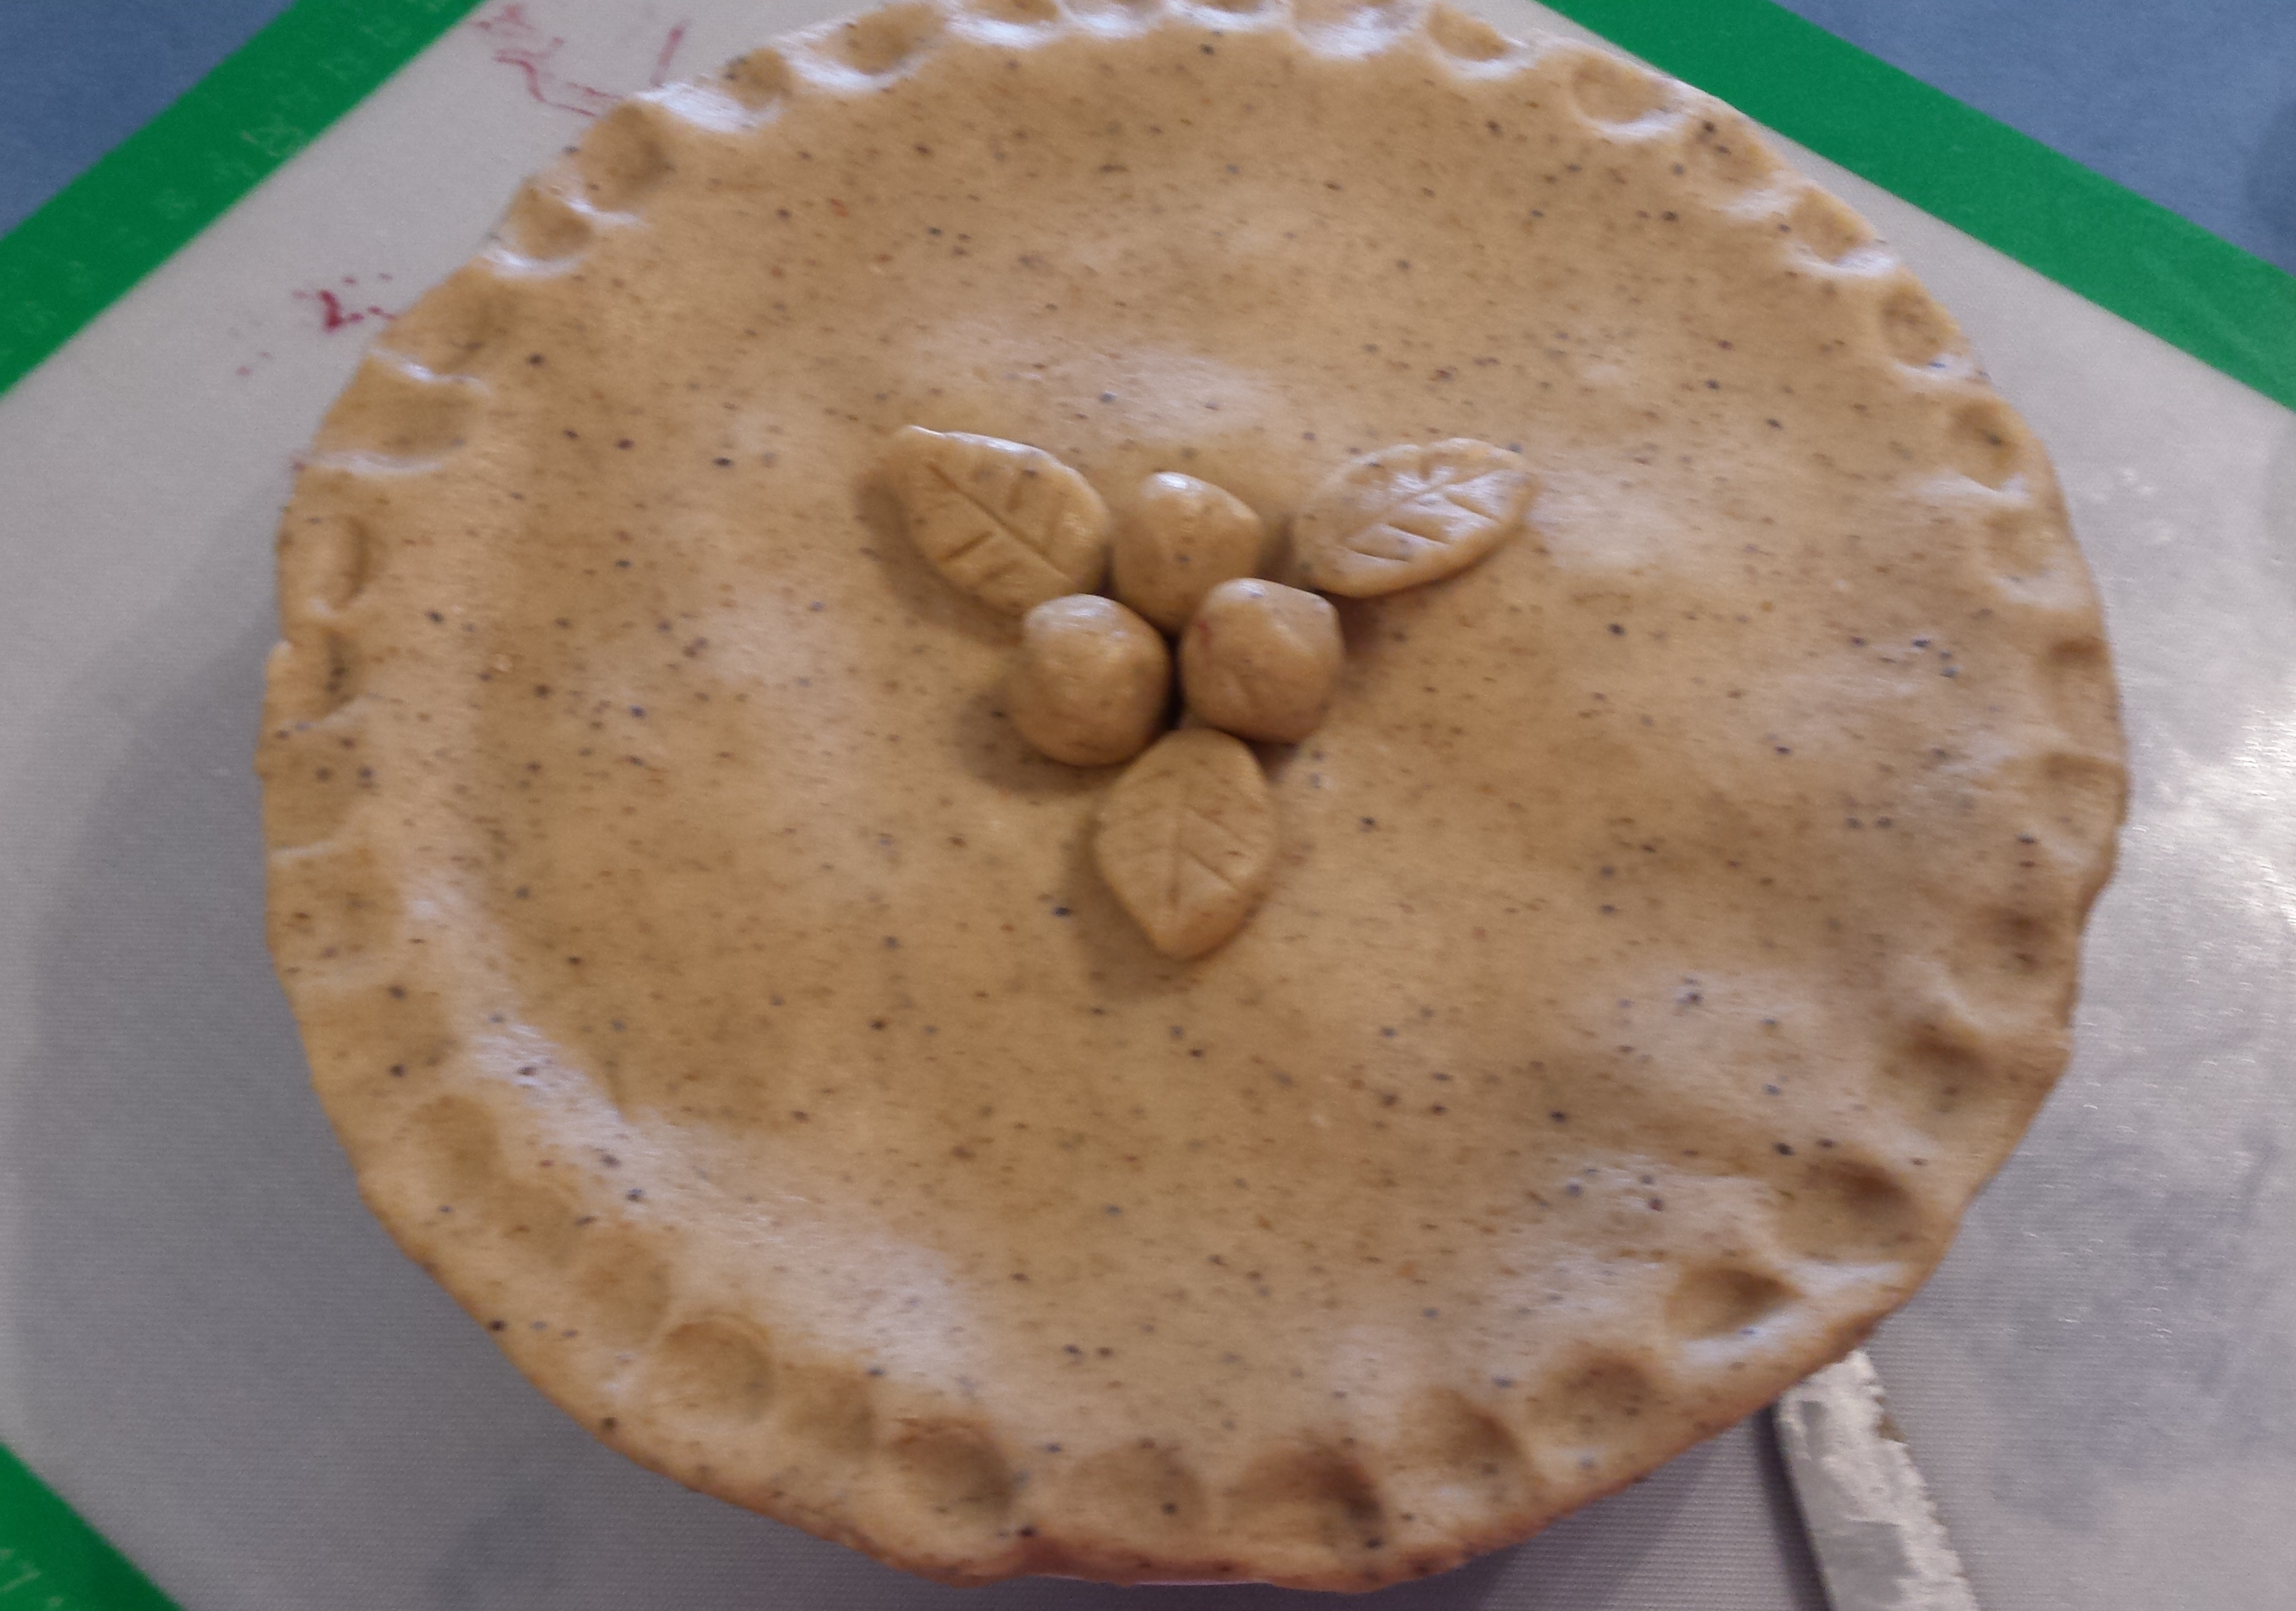
That’s it! Simple.

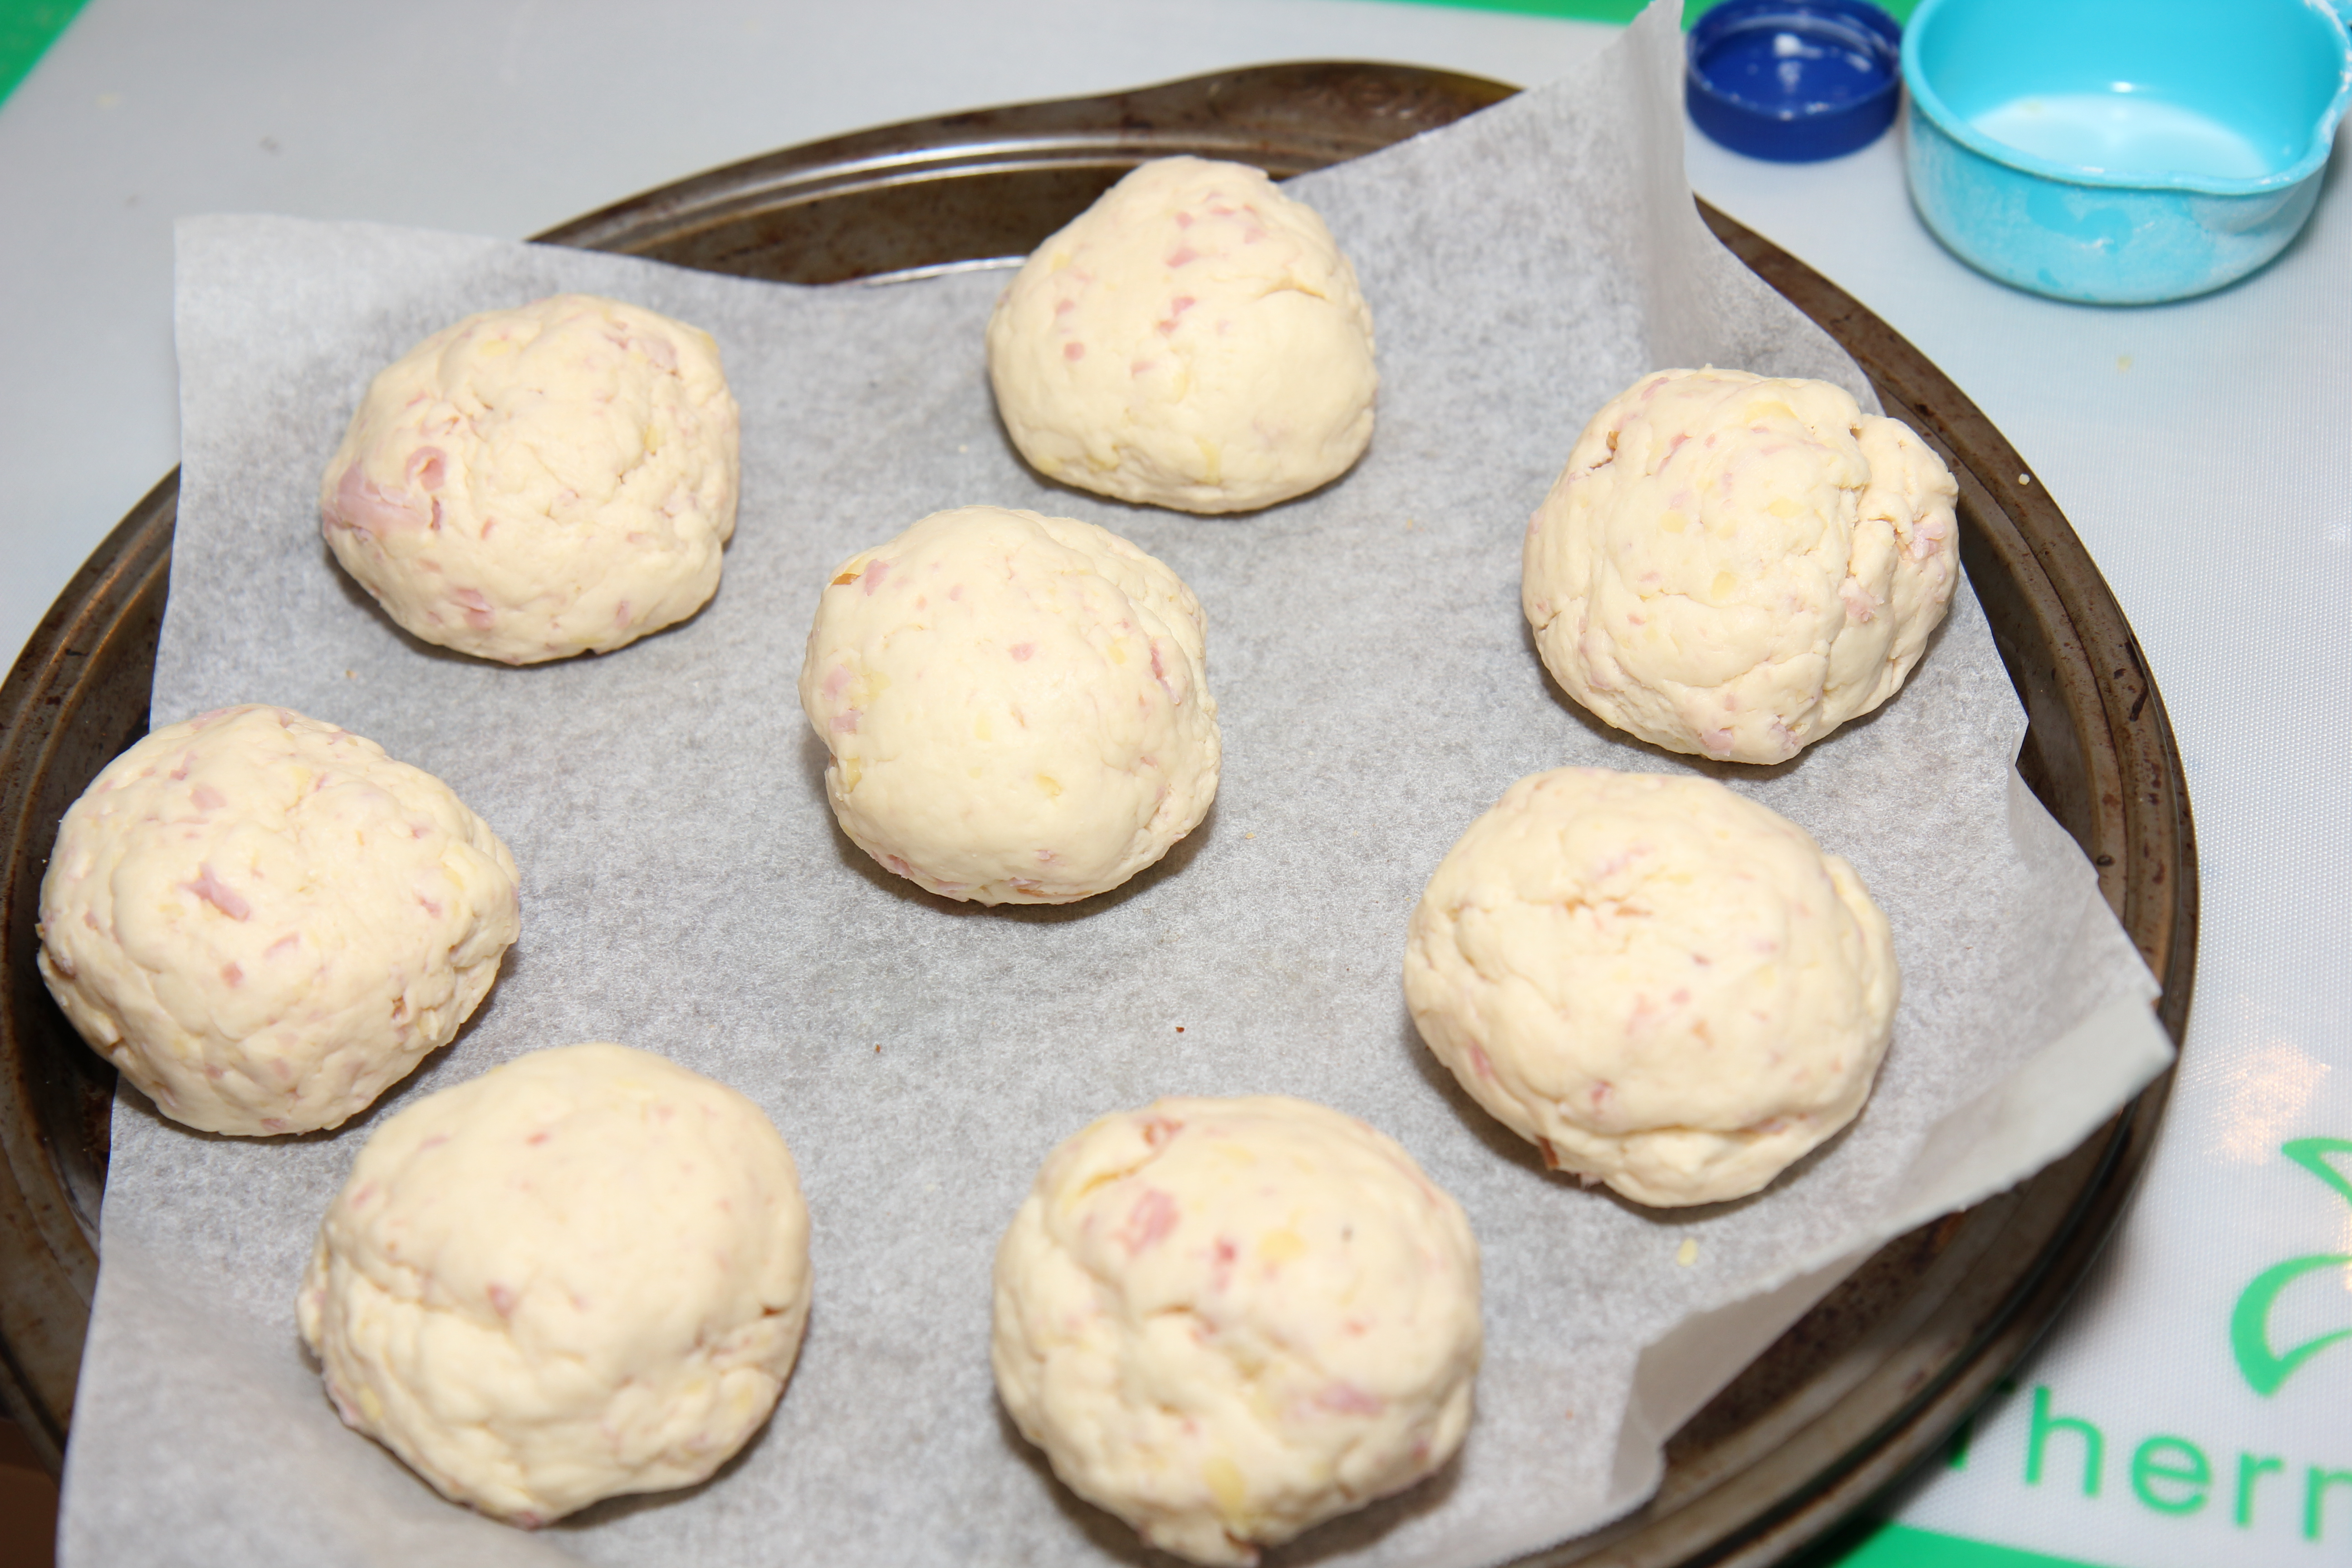
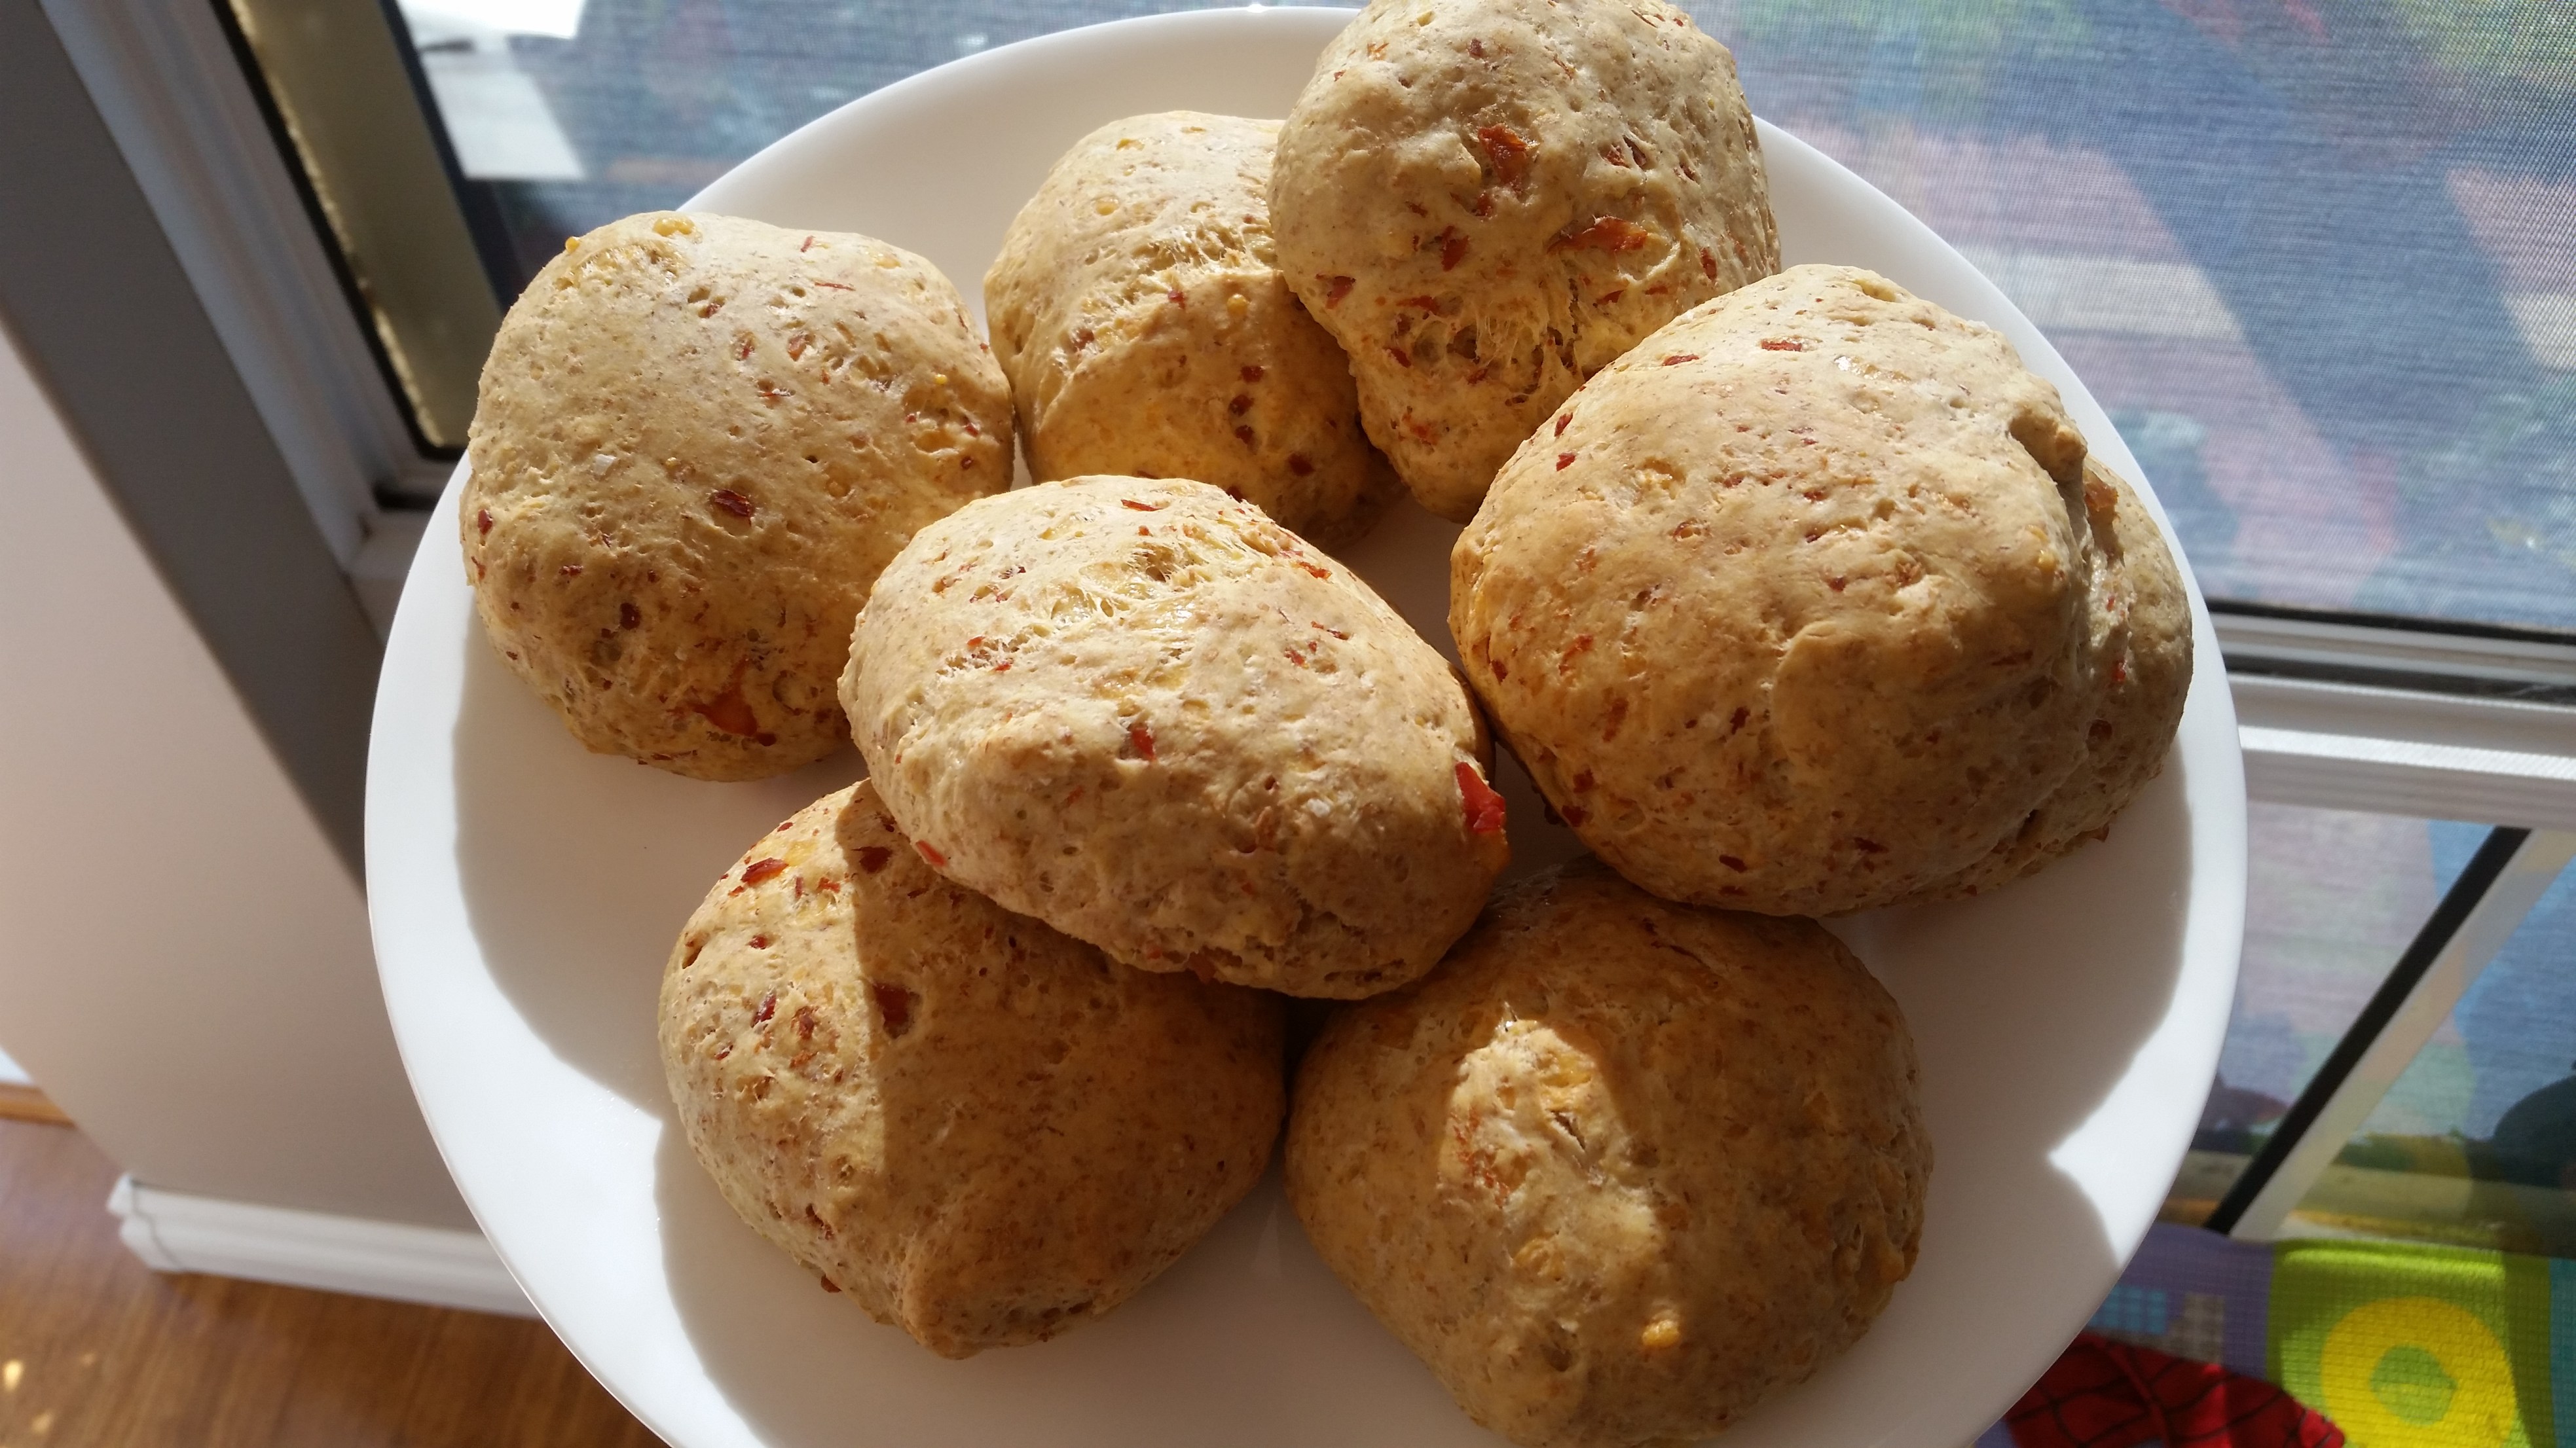
To make scrolls, I roll out into a rectangle, top with vegemite and grated cheese (or tomato paste, chopped ham off the bone and grated cheese). Roll into a tight log, cut into even slices and bake in a pre-heated oven at 200C for about 20 minutes.

Blog 234

20180915_183211.jpg
We use our Mighty Pasta Sauce the as a pizza scroll topping

Ellie loves it with her Bio Cheese.

20150221_125246

It freezes and defrosts beautifully so I make a big batch of scrolls and pop them in the freezer – makes weekday lunches lots easier.

Blog 239

It makes an great pizza base too – 2 large ones from this quantity. Just add paste and toppings then bake in a preheated oven at 200C for about 15 minutes.
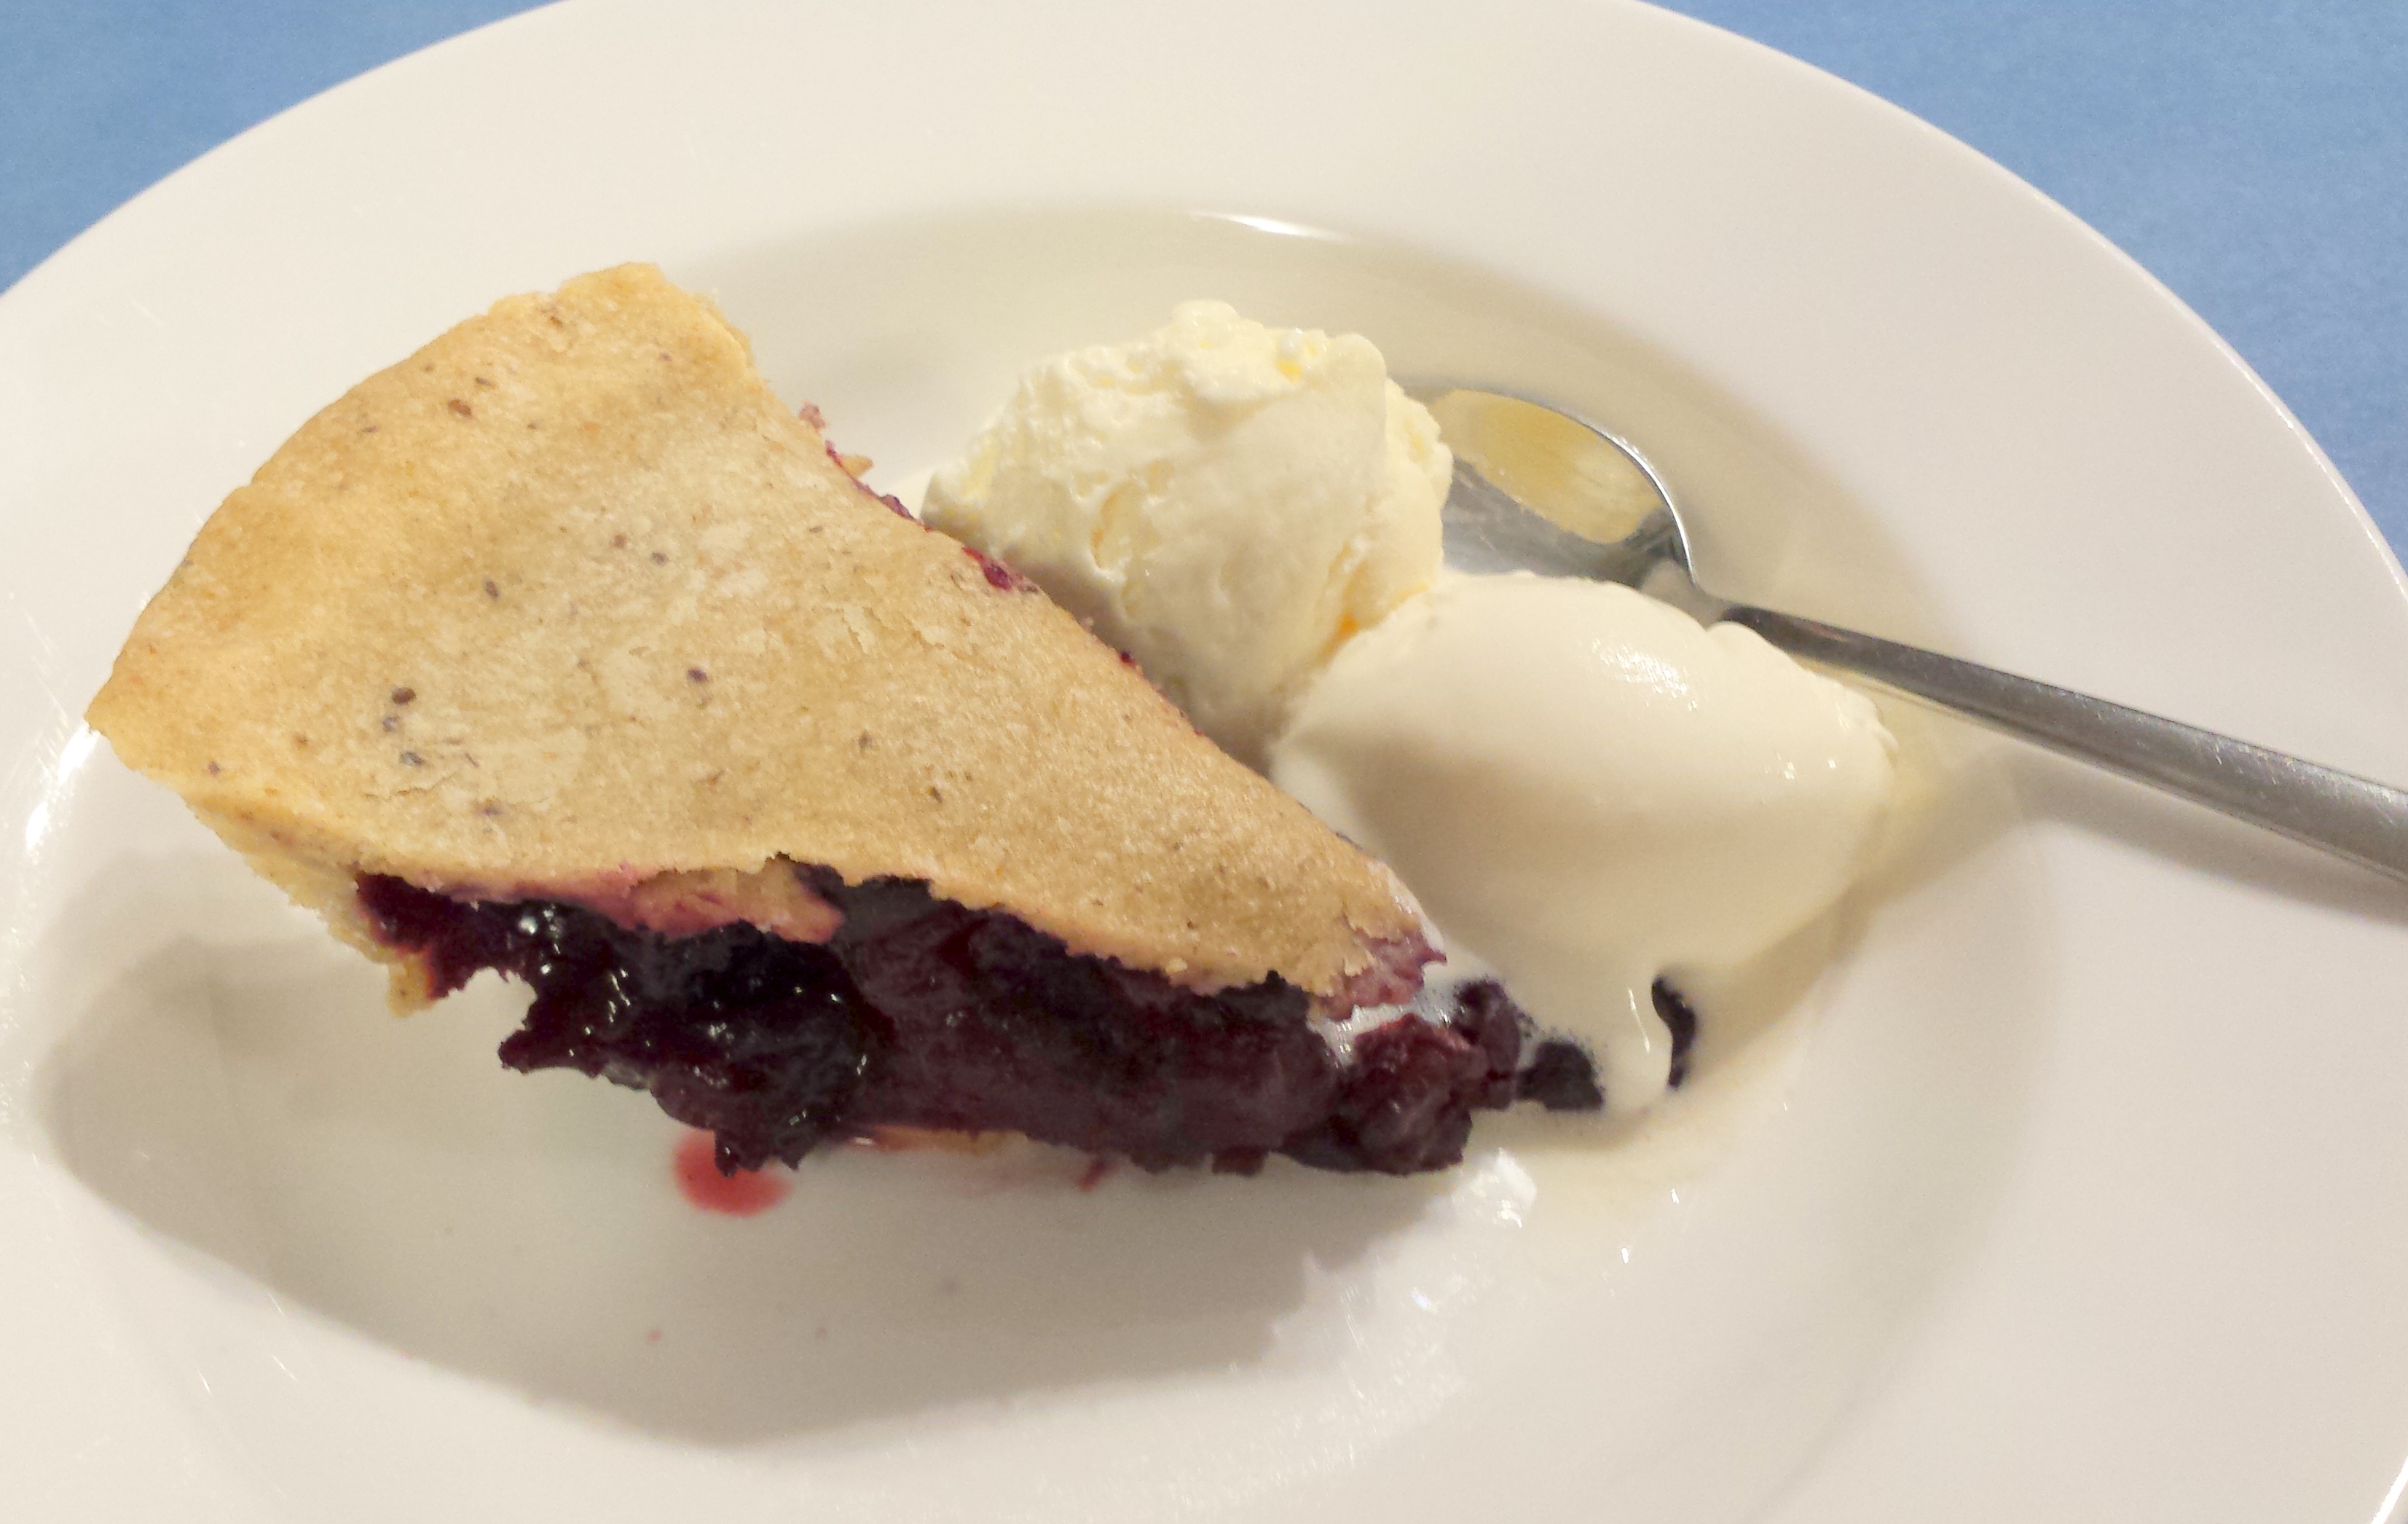
20190817_163921.jpg

Enjoy 🙂

Savoury Damper Rolls

This recipe was my attempt at replicating something like the doughy bread rolls you can buy from major supermarkets and bakeries that have the cheese and bacon baked on top.

They are a quick bread rather than a long rising yeast dough which makes for much simpler, speedy lunches.

It is VERY popular, especially with my big boys, and so is another of the  recipes that I make to freeze for the lunchboxes. I make 2 versions.

The ‘regular’ version:

  • 2.5cups SR flour
  • 1 cup milk
  • 1 tbsp butter
  • 1 cup grated cheese
  • Optional – about 120g ham, roughly chopped

For the more allergy friendly version:

  • 2.5cups spelt flour (half wholemeal)
  • 2.5tsp GF baking powder
  • 1 cup milk of choice
  • 1 tbsp vegan butter (ghee or coconut oil work well too)
  • 1/2 cup grated Bio cheese (or 1/2cup of nutritional yeast*)
  • about 120g GF ham, roughly chopped

*If you’re not using the cheese, but the nutritional yeast, add an extra tsp of butter.

If you are leaving out the cheese or ham in either of these mixes, add in a pinch of salt.

In a food processor, pulse together the flours, butter, milk, and baking powder (if required). Process for about 20 seconds until a rough dough forms.

Add in the cheese (and ham) and process again until combined.

For the vegetarian/vegan option, I omit the ham and add some chopped chives and some pepper, or some sundried tomatoes.

Tip dough onto a lightly floured surface and knead gently to bring together. Blog 235

Break dough into 8 portions and form into a roll shape. Blog 237

To make these look more like the store bought ones I sometimes use only half of the cheese in the dough and reserve the rest with the ham and a smear of tomato paste for the top.

20160626_135700

Place on a lined baking tray and bake in a preheated 200C oven for about 15-20mins or until the bottoms are golden brown and sound hollow when tapped.

20180609_123540.jpg

Blog 240

Especially delicious served warm.

Makes 8 rolls – and any left overs freeze and defrost well.

Enjoy 🙂

Cherry Pie – and sweet shortcrust pastry

My baby turns one this week. Unbelievable.

George Turns 1 097
We all love our birthday boy!


It really does seem like just yesterday that we bought him home from hospital as a tiny bundle who was thrust into the middle of the very noisy, messy and fun life that is 4 kids under 5 and a half!!

George Luke Kapitola 206


He has been an absolute delight and we thank God every day for him – our family would not be whole without him.

To celebrate his birth (and the fact that we survived and thrived the first year with 4 children!) we had a little party – with the theme of his favourite book – The Very Hungry Caterpillar.

This is what ‘Saturday’ food looks like in the story:

caterpillar foods

So, we had soy ice creams with gluten free cones, lollypops, watermelon, red sausages, a plate of vegan cheese together with gluten and dairy free salami and pickles (gherkins), banana muffins, chocolate cake (the birthday cake) and then cherry pie. I hadn’t ever made cherry pie before so it was my big challenge!

It turned out to be very tasty and will be back on my dessert menu again!

To make the sweet shortcrust pastry:

  • 2 1/4 cups wholemeal spelt flour
  • 1/3 cup GF icing sugar
  • 1 tbsp chia meal
  • 2 tbsp iced water
  • 90g Nuttlelex
  • 85g lard (or omit this and replace with more Nuttelex for a vegan version)

In a small container, mix together the iced water and chia meal and set aside.

In a food processor pulse together the flour, sugar, Nuttelex and lard until they resemble breadcrumbs.

Add in the gel that has formed from the chia meal and pulse again a few times until it is well combined.

Tip on to the bench and knead gently into a dough. Form into a disc, cover in plastic wrap and place in the fridge.

20150306_105920

To make the cherry filling:

  • 750g pitted, frozen cherries
  • 1.5 tbsp pure corn flour
  • 1 tbsp coconut sugar
  • 1 tsp vanilla bean paste

Place 500g of the cherries in a large saucepan. Stir over a medium heat until the cherries are quite soft and have released a lot of their juices. (About 5 minutes at 90C, speed 1 with a blunt blade in a Thermal cooker)

Remove from the heat, then add in the corn flour and sugar. Mix well until the flour and sugar is dissolved (Speed 1 for 20 seconds with a blunt blade in a thermal cooker).

Add in the vanilla and return to a low heat. Mix until the liquid thickens (about 4 minutes at 90C, speed 1 with a blunt blade).

Remove from the heat and gently stir through the remaining 250g of whole cherries. Set mixture aside to cool. It will get thicker as it cools too.

To assemble the pie:

Take the pastry out of the fridge and split into 2 (one slightly bigger than the other for the bottom crust).

Roll out to fit your pie dish – mine is a 22cm round dish and this quantity of pastry is the perfect size.

Grease the pie dish and lay the bottom crust in, add the cherry filling and top with the pie crust. Press the sides together and cut a couple of small slits for steam. Decorate as you wish.

20150306_112659

20150306_113558

Bake in a preheated 180C for about 50mins – 1 hour.

20150306_123844

Sprinkle with icing sugar and serve warm with ice cream, cream, custard or just on it’s own!

20150307_200259

Enjoy 🙂


Orange date cake

This cake is based on the idea of the 30 second Orange cake from the Thermomix recipe community and you can find the original here. It is quite a dense, moist cake. I made it in my Bellini, but I think you could make it in a high powered food processor – you’ll just need to increase the times.

  • 1 whole orange (yes, ALL of it – skin, pips, the lot)
  • 6 medjool dates, pips removed
  • 225g Nuttelex/vegan butter/ tasteless coconut oil
  • 80g coconut sugar
  • 1 1/2 cups GF SR flour plus 1/3 cup almond/seed meal OR 2 cups (350g) spelt flour plus 2.5 tsp of GF baking powder
  • 6 tbsp aquafaba (liquid drained from a can of chick peas)
  • 1 tbsp chia seeds

Place orange, in quarters, dates and Nuttelex in the machine and blitz on speed 9 for about 10-15 seconds.

Add in the sugar, chia (and baking powder if required) then process on speed 5 for 15 seconds.

Add in the aquafaba through the top chute whilst mixing on speed 4.

Add in the flour (and meal if using) and mix on speed 4 for 20 seconds, then scrape down the sides and then again on speed 5 for 15 seconds.

Place in a greased 20cm springform cake tin and bake in a preheated 180C oven for about 60 minutes. Blog 218 Allow to cool slightly in tin before transferring to cooling rack. Sprinkle with GF icing sugar to serve. Blog 222 Freezes and defrosts well too. Enjoy 🙂

Pepita Crunchies

I have bought packaged roasted pumpkin seed squares in store before. They were delicious … but boy, were they expensive! $6 for a little packet – eek!

So here is my super simple version!

  • 250g pumpkin seeds, dry roasted
  • 2 tbsp chia seeds/hemp seeds
  • 2 tbsp rice malt syrup
  • pinch pink salt

Dry roast the pumpkin seeds. I do this on a lined baking tray under the grill in my oven. Watch them very carefully. They only take a few minutes. Mix and turn the seeds and return them to the oven (a couple of times if necessary) so that they seeds are golden brown all over and puffing up.

January 2015 346

Place the syrup in a bowl, then while the pumpkin seeds are still hot, tip them into the syrup, also add the chia/hemp seeds and salt. Work quickly to mix the 4 ingredients well together – the heat from the seeds melts the syrup and makes it easy to work with.

January 2015 348

Place on a lined baking tray and cook in a pre-heated 150C oven for about 25 minutes.

Allow to cool completely before cutting in to squares and storing in an air tight container in a cool place. Best to put a sheet of baking paper between layers when you store, otherwise they stick a bit to each other.

January 2015 354

Extra additions:

For a nutty version, add in 100g of your favourite chopped nut. You’ll need to add an additional 1/2 tbsp of syrup too.

20190529_072902
This one is a work morning tea favourite!

For a Christmas version, add in a good handful of dried cranberries and the finely grated zest of 1/2 an orange.

Enjoy 🙂

Nut Butter Substitute – Sunflower Seed Butter

Peanut butter was a staple for me growing up – I loved it and have missed it a lot since out house went peanut free. Then I discovered Free Nut Butter, made by Eskal. It is an amazing substitute, made from roasted sunflower seeds.

Sadly there has been some difficulties with supply in Australia recently. It is back in stock in some places, but it is difficult to find and now costs between $11-$12 for a jar – eek!

We use it a lot in our house as the base for nut free satay, cookies, ice cream and just in sandwiches and on fruit etc. The new price was becoming quite prohibitive, so I decided to have a go at making my own, guesstimating the quantities and ingredients from the list on an old jar and was pleasantly surprised by how well it worked!

I have done this in my food processor, a borrowed Thermomix and my Bellini – The food processor wasn’t able to get a smooth butter, but worked well to give a crunchy spread.

  • 550g sunflower seeds, dry roasted*

Optional additions:

  • 1/2-1 tbsp sugar or maple syrup (depending on your sweet tooth)
  • 1/2 tsp flaked salt

Roast the seeds. I do this on a lined baking tray under the grill in my oven. Watch them very carefully. They only take a few minutes. Mix and turn the seeds and return them to the oven (a couple of times if necessary) so that they seeds are golden brown all over. Allow to cool for a few minutes.

Place seeds in machine and blitz on speed 10 for 30 secs.

Scrape down sides then add sugar and salt if you’re using them.

Blitz in speed 10 for about 40 secs, stopping once to scrape down sides.

Continue to blitz on speed 8 at 30 sec intervals until you get desired consistency. I did another 90 seconds this time.

20150113_151541-001

This makes a large jar, about double the quantity of the jars in store.

*to add some variety to your spread, swap out some of the sunflower seeds and add in your favourite nuts or seeds. Just stick to the same dry weight in total.

20180108_143406

Store in an airtight jar for up to a month.

Enjoy 🙂

Tiny teds

It’s getting close to the end of holiday and return to school time for my 2 biggest munchkins … sob!

So I have been thinking ahead to lunchboxes again. These delightful little guys are based on these ones from TRTLMT.

Blog 185

and I have just adapted them to suit our allergy needs. See below the recipe for variations with ginger and seed butter.

They are super delicious and quick to make, and all in our family heartily approve. Much nicer (and cheaper!) for lunchboxes than the packaged ones.

  • 60g vegan butter*
  • 140g honey/maple syrup
  • 1 tsp vanilla bean paste
  • 260g flour of choice (I use spelt or a plain GF mix with about 1 tsp of psyllium)
  • 3/4 tsp bicarb soda

In a saucepan, over a medium heat, melt together the butter, honey and vanilla (100C, speed 2 for 2 11/2 mins or until completely melted). Remove from stove

Whisk in the bicarb (Speed 3, 5 secs) and then add the flours (speed 5 for 15 seconds).

Mix gently until combined.

Tip out on to a silicone mat or floured work surface and allow to cool for a few minutes.

Roll out the dough into a large rectangle about 2mm thick (much thicker and you don’t get the same crunchy texture as store-bought ones).

This is the most time-consuming part … Use a teddy cutter to cut the shapes and place on a lined baking tray.

Blog 180

Cook in a preheated moderate oven for about 8 minutes, or until golden brown. My oven in fan forced so I do them for 7 minutes.

Leave on tray to harden and cool. Store in an airtight container for about a week.

Makes about 120, depending on the sized cutter you use … and how much dough your helpers eats in the process 😉

Blog 183

Enjoy!

To make a ginger snap version of these bikkies: Replace the honey with equal weight of maple syrup and replace the vanilla with 1.5 tsp ground ginger and 1/2 tsp ground cinnamon. These are a much quicker to make than traditional gingerbread but very similar in taste…. and now my house smells like Christmas in September!

*if you are wanting to eat less butter, you can replace half or even all of the straight butter with a nut or seed butter off your choice. We love our sunflower seed butter. Be warned that it does make a darker coloured bikkie though …. If that is important to your little ones 😉

20180301_073839-1
Little piggies made with sunflower seed butter

Chocolate, Date and Chick Pea Cookies

Today we were heading out to a party but when I went to the freezer to grab out a safe cake for miss Ellie – there were none left … eek!

So, with an hour to go before we needed to leave … these cookies were the made-up-on-the-spot result. They have now been a firm favourite for the past 4 years!

I use legumes in soooo many things, little powerhouses of fibre and protein and so good for your gut health – but I was inspired to add legumes to my cookies by TRTLMT

We most often use chick peas, but when I’m after a little variety, or the pantry dictates, we also used butter beans and kidney beans. They are all delish!

My little miss loves them – I’m pretty sure she’d eaten about 6 of them by the end of the day while I wasn’t paying too much attention … oops!

See below the recipe for the Coeliac friendly option.

  • 120g rolled oats
  • 30g nuts or seeds of choice (I’m partial to hemp, pumpkin or flax seeds here)
  • 400g tin of chick peas, rinsed and drained
  • 8 large medjool dates, pitted
  • 2 tbsp, heaped, Sunflower Seed butter*
  • OPTIONAL: 2 tbsp maple syrup OR sugar**
  • 1 tsp vanilla bean paste
  • 1.5 tsp GF baking powder
  • 2 tbsp cocoa
  • your choice of decorations (cachous, sprinkles, nuts etc)

* you can use butter, vegan butter or any nut butter here – or any combination of them too!

** We don’t use the additional sugar when we make these for our family, as we are used to less sweet food. But if you are used to sweeter baked goods then you might like to start out with the sugar in – you can decrease it over time if it suits your family and your taste.

Place all of the dry ingredients into your processing bowl and blitz until fine (speed 10 for 10 seconds).

Add in the dates through the top hole one at a time whilst processing (speed 4). Once the dates are all added continue processing until really well combined, and there are no large bits of dates visible (turn up to speed 7 and blitz for another 30 seconds).

Add in the chick peas, seed butter, vanilla and syrup/sugar (if using) and process until the dough begins to clump together. (Speed 6, then up to 7 for about 20 seconds)

This is quite a thick mix. Use a teaspoon to scoop out and using damp hands roll it into balls, place it on to a lined baking tray and press down gently with a fork.

Decorate, if desired before placing in the oven. Because this is not a wet mix, the decorations do not stick so well if sprinkled from above. I placed the decorations in a small bowl and then picked up the cookies and pressed them upside down into the bowl.

Reuben 1 002

Bake in a preheated moderate oven for 13-15 minutes.

20180627_102125-1
These are often the request of my littlest sous-chef 🙂

Allow to cool and store in an air tight container – they last best in the freezer and defrost really well.

Makes about 20.

20150117_092408-1

Enjoy 🙂

To make these Coeliac friendly replace the oats with 80g of rolled quinoa and 50g puffed rice. You can also use shredded coconut or seeds or any combination of these GF ingredients in equal weight to replace the oats. For a very simple switch, use 100g of a Gluten free flour mix plus 1 tsp of psyllium.

Mango, Ginger and Lime ice cream

Yesterday was hot in Perth. Really hot. Over 44C. Not very pleasant at all.

Thankfully, we were able to beat the heat because my very generous parents shared their delightful pool with us … and we took this sweet icy treat along.

  • 600g frozen, very ripe mango
  • 1 tsp ground ginger
  • 2 tbsp lime juice

Allow mango to defrost for a few minutes, then add all ingredients into a high-powered processor or blender and blitz until well combined and creamy.

Eat immediately if you want a soft serve type ice-cream or return to the freezer until it is hard enough to scoop.

Blog 149

If you want to turn this into a sorbet, also add about 2 dozen ice cubes to the blender.

Makes about 10-12 scoops.

Enjoy!

Personally, I think it is best served whilst floating in the pool 😉

20150105_145244

Banana ‘nut’ butter icecream

Happy New Year!

New Year holidays in Australia are hot …. which, in our house, means the paddle pool in the backyard and icy treats!

This is a super simple dairy and refined sugar-free ice-cream that helps beat the heat.

  • 8 frozen, very ripe, medium-sized bananas
  • 2 tbsp Sunflower seed butter (or nut butter of choice)
  • 2 tbsp honey/maple syrup
  • 1 tsp ground cinnamon
  • sml pinch salt.

Allow the bananas to defrost for a few minutes then place all ingredients into a high-powered processor or blender and blitz until well combined and creamy.

Blog 147

Eat immediately if you want a ‘soft serve’ type ice cream or place in the freezer until more solid for a version that you can scoop into cones.

Makes about 16 scoops. Store in freezer … if there’s any left 😉

Enjoy!